
Shinra Building (Disc 1) - FF7 Walkthrough
When you first arrive at the Shinra Building you'll be given the option of breaking in or sneaking in. If you decide to sneak in you'll have to manually climb 60 some floors, but you'll get an Elixir for your efforts. If you bust in through the front door you'll look like a total badass, get a ton of EXP and funny dialogue plus you'll be able to collect the Turtle's Paradise News Letter No 2 for the Side Quest.
The Turtle's Paradise News Letter is permanently missable - aside from right now you only get another chance to read it during Disc 2 when we return to the Shinra Building... So, let me decide for you - bust through those front doors we're doing to paradise!
After you've read the news letter climb the stairs to the second floor and get on the elevators. For this next part you're going to be getting into a different random battle every 10 or so floors as you hopscotch up the Shinra Building.
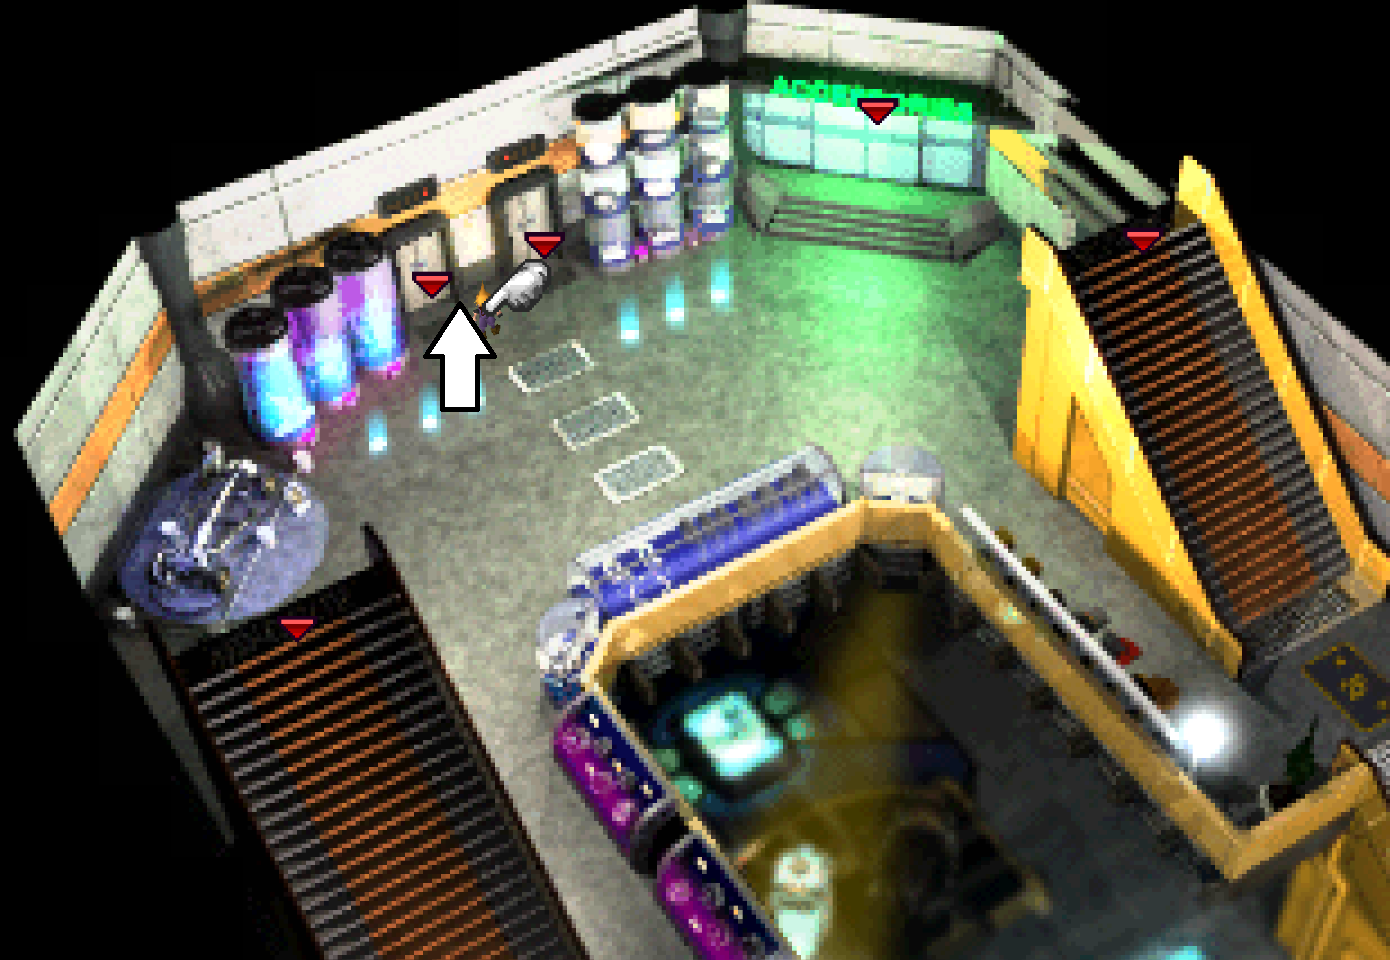
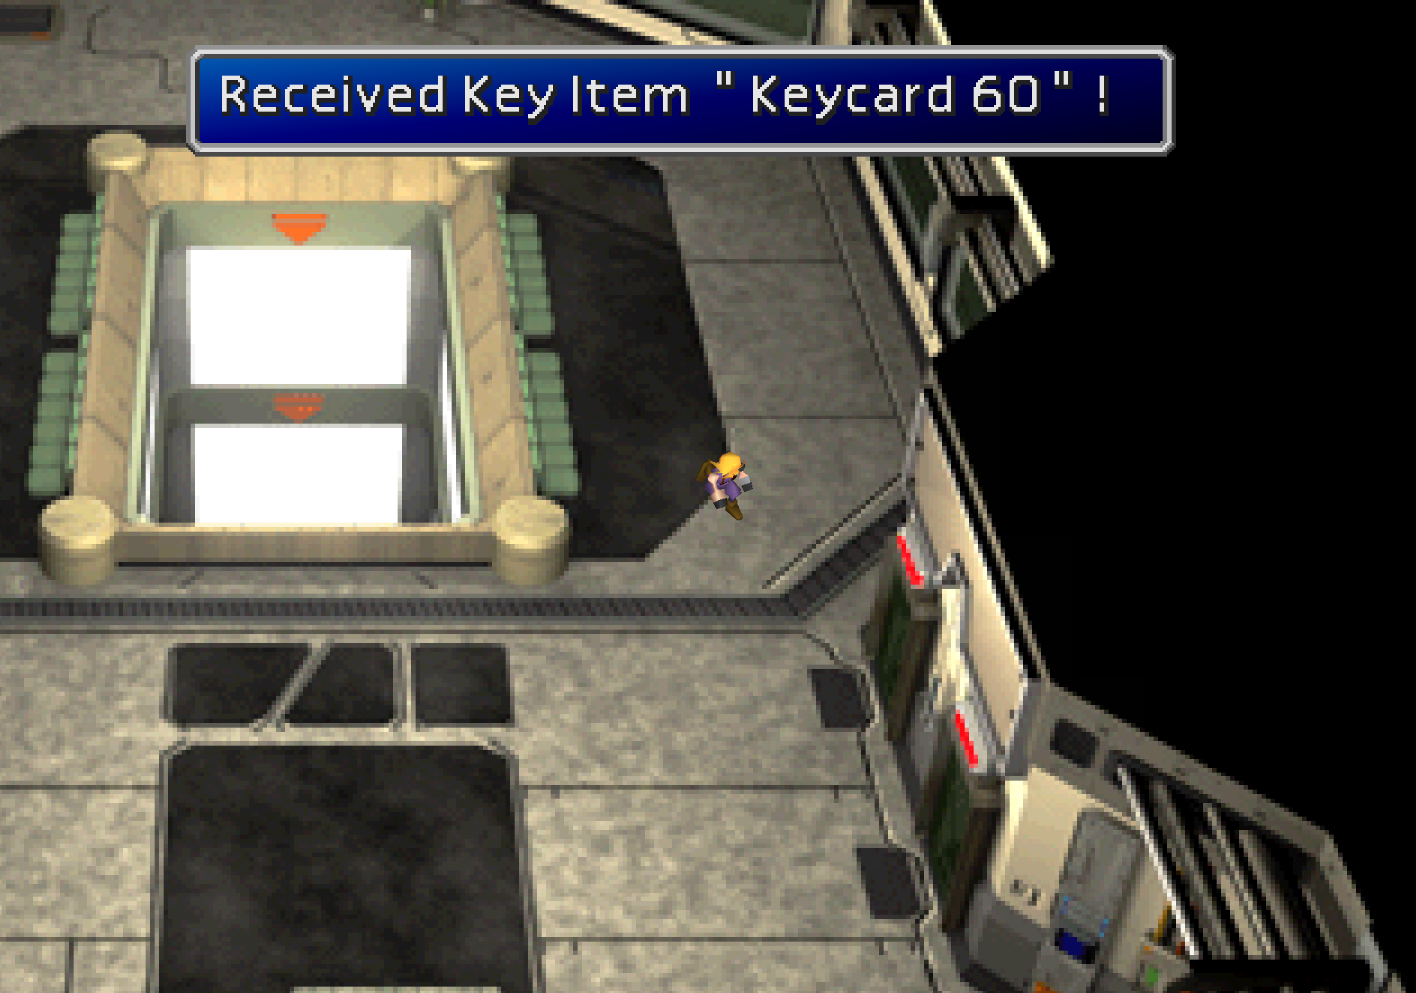
Eventually, once you've taken the elevator up as far as it can go, you'll find yourself on the 59th floor. Go south on this floor and take out the group of Shinra Soldiers by the elevators. They'll drop a Keycard for the 60th floor which you'll want to take then use to go up to the next floor.
The whole atmosphere changes once you're on the 60th floor. Here you'll have to complete a mini game where you have to sneak past some guards using statues for cover. I've provided a video of how to complete this below, it'll offer you more guidance than I can through text.
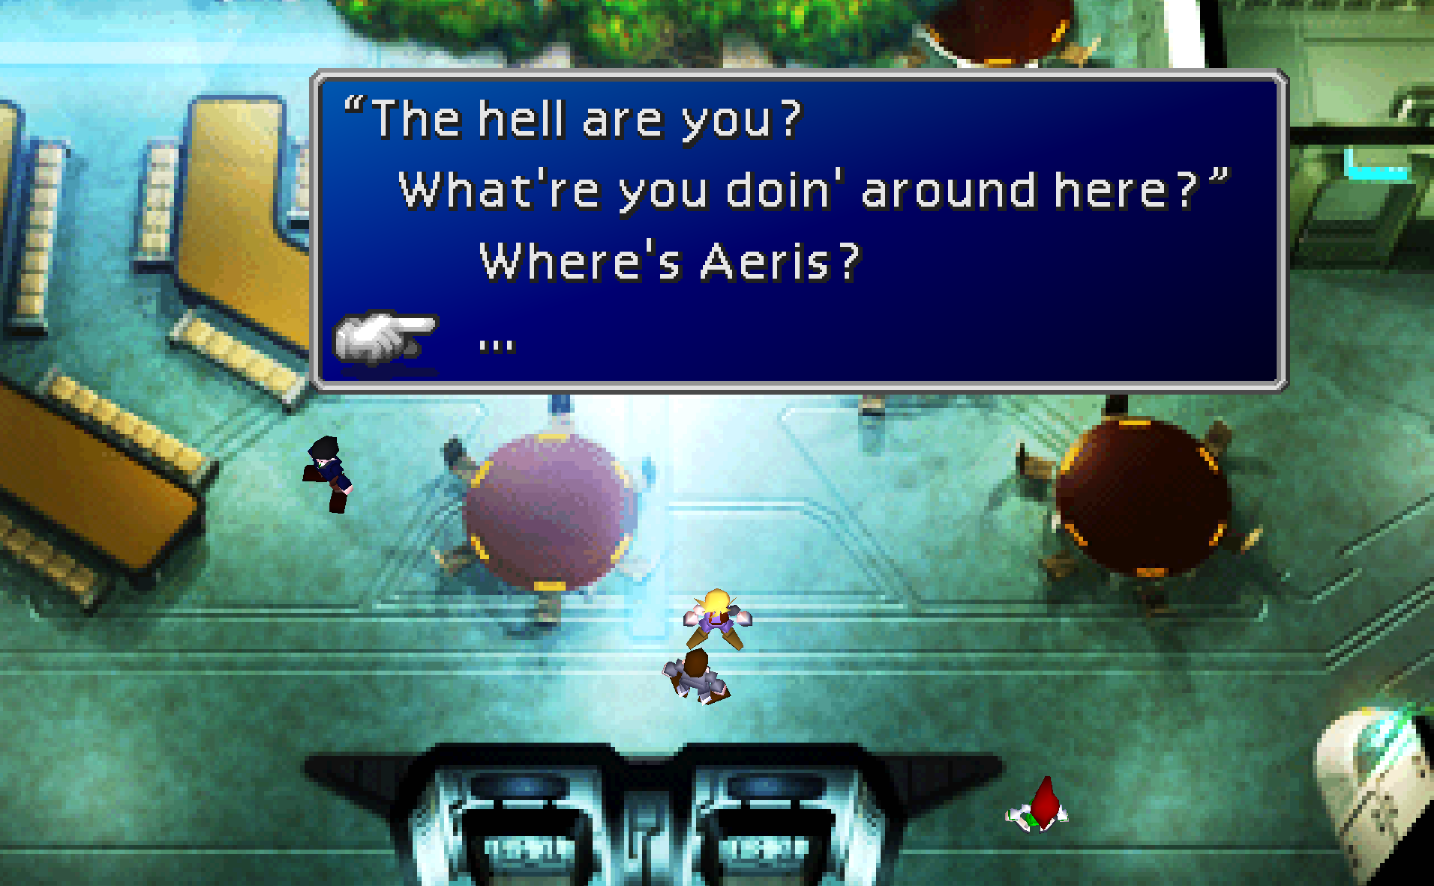
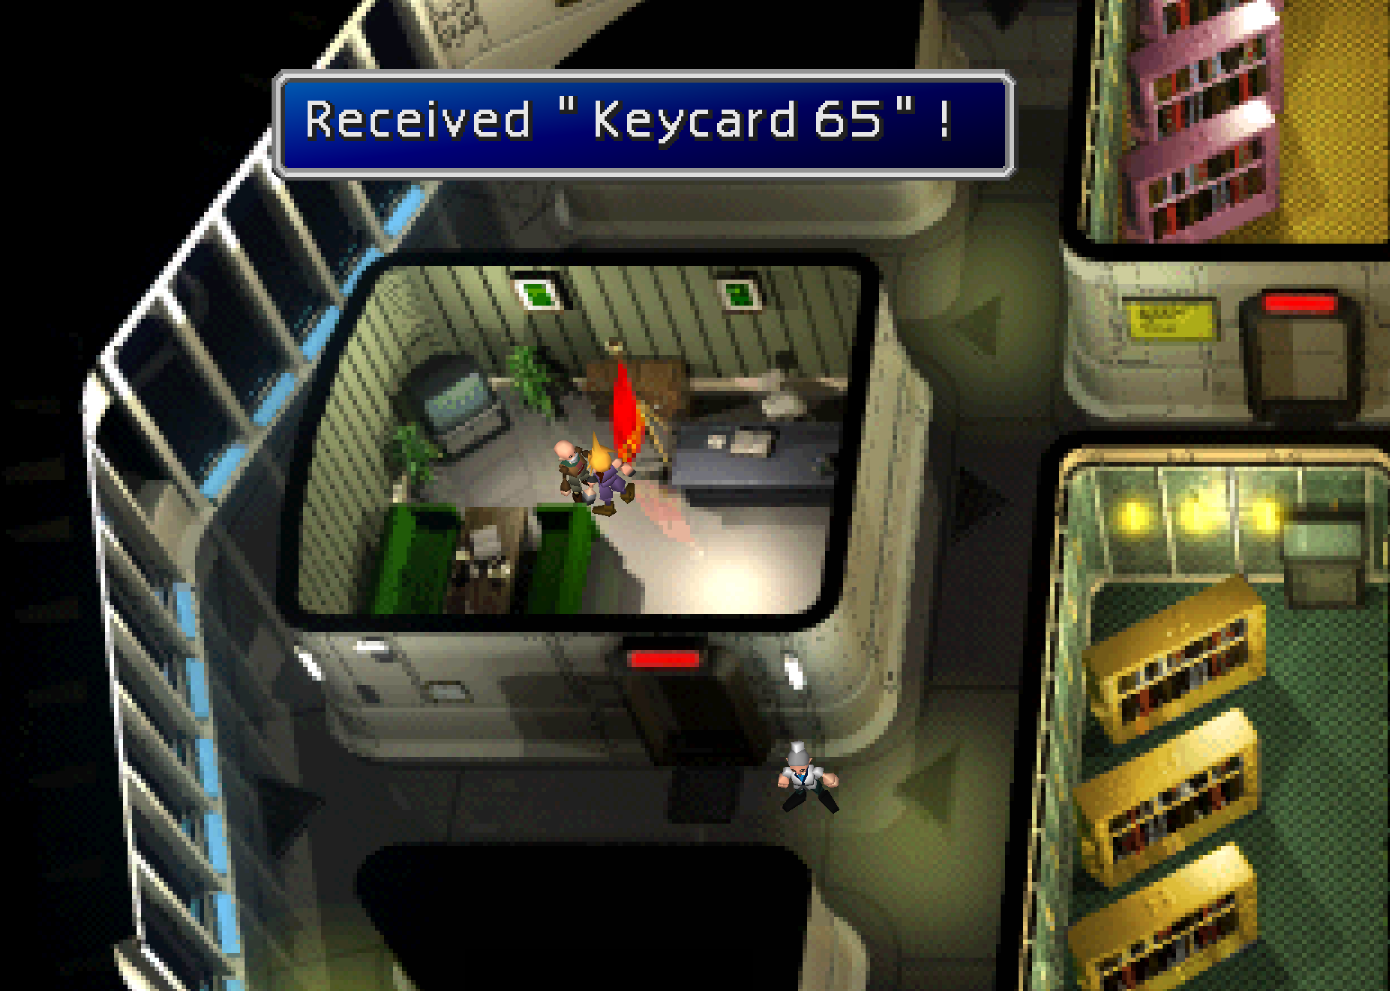
On the 61st floor you'll want to speak to the man in the southern portion of this room (pictured above) for the Keycard to the 62nd floor. When he asks you who the hell you are just answer " ... " to get the Keycard. Use the stairwell to go up to the next floor once you've obtained the Keycard.
The 62nd floor has an optional puzzle which if guessed right on your first try will reward you with an Elemental Materia. It's highly recommended you get this Materia now as it's quite useful and in very limited supply for the first 80% of the game.
Shinra Building Floor 62 Puzzle Walkthrough
Completing the Floor 62 Puzzle nets you the Keycard to the 65th floor - which will give you access to the 63rd, 64th and 65th floors.
Shinra Building 63rd Floor
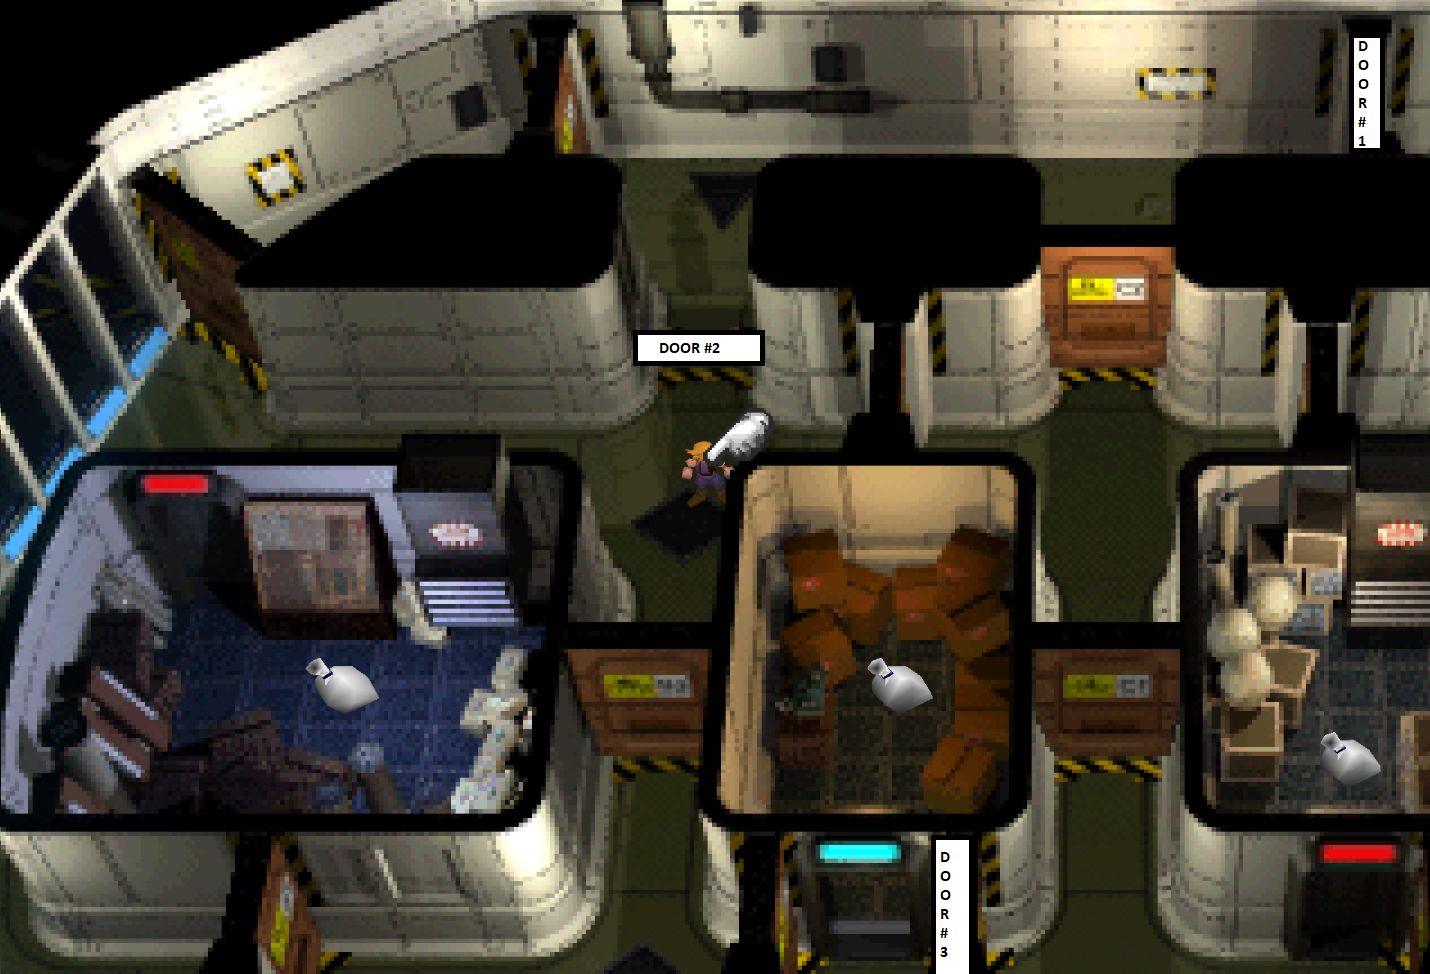
On this floor there are three treasures for you to collect but you can only open up three doors in total. The first two doors you want to open are at the top of the screen and the third one is in the central part of the room, you'll open it after climbing through a vent. To see which doors I am speaking about click on the image above, they're all labeled.
Below I have included a video of the correct path to follow in order to collect all three of these items - for anyone out there who would prefer a video explanation of this.
Treasures to Find:
Star Pendant
Four Slots
All Materia
Shinra Building 64th Floor
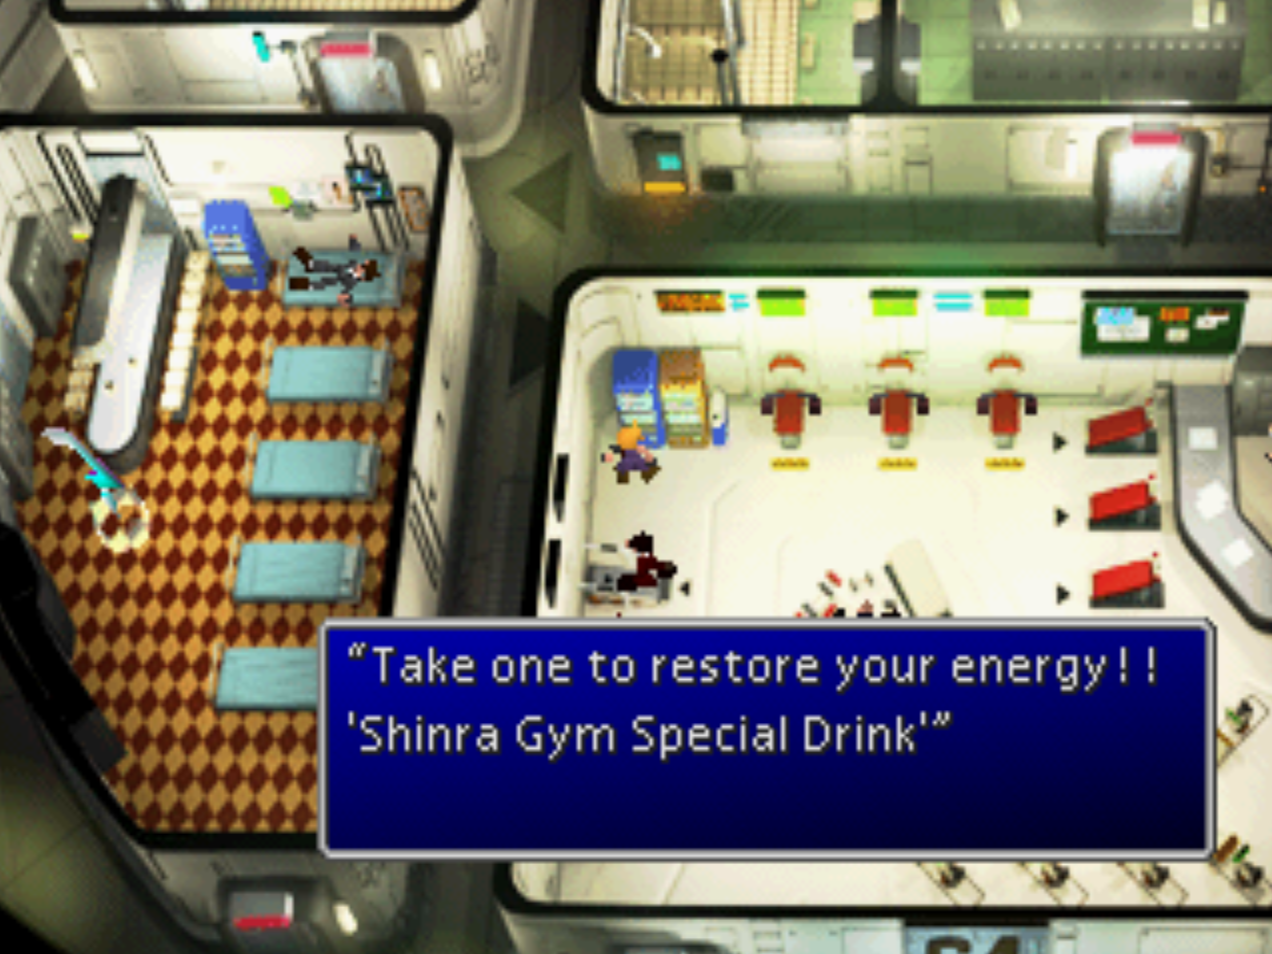
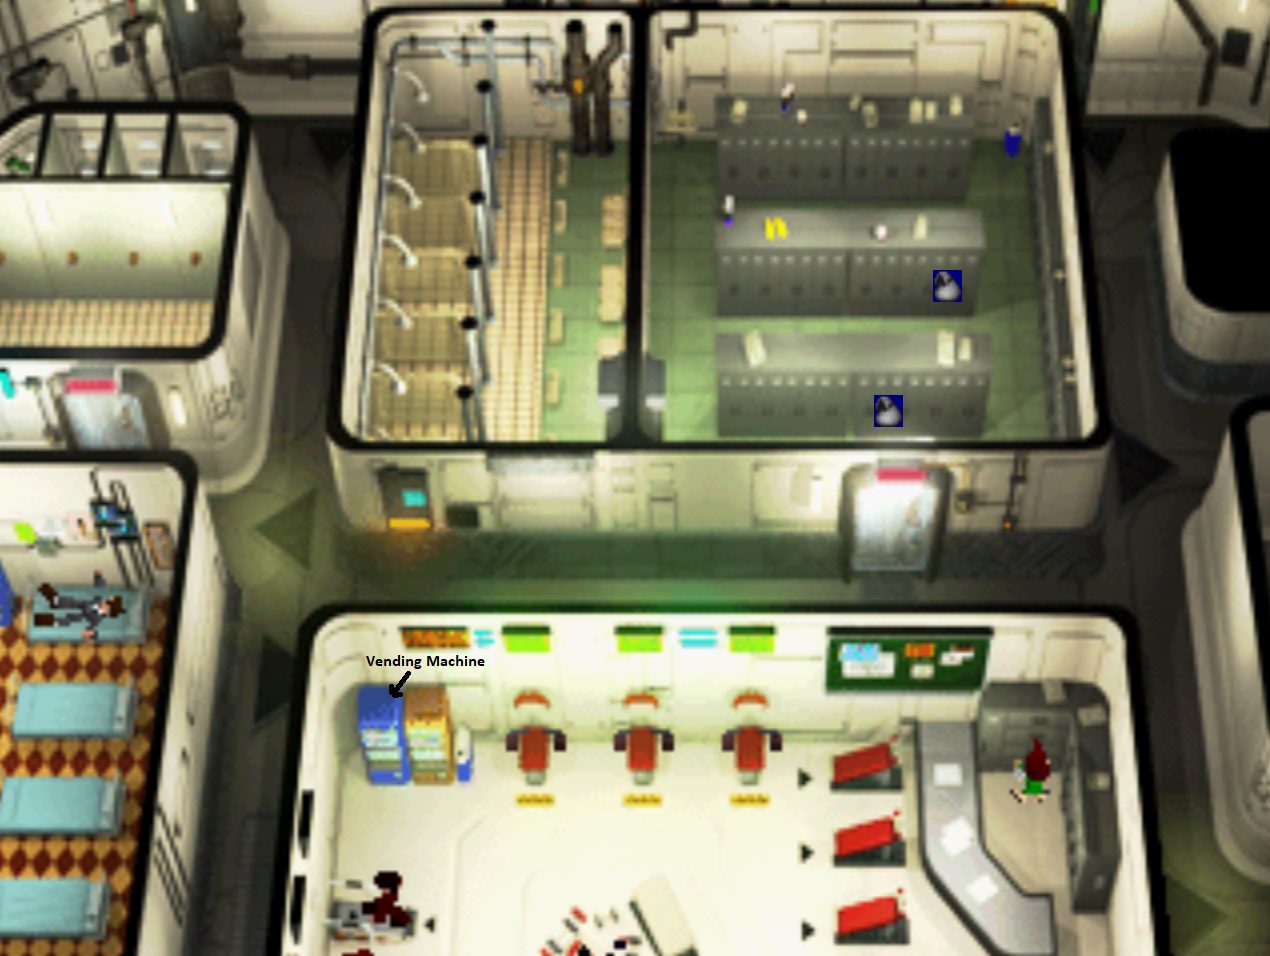
On this floor you will want to collect all available treasures from the locker room up north, sleep at the pseudo Inn if you need rest and try and purchase a Shinra Gym Special Drink from the vending machine in the central room. Make sure to bang on the machine before leaving - if you do these two things later in the game during Disc 2 you'll be able to collect a Speed Source and Mind Source from this vending machine.
In one of the northern most lockers you'll also find a Megaphone but Cloud says it's pointless for you to pick it up right now.... Which is a shame too considering it's Cait Sith's Ultimate Weapon, HP Shout! Remember this location as you'll want to grab it the next time we visit the Shinra Building. All treasures found on this floor are displayed in the picture below.
Treasures to Find:
Phoenix Down
Ether
Shinra Building 65th Floor
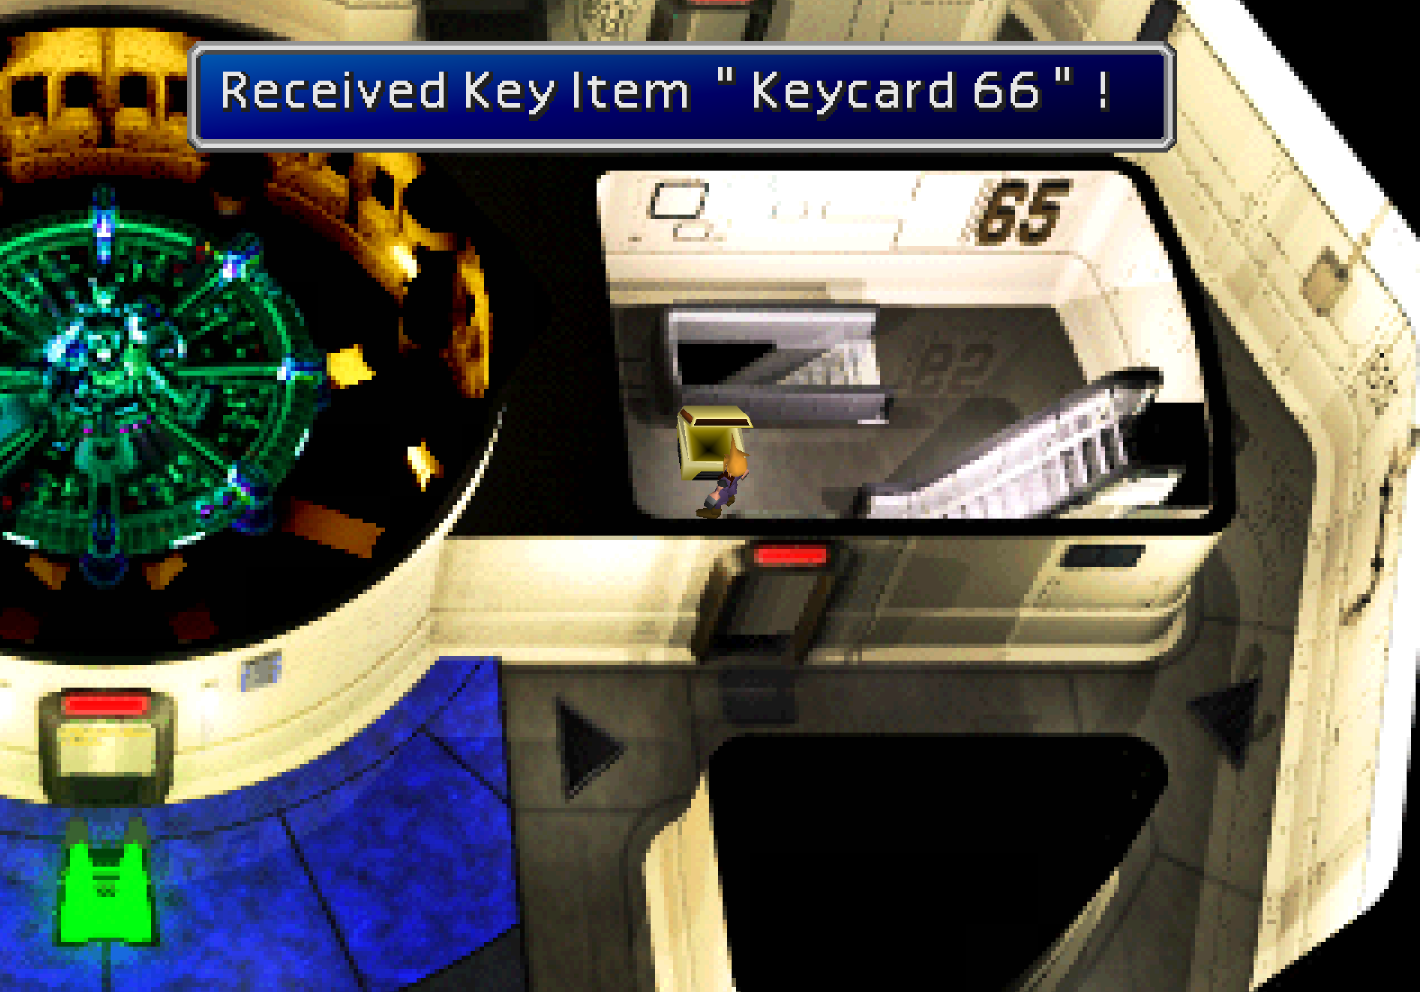
On this floor you have to open the treasure chests in a specific order and one by one place each piece that you get into the replica of Midgar in the middle of the room.
Chest 1: Top left room, bottom chest
Chest 2: Bottom left room, bottom chest
Chest 3: Top left room
Chest 4: Top right room
Chest 5: Bottom left room
Chest 6: Stairwell
Shinra Building 66th Floor
All you have to do on this floor is go to the northwestern part of it and climb into the bathroom stall. Go through the air ducts until you reach the vent where you can eavesdrop on the conversation happening between the Shinra execs. After watching the scene with the Shinra higher ups you'll get another scene out in the hallway of Hojo going up to the next floor. Obviously you're going to want to follow him.
Shinra Building 67th & 68th Floor

Once here approach Hojo on this floor to trigger a story scene with Red XIII, the next character joining us in this adventure. North of where this scene takes place you'll find a chest with a Poison Materia next to an elevator (pictured above). Use the elevator right next to the chest with Poison in it to go up to the next floor.
**Important Steal Tip** There are two enemies here which you can Steal items from that aren't sold until Junon or Costa del Sol!! For more information about these items check out my Shinra Building 67th and 68th Steal Guide.
You may want to use the Save Point while we're here too as there's going to be a boss battle shortly after reaching the next floor. Equip the Star Pendant you got earlier on Cloud as this boss loves to poison your whole party - pair the Poison Materia and Elemental Materia on Barret in his armor slot. This will make 2/3 of your party immune to the poison the boss uses.
Important: Make sure you do the Materia pairing in the Armor or it won't work!! For more information on Materia Pairing Combinations and how it all works follow the link provided... I highly recommend you read that guide as it'll make the game much more interesting and enjoyable and also make your team much more powerful.
When prompted right before the boss fight send Tifa away to help Aeris, keep Barret as he'll do more damage to the boss since he has a long ranged weapon. For the boss battle, all you really need to know is focus entirely on the boss because the second you defeat one of the little guys he resurrects it.
After the fight is over grab the Enemy Skill Materia that the elevator spat out, the two Potions on the rafters down south and speak with the guy just north of the Potions for the Keycard to the 68th floor. When you're leaving this area (the same route the guy ran after giving us the Keycard) grab the other two Potions.
Go down to the 66th floor and get in the elevator. This will advance the story forward.
Shinra Building - Prison
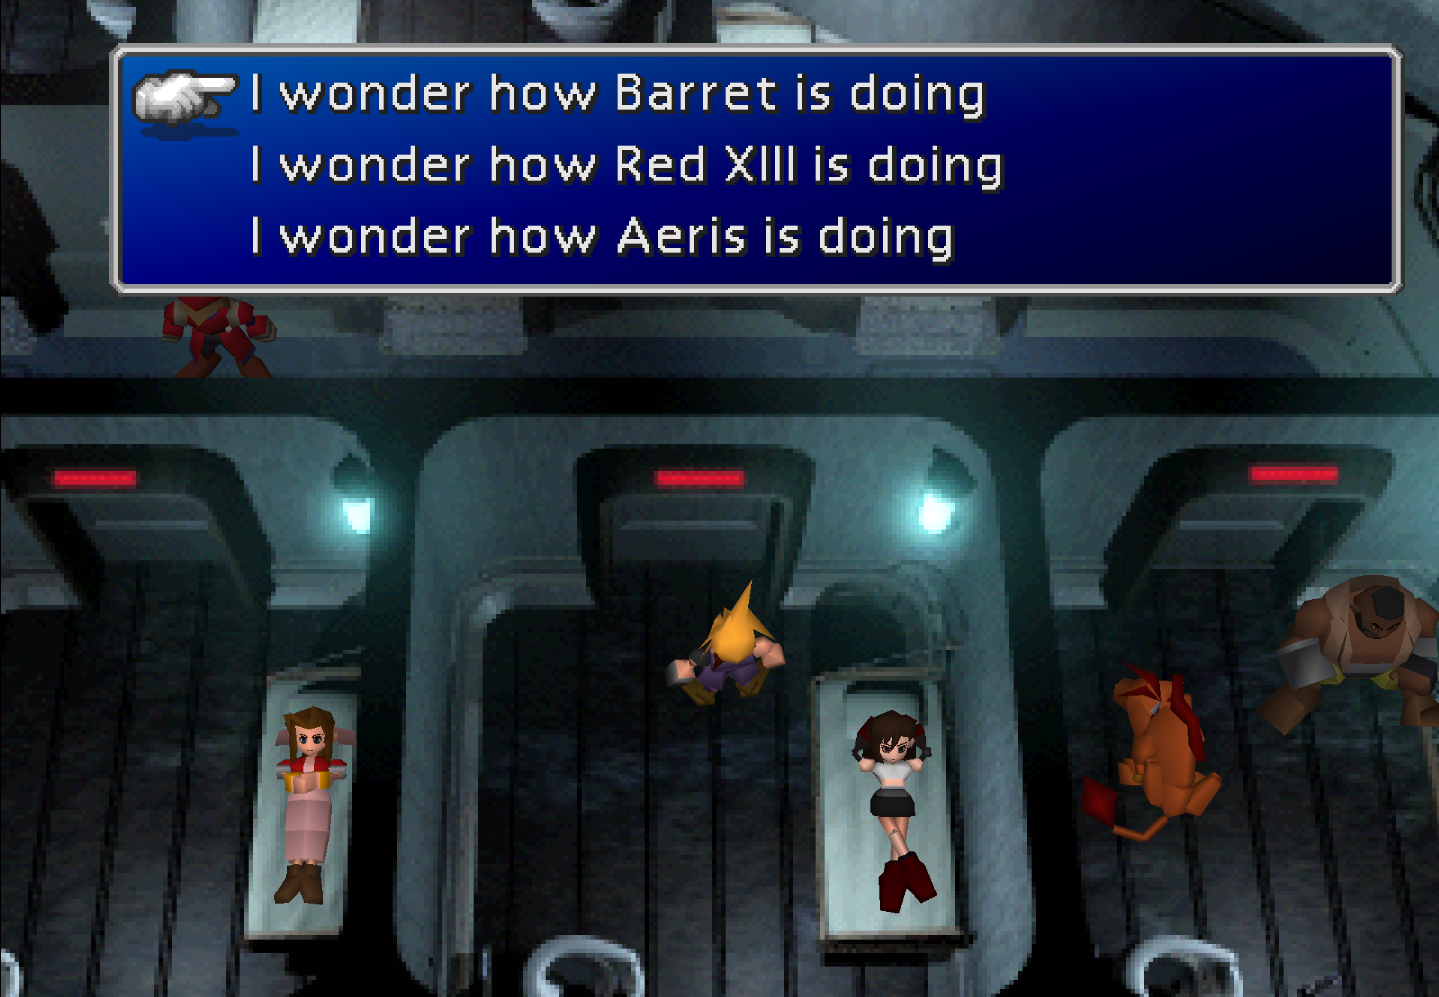
When you regain control of your characters you will wake up in a prison cell on the 67th floor. All you have to do to advance the story forward is approach the door and speak with Aeris. Then approach the door a second time and choose to rest. However if you want to go on a Gold Saucer Date with Tifa or Barret speak to either of them first before speaking with Aeris, this'll give you +affection with them.
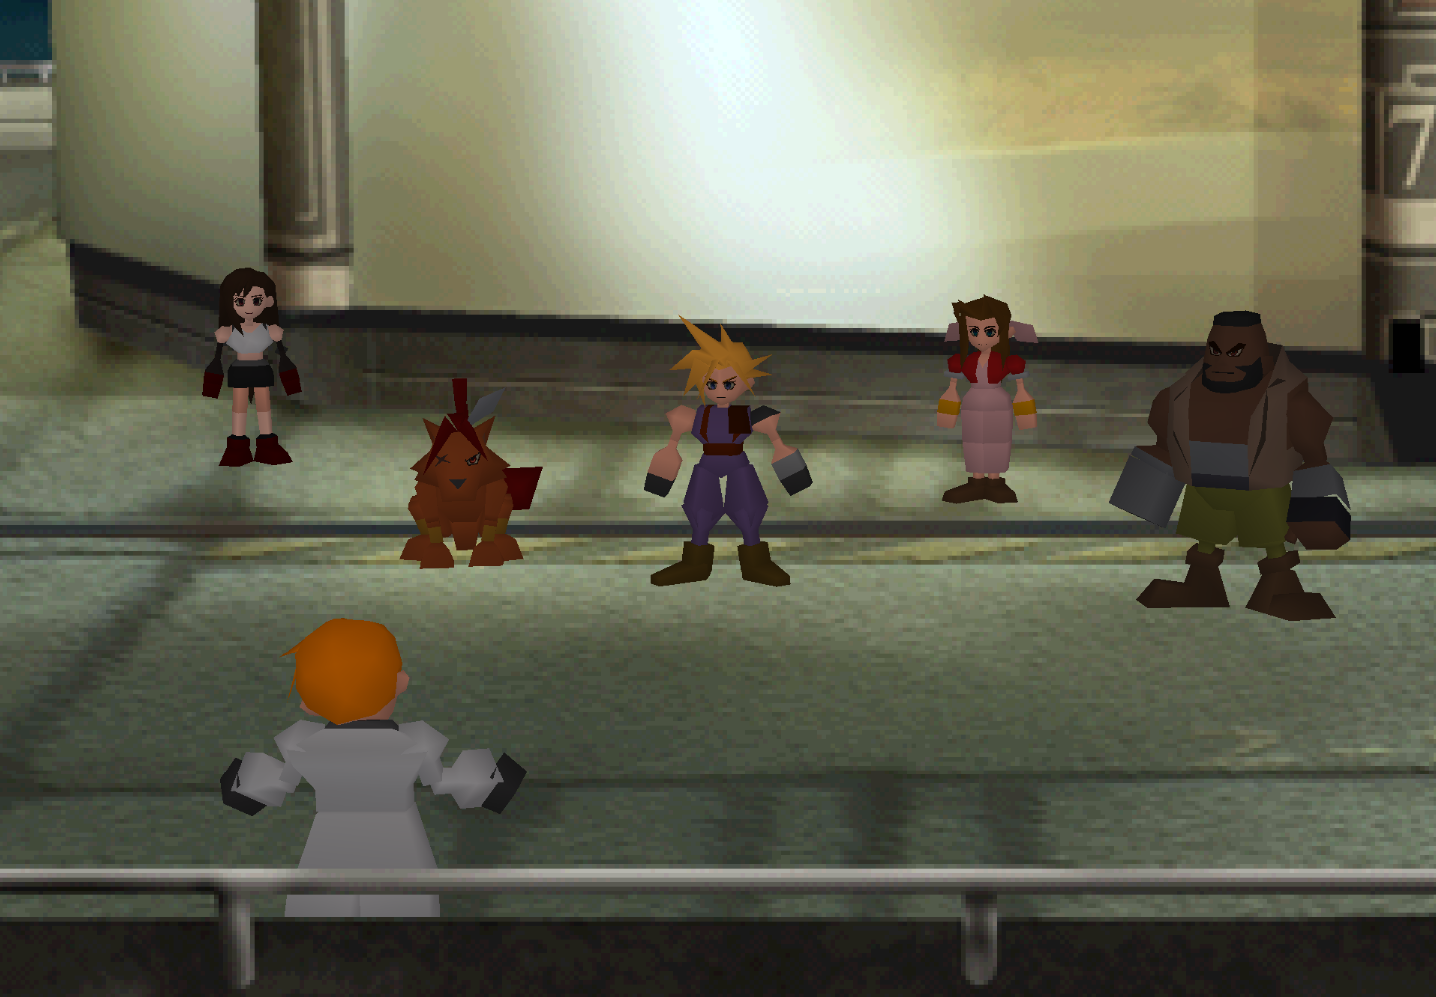
After you wake up the door to your cell will be open and the whole atmosphere will have changed. Inspect the guard's body in the hallway then wake up Tifa. Speak with your party members to advance the story forward then go to the left end of the screen where we first met Red XIII.
Watch the scene then follow the blood trail up to the 69th floor where you will find a Save Point. Our party is going to split into two coming up and both have separate boss battles - Cloud is going to face off against one boss alone so you're going to want to make sure he has a Restore Materia. That's really all he needs.
Give Red XIII and Aeris Ice or Fire Materia and Aeris a Restore + All Materia. The boss that Barret, Aeris and Red XIII are about to fight can't be hit with melee attacks, only Barret will be able to hit him with his regular attack so you're going to want other methods of attacking him with your other characters.
Once you're ready to proceed, save then head up to the 70th floor. There will be a scene in the big room then exit through the northern door for another scene with Rufus.
Cloud stays to fight Rufus while the rest of your team goes downstairs to the elevator. Once you step on the elevator with Aeris, the first of two boss battles will begin. It'll switch to Cloud after you defeat both machines with Aeris's group, you'll fight Rufus and one dog with Cloud - take out the dog first then take out Rufus. Assuming Cloud has a Restore Materia this shouldn't be hard at all.
When both fights are done go down to where Tifa is and speak to her to continue the story... Here comes the legendary Crazy Motorcycle Chase part of Final Fantasy 7.
The mini game will end with a boss battle - again not much difficulty here. He's weak to Bolt too so beat him up with that. When you regain control of your characters you'll want to head out to the World Map by running in basically any direction.
Continue to Kalm & Nibelheim Flashback Walkthrough
Return to Sector 6 & Walk Market (Part 2) Walkthrough