Dragon Quest IV Walkthrough - Chapter 8
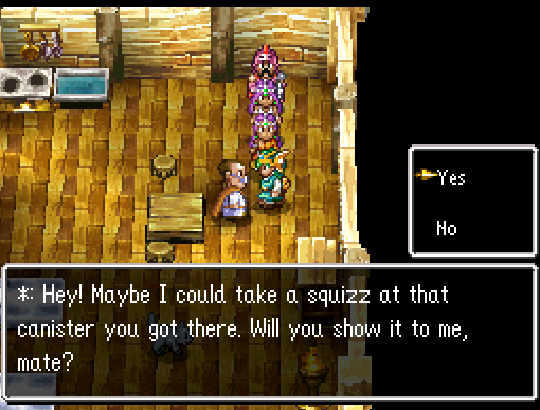
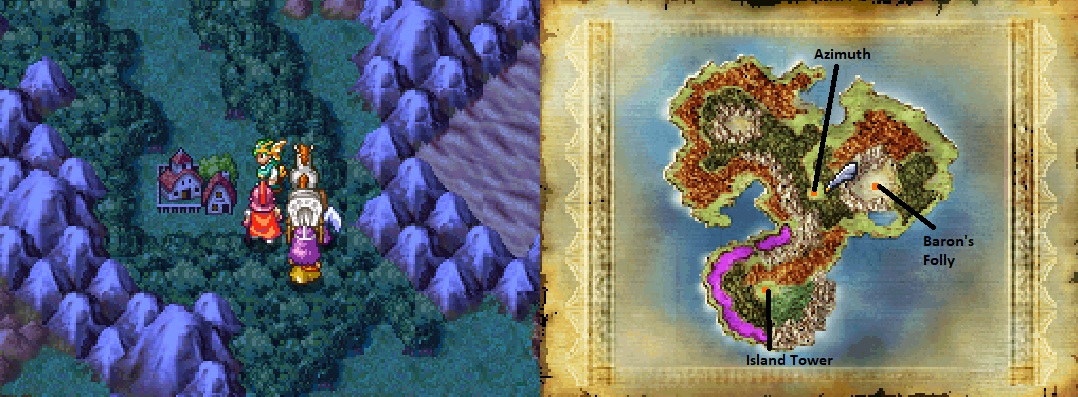
This chapter of my guide begins after defeating Estark in the Mamon Mines and collecting the Gas Canister. With this item in hand you'll want to head over to Riverton and speak with the man in the southeastern portion of the town, shown in my screen shot above.
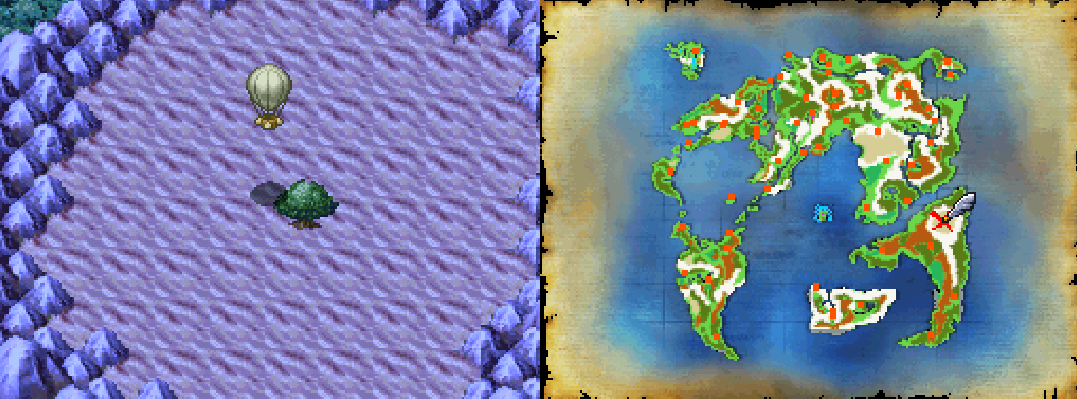
He owns a hot air balloon and will let you ride it wherever you want in exchange for the Gas Canister. Give it to him then spend a night at the Inn before returning to speak with this man. Once you're in control of the hot air balloon the question is - where to go next? Fly east to the large red X that's been on your map for awhile now. Here you'll find a huge tree named Yggdrasil and a small town. Use my screen shot below if you need some guidance.
The large tree is our next dungeon but before heading inside you should downside your party to three members; I chose the Hero, Meena and Ragnar. We're doing this because at the end of this dungeon there's an NPC that we meet which joins our party and this part is required for completing the dungeon.
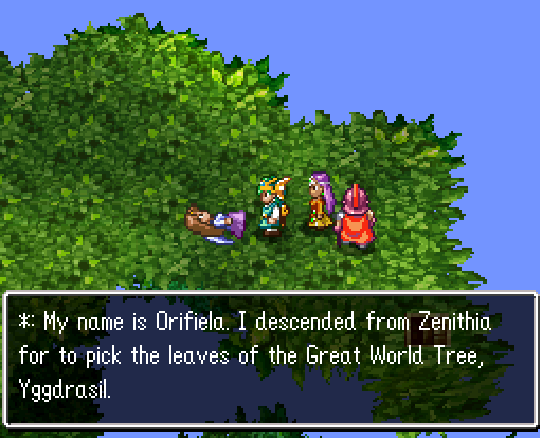
It's at the top of the tree that you'll meet Orifiela, an angel who damaged one of her wings and can't get back to Zenithia without your help. Allow her to join your party and continue searching this same floor, it's where you'll find the Zenithian Sword. Search the ground in this same area to pick up a Yggdrasil Leaf, with that you can Evac out and return to the hot air balloon.
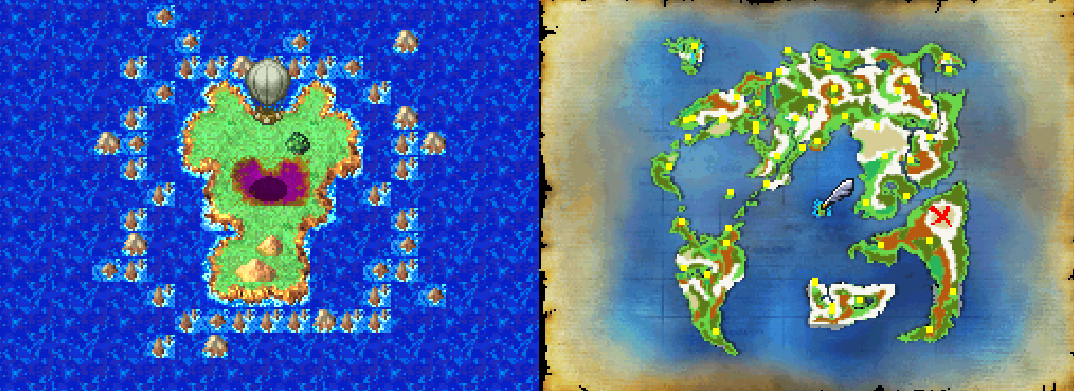
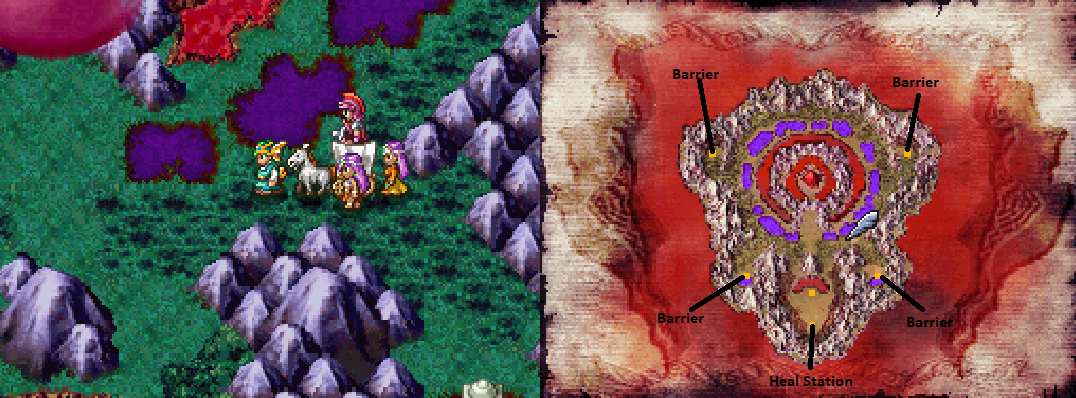
Our next stop is the center of the world, as you've probably guessed already, a place called Zenithia. Fly the hot air balloon into the center of the world map and land anywhere on the island with a large poison spot in the middle of it (shown in my screen shot above).
When you land your world map will change and you'll actually "zone" into a new area. Getting on the hot air balloon leaves this island and puts you back on the old world map - so you won't be able to fly around on this island itself by using that.
For right now there are only three places on this island that we can visit, I have each of them marked on my map of the area below.
Azimuth: A small town with two Mini Medals in it as well as an armor shop. Hanging out around this town and grinding for awhile won't be such a bad idea if you're level 28 or lower. The enemies here give a buttload of EXP and are rather easy I have found. Additionally King Metal Slimes appear in this area, if you can manage to take one of them down it's like a piñata of EXP!
Baron's Folly: Ignore the lift and go down every staircase until you reach the bottom where there's a chest with a Goddess Ring inside. Return to the top of the dungeon and ride the lift down to the bottom. Return to the top again and jump down ontop of the lift. Then take the staircase down to the second chest which has a Baron's Bugle in it.
Island Tower: This is the next official stop/dungeon we're going to be going to.
When you're done exploring this island and ready to continue on with our quest, head to the Island Tower in the south. In my opinion this is one of the first truly confusing dungeons in the game. I highly recommend using Holy Protection on the Hero as this will ward off the majority of monster fights - if not all of them. This will give you plenty of time to search the area as much as you want.
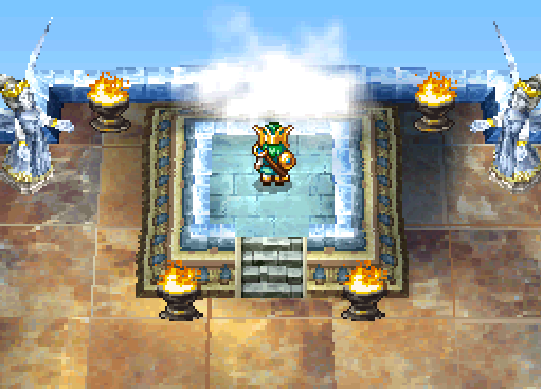
At the tippy top of the tower you'll find a platform that you'll want to step on with all of the Zenithian items equipped. If you've got everything equipped then a cloud will come down and scoop you up (shown in screen shot below), bringing you up to Zenithia.
When you arrive in Zenithia, Orifiela will thank you and leave your party. Exit the town and reorganize your party before doing anything else - then raid the town for all the goodies you can find. Basically all you actually have to do in this town is venture up to the top floor and speak with the big gray dragon up here.
The dragon will grant you the last of his remaining power, about one level up and during the conversation with him a scene will occur that pierces a hole in the clouds and leads to the next dungeon. You'll find the hole in the clouds that you have to drop down through on the eastern side of Zenithia. On the large outside portion of the town go down the large staircase in the east to get to the hole.
Dropping down through the hole in Zenithia will put you out front of the only dungeon that we could not access on the island we just came from, the one in a small desert surrounded by mountains. This dungeon is probably going to be the most difficult thus far in terms of the enemies that you encounter here. My team was at level 29/30 when I did this place in some of the best armor and I had to leave a few times and heal up because of how difficult the enemies were.
Pickeerers can summon reinforcements many times throughout the battle dragging it on for awhile, Beelzebuzz enemies can resurrect all defeated enemies by sacrificing their own life so you don't want to leave them alive last. Those are the only two super annoying enemies that I encountered throughout this dungeon.
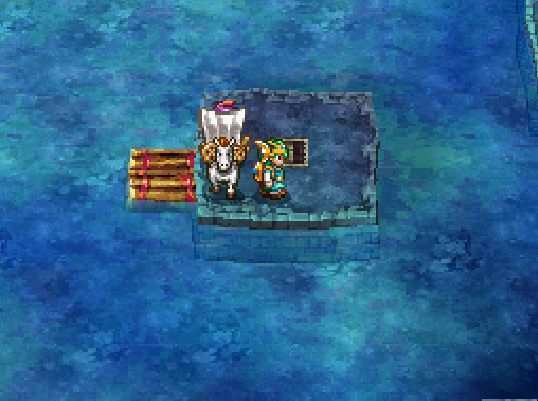
If you're confused on how to move forward through this dungeon, there's a giant room with poison in it, water and a raft. You need to enter this room from a stairwell that's found in a small room with 4 Treasure Chests. It's pretty hard to miss as you'll pass by this room while doing other parts of the dungeon.
When you're in this room you'll want to hop on the raft and sail it a tad east which is where you will find another staircase leading down, shown in my screen shot above. This is the route you will want to take when you're ready to clear this place.
Keep going down and eventually you'll reach a large tower with lava around it and more staircases going down. At the top of the tower fall through the hole to get to the treasure chest on the floor below. At the bottom of this tower you'll come out to yet another new area, shown in my screen shot below.
In the southern portion of this area at the spot marked "Heal Station" on my map above you'll find an angel that will allow you to heal your entire group and save. He'll also tell you that in order to proceed into the castle you'll need to defeat all four of the barriers surrounding this area.
As you can already see, all four of these locations are marked on the map above. In each building you'll find what I would describe as a mini boss, defeating the boss dispels that barrier - get where this is going?
Once you clear all four buildings the next boss you'll be fighting is the final one. Well, kind of. There's another chapter to the game after you beat him but I think it was added exclusively on the DS version of the game so technically this guy is the end boss, the credits roll after him and everything.
Before you challenge Psaro you'll definitely want to be level 35 or greater, level 38 is the minimum recommended level I would wager. That's going to mean a lot of grinding for most people, my party was about level 32 when I first made it to this part of the game so I had to grind 5 levels in order to tackle the end boss.
Note: Using the Zenithian Sword as an item during battle will dispel many buffs that enemies cast on themselves in the upcoming fights. Kabuff, Acceleratle, Insulate and even Aamon/Psaro's Protective Barriers can be dispelled using it.
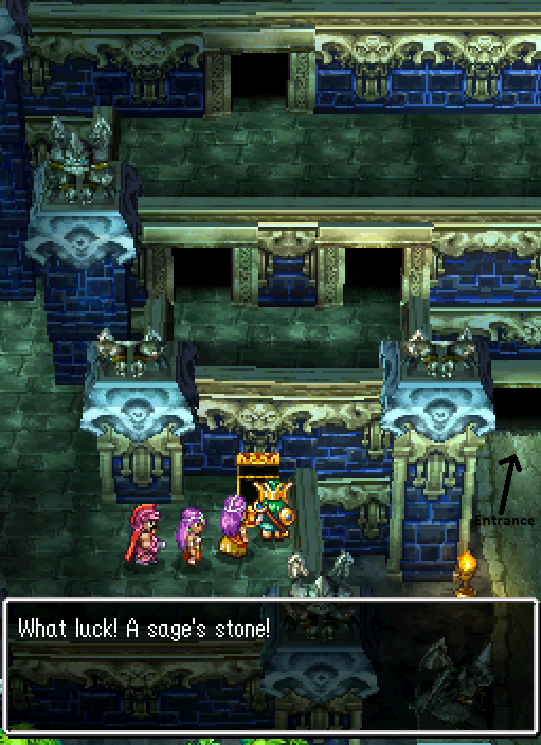
With all four of the shields down you're able to enter the large castle in the central portion of the area. To the left of the entrance there is a chest (shown in the screen shot above) which contains one of the best items in the entire game - A Sage's Stone. This item when used in battle will heal your entire group for about the same amount Kiryl's Multiheal spell heals for.
If you're having trouble figuring out how to get to the Sage's Stone, the part of the dungeon with many stone statues sporadically placed against the wall, one of them in the center of the room can be moved to expose a hole in the wall that you can go through. It's pretty clear cut getting there from here.
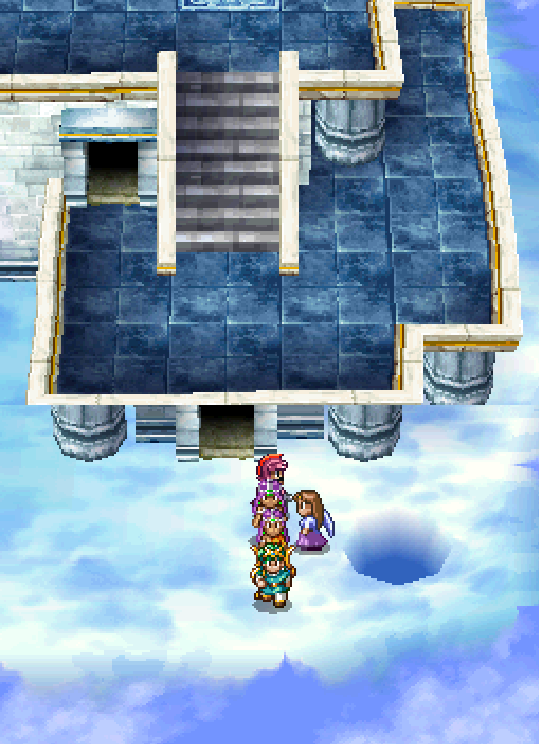
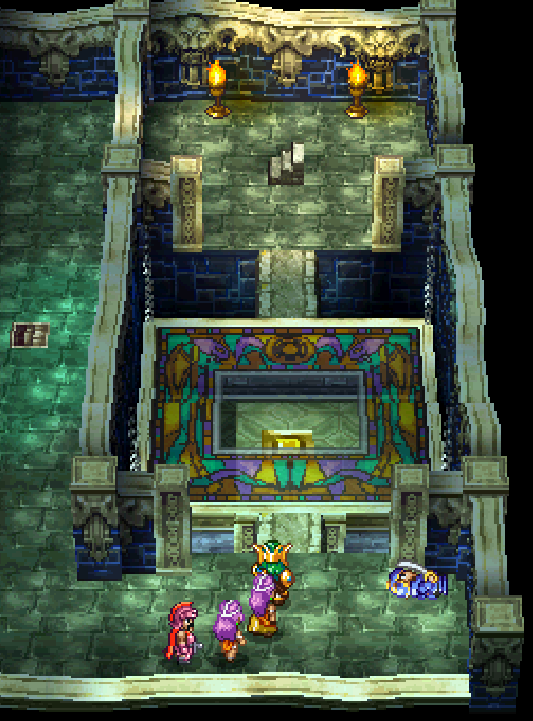
Aside from that the only other puzzle in this dungeon is the elevator one. We did something similar in Baron's Folly a few dungeons ago - so I doubt many people will even struggle with this puzzle but just incase... When you come across the location in my screen shot below, what you'll want to do is take the stairs up, lower the elevator then return up top and run across the platform on the top of the elevator. Yup, it's that simple.
With that brain buster of a puzzle out of the way, continue down a few more hallways to find yourself back outside and in front of the volcano in the central portion of the island. Go inside and a tad bit more north is where you will find the "final boss" Psaro the Manslayer!
You have two options for this boss, you can go all out with consumables and items at about level 38, which should allow you to beat him... Or grind to 40 - 43 and plow through him with complete ease. If you're going to do Psaro before level 40 I recommend you have a Sage's Stone as well as the Baron's Bugle. Use the Baron's Bugle before fighting Psaro to summon your wagon and have access to your entire party during the fight.
Sage's Stone is a bit more useful since this boss fight is more a battle of attrition than anything. Put this item on one of your characters who doesn't have any insanely important spells, like Heals or Buffs and someone who won't die fast. To save mana you're going to want to use this item literally almost every turn during the fight when more than one person in your group has taken damage.
As for the fight itself, Psaro goes through a total of 7 different phases. I'm not going to detail each one but rather give you some rough advice for the fight. For the first half he mostly attacks you with hard hitting melee hits so having Kiryl for Kabuff is nice. Throughout the second half of the fight he'll be hitting your party with mostly fire and ice magic spells, for this part of the fight Meena is a must since she comes with the Insulate buff.
When Psaro is on his final form (a second head will grow out of him and horns to go along with it) the first thing he will do is cast Bounce on himself which is really bad for us. To dispel it use the Zenithian Sword as an item during battle.
After defeating Psaro you'll find yourself back in Zenithia. To complete the game just leave the town - that's all there is left prior to the post game content!
Continue to Chapter 9 - (Post Game Content)

