Golden Sun Walkthrough - Chapter 6
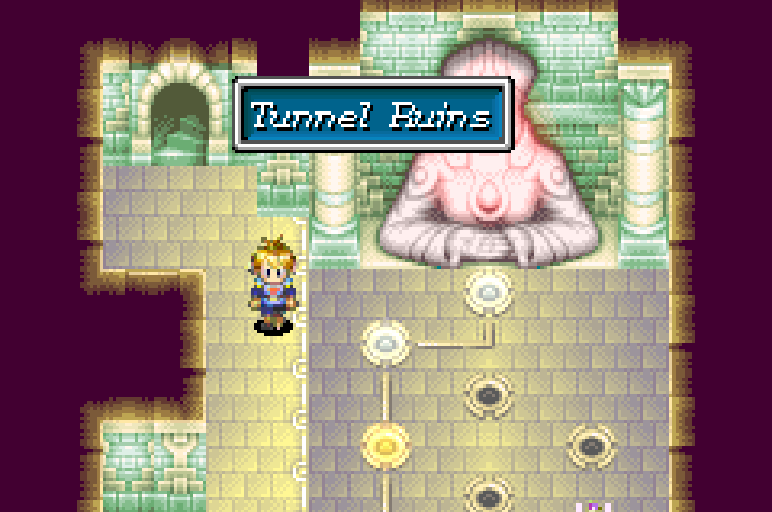
The first room of the Tunnel Ruins will have a giant statue in it that will probably look familiar to you. If there are no lights on the floor in front of this statue then it means you missed activating the statue in the previous half of the Venus Lighthouse dungeon. You'll need to return to the previous chapter of my walkthrough and read about how to activate the statue.
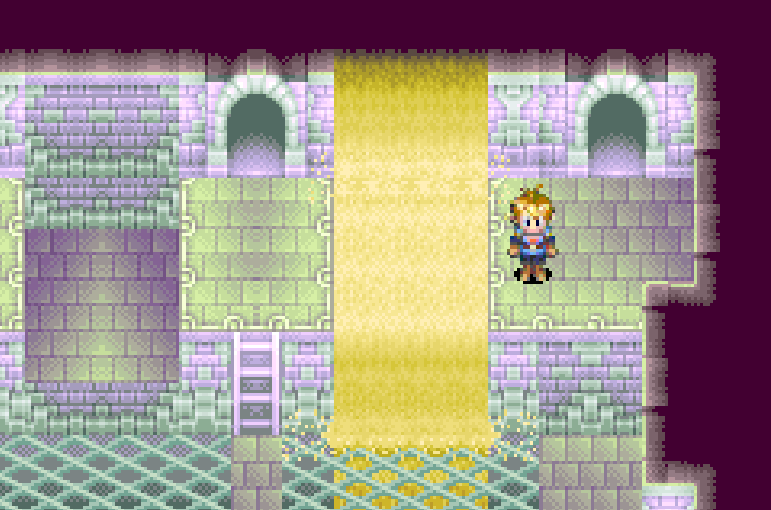
As of right now there is nothing for us to do in here so exit this room to the south. In the next room you'll find two pillars that you can use the Move Psynergy on. Place them in the middle of the pit with one space between each of them so you can jump across to the other side.
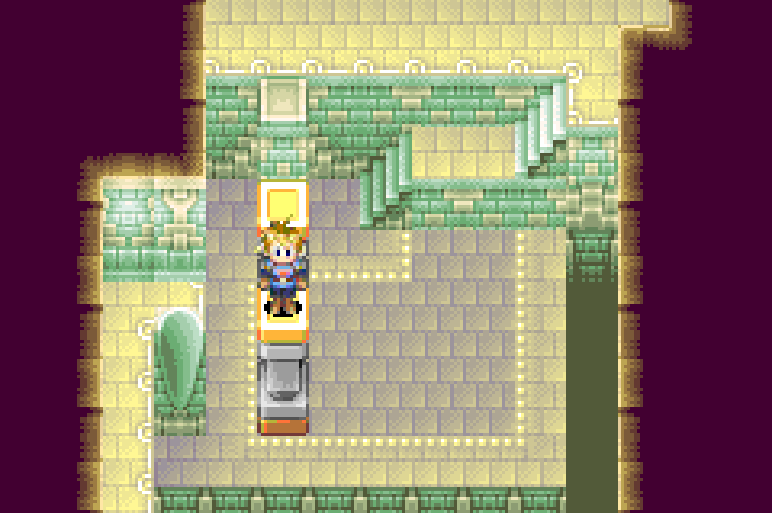
In the next puzzle room you'll have two more pillars (pictured below). This time you'll need to align them in the same way I have them below that way you can jump down to them then across to the adjacent platform.
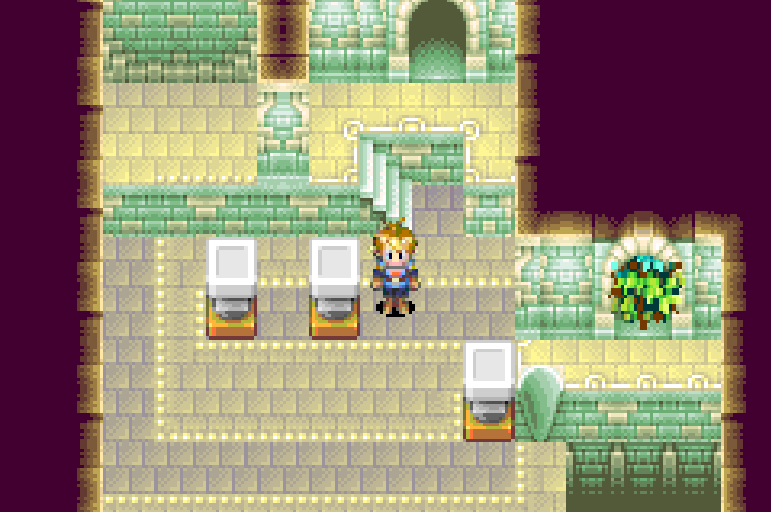
The next room will have yet another pillar puzzle for us to solve. In the top left of this room you'll see some vines, you'll need to move the pillars in the same position my screenshot above shows them to reach these vines. Use Whirlwind to clear the vines and then push the 3rd pillar down off the ledge. You'll want to move this pillar all the way around to the opposite end of the room in the same spot you see it in my screenshot.
Next you'll want to move one of the other two pillars above it over to the right so that you can jump across from one pillar to the next and reach the second set of vines. Use Whirlwind on these vines to clear the route and proceed to the next room.
In the next room you'll find a puzzle that you can solve by dropping two of the 'Carry' blocks onto the scale on the right. You'll have to use the Carry Psynergy to move these blocks and drop them onto the scale below. Continue south through the next room and you'll come across the room shown in my screenshot below.
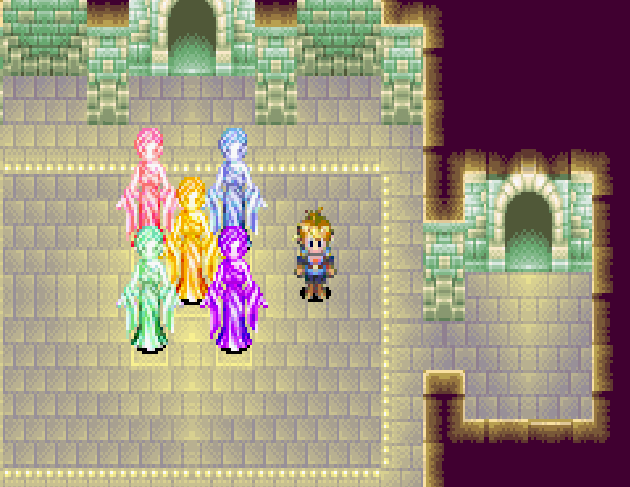
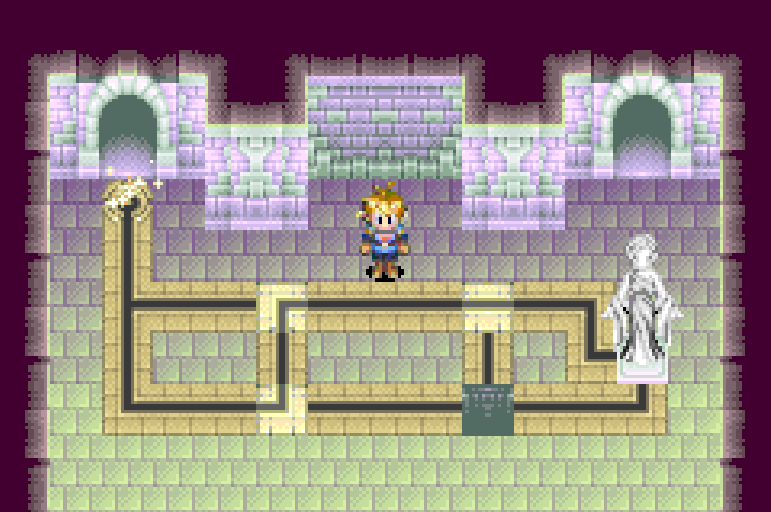
For the final puzzle in this portion of the Venus Lighthouse you'll need to arrange the colored statues in the same positions I have them below. If you use the Mind Read Psynergy on them you'll learn their positions - alternatively you can just look at my screenshot. Once you move every statue into the correct position you'll open the door in the east.
Go through the door and follow the linear path to enter the Venus Lighthouse (again). There will be two doors you can go through in the lobby, the one on the left will take you back to the electric field we saw earlier in the other part of the Venus Lighthouse - this is your 'quick ticket' out. It's worth mentioning too that whenever you use Retreat in this half of the dungeon you'll be teleported back to this lobby room.
Continue through the central door in the lobby and then through the northwestern door. You'll find yourself at an easy block puzzle that requires you to use the Carry Psynergy, use Carry and drop the block into the ditch so that you can jump across. In one of the next rooms you'll find a sand river that you'll need to use to cross the gap - our destination is a small ledge in the south.
You should get used to using these sand rivers too, we'll be using a few of them throughout this dungeon and some of the future puzzles revolve around this gimmick. After crossing the sand river go into the southern room and grab the Thunder Crown item, this is a cursed piece of equipment but definitely a best in slot for whomever is using Cleric's Ring.
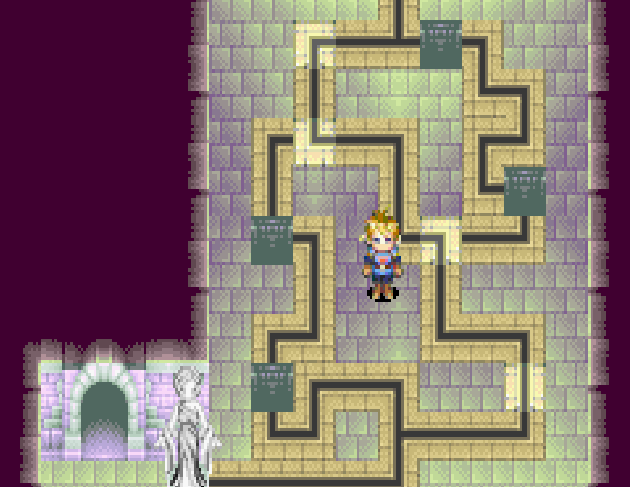
The only path left is through the northern door so go that way next. You'll encounter a room with 3 sand waterfalls in it, you'll be able to walk through the waterfall on the right hand side of the room. Next will be a linear room with platforms after which you'll find yourself in a room with a statue and some lines on the floor - similar to the pictures below.
Since this is the first version of this puzzle it's very easy and you just push one block into the hole and it's complete. Remember how this puzzle works because we'll be doing a few complicated ones later. The next room will have a switch that you can step on that will switch the sand river downstairs in the big room just north of the lobby.
The sand river will switch from the left hand side of the room to the right hand side of the room allowing you to cross to a new doorway. In the very next room you'll have an easy pillar puzzle. Move the pillar in the bottom of the room south so you can go through the doorway and move the pillar at the top of the screen to the west so that you can use it to jump across.
You'll go through a few more screens until you eventually come to the same area shown in my screenshot below. This puzzle works the same as the previous one, you need to drop each of the blocks into the hole so that the little light ball the statue shoots out reaches the door. Place the blocks in the same locations I did and you'll open the door and be able to proceed.
Continue through the dungeon and you'll come to a room with two sand waterfalls. Behind the sand waterfall on the right you'll find Dragon Scales armor. This is a best in slot chest armor for someone in your party so I strongly recommend you equip it. In the next room you'll find another easy block puzzle which you'll solve by using the Carry Psynergy.
Place the blocks on the left scale so that you can cross using the one on the right. In the next room there will be another switch on the floor that creates a sand river in the room below you. When you go back downstairs you'll now be able to use the sand river and cross over to the bottom section.
The next annoying room that you come across will be one with fast moving sand rivers. Each path has a river that flows in a different direction and you'll have to navigate the room while dealing with the strong currents. In the bottom right hand corner of this room there is a treasure chest that contains a Gaia Blade. This sword is a best in slot weapon for either Isaac or Garet depending on who is using what.
Shortly after the annoying fast moving sand puzzle you'll come across the room shown in my screenshot below. This is going to be our last puzzle in the game and it's definitely a challenging one without any assistance like this guide. Use my screenshot for help solving it.
In the next room after this puzzle you'll find another switch on the ground that you'll want to stand on to activate another sand river in the room below. You'll want to return to this room and cross this final sand river, our destination is the door in the top right. Follow the linear path and you'll eventually be lead to the room shown in my screenshot below.
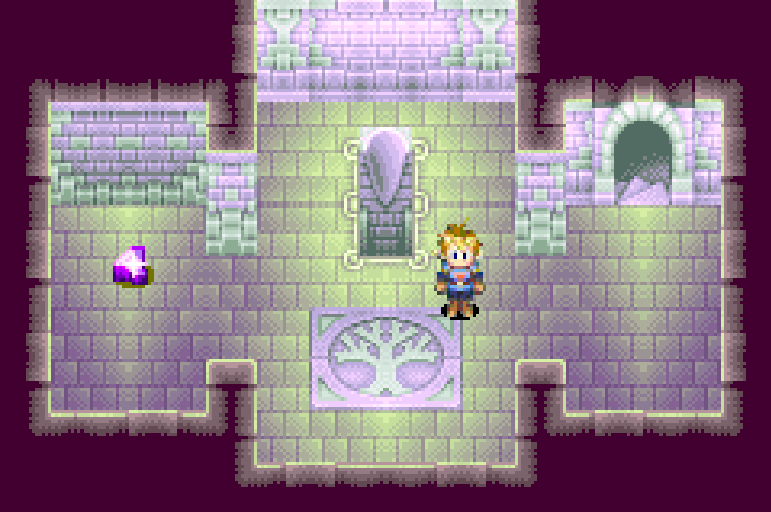
This room is the point of no return - once you slide down the hole in the middle you'll fight the final boss then complete the game. Make sure you save your game, heal all of your characters, equip new armor that you've found and then grab the Psy Crystal when you're done. When you are ready to challenge the final boss slide down the hole.
Warning!! This is the point of no return! Once you slide down the hole you'll have to fight the final boss and complete the game!
Before we start this final fight I have a bit of advice for you involving Djinni Combinations. One of the primary methods of making your character stronger in Golden Sun is assigning your Djinni properly to your team. Depending on the Djinni combinations you use your character's class will change and what abilities they can use will also change.
For more information about the best classes for your characters you should check out my Golden Sun Djinni Combinations Guide. Now, as for fighting the final bosses - my advice to you is to use your group heal on Mia every single round without fail and unload on the bosses with your strongest attacks.
I notice a lot of guides online tell you to use your Djinni powers and also use your summons but I actually strongly disagree with this. As you use your Djinni you'll lose their passive benefits and you'll lose your character's skills. I personally find it to be much better to ignore the Djinni powers and their summons and focus entirely on using your main skills along with normal attacks.
Djinni skills and their summons don't do enough damage to warrant the loss of their passive abilities. If you use all your Djinni powers on a single character they'll likely lose almost half of their stats since all of the Djinni will become inactive. Unless you spend a lot of time grinding your characters to make up for these losses, it's just not feasible in my opinion.
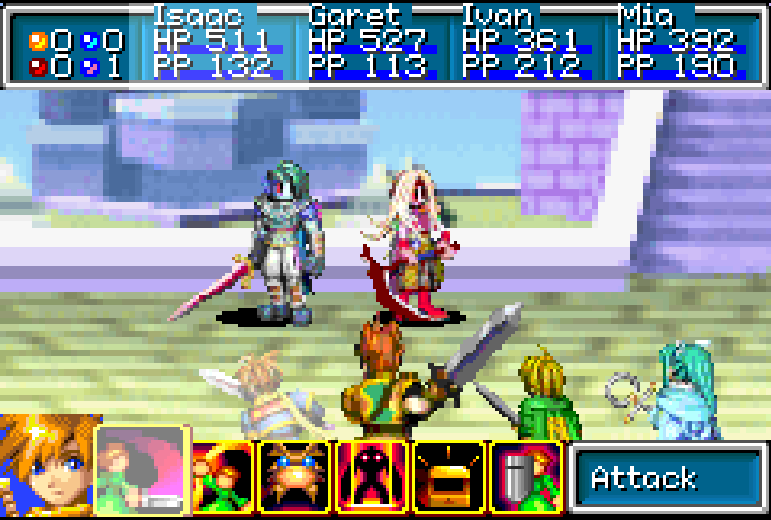
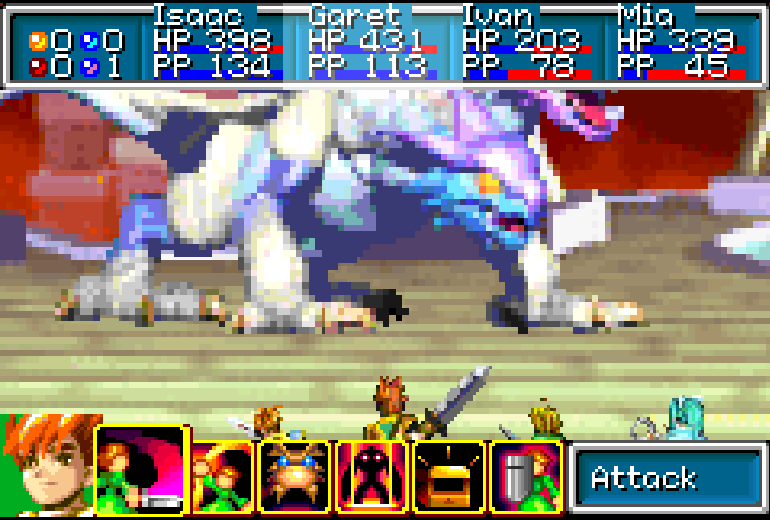
My characters were all level 26 or so when I beat the game which is a bit lower level than normal and it's because I use a good strategy. If I spent all of my Djinni then my characters would very likely get one-shot because they'd lose too much HP. Anyway, this is the best advice that I can offer you for beating this boss. Once the first round is won against Saturos and Menardi you'll have to fight an even tougher enemy, Fusion Dragon.
All of the advice given here applies to both of these boss fights. If you struggle too much with this final boss then my advice to you would be to grind more levels or try again with a different strategy. Once both bosses are beaten you'll get the final bit of dialogue followed by the final cutscenes.
Return to Golden Sun Walkthrough (Chapter 5)

