
Final Fantasy IV Walkthrough - Chapter 1 (Baron - Damcyan Castle)
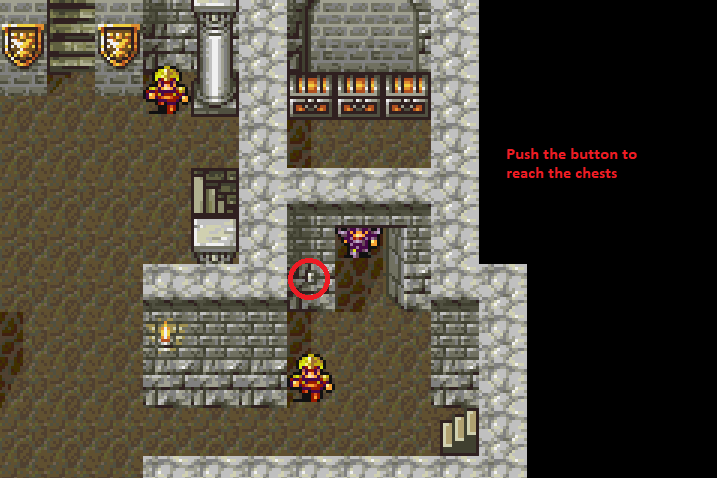
The first thing you will want to do when you gain control of Cecil at the start of the game is go through the southern door. In this second room you'll find three Treasure Chests on the eastern side. To gain access to their room you will need to press the button on the wall next to the door, use my picture above for guidance. Here is what you will find inside:
480 Gil
Ether
Tent
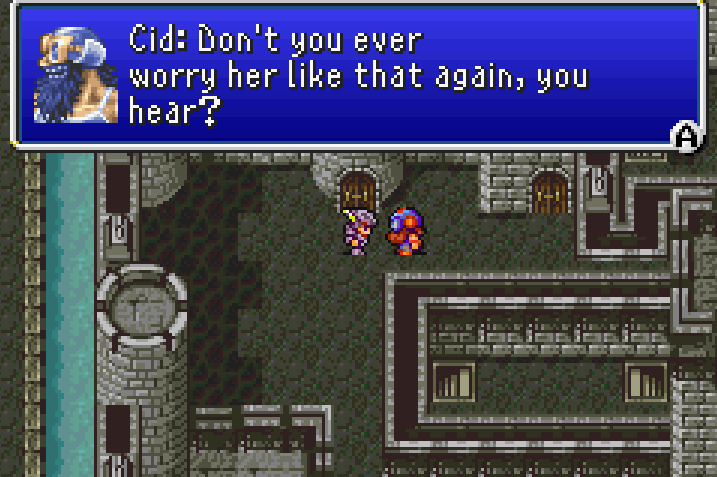
From that room you will want to travel west until you're stopped by Rosa in the stairwell. Speak with her then continue south through the door. In the outside area you'll want to take the north-central door, Cid will stop to speak with you and introduce himself.
Afterward, travel through the door, up the stairs and speak to your servant. She will move out of the way allowing you access to your room which is where you'll want to spend the evening in the bed. There will be some scenes when you awake, when you regain control of Cecil you'll be outside Baron.
The first thing you should do is turn around and head inside of Baron. You can explore the town for some items (everything you can find is listed below). When you're done inside of Baron it's time to head northwest to the Mist Cave.
Baron Item List
Potion - Pot outside Inn
Potion - Pot north of entrance
Potion - Pot inside Inn
Gold Needle
Eye Drops - Chests inside Inn (examine Swords)
Phoenix Down
Phoenix Down
Tent - pond in SE part of town
Tent - Chests inside Inn (examine Swords)
Dwarven Bread - Chests inside Inn (examine Swords)
Hourglass
The whole dungeon is pretty linear so I am not going to give you a step by step route. Instead, here's a list of all the treasures you'll find inside of Mist Cave:
Potion
Potion
Eye Drops
Tent
You'll find the dungeon's boss in the northeastern most portion of the room when you try to exit through the doorway. Tell him you're ignoring his warnings and you'll be thrown into a battle. This boss is a piece of cake, all you have to keep in mind is don't attack him while he's in his mist form or he will counter attack.
Note: Take off Kain's equipment, he's about to leave your party coming up and you can keep his equipment to sell later or give to someone else.
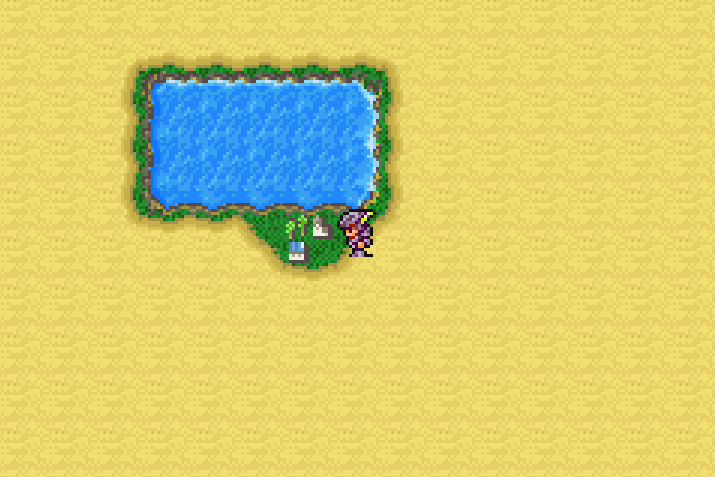
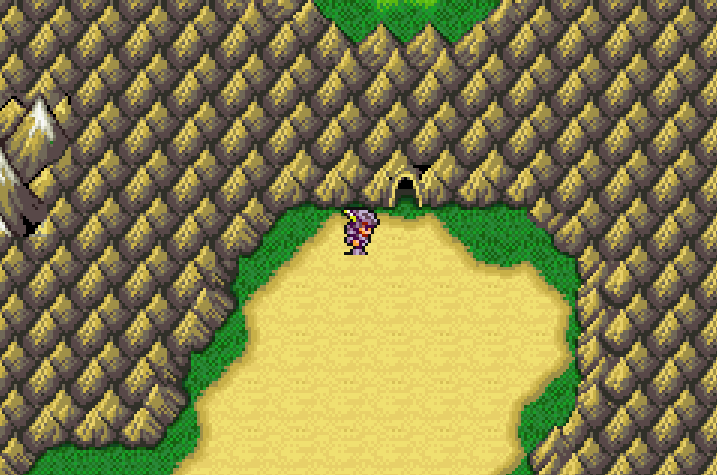
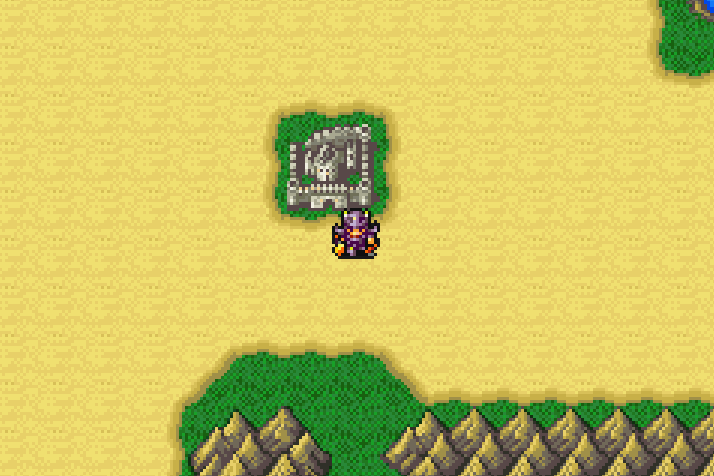
Once outside of the cave you'll want to travel to the east, there will be a town between the mountains here which you will want to enter. There will be a scene followed by a battle against a Titan which you can't win. When you regain control of Cecil you'll want to travel northeast to a town right next to a desert oasis (pictured below).
Immediately upon arriving in town Cecil will go to the Inn and there will be some scenes. While you're at the Inn you'll also have a mini boss fight against three guards and a general from Baron. After defeating them Rydia will introduce herself to you and join your party.
First thing you're going to want to do now that Rydia has joined the party is go to 'Order' in menu and change Rydia to the back row. She starts out at level 1 and will drop like a fly if an enemy hits her - this reduces the damage she takes.
The only other story thing to do in this town is enter the building in the northeastern most portion to find Rosa (the girl from Baron Castle who was close with Cecil). You'll learn that she is currently sick and in order to cure her you'll need a Sand Ruby which is our next quest/objective. When you exit the building with Rosa, the pots you find next to a building to the south contain an Ether.
Kaipo Item List:
Ether
Before moving forward with the game's story it's highly recommended you spend a little bit of time grinding around Kaipo to level up Rydia. She's no use to anyone if she gets defeated every battle or costs you multiple Phoenix Downs.
I grind until Rydia is level 8 then I head to the cave with the Antlion which is to the northeast of Kaipo - you can't miss it!
There is quite a bit of loot for you to grab inside of this dungeon in addition a new party member. Shortly after entering the dungeon you'll meet Tellah, an old sage who joins you. He's a caster much like Rydia so you'll want to move him to the back row too.
Instead of giving you annoying directions for this dungeon I am going to list all of the loot and which rooms or floors it is found on. Anything that is out of the way or difficult to find I will explain.
Waterway - South Item List:
Potion
Maiden's Kiss
Tent
Iron Ring (northeastern side of room)
Dry Ether (Inside the Hidden Chamber)
Phoenix Down (Inside the Hidden Chamber)
X-Potion (Inside the Hidden Chamber)
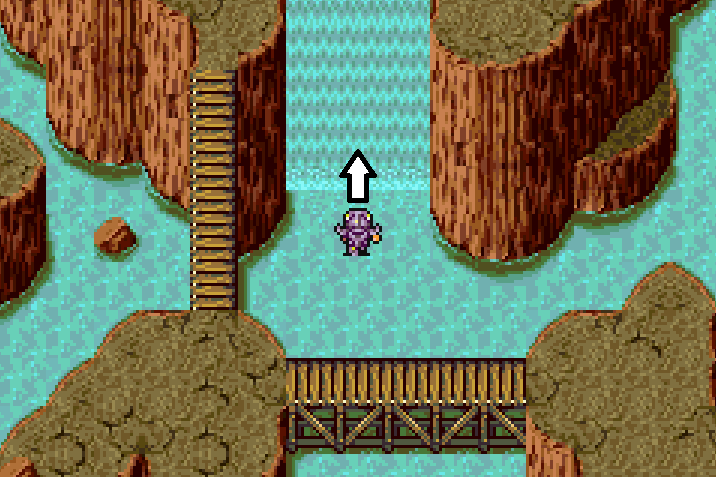
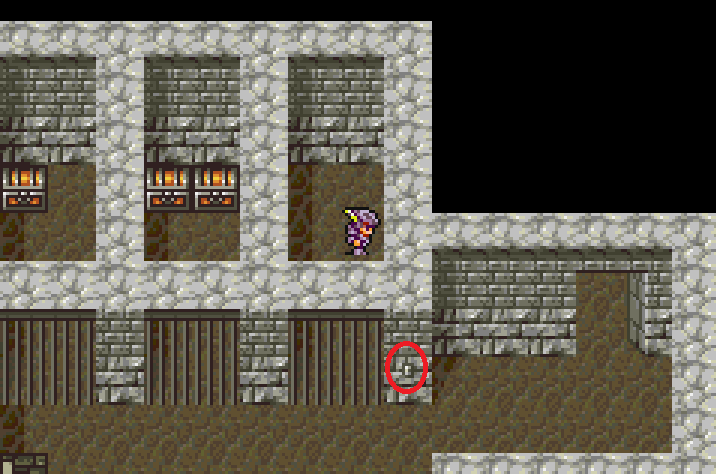
In the Waterway - South room you can find the Hidden Chamber by going down the stairs in the eastern portion of the room into the water then over to the waterfal that's 3 spaces wide. Enter into the middle space (as shown in the picture) to find the Hidden Chamber room with the treasures.
Underground Waterway - B2 Item List:
Potion
Ether
Ice Rod (equip to Rydia)
Underground Waterway - B3 Item List:
580 Gil
Bomb Fragment
Underground Waterway - B2 (Part 2) Item List:
Potion
Feathered Cap (equip to Rydia)
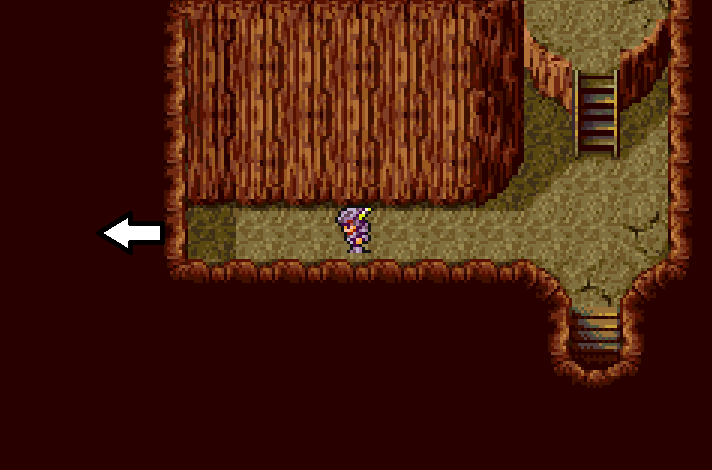
To reach the Feathered Cap go to the left immediately after entering the area - you can run through the wall then up and around to reach the chest. Equip the Leather Cap you took of Rydia and put it on Tellah.
Underground Waterway - North Item List:
Ether
Antarctic Wind
Hourglass
Shadow Blade (equip this to Cecil)
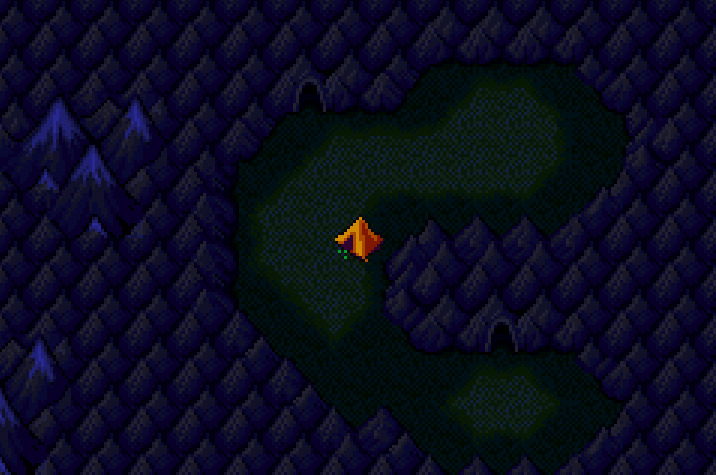
You should take Tellah's advice and use a Tent once you make it to the outside area (shown in the screenshot below). This will heal you up for the boss that's coming up rather soon in the next area. Now is a good time to save too, since we're standing on the World Map we can do that!
Random Tip: To attack an entire group of enemies with a spell press the D-pad like you're switching through enemy targets but intentionally "go past" the enemies and it'll highlight them all instead.
Sunken Lake - B2 Item List:
Hades Helm (equip to Cecil)
Hades Gloves (equip to Cecil)
Sunken Lake B1 Item List:
Hades Armor (equip to Cecil)
Hermes Shoes
You'll find Octomammoth, the boss of the area in the waterfall of Sunken Lake B1. Look for the tentacles swinging around - that's him. He's actually not too difficult of a boss, especially with how over leveled we are now after all the random encounters in the cave. Use Thunder on Tellah and Cure when needed with Rydia, hit him normally with Cecil.
Exit through the Waterfall area where you fought Octomammoth after the fight. Our next destination is Damcyan Castle to the north of where we exited the cave.
Before you go into the town it's recommended that you move Tellah to the front row and unequip him. He's going to be leaving our party shortly. There's a lot of scenes that are going to happen in this castle and when they're finished you'll be standing outside with a Hovercraft. You'll want to go back inside after all of these scenes so we can finish collecting the loot.
Damcyan Castle Second Floor Treasure: Tent
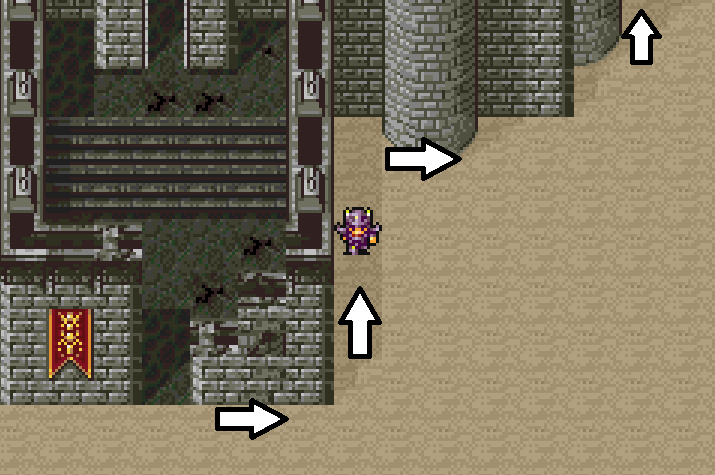
When you first enter Damcyan Castle hug the right wall and follow it around until you reach a doorway which leads to the Damcyan Castle Dungeon. In here there is a switch to hit which will open up the doorway to the three Treasure Chests.
There's also a stairwell which leads to 6 Treasure Chests and four pots which have items in them as well.
Damcyan Castle Treasure List:
Ruby Ring
Feathered Cap
Crossbow
Potion
Antidote
Eye Drops
Ether
Phoenix Down
Gold Needle
Iron Arrow x10
Holy Arrow x10
Holy Arrow x10
Chapter 2 (Antlion Cave, Mt Hobs, Fabul Castle)