
Halo 2 (Mission 7) The Oracle Walkthrough
Video Walkthrough: Halo 2 (Mission 7) The Oracle Walkthrough
Skull Location: Famine Skull Location
Terminal Location: The Oracle Terminal Location
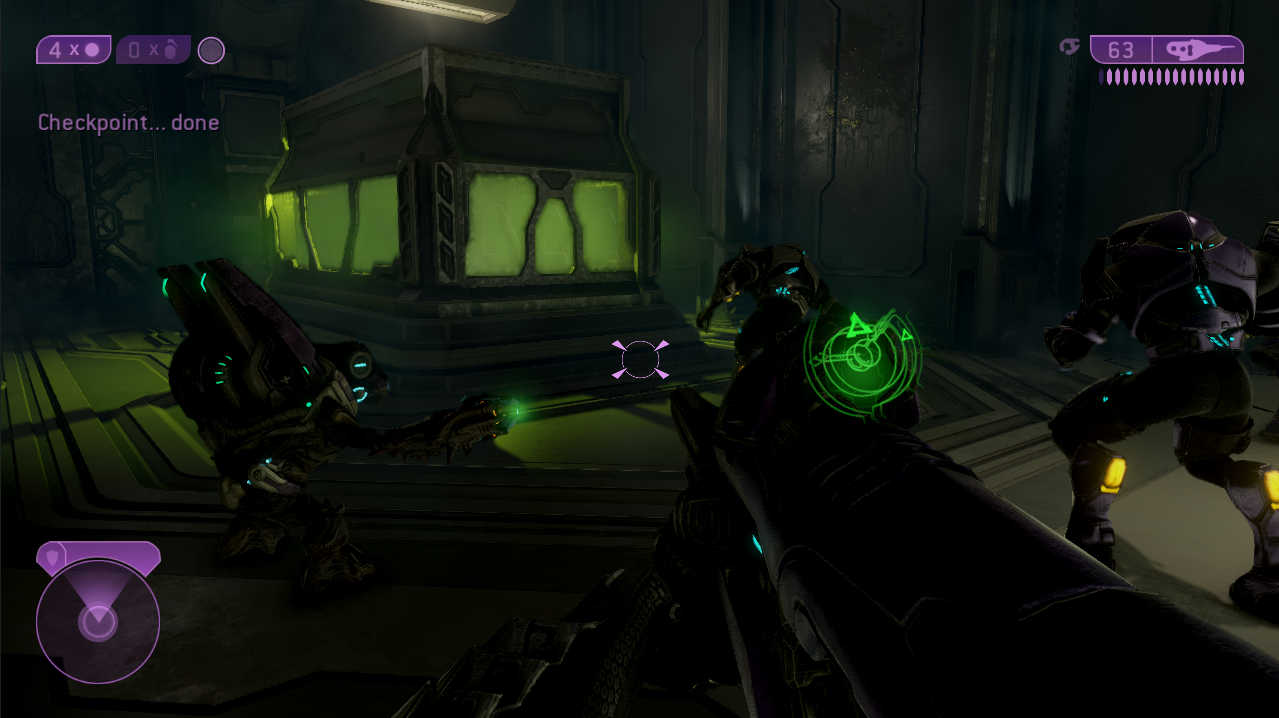
The Oracle begins where the previous mission left off; on this level we're going to be fighting both the Flood and the Covenant. You begin this mission with a few scripted events - simply kill all of the enemies that come to attack you and follow your group of friendly Covenant further into the facility.
After the first room you'll come across an elevator that you'll have to ride down further into the facility. While you're riding this elevator down numerous Flood will jump down and attack you. Sentinels will also come out and attack you, I recommend you grab the Sentinel Beam weapons that these guys drop to use against the Flood. Sentinel weapons deal considerable damage against Flood and against fellow Sentinels.
Once the elevator ride is over you'll have a few hallways to navigate before you find a large room with some hostile Covenant fighting Flood in the middle. Inside this room is actually where you'll find the Terminal for this mission, check out my The Oracle Terminal Location Youtube Video.
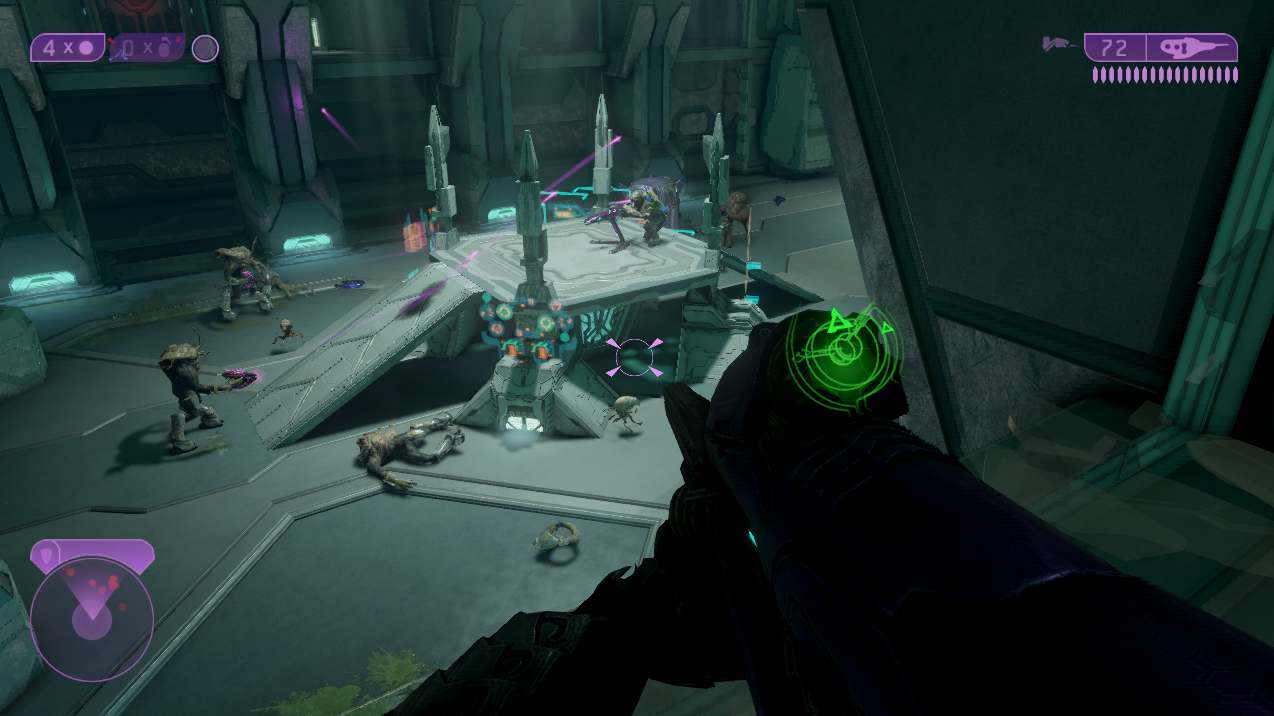
You will need to clear this room of all the Flood and fight off a couple Flood waves too before we're able to proceed. Once you've cleared all of the Flood (and I do mean all of the Flood - if you leave even one of them alive you won't be able to proceed) a door nearby will open and Covenant enemies will come flooding out of it.
Defeat these Covenant then go through the door that they came out of to proceed with the level. For the next part of this mission the one thing you need to remember is go up! You need to climb up the slopes in the outside portion while fighting the Covenant and Flood enemies. At the top of the slopes you'll find a doorway that leads back inside which is our destination.
Inside you'll have to defeat all of the enemies to trigger a cutscene where The Arbiter yells at the Elite we're pursuing behind a barrier. Once the cutscene is over then it's back to running up the slopes to reach the elevator in the top portion of this facility. Press the button on the elevator when you arrive to take it up to the... roof? When you finally make it to the top you'll be told to cut the 3 cables that keep this facility airborne, a picture of one cable is shown below so you know what you're looking for.
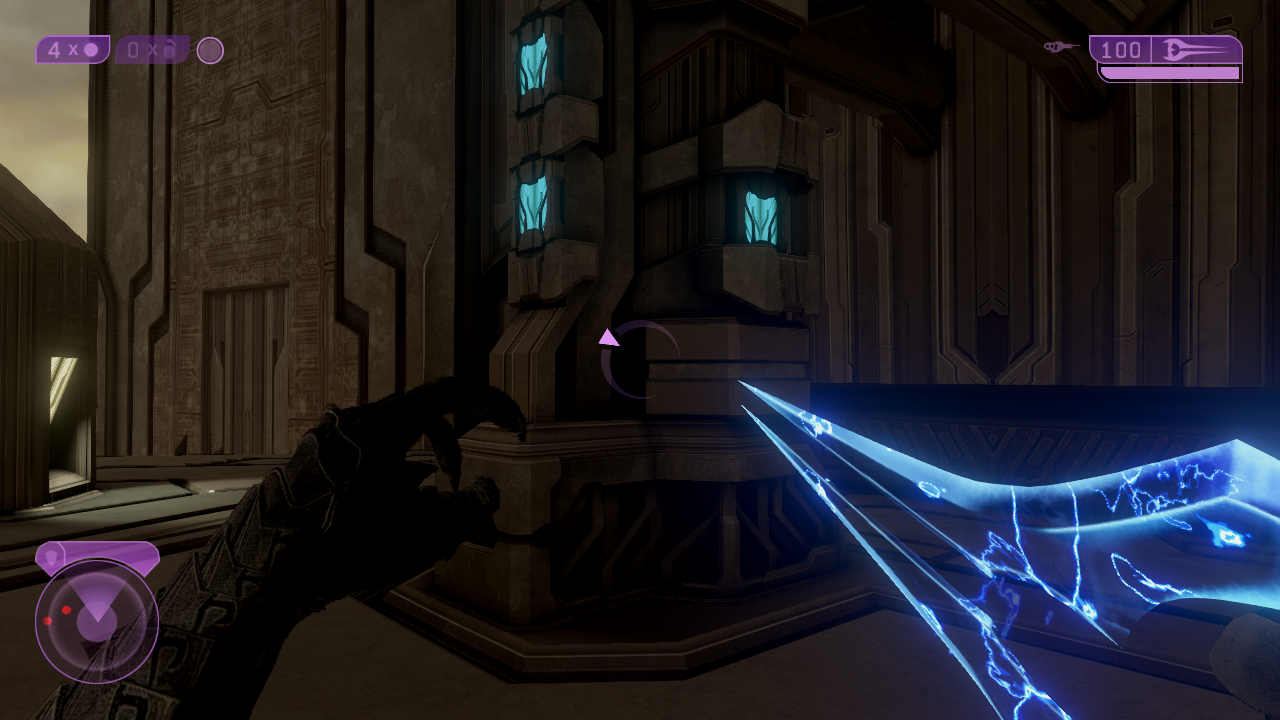
Slice the cable with an Energy Sword to cut it
After cutting all 3 cables you'll want to board the elevator in the middle and activate the computer on it to ride it down. Return to the bottom of this room and look for another one of those rectangular elevators that you can ride down. It's somewhat easy to get lost during this part of the mission so I recommend you watch my Mission 7 The Oracle Walkthrough to see where the elevator is. The link I provide starts the video during this part of the mission so you don't have to worry about skipping ahead.
You will have to press the button on the side of the elevator to bring it up to you, then you will need to ride it down to the bottom. Go through the various hallways and rooms until you trigger a scene where you board a Banshee and take off. We're going to have a very quick flying part involving this Banshee - use your boost and quickly fly across the gap towards your HUD marker.
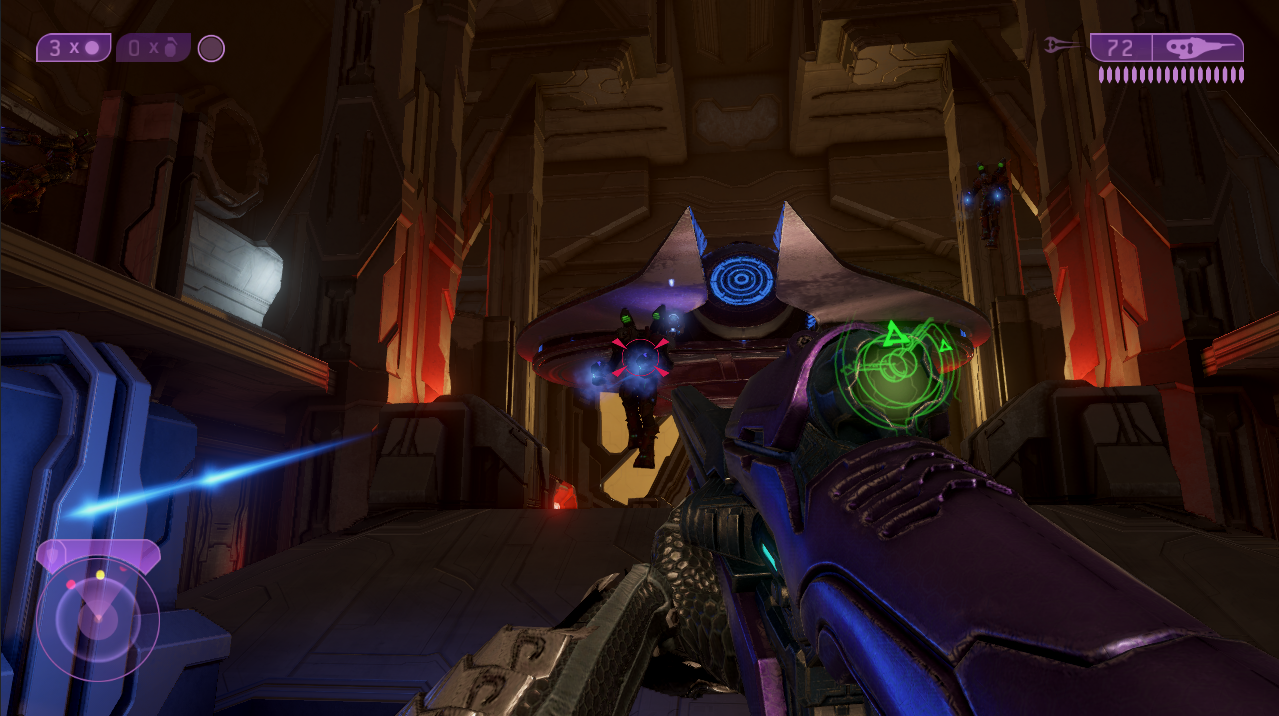
Continue through this new structure along the linear route until you finally come to the Hangar from the previous mission. This is where the boss fight is going to take place - you'll have to beat the guy that we've been chasing through the facility. During the fight he can create illusions of himself that will look real until you hit them.
This can be a tough fight but Active Camo will help you out if you use it properly. Once the boss has been defeated you'll have another cutscene and the level will be complete.
Continue to Mission 8: Delta Halo Walkthrough
Return to Mission 6: The Arbiter Walkthrough