
Halo 2 (Mission 11) Quarantine Zone Walkthrough
Video Walkthrough: Halo 2 (Mission 11) Quarantine Zone Walkthrough
Skull Location: Sputnik Skull Location
Terminal Location: Quarantine Zone Terminal Location
Quarantine Zone is going to be the hardest mission that you play as on The Arbiter and I strongly recommend you avoid as many enemies as possible basically the entire time. For the entire first part of this mission you're going to want to avoid as many enemies as possible as you dash through the various battle arenas.
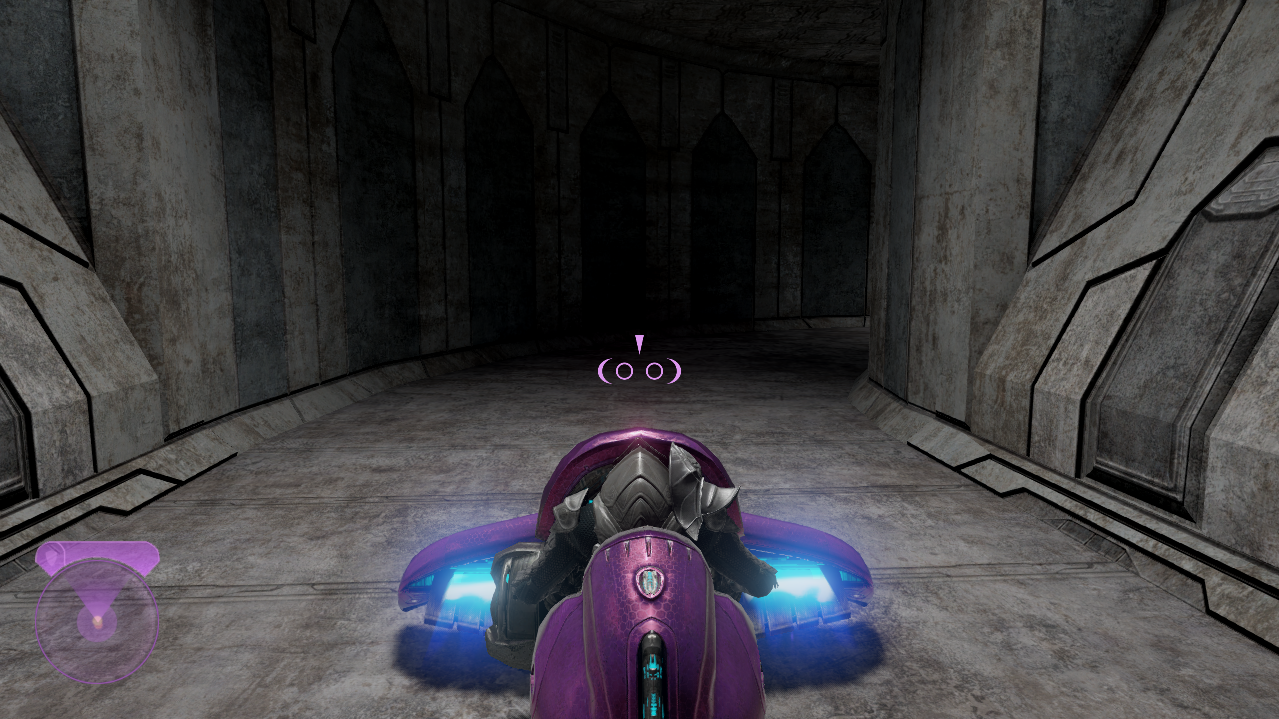
When the mission begins I strongly recommend you take a Ghost from one of your Elite friends and when the door/air vent opens to the next area dart through. Explaining how to navigate this next part of the mission is going to be difficult so I strongly recommend you watch the first part of my Quarantine Zone Walkthrough on Youtube.
If you decide to stop and fight enemies throughout these battle arenas you increase your chances of death significantly because there is so much going on that you can't account for. Such as a Wraith tank blasting you from a mile away with pinpoint accuracy. Also, there will be over a dozen vehicles you need to clear if you stop and fight which is going to take you a good amount of time.
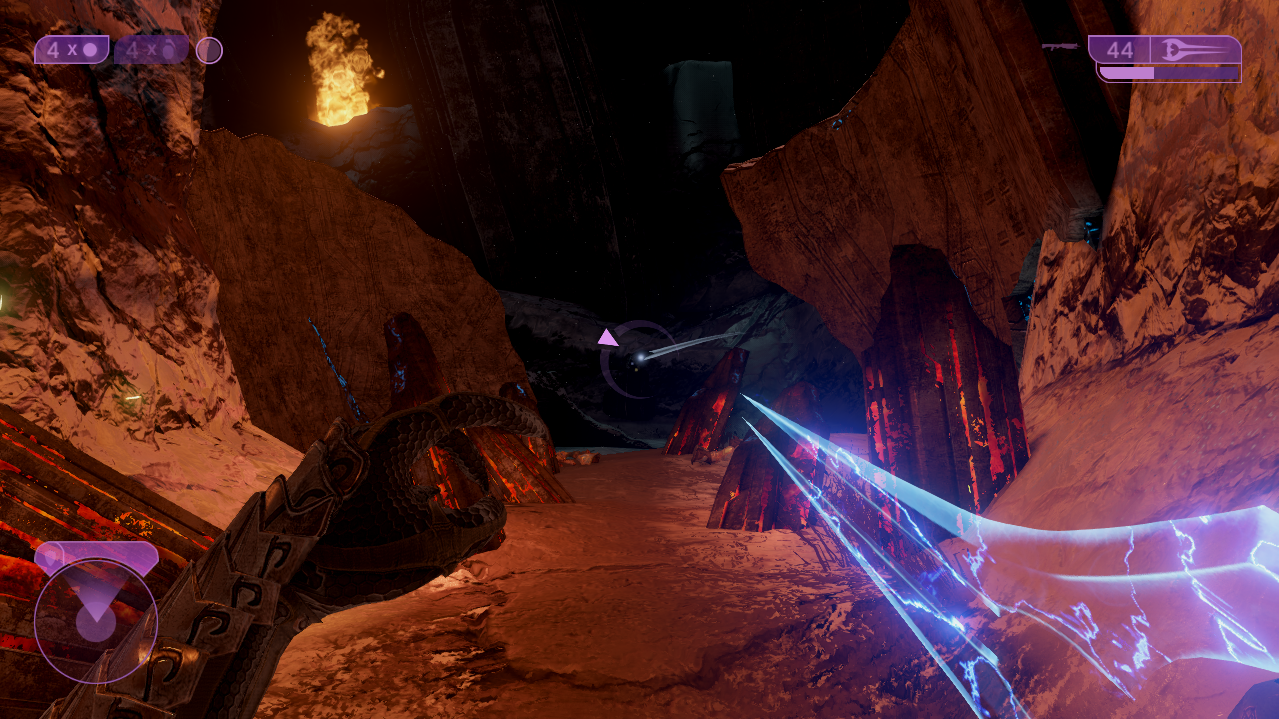
Skip it all and make a mad dash to a fiery wreckage where a Wraith and a Scorpion Tank are fighting. Jump out of your Ghost here and run inside of the wreckage to get a Checkpoint. Inside this large room you'll find the Terminal on this mission if you're interested in getting it. For the exact location check out my Quarantine Zone Terminal Location Youtube Video.
My advice is to skip all of the Flood enemies inside of this wreckage and race through this part of the mission too... However you can stop and kill these enemies if you're getting overwhelmed. The path out of here is in the bottom right of the far side, it will lead into a cave that takes you back outside.
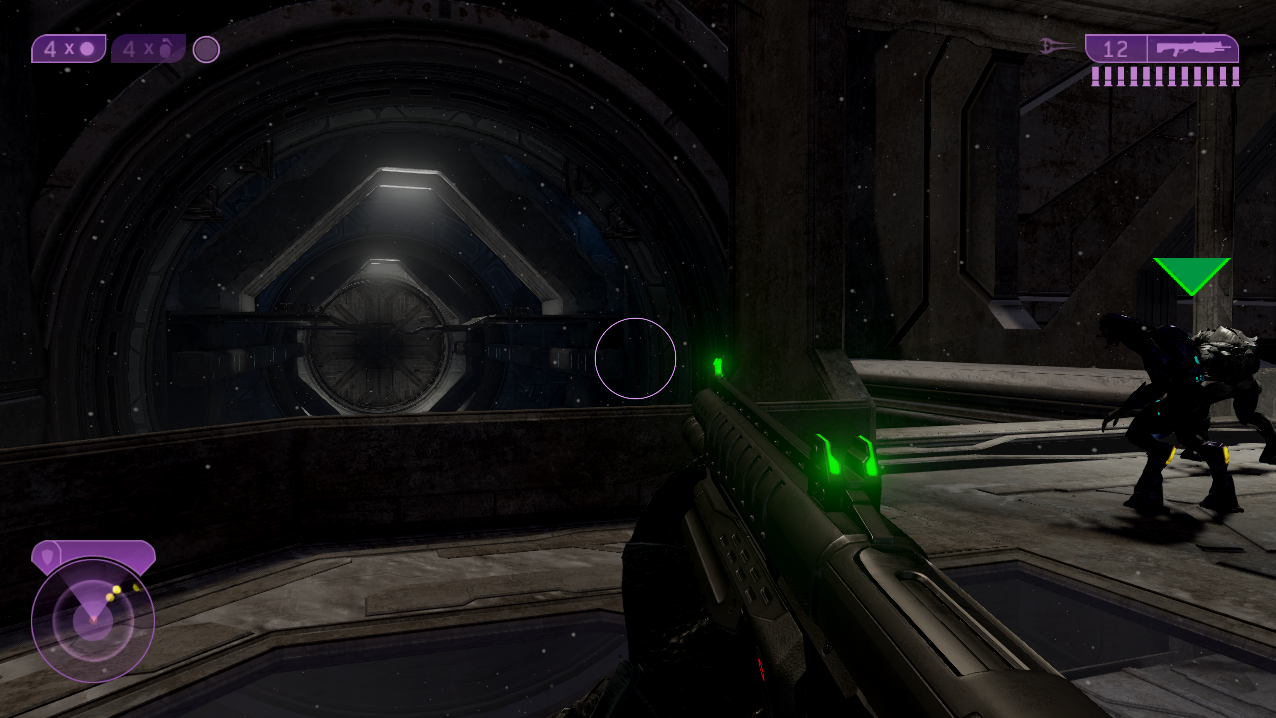
You will find yourself in another snowy area surrounded by burning wreckage. Just like the previous area you're looking for a cave to the right on the far side. This will lead you into another building with Flood enemies that you can skip or fight. On the second floor of this building you will find a route that leads back outside, before going outside there will be a bunch of Flood that attack you and some decent weapons you can find in the area with all the boxes.
As far as weapons go I strongly recommend the Energy Sword since it will one shot pretty much every Flood enemy. The Shotgun is a nice one too if you can get your hands on one. Once you are back outside you will start coming across vehicles again - the first of which will be a Ghost manned by some Flood.
I strongly recommend you steal the Ghost from this Flood because it will make this next segment a whole lot easier. Much like last time I am going to suggest you watch my Quarantine Zone Youtube Video for directions here. I start the video at 4 minutes in at this exact part of the mission so that you don't have to skip ahead.
There will be tons of Wraith tanks you have to dodge during this part and a Warthog manned by some Flood which is actually more deadly than the tanks in my opinion. Eventually you will come to a building that has some Flood manning turrets out front protecting a door. Kill the Flood on the turrets and then head inside. Follow the linear path inside until you trigger a cutscene.
Your only job on this elevator is to kill all of the Flood that attack you and stay alive. This elevator ride will take about 10 minutes in total and it only has a single Checkpoint so it's important you don't die. Once you arrive on the platform the elevator takes you to all you have to do is follow the linear route again until you trigger a cutscene that completes the level.
My advice for survival while you're on this elevator is to use the Energy Sword and Shotgun. You can one shot almost all Flood with the Energy Sword; the only downside to the weapon is it isn't a good idea to charge into a pack of Flood to kill them. So you'll have to use your Shotgun when dealing with multiple enemies. If you can't get your hands on a Shotgun a Sentinel Beam works too.
Continue to Mission 12: Gravemind Walkthrough
Return to Mission 10: Sacred Icon Walkthrough