
Halo 2 (Mission 10) Sacred Icon Walkthrough
Video Walkthrough: Halo 2 (Mission 10) Sacred Icon Walkthrough
Skull Location: Mythic Skull Location
Terminal Location: Sacred Icon Terminal Location
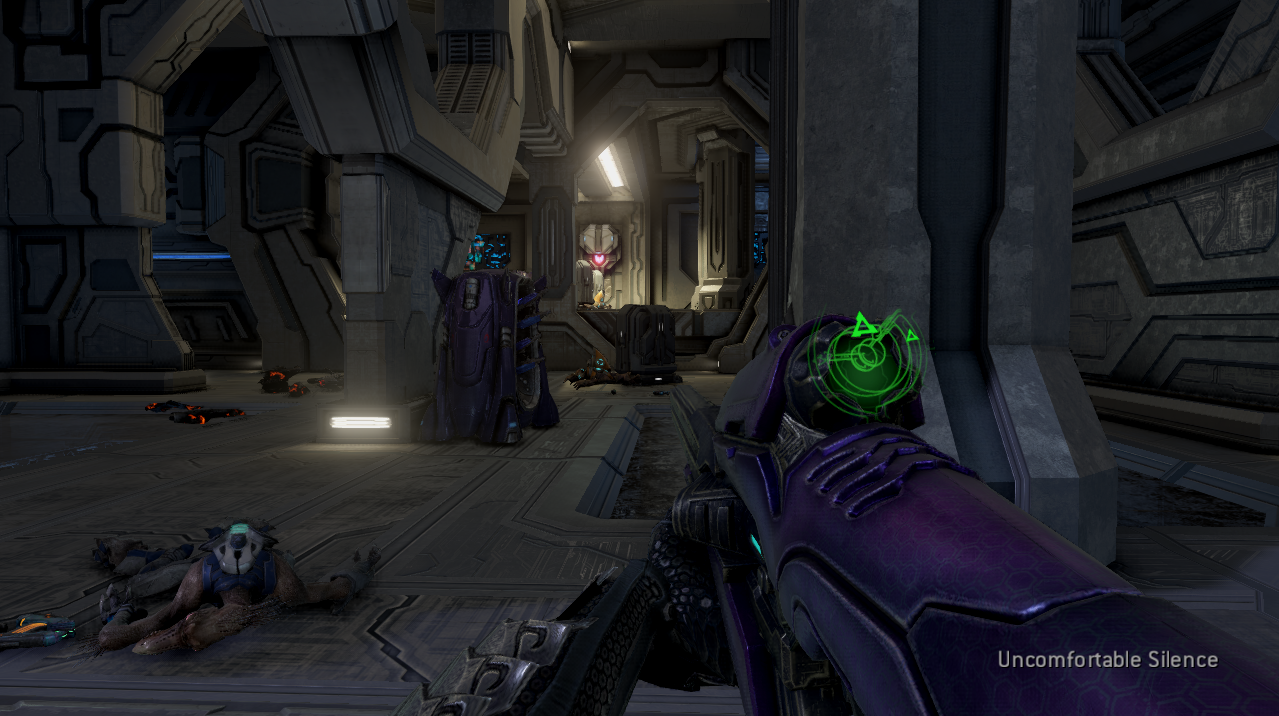
Sacred Icon puts us back in control of The Arbiter for another suicide mission. You start this mission on a medium sized platform with seemingly nowhere to go. Look around this area for a large rectangular object coming out of the ceiling with what look to be computer terminals on all four sides of it. These objects are called pistons and you will need to interact with the computer terminal on it to open a passage for us.
Pistons are going to be found throughout this entire mission - you'll have to approach them and interact with the computer on them to get them out of the way so that you can fall down the hole they leave. There will be two more Pistons that you have to interact with and then fall down the hole before you reach an area with some Sentinels and bridges.
Friendly Covenant enemies will be fighting the Sentinels in this area so be careful not to shoot your allies (let's face it probably everyone does because having ally Covenant is abnormal). Above you will be a small beam of light which flows above the gap in the floor - follow this beam of light since it leads towards where we need to go.
If you're interested in getting The Arbiter Toy on this mission now is the time to do it since it's hidden in an area nearby. For more information about where you can find this Achievement check out my The Arbiter Toy Location Youtube Video; this is completely optional and only earns you an Achievement. One good way to remember that you are getting close to this toy is Tartarus has a voice queue that you'll trigger about getting close to the shield generator.
There will be two more Pistons that you need to go through before you reach the shield generator that Tartarus is talking about. Inside this room you'll fight your first giant Sentinel which is essentially a large flying robot with a frontal shield (similar to a Jackal) protecting the body. These enemies are actually called Enforcers according to the wiki so we'll use that name now.
The giant Sentinels are called Enforcers
My advice for dealing with this guy is to get underneath him and then shoot at him from under the shields. Ripping the shields off with an overcharged Plasma Pistol shot will work too. He has two shields technically, one on the left and one on the right - it's up to you if you want to do both or just one.
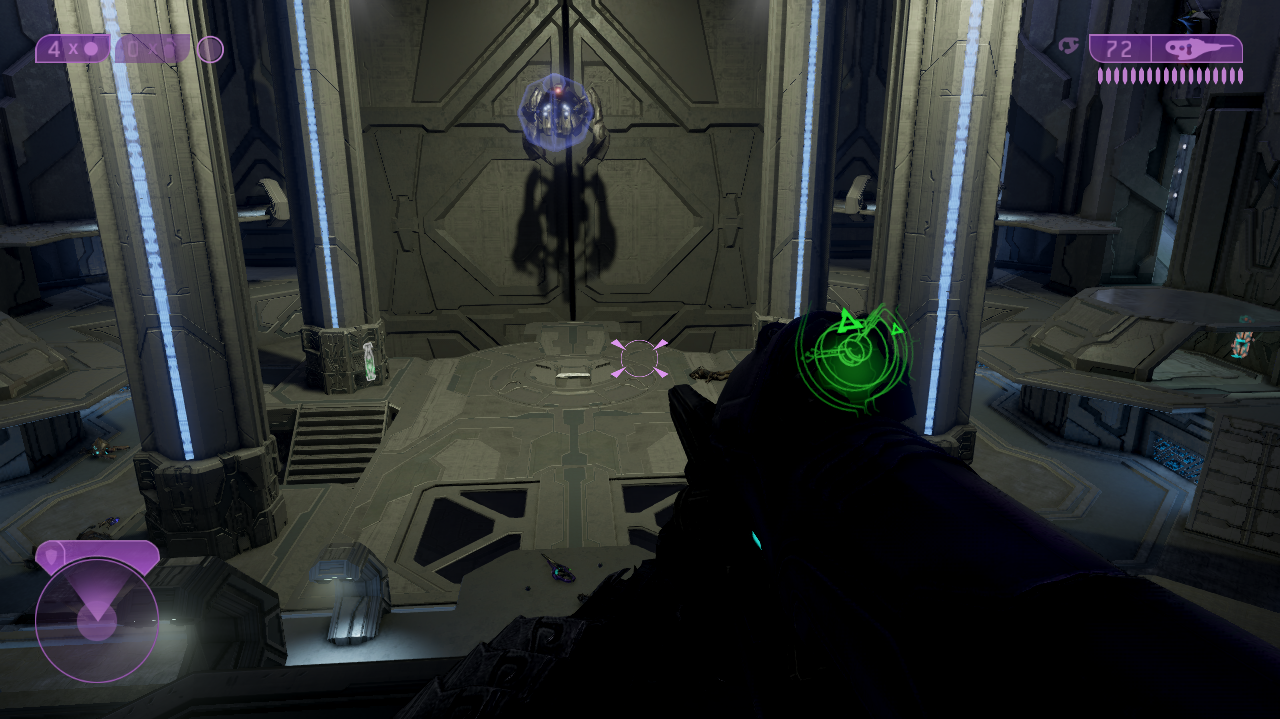
Once you've defeated the enemy you'll want to deactivate the four 'Pistons' that are holding your platform in place. In game these are called Plug Locks but they look exactly like the Pistons we've been messing with thus far. After deactivating all four of them a computer terminal will appear on your platform. Interact with the computer to make the platform you're on start moving across an outside area.
The platform will take you over to an area that's infested with Flood enemies. Kill all you can as you wait for the door on the left to open up - I am not sure if I would call it a door as much as a passage way since it's gigantic. Either way, once it's open jump inside and circle around the inside portion until you find another Piston.
Tip: If you are having trouble with this part I recommend using Active Camo on The Arbiter to make things easier. What I like to do is hide and activate Active Camo as this normally makes it work better than doing it while still under attack. Once it's active make a mad dash to the passage and once you're inside you're pretty much safe.
During the next parts of this mission you're going to be fighting a lot of Flood enemies and it's going to be difficult. If you're having a hard time I recommend you go slow and clear as many enemies as you can before proceeding. While dealing with the Flood it is very easy to get overwhelmed and end up dead.
I strongly recommend too that you find a Shotgun or a Sentinel Beam as early as possible since they make fantastic weapons against the Flood. Both of these weapons are actually available early on after passing two Pistons sitting on the ground.
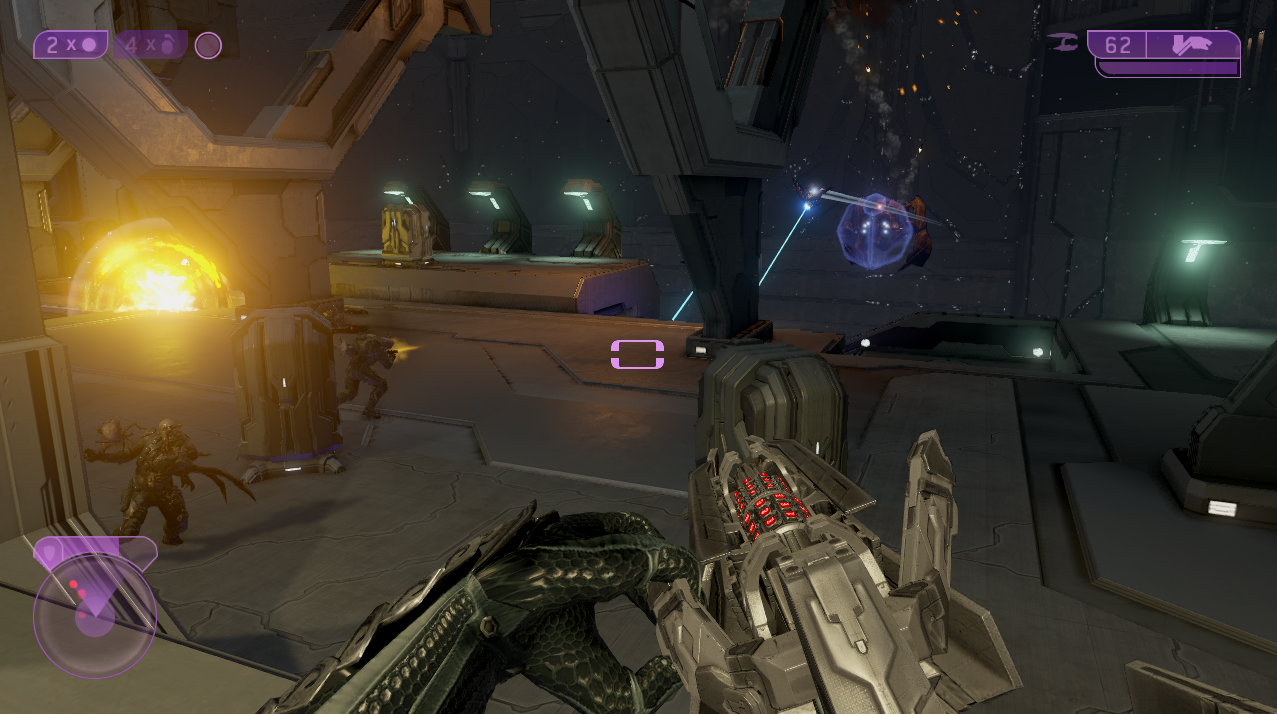
You will eventually come to an outside portion of this level with a few Enforcers fighting Flood enemies. This is where your method of approach should change a bit, instead of killing all enemies you should be a lot more selective and focus on dodging. Explaining how to get through this next area is a bit difficult because of the layout. Instead, I will recommend you watch my Sacred Icon Walkthrough Youtube Video - I start the video at this exact part of the mission.
Essentially, the correct route is up not down. You will need to jump up to a ledge nearby which leads to another outside platform thing. Then from there you can jump up onto another ledge which leads you to a Piston which is the route forward. However, you should explore the areas below these platforms as they often have good weapons and ammo available for you here.
After you fall through the Piston hole you'll come across a few rooms that look exactly like the first part of this mission with the bridges and the beam of light over head. There will be Flood smoke in the area though so you may not notice it's identical immediately. Follow the beam of light overhead just like we did during the first part of the mission and you'll come across another Piston that lets you go down.
Tip: Search this area for Shotgun ammo and Sentinel Beams, you'll find them on the ground before the Piston that leads down.
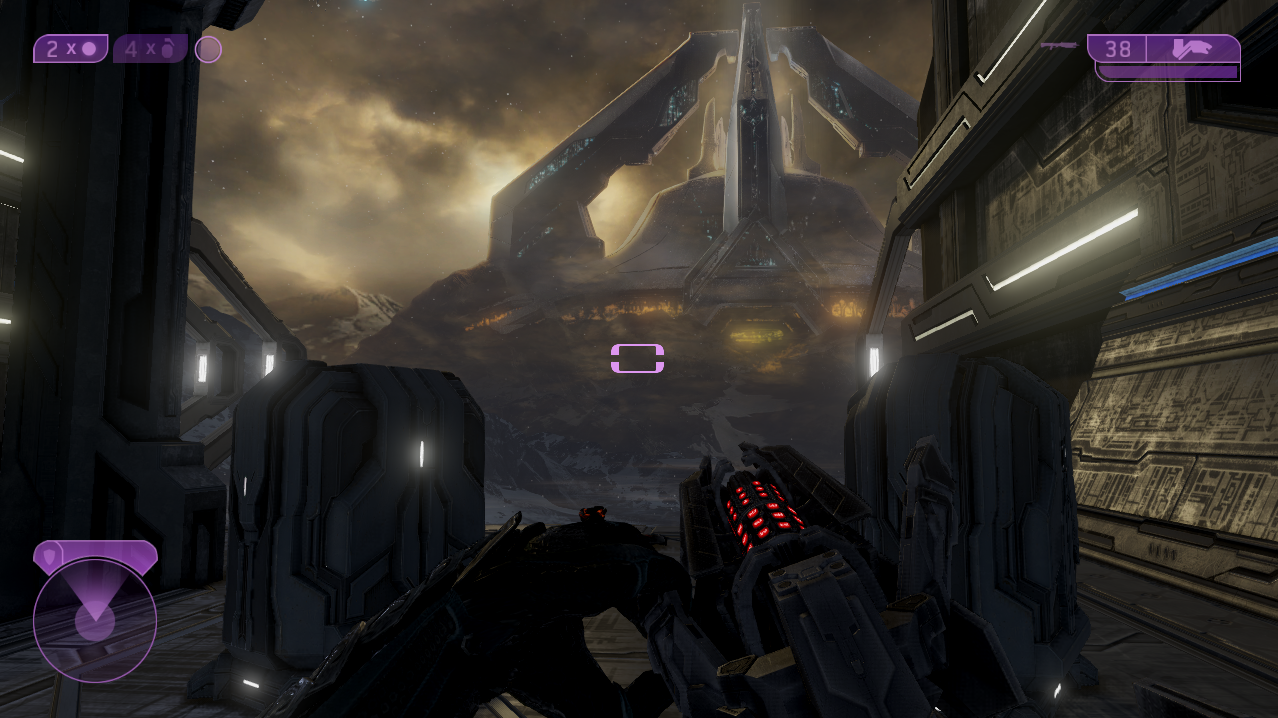
The next location we come across will stand out because it is outside and has a large piston in the center. A screenshot of the area I am talking about is shown below.
If you're interested in getting the Terminal on this mission you'll find it on this platform. Check out my Sacred Icon Terminal Location Youtube Video for the exact location of this Terminal. When you're ready to continue activate the large Piston in the center and continue. You'll come to another area with a large Piston in the center - this time with enemies.
After going through both Pistons you will find yourself in an outside snowy portion with a ton of Flood and some friendly Elites that help you out. In the first snowy area you do not have to kill all of the Flood to continue - simply work your way through the area until you find the small cave that leads into another battle arena.
Kill all of the FLood in this area to complete the mission. This sounds easy but sometimes a Flood enemy will get stuck in a nearby hole and you'll have to go out of your way to kill it. If you can't complete this mission it's because an enemy is still alive somewhere in your battle arena (by battle arena I mean this small area we're in where we are fighting enemies).
My recommendation is to run around the entire area and watch your motion tracker for any red dots. You can see that I did this in the end of my walkthrough for this mission, I start the video on this exact moment. I am pretty sure my grenade killed the enemy stuck in the hole to complete the mission, because the trigger to complete the mission is kill all enemies.
Once all enemies are dead the mission will complete and the next one will immediately begin.
Continue to Mission 11: Quarantine Zone Walkthrough
Return to Mission 9: Regret Walkthrough