
Spellhold Tests 'Bad' Route Overview - Baldur's Gate 2

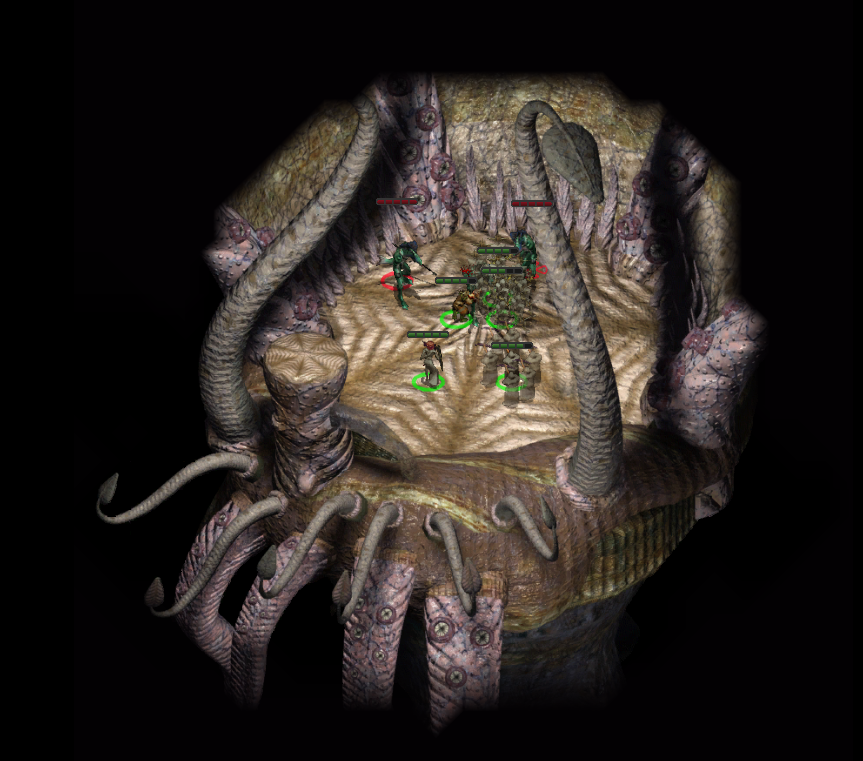
This is the map you'll get if you give the 'bad' answer to the Apparition when it asks you to participate in these tests. On this map you'll fight an Otyugh, 2 Myconids and 3 Mephit enemies for a total of about 10k EXP. Immediately after they're all defeated the Apparition will appear a second time and ask you a riddle. This riddle is the same as the riddle given to you if you go through the good route.
Answering this riddle correctly will put you on the "good" path for the second test. I would argue that the most important test to be on the good path for is #2 as it offers you 2 powerful magical items. Continue to my Spellhold Tests Good Paths for more information about that. Otherwise continue to the bad test #2 which is below.
Riddle Answer: A Splinter
Spellhold Test #2 Bad Path
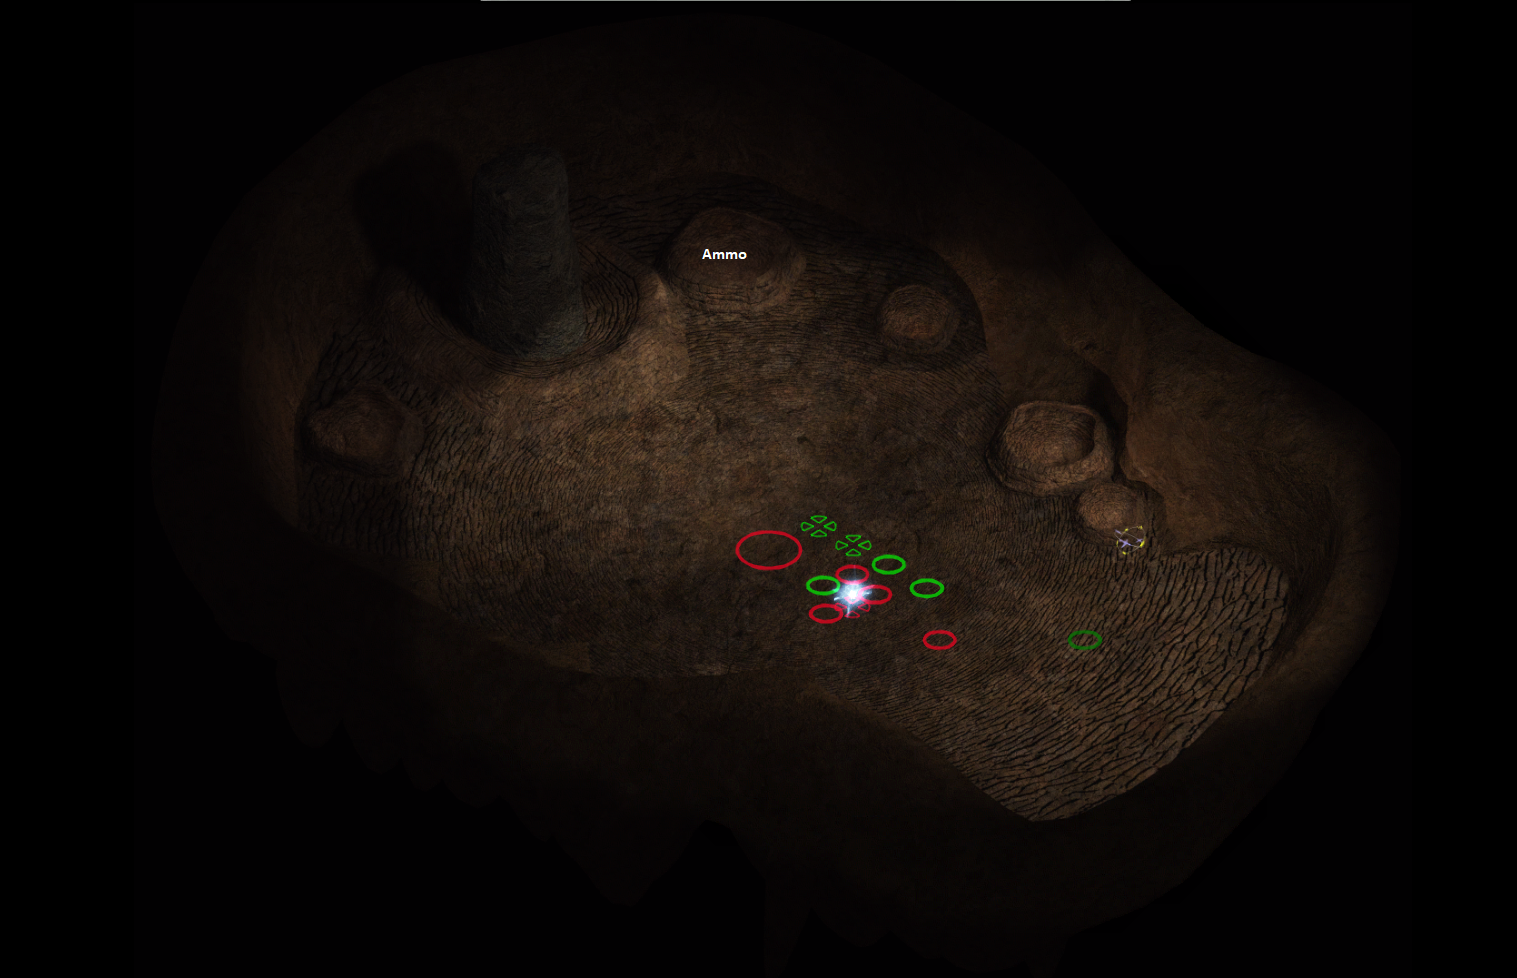
If you find yourself on the bad path for the 2nd Spellhold test the map shown above is what it will look like. On this map you will be fighting an Umber Hulk, 4 Mephits and a Lesser Earth Elemental for a total of about 8k EXP. Each of the rock divots are containers and have items in them, the only one worth mentioning is the northern most which has a couple of magical ammunition inside of it.
Once all of the enemies are dead the Apparition will appear in the northern portion of this chamber and talk to you again, this time asking you about your surroundings. Answers 2 or 4 will send you to the Spellhold Tests "Good" Path #3 which has 2 magical items that you can find.
Proceed to "Good" path: Answers 2 or 4
Proceed to "Bad" path: Answers 1 or 3
Spellhold Test #3 Bad Path
As for the final "bad" path of the Spellhold Tests, on this map you'll have to fight 1 Sahuagin Baron and 2 Sahuagin Baron Guards for a total of about 1500 EXP. This is a very quick map and you will barely have time to even loot between the time you defeat all 3 enemies and when the Apparition spawns. For this reason I recommend you pause as quickly as possible each time you defeat a Sahuagin enemy.
Upon completion of this map you'll be swept away to Judgment which is the culmination of the Spellhold Tests.
Continue to Spellhold Tests Judgment Guide