
Koudelka Disc 2 Walkthrough
When you regain control of Koudelka it'll be at the bottom of the pit we just fell through, which turns out to be another Jail Cell. You can find Pistol Rounds in the left corner by inspecting the pile and an Antidote by searching around the same spot. Make sure to inspect the pile of corpses next to where you got the Pistol Rounds, after doing this inspect the Jail Cell doors for another scene and a mini boss fight.
Charlotte will make us fight an enemy called Nobleman, it's basically a normal enemy from a few areas ahead of where we are now. Our reward for beating him is a Rifle which is a pretty nice weapon. When the fight is over enter the adjacent room through the wall that just crumbled.
Grab the Mace on the table in this room and the Knuckles on the floor in the Torture Chamber. You should put this Mace onto James when you get it, it'll raise his magic stats. Assuming you plan to use James as a mostly caster but sometimes melee hybrid... This weapon will serve him well for a long time. Inspect whatever else you want and then exit this room through the steps on the left hand side.
This leads you to the next area, Dungeon, Underground where you can make a Temporary Save. Next to the door you enter from you'll find the Green Key item on the ground (pictured below). You can attempt to take it from them right now but it will trigger a fight you can't win.
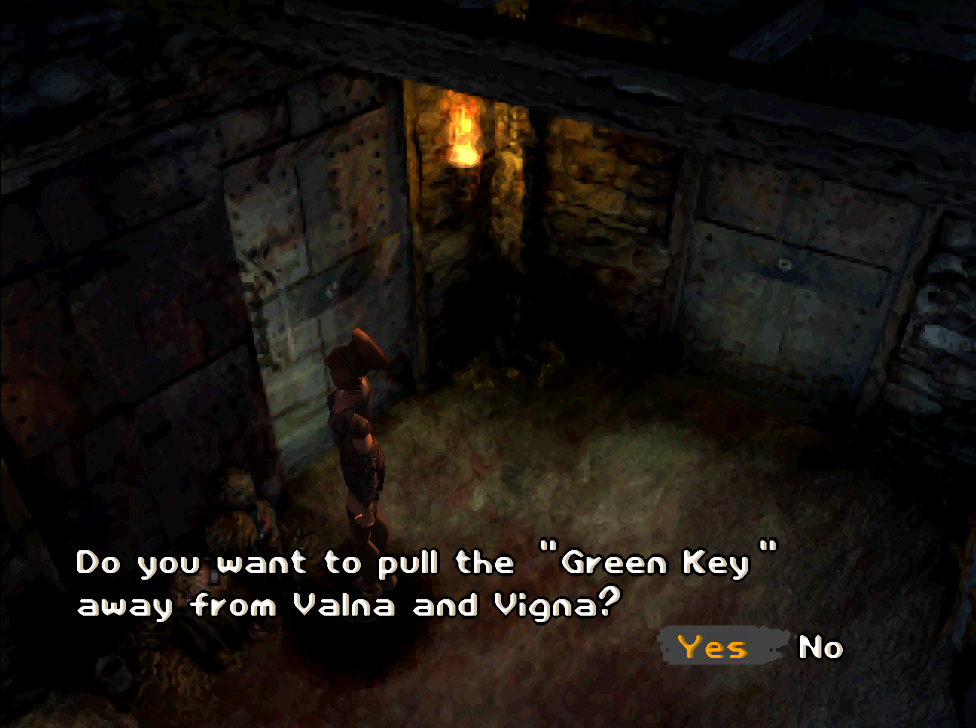
If you want to burn some MP to level up some abilities during the Valna/Vigna fight you can. They don't use hostile magic very often and the save point is literally right there anyway so... There isn't much we can do with this for the time being, so head into the next screen and down the steps to the door with the eerie green light.
This puts you into the Underground Tunnel, which is another Temporary Save location. Go through the door at the far end of this tunnel to find a room with an acid tank on the right and some Rifle Rounds on the ground to the left. If you continue down the path in this direction you will find a new area, turn left immediately in this area to find a chapel-like room with a purple/pinkish glow. You'll also see the line, ...Something's not right... which is our familiar indicator that there is a boss around.
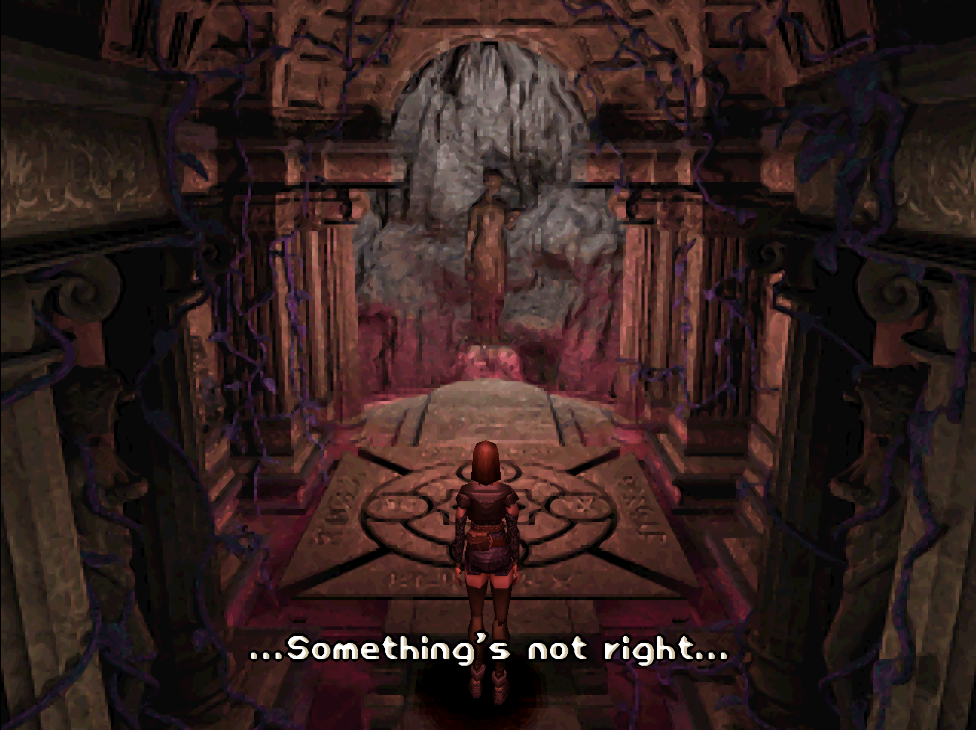
Any time you see ...Something's not right... it means there is a boss around
Approach the statue at the far end of this room to trigger our next boss fight, this time against Mad Fly. Once the boss is defeated (like usual) the area is purified and you can now save or restore your MP/HP. Exit this area and continue left down the hallway to the next door, this takes you to another Underground Tunnel with a Temporary Save. On the far side of this tunnel you'll find the Underground Storage which has a scene the moment you enter.
Search the Underground Storage for some Bowgun Arrows, a Bowgun (Crossbow) and some Pistol Rounds which are out of sight but on the ground next to the Bowgun. The Bowgun is a useful weapon because it shares the same weapon class as Rifle which becomes a powerhouse weapon later. It's up to you if you'd like James to hold his stat-stick mace or use a ranged weapon like Pistol/Bowgun. Or if you'd like to put it onto Edward.
One of the two doors in this room will be locked and you'll need the Red Key, the other door you can go through. In our next room you can inspect the off colored wall in the middle to get a hint about a future puzzle... Other than that, head up the stairs and grab the High Listel you see on the table. Before going through the door make sure you view the four marks on the wall next to it, this is a clue that we need for later.
In the next room you'll find a couple of key items. You want the Stone Tablet from the wall and an Old Letter from the Teddy Bear at the bottom of the screen. Next to the bear you'll find the Lion Statue, pick that up too. Go through the door to your right and you will have another boss fight waiting for you. Stand on the shrine in this room to begin the boss fight.
We'll be fighting Dark Young, just use your normal enemy strategy to take this guy out. He is big and meaty (also gives a ton of EXP) but doesn't do anything super unique aside from using Silence on your team. To combat that, just use Panacea on anyone who gets silenced.
Use the shrine after to restore your HP/MP and save (if desired). Now is a good time for me to bring up the Timed Items Guide again, if you'd like to get some optional loot by saving your game at an exact time with a certain number of items... check out that page! Now that we've defeated the boss it's time to head back downstairs to the off colored wall (pictured below). The plaster is now dissolved off the wall and you can inspect the hole for a Goat Statue.
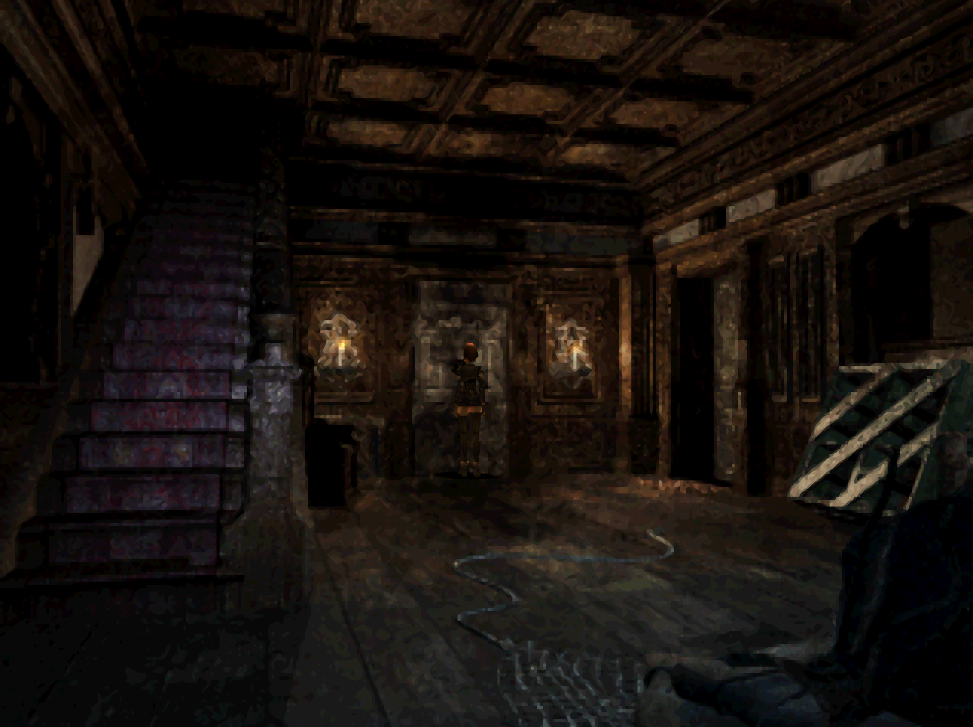
Get the Goat Statue from the hole in the wall before advancing
After you've picked up the Goat Statue return to the Shrine upstairs and go through the door on the right. Entering this room will trigger another FMV cutscene, after which you will regain control in the Storage Room... which is another Temporary Save area. Grab Daniel's Arm from the ground by the chandelier, this is a Key Item so don't forget it! Otherwise you'll have to come back for it later.
From the arm go one screen to the right and you'll find some stairs going up along with a door on a platform above you in the upper left. You can reach this door by climbing up the wood box then up the stone platform. Unbolt the door and go through to create a route back to the Caretaker's Quarter's on Disc 1 (the start of the game). There's nothing to do here right now so let's go back to the room with the fallen chandelier and go up the set of stairs on the right side of the screen.
Be prepared for another boss fight against a thief when you go up these stairs. It's a bit harder than the last one too... Koudelka got one shot for me my first time through here right at the start of the battle. The boss hits hard if you lack Vitality. In order to hit this boss you'll need to destroy the barrels blocking the route to him. Beating the boss gets you the Brown Glass Part and Red Key which is an important item as it'll let us unlock some doors. Inspect the corpse after the fight for a scene, then inspect it again for some Pistol Rounds and again for DA Pistol.
The room to the right of the corpse has a tile floor puzzle which we're going to be coming back to. For now, grab the Shotgun Shells and leave. Before we solve the tile puzzle there are two areas we can visit now that we have the Red Key. We should get these out of the way now while we're in the general area.
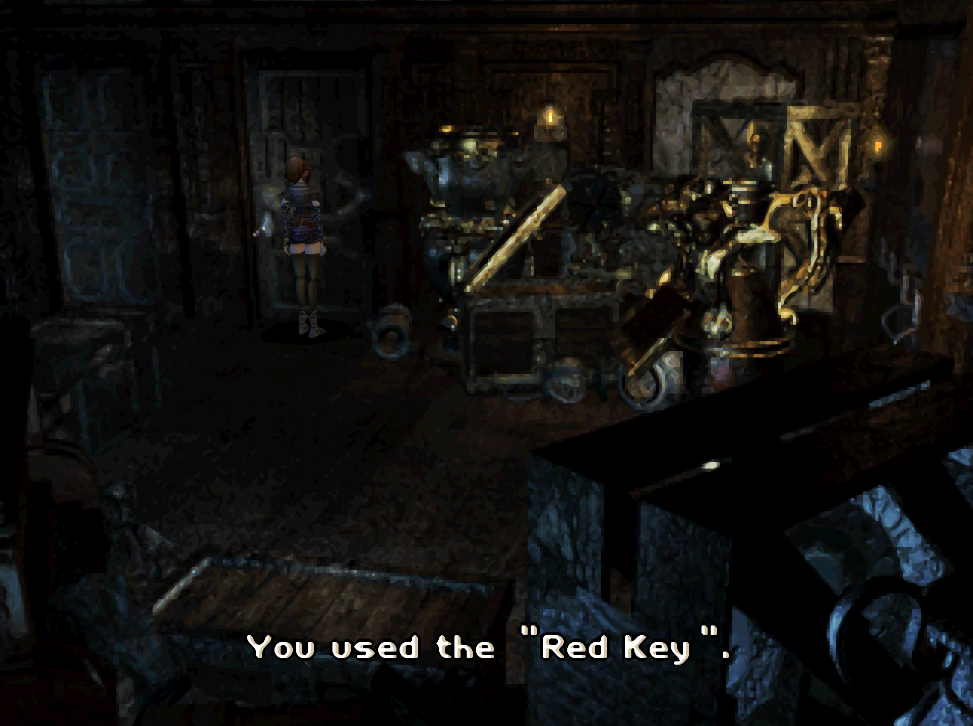
First, you'll want to head over to the room where you had dinner with the Caretakers and go through the door here using the Red Key (pictured below).
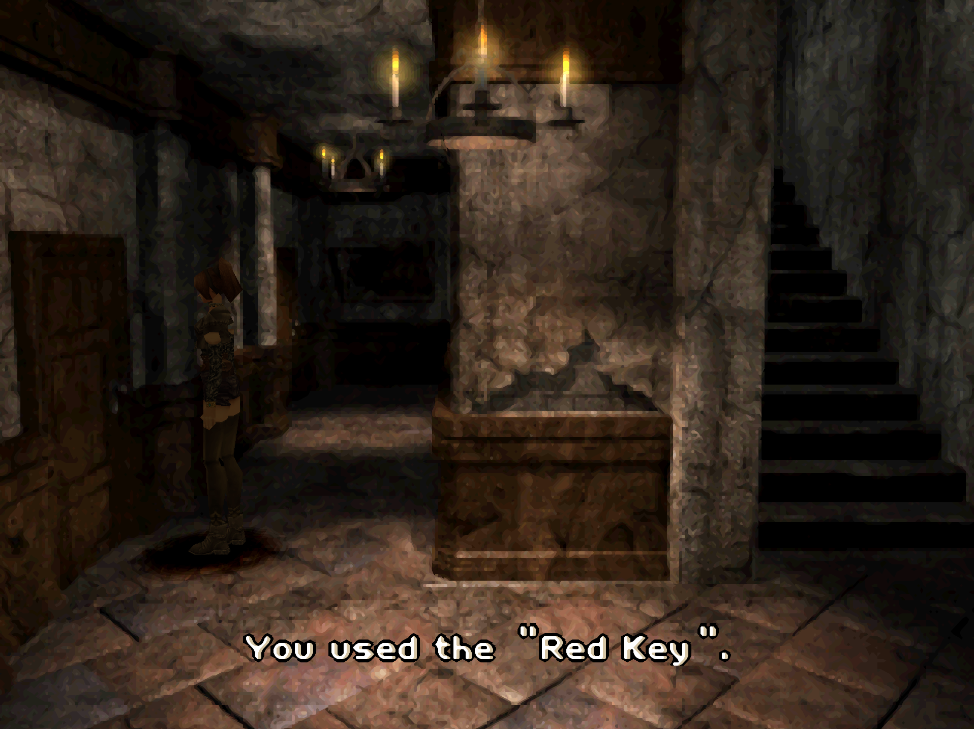
Return to the room where you met the Caretakers and open it using the Red Key
In this room grab the Dragon Statue from the table then go left past the fireplace to access another part of the room. You'll find some Rifle Rounds on the table and a door nearby that leads to another area. You can find two important items in this room, the Mask and Valna's Doll. While you're here inspect the paintings too for an FMV cutscene, once you've gotten everything head back to the chandelier room.
Tip: At this point in time your inventory is going to start getting full and you may need to start getting rid of items. If you still have any Bread, Dried Food, Cheese or random items like that you can throw them away. We're going to get rid of the Red Key in a minute too once we finish using it.
From the room with the chandelier you want to go backwards along the same route we followed at the start of this disc. You're looking for the room with all the treasures piled up (pictured below).
The second Red Key door is in the Underground Storage area
The important item for us to get in this room is the Music Box Key Item. It's found in the cabinet in the back left of this area. Next to that are some Pistol Rounds and then you can also find some Roman Nuts on the floor. Before you leave the room, the game wants you to inspect the symbols written on the box under the candles. It's the solution to the tile floor puzzle we're about to do.
Head back to the chandelier room and go upstairs through the door near the thief's corpse to find the tile room (pictured below). The puzzle is pretty simple, follow the instructions in my picture below for the solution.
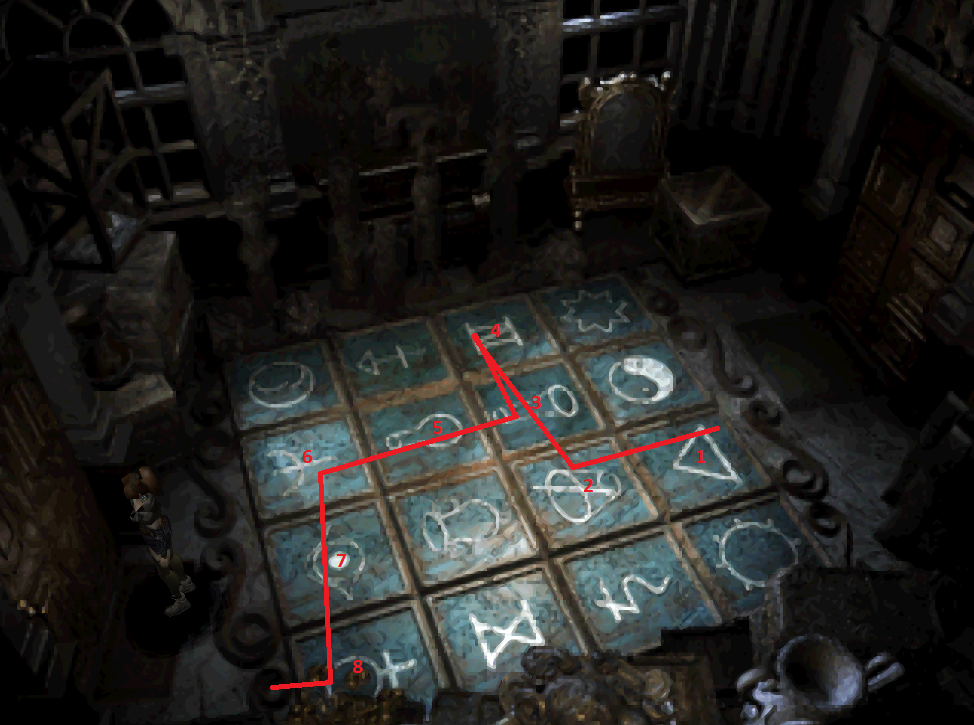
Tile Floor Puzzle Solution
When you walk across the tiles in the correct order you'll hear the door unlock, this allows us to enter another part of the mansion. You'll find yourself in the Library, 2nd Floor - an area with a Temporary Save. Continue down the walkway we're on to the door at the other end, enter the room and grab the Ochre Glass Part from the table. There's a future puzzle next to this table too involving a dresser that has 5 Greek letters on it. We'll be back for this in the future.
For now go down the stairs in the Library to the first floor, go towards the clock at the far side of the room for some Rifle Rounds. Head to the right of the clock to find another door, there's a High Potion you can grab in this area too. The door leads to a room with a bunch of boxes and some paper, you'll have an FMV cutscene in here when you enter for the first time.
After the cutscene go to the bottom of the room and interact with the printing press (it will be out of view). You'll be asked if you want to insert your Stone Tablet, do this to create a hole in the wall and open up a new path. You'll also get the Original Monastery Map from the printing press, this is basically a completed map of the dungeon. If you want to go into the hole now you can, there's some Bowgun Arrows on the ground and a Disk on a crate inside but it's a dead end for right now.
Return to the room with the printing press and go through the other door instead, this takes you to a small closet with Rifle Rounds on the ground and Blue Glass Part on a crate. The door in this room will let us dispose of three more Key Items too! Use the Goat, Lion and Dragon Statues that we've found to open the door.
Entering the room will get you the familiar ...Something's not right... message, step on the altar when you are ready to begin the next boss battle. This boss doesn't do anything truly unique, but it does have a lot of HP... So just use your normal battle strategy to take it out. When the fight's done restore your HP/MP and then go over to the plant growing on the bookcase for a scene.
Go back to the room with the printing press and through the hole in the wall. The door in here won't be blocked by mysterious forces anymore, so head on through it. You'll be in a place the game calls Triangular Hallway and it's got a Temporary Save point.
There is nothing for us to do here right now so exit through the door on the other side of the area and you'll find yourself in Church, Left Nave, 1st Floor. Pick up the Relief Piece in the middle of the floor then go through the door on the left. You'll find the stained glass mural that we've been collecting pieces for in this room. Interact with it on the wall to unload some items from your inventory. We still need one more piece to complete the puzzle, so we'll be coming back here.
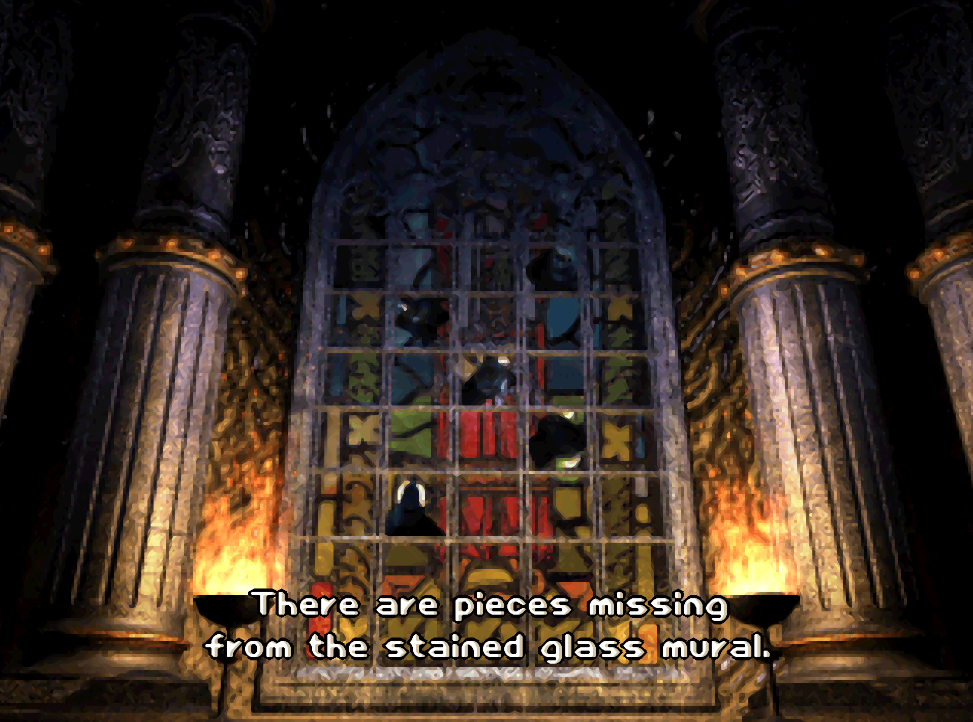
Remember that clock outside the room with the printing press? Well, we need to go back to that location and climb the boxes next to the clock to reach the door we saw in the cutscene earlier. When you inspect the wall above the clock you'll be able to insert the Relief Piece. Once you do that inspect the wall again to climb into the new room.
In here you'll have a music puzzle. There was a chime from the music box when you walked in and you have to replicate it. The correct combination is right, left, up and then down. For some reason there's two orange so giving you colors doesn't work too well... but color wise it's blue, orange (left), red then orange (down).
Doing the right order unlocks the door at the top of the screen and also lets us get rid of the Music Box. Head through the door for an FMV cutscene, when that's done pick up the Green Glass Part from the ground. This is the last one we need for the stained glass window... time to return to the window and put in that final piece.
When you complete the stained glass puzzle you will also be shown the 5 Greek letters that we needed for the previous safe. Technically going back to the safe is optional, the item it gives isn't required for beating the game but it will let us avoid a battle and give us a different reward if we have it.
You'll find the safe on the 2nd floor of the library (if you've forgotten). Koudelka will automatically align the letters and solve the puzzle for you, take the Sophie's Letter contents and head back to the church. Go through the other door in the church to find the Church, Nave, 1st Floor area. This is a Temporary Save location as well and also where the final boss of Disc 2 is found.
Before we challenge the boss though you'll want to grab the hidden Shotgun 2 in this room (pictured below). If you miss this weapon now you will never be able to get it again. Search amongst the rubble in this room to find it.
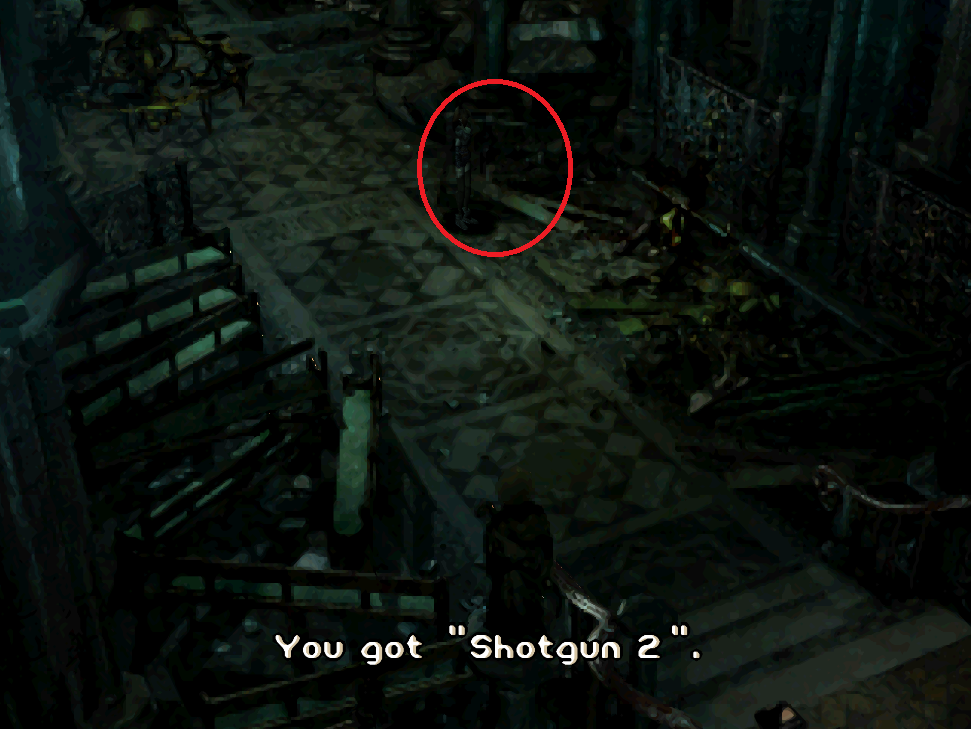
After you get the Shotgun go to the far end of the room where the soft blue light is coming out of the rocks. You'll get an FMV cutscene here, after seeing that go to the other side of the room to start the boss fight with the final boss of Disc 2 (a Gargoyle). This is a one on one fight with Koudelka that you can not win!
The only option we have is to flee from this battle which you can do by pressing the circle button. When you regain control of Koudelka you'll be alone and in the Inner Grounds, Church Door Side. Go down the stairs and you will immediately get the prompt to insert Disc 3. Why didn't they just give us the prompt after the boss battle?
Return to Koudelka Disc 1 Walkthrough
Continue to Koudelka Disc 3 Walkthrough