
The Road to Hades - Act 4 Story Quest
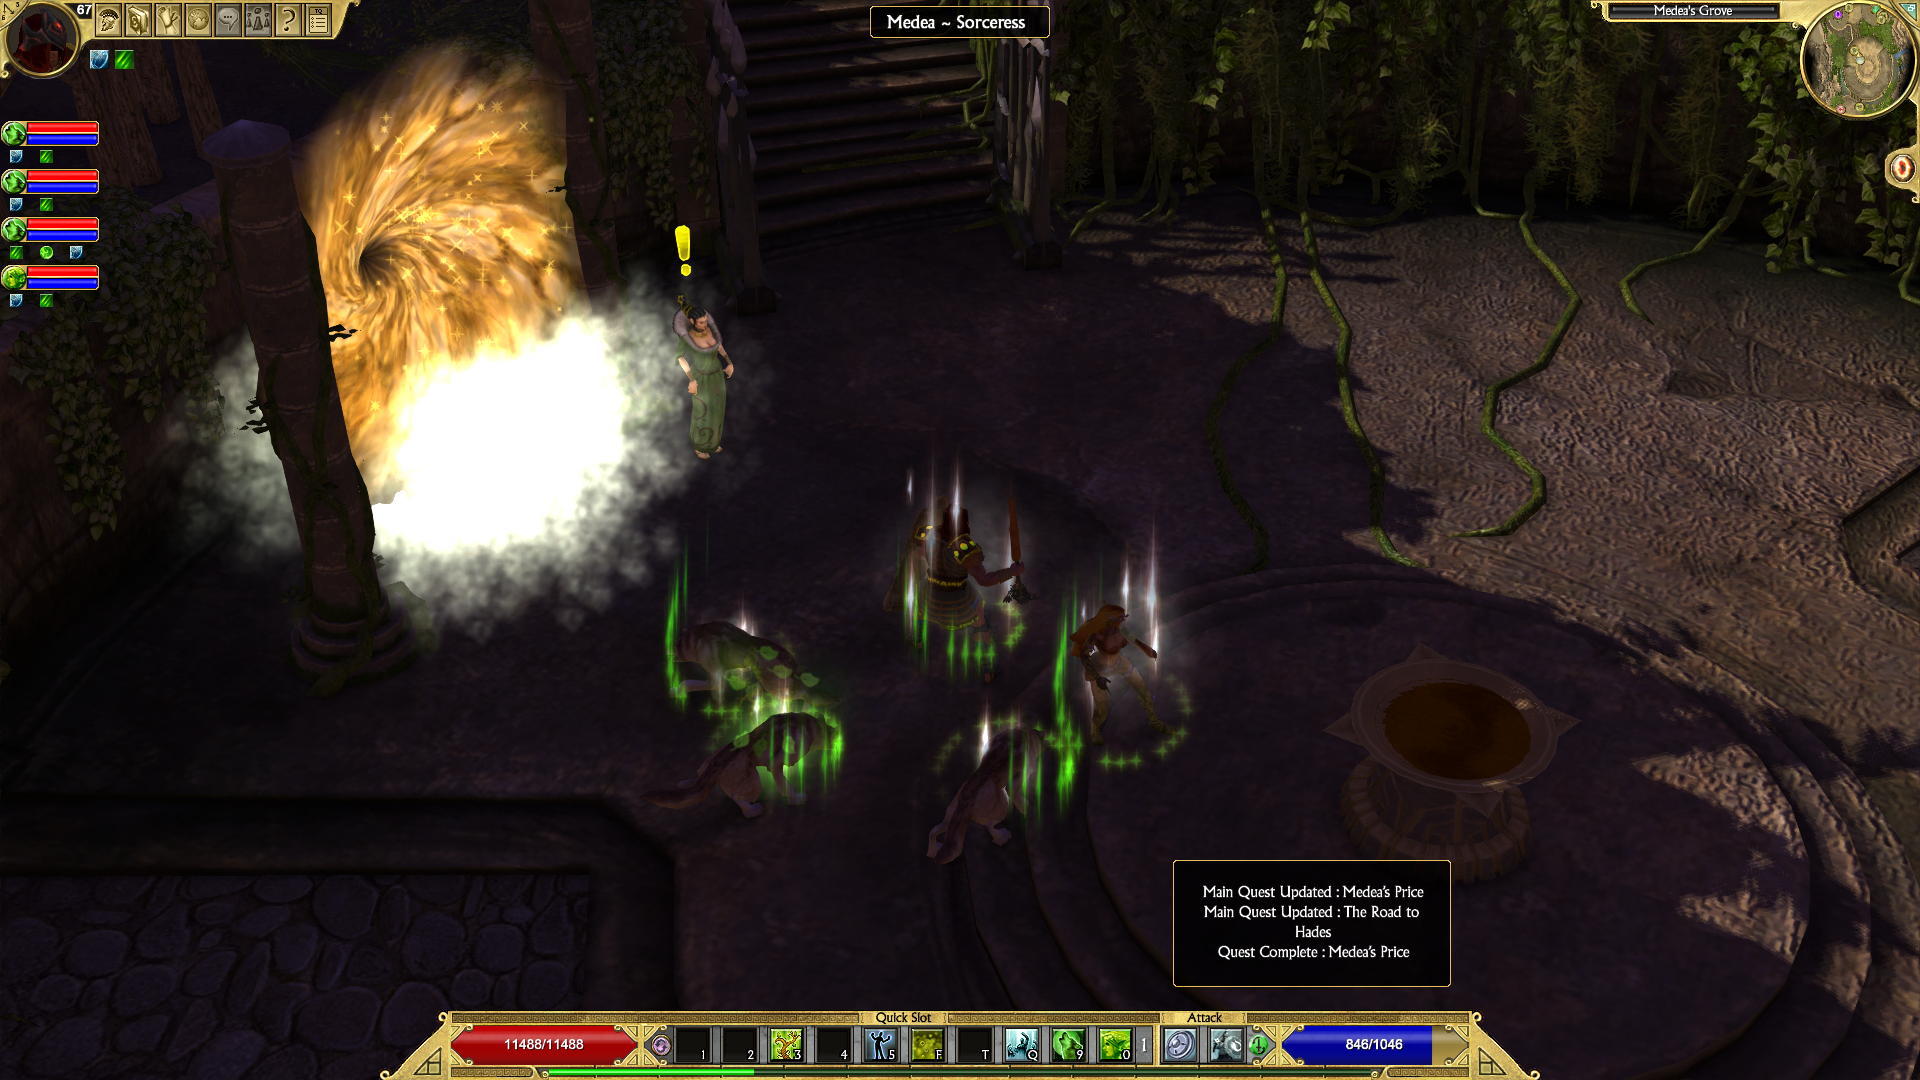
The Road to Hades is the third main quest in Act 4 and begins in Medea's Grove by speaking with Medea just like the quest before it. You'll automatically start this quest upon completion of the Medea's Price quest. Go through the Portal next to Medea to find yourself in the next area of the game, Epirus. Don't forget to grab the Portal while we are here either.
In this area there will be a few Side Quests for you to do, it's up to you if you'd like to do them on on our way to Hades or not. They're all quite easy and good XP so I would definitely recommend it. When you are ready to advance the story forward you will want to run through the City of Paseron into the Paseron Outskirts where you will find the Passage of Souls, an area that links this world to Hades. Also definitely one of the coolest areas of the game if you ask me.
Side Quests In Area:
Among the Ruins (Epirus - Refugee Camp)
A Dangerous Mission (Epirus - Refugee Camp)
The Enemy's Captain (Epirus - Refugee Camp)
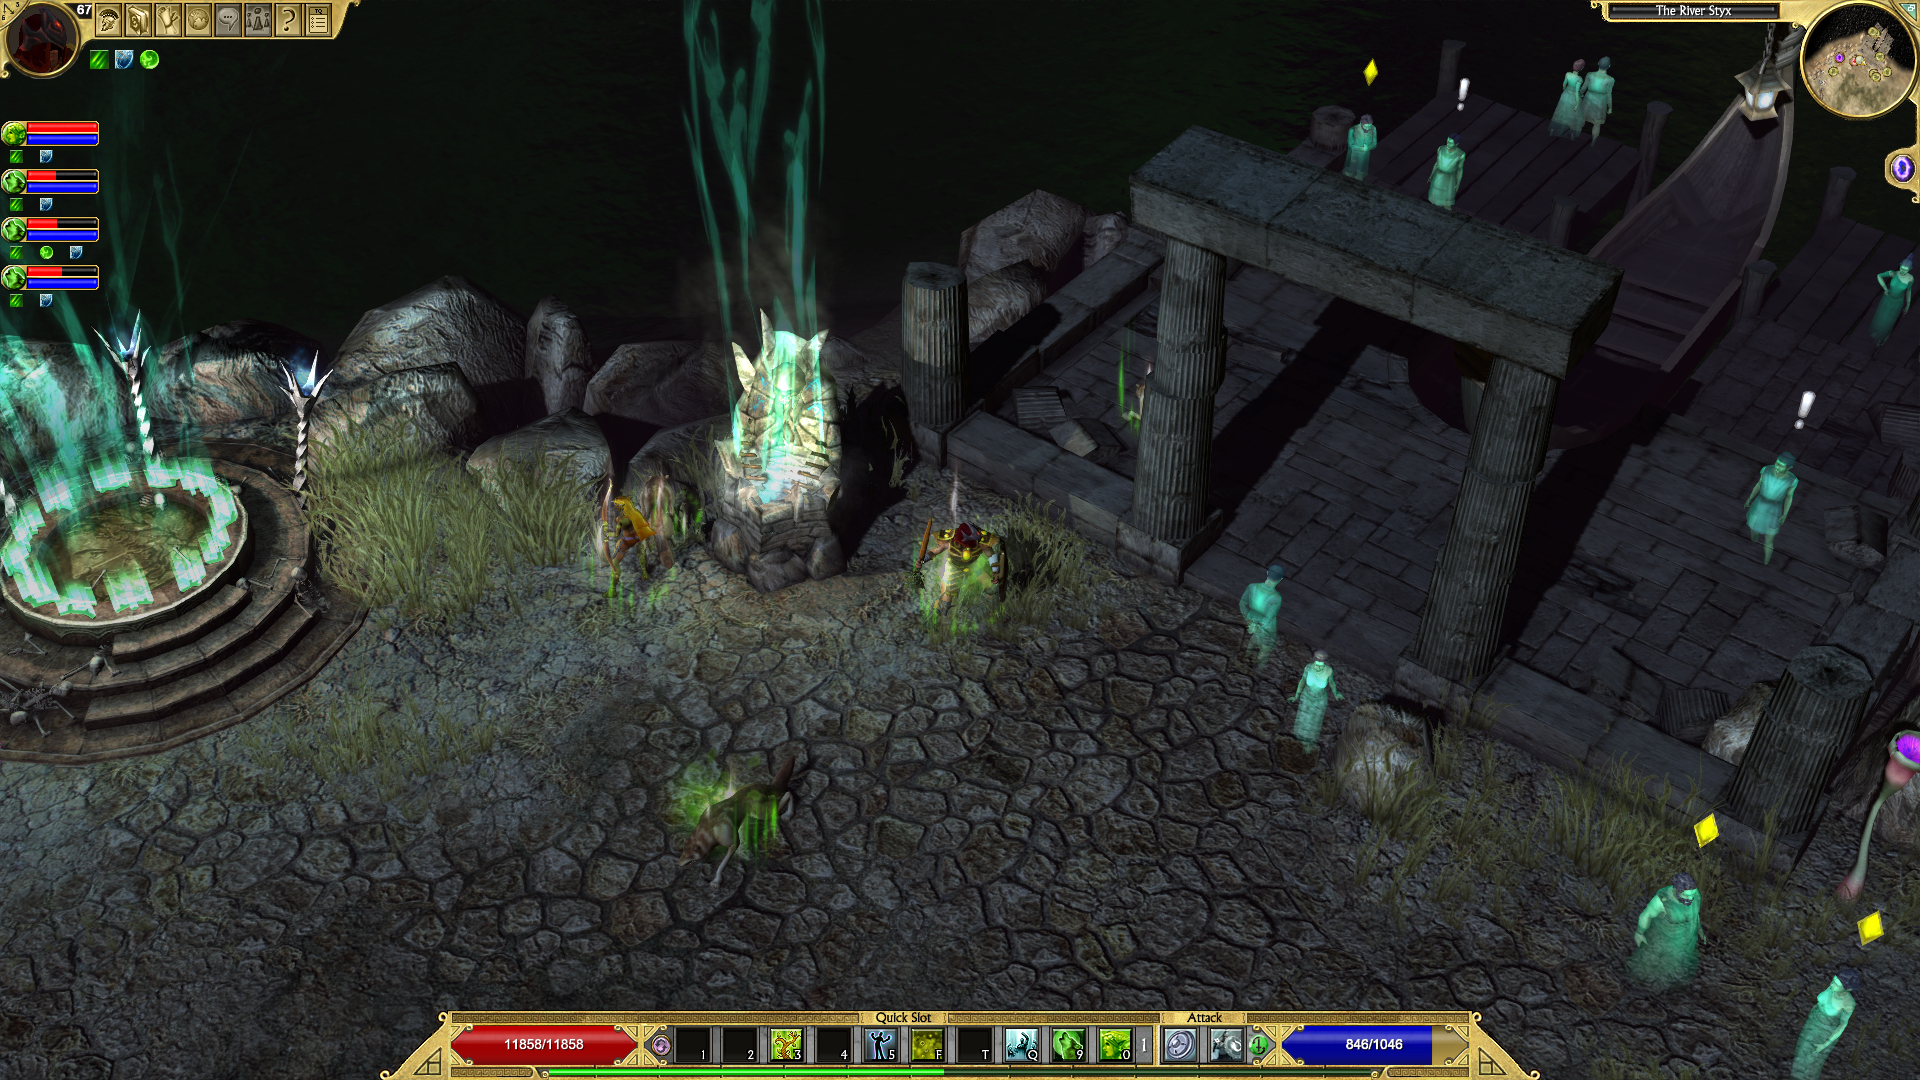
Once you're in Hades you will want to travel north until you find yourself at the town in The River Styx. Grab the Portal here and the two Side Quests as well as speak to the shade here to update our Main Quest (optional). The one Side Quest you get here, The Stygian Lurker is done a little bit later on but is one you definitely do not want to skip since it gives you a permanent increase to your stats.
Prior to fighting Charon (the next boss) it is recommended you complete the first part of One Who Would Lead since that requires you to defeat Charon anyway for his Oar.
Side Quests In Area:
One Who Would Lead (The River Styx)

Charon is a rather easy boss assuming that you've got the right resists for the fight. For the most part you'll be taking primarily Cold and Vitality damage during this fight. The Cold damage is mostly avoidable if you dodge the water geysers that jet up from the cracks on the bridge.
The Vitality damage during this fight is much harder to avoid since it doesn't happen in predictable areas like the Cold damage. For this reason I would recommend you focus moreso on increasing your Vitality Resistance if you're having trouble with this boss. Alternatively, focus on dodging the Vitality attacks and let yourself get hit by the Cold ones if you have really good Cold res.
Below is a list of all the abilities that you should expect Charon to use throughout the fight. Check them over if you have any questions you need answered.
Geyser: Water will blast upwards from underneathe the bridge and deal heavy Cold and Vitality damage. This attack only occurs on the parts of the bridge which aren't solid. IE, so long as you are standing on the solid stone areas this attack will not hit you. There is an obvious audio queue to avoid this attack, Charon will always laugh or say "River, rise!" prior to using this ability.
(Phase 1) Summon Shades: Charon will create two shades to fight for him that deal Bleeding damage. He only uses this ability during Phase 1.
Water Projectile: A ball of water is summoned near the bridge and then thrown at the player. It deals Cold and Vitality damage to anyone it hits.
(Phase 2) Tidal Wave: A frontal attack which creates a wave of water dealing Cold and Vitality Damage to anyone hit by it.
If you have the One Who Would Lead Side Quest and you've freed Hipparchus from his prison then Charon will drop Charon's Ore for you which is the last item you need to complete this quest. After defeating Charon speak with the ghost on the other side of the bridge named Tiresias to complete this quest and begin the next one, Judgment of the Living.