
Sunken Temple Instance Guide
Sunken Temple is the final instance before the "end game" classic instances. Sunken Temple, more commonly called ST is located in the Swamp of Sorrows. There are tons of quests available for Sunken Temple, making it one of the most commonly run instances while players are leveling up. Sunken Temple is also huge in size, usually players skip half a quarter of what the instance has to offer to complete it within a reasonable time frame.
For a list of all the quests involving Sunken Temple click here.
When running Sunken Temple the first boss you encounter will depend on what way you and your group goes. Usually groups skip the basement, but for the sake of arguement I've listed it first.
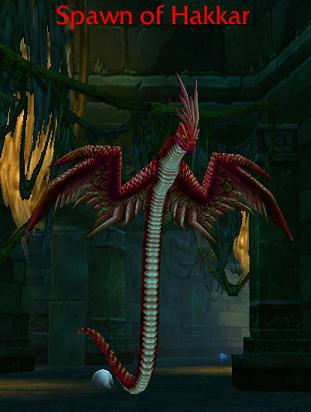
In the Basement the first boss you will come across is the Spawn of Hakkar. This guy flies around the large circle so sooner or later you'll run into him. He is a simple tank and spank with nothing to worry about.
Loot:
Slitherscale Boots
Wingveil Cloak
After you kill the Spawn of Hakkar you will need to click all of the Snake Statues in the right order in order to summon the next boss. The snake statues can be found in the rooms off the ring, towards the inner ring. Confusing I know, when you see the first one you'll know what I mean. Below is a picture of the order you have to hit them in.

After you activate all 6, the next boss will spawn, Atal'alarion.
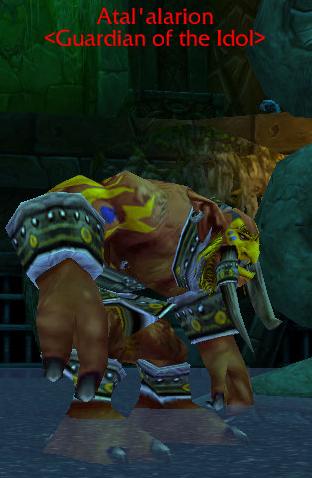
Atal'alarion is a very simple tank and spank with two extra moves, a stun and a knockback. Also, if you didn't clear down stairs before you activated all of the Snake Statues he will come with two adds, still nothing to worry about.
Loot:
Darkwater Bracers
Atal'alarion's Tusk Ring
Headspike
After you kill Atal'alarion head back up to where you zoned in and over to the Atal'ai Defenders events. Here you will need to go around the large ring and kill all 6 Atal'ai Defenders. None of them are difficult and each of them have a chance to drop a piece of Atal'ai gear. Below is a list of the loot they can drop and what each one does.
Loot:
Atal'ai Girdle
Atal'ai Boots
Atal'ai Gloves
Atal'ai Leggings
Atal'ai Spaulders
Atal'ai Breastplate
Gasher: Tank and spank, no abilities
Hukku: Hukku is a Warlock, he will use Shadow Bolt, Shadow Bolt Volley and also summon a Void Walker, Imp, Succubus to help him during the fight. The succubus can charm.
Loro: Tank and Spank
Mijan: Priest so you should try and stop his heals. Aside from that, tank and spank.
Zolo: Shaman, will use Chain Lightning and will drop a totem which will summon a bunch of Undead to attack your group. Quickly kill the totem.
Zul'Lor: Tank and Spank.
After you kill all of the Defenders you will want to drop down into the ring of all the Dragonkin. Kill all of them, since if you don't they will overwhelm you during the last boss. After all of them are dead head to the eastern side of the ring over to Jammal'an the Prophet.
Note: Be sure to clear the whole room before you engage Jammal'an. Any of the trolls in the room left alive will agro you when Jammal'an is put in combat.
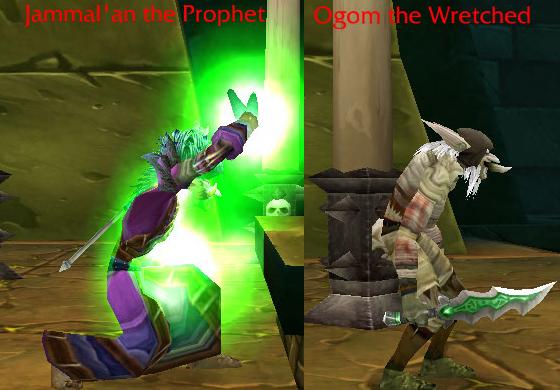
Jammal'an the Prophet is a Shaman and his friend Ogom is a Warlock/Priest. Jammal'an will use different Shaman like moves on you during the encounter but only one super annoying move, Hex of Jammal'an. This essentially is a Mind Control, which if you're trying to solo him will reset the fight. This makes it important to burn down Jammal'an first. After he is dead focus your attention onto Ogom the Wretched.
Loot (Jammal'an):
Kilt of the Atal'ai Prophet
Gloves of the Atal'ai Prophet
Vestments of the Atal'ai Prophet
Loot (Ogom):
Fist of the Damned
Blade of the Wretched
Eater of the Dead
After you kill both Jammal'an and Ogom the Wretched the next bosses you will come across will be Dreamscythe and Weaver. When you go back out to the large central ring, Dreamscythe and Weaver will fly down.
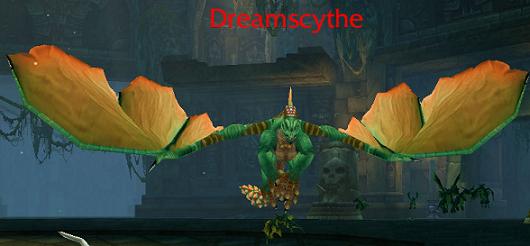
It doesn't matter what boss you kill first, and if you pull one boss the second one will not agro. Dreamscythe is a simple tank and spank, the only move he has that is worth mentioning is Wing Flap, which will knock everyone back in front of him.
Loot:
Nightfall Drape
Smoldering Claw
Firebreather
Drakefang Butcher
Bloodfire Talons
Drakeclaw Band
Dawnspire Cord
Drakestone
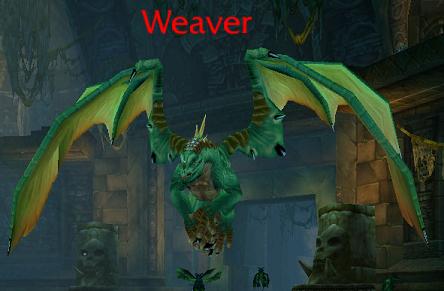
Weaver has the same abilities as Dreamscythe, just is a tad weaker. He also shares the same loot table with Dreamscythe as do the other two dragons.
Loot:
Nightfall Drape
Smoldering Claw
Firebreather
Drakefang Butcher
Bloodfire Talons
Drakeclaw Band
Dawnspire Cord
Drakestone
After you kill both Dreamscythe and Weaver the next bosses will be Morphaz and Hazzas. Some groups may do the optional boss, Avatar of Hakkar first. In order to summon the Avatar of Hakkar you will need to be on the "The God Hakkar" quest or already completed it.
![]()
When you place the egg you will need to fight off waves of Serpents and Snakes. Each time a Serpent comes out he will drop a Blood which you will need to use to douse one of the four fires. Each time you douse a fire a Dragonkin will come out and begin channeling a spell on the Avatar of Hakkar. Don't let him finish this spell, after you douse all 4 fires the Avatar of Hakkar will awaken and attack. He doesn't do anything unique at all and is a very simple tank and spank fight.
Loot:
Featherskin Cape
Windscale Sarong
Warrior's Embrace
Bloodshot Greaves
Spire of Hakkar
Might of Hakkar
Embrace of the Wind Serpent
After you kill the Avatar of Hakkar head south to get to the next two bosses, Morphaz and Hazzas.
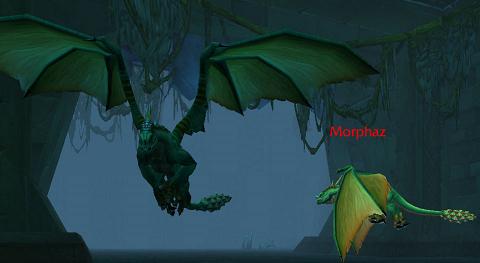
Unlike the other two Dragonkin, Morphaz and Hazzaz are very hard to split apart, so most likely you will be tanking both at the same time. Both of them have the same abilities that Dreamscythe and Weaver have.
Loot:
Nightfall Drape
Smoldering Claw
Firebreather
Drakefang Butcher
Bloodfire Talons
Drakeclaw Band
Dawnspire Cord
Drakestone
Immediately after you kill both of them you'll see the final boss, Shade of Eranikus. Since it needs to be said again, this time with caps... MAKE SURE ALL OTHER DRAGONKIN ARE DEAD. IF ANY ARE LEFT ALIVE WHEN SHADE OF ERANIKUS IS ENGAGED THEY WILL AGRO AS WELL.
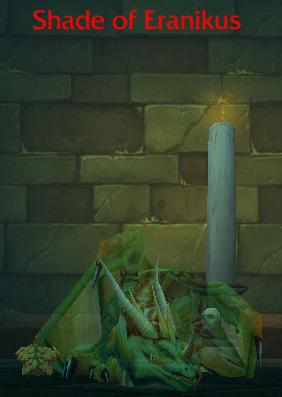
The Shade of Eranikus is actually a pretty tough encounter. During the fight he will use Warstomp, stunning everyone within melee range and also Banish your main tank! This is the first fight in the game where it's recommended that you have at least two tanks. If you don't have another tank to pick Shade up he will run around and attack everyone for 15 seconds, probably resulting in a wipe.
A good strategy to use if you don't have two tanks is have someone run in there and get a ton of agro and get banished. Then have the tank pick up Shade and continue the fight normally. After you kill Shade be sure to loot the Essence of Eranikus which starts a quest that gets turned in right behind him.
Loot:
Essence of Eranikus
The Dragon's Eye
Horns of Eranikus
Rod of Corrosion
Crest of Supremacy
Dire Nail
Tooth of Eranikus
Dragon's Call