
Dire Maul East Instance Guide (Classic - WoTLK)
Dire Maul was the hardest instance in "Classic" WoW. Dire maul is branched into three different wings, East, West and North. East is the easiest of the three followed by West then North. Dire Maul North has two different ways that you're able to run it. A normal run and a Tribute run. A Normal run means you kill all of the bosses, a Tribute run you ignore all of the bosses and only kill the king.
After you kill the king a tribute chest is placed on the ground. The less bosses you kill, the greater loot this chest will hold. Also any of the Guards left alive will grant you a very powerful buff if you're level 63 or below. If you'd like to see all of the quests involved in Dire Maul click here.
When running Dire maul East the first thing you'll want to make sure of is that you talk to Pusillin. Pusillin is a little imp to the left of where you enter the instance. As you go along you will need to keep talking to him and following him until he becomes hostile. Once that happens you'll kill him for the Crescent Key and a Cooking recipe.
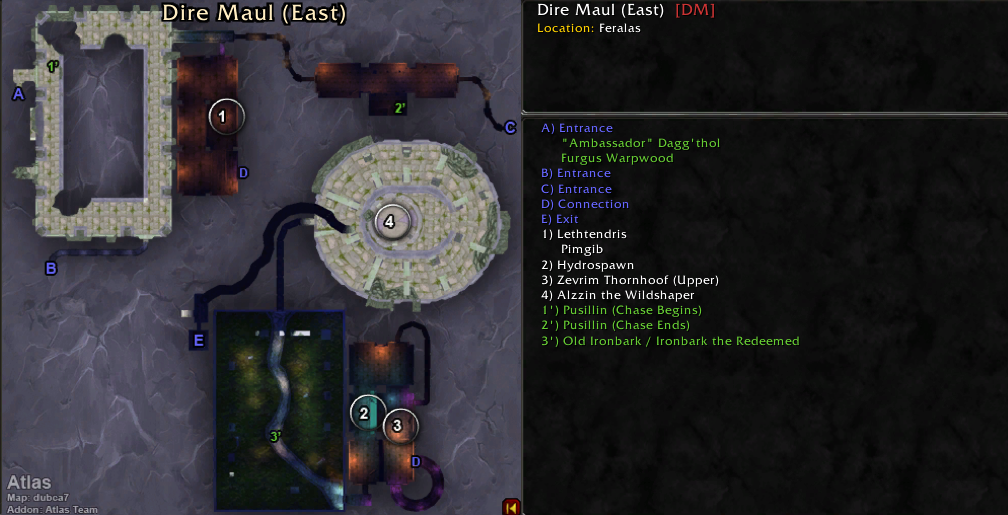
Click to enlarge the map; credit goes to the Atlas Addon.
Every 'A Dusty Tome' Location in DM East
Zevrim Thornhoof
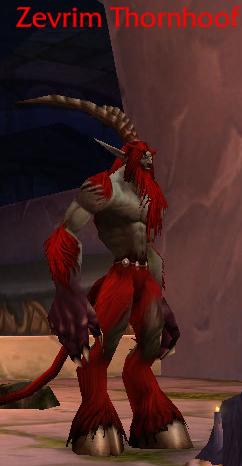
Zevrim Thornhoof will randomly pick someone from your group and put them on the Sacrifice table. The player will take a great deal of damage over a short period of time. Keep the player alive and just focus on Zevrim Thornhoof.
Loot Table:
After you kill Zevrim Thornhoof the very next boss you'll come across will be Hydrospawn. Hydrospawn is right below Zevrim.
Hydrospawn
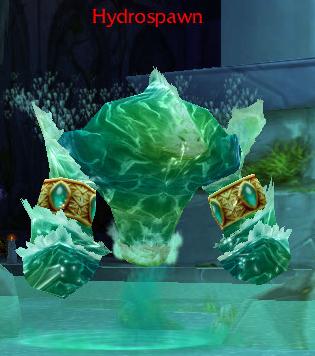
Hydrospawn will summon adds to help him during the encounter. Also Hydrospawn will use a huge knockback wave, which makes it a good idea to clear a good deal of the trash around him before engaging.
Loot Table:
After you kill Hydrospawn the next boss in line will be Lethtendris and her Imp companion Pimgip.
Lethtendris & Pimgip
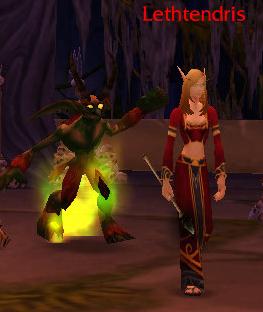
Lethtendris is a Warlock so she will use Immolate, Shadowbolt, Curse of Tongues and other Warlock abilities. The Imp is the best target to get on first since it has low health and almost no armor. After you kill the Imp focus your attention to Lethtendris.
Loot Table:
After you kill Lethtendris the next boss is Alzzin the Wildshaper. In order to get to Alzzin you need to talk to the tree in the large room. After you talk to him he will head north and smash the door down that will lead you to Alzzin's room.
Alzzin the Wildshaper
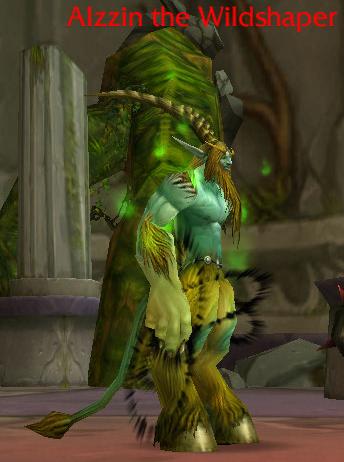
Alzzin the Wildshaper is a very easy encounter. Alzzin will transform into a wolf and a treant during the fight. When he transforms he will gain a new set of abilities, neither of the forms are anything to fear. Although when he goes into Treant form, he will heal himself from time to time. About halfway through the fight the back wall will fall down and Imps will run out. Just have someone AoE the Imps down and it won't be a problem.
Also be sure to kill the plants around him before you pull him because the plants will help him when you engage him. Also after the wall crumbles and the Imps run out you'll be able to find Rich Thorium Deposits throughout the tunnel. Also at the end of the tunnel will be a short cut to get back outside.
Loot Table: