Dire Maul West Instance Guide
Dire Maul was the hardest instance in "Classic" WoW. Dire Maul is branched into three different wings, East, West and North. East is the easiest of the three followed by West then North. Dire Maul North has two different ways that you're able to run it. A normal run and a Tribute run. A Normal run means you kill all of the bosses, a Tribute run you ignore all of the bosses and only kill the king.
After you kill the king a tribute chest is placed on the ground which the less bosses you kill, the greater loot this chest will hold. Also any of the Guards left alive will grant you a very powerful buff if you're level 63 or below. If you'd like to see all of the quests involved in Dire Maul click here.
First things first about Dire Maul West. You will come across many pylons with mana elementals around them. It's important that you kill all of the elementals around the pylons, when all the pylons are "clear" Immol'thar, the second to last boss will be attackable.
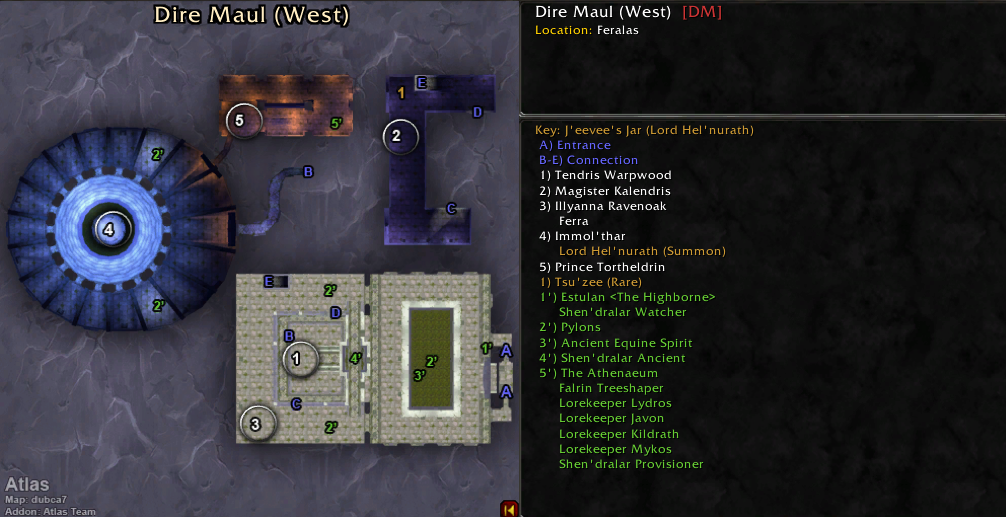
Click to enlarge the map; credit goes to Atlas who created it.
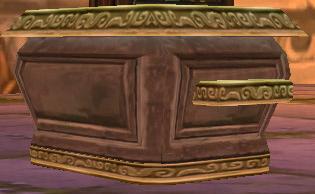
Every 'A Dusty Tome' Location in DM West
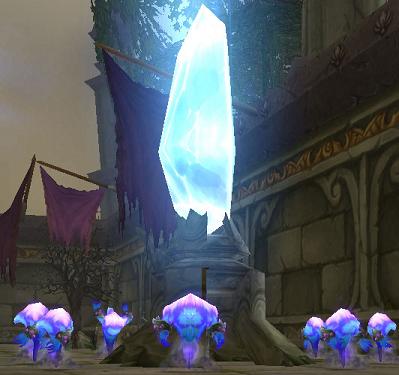
The first thing you should do when you enter Dire maul West is take out the pylon. After you take out the Pylon the first boss you will come across is Tendris Warpwood. Before you head over to Tendris Warpwood be sure to kill all the trees in the first room. When you engage Tendris and trees left alive he will pull.
Tendris Warpwood
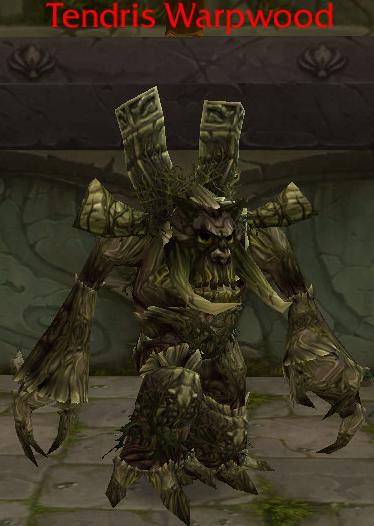
Tendris Warpwood himself is a fairly straight forward fight. He will root you and your group as well as knock you back. Other then these two abilities and pulling the other tree's when engaged Tendris doesn't do anything special.
Loot Table:


After Tendris Warpwood the next boss you will run into is Illyana Ravenoak. Before you even get to Illyana Ravenoak you'll need to destroy two of the pillars in Immol'thar's room and also one more on the way to Illyana.
Illyana Ravenoak
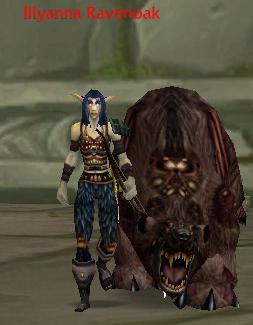
Illyana Ravenoak is a hunter, if you couldn't already tell. She comes with her pet bear and has a gigantic agro range. She will cast Multi-shot, concussive shot and other hunter like abilities on you and your group. It's easiest if you take out the bear first and then Illyanna.
Loot Table:


Note: Before or after Illyana be sure to grab "The Madness Within" from the Shen'dralar Ancient nearby. It requires you to kill Immol'thar and Prince Tortheldrin.
After Illyana, depending on what path you take will determine which bosses you fight next. If you'd like to do the optional boss head down to where the undead are and clear your way to Magister Kalendris.
Magister Kalendris
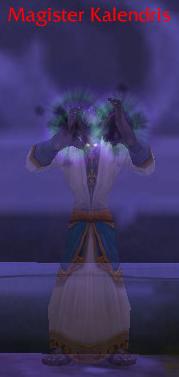
Magister Kalendris is an optional boss of Diremaul West and very rarely killed since the undead around him are so damn hard to kill. Magister Kalendris is a Shadow Priest so expect him to use Mind Flay, Shadow Word: Pain, Mind Blast and Mind Control.
Loot Table:


After Magister Kalendris you'll run into Immol'thar. In order to fight Immol'thar you'll need to have destroyed all the pillars with the mana elementals around them. After you've destroyed all of the pillars Immol'thar will be freed and a Shen'dralar will /yell, announcing that he has been freed.
Immol'thar
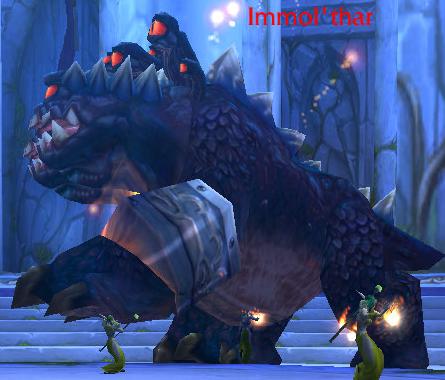
Immol'thar is a tough fight for any normal group running this instance. During the fight he will teleport random members of the party over top his room and drop them forcing them to talk fall damage. He will also summon Eyes of Immol'thar that will target a random party member and apply a debuff that increases Attack speed and Casting Speed. It will also decrease your movement speed. These eyes need to be killed quickly since the debuff stacks and will easily lock down any member of your group.
Loot Table:


After Immol'thar there is one final boss. He drops some of the best loot so be sure you don't skip him. The next boss is Prince Tortheldrin, who is located in with the rest of the Shen'dralar in the only friendly area of all of Diremaul.
Prince Tortheldrin
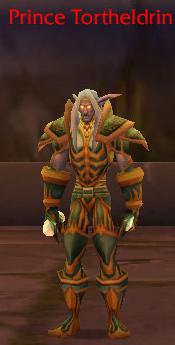
Prince Tortheldrin is the final boss of Diremaul West. Prince Tortheldrin is a Warrior, Mage Hybrid. He really only melee's and has a nasty knockback that will clear the tanks agro. He also will Counterspell a random person that is casting. Aside from these two abilities he just has Whirlwind and Thrash, which is similar to the older Windfury.
Loot Table:


If you grabbed the quest from the Shen'dralar Ancient head back and turn it in. You'll get a follow up quest to head to the chest under the stairs leading down to Prince Tortheldrin. When you open the chest you'll be able to choose from 3 rewards and get a nice amount of XP.