Terranigma Walkthrough - Chapter 3 (Part 2)
The previous chapter ended with us finishing the election at Loire and opening up the Tollgate to the next area. Litz is the town near this dungeon and the place we'll be visiting if we need any items to conquer the next dungeon. When you're ready for the next dungeon you'll want to visit the castle on the World Map near Litz/Loire.
As with most dungeons I will recommend you run around and spend a lot of time exploring, gathering treasure and leveling up your character. This is a long dungeon and the end boss is the hardest boss that you've had to face thus far in the game. Most guides online will recommend you get 25+ by grinding in this dungeon, I will talk more about that location when you get there.
In order to advance the story in this dungeon you'll need to locate the Chapel (a dark room) and defeat the four skeletons inside. This will cause a soul to appear, talk to it and it will ask to join you until you locate the body it once had. Once this soul is following you return to the Hall which is the original big room of the dungeon with the 4 portraits and a bunch of suits of armor walking around.
Tip: If you're having trouble finding the Chapel go upstairs to the 2F and exit to the south to find the Chandelier room. Run to the eastern-most exit in the Chandelier room and go north, this is where you'll find the Chapel.
Exit the Hall in the NE on the 2F to find the suit of armor that we need (pictured below). If you use the NE exit on the 1F you will find yourself on a small dead end platform with a large suit of armor above you. So make sure you choose the right one!
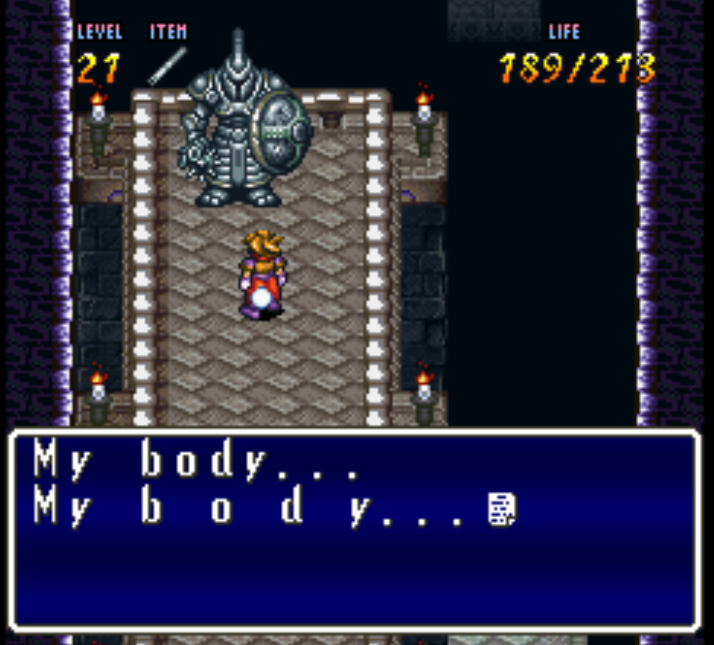
Bring the soul to the suit of armor to advance the dungeon
Once you restore the soul to this armor and beat it a bridge will appear that connects the 1F NE exit to a new portion of the dungeon. Right after crossing the bridge you'll want to go NW to find the Storage room which has two chests, one has the Tower Key and the other has the Icepick. You need the Tower Key to advance further into this dungeon, the Icepick is a weapon upgrade.
In this part of the dungeon you need to find 4 different gemstones, the Black Opal, the Topaz, the Ruby and the Sapphire. Each of these gems will become the "eyes" in the portraits that we past in the main hall earlier. I will talk about where to find each of these below - before we get to that let me explain the best grinding location in this entire dungeon.
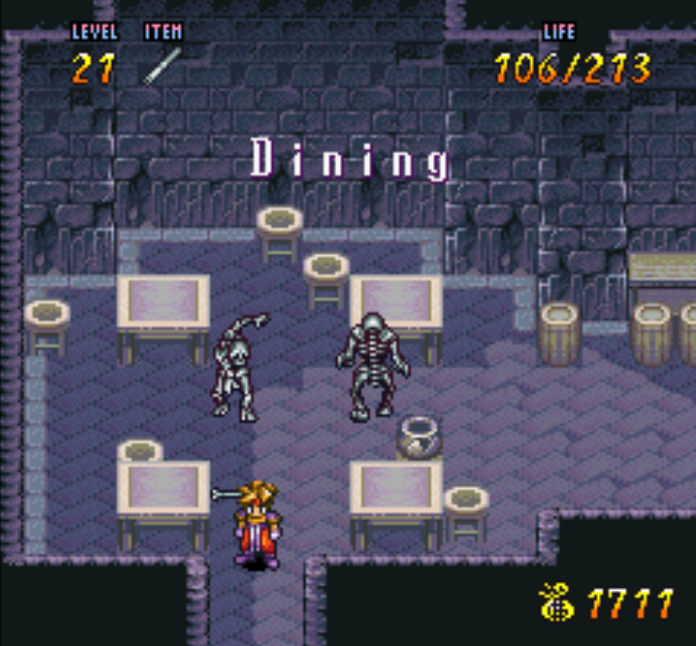
When you cross the bridge and go northeast you will find the Kitchen area, it has a few sections but we're going to focus on one for the time being called Dining (pictured below). In the Dining Room you will find two skeletons, it's a very... very small room with just two enemies that spawn here - just like my picture shows below.
This room is the best grinding location in the entire castle because you can defeat both skeletons with a single Run+A attack (dashing attack) and zone out to reset the area in under 5 seconds. A normal rotation works like, you enter from the south and defeat both skeletons then exit to the east. Enter from the east, defeat both skeletons then exit to the south. Rinse and repeat this until you reach the desired level.
For the most part the skeletons wont hurt you at all since they won't have much time to even attack. You will also zone out of the area before they explode into bones and shoot them everywhere. As I said earlier in this guide you need to find four different gemstones to advance the story, the locations of each gem are mentioned below.
In order to reach the Sapphire Gem you'll need to put your hand into the snake's mouth in the eastern tower. This will change the acid-water in this dungeon into normal water which you can swim through. To gain access to the east and west towers use the Tower Key that we got earlier to open the doors.
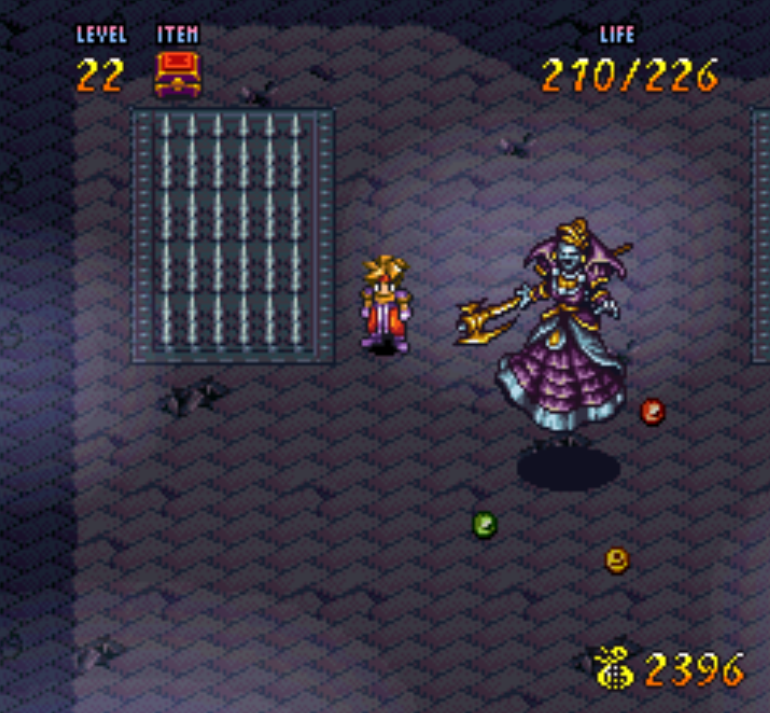
As for the Ruby Gem, you'll need to find the torture/puzzle room pictured below. Run along the wall in the north to change the numbers until they read 286.
Sylvain Castle Gem Locations:
Black Opal: Climb into the chimney in the Kitchen map, the Black Opal will be hidden in the soot in the back.
Topaz: Go to the top of the west tower and go to the balcony on the right. There will be a scene with Yomi during which he pushes you across to the other tower. From here you can grab the Topaz before dropping down.
Ruby: Input the password 286 inside of the torture/puzzle room; return to the Chandelier room and jump across them to the chests in the west. Inside one is the Ruby.
Sapphire: Visit the east tower and put your hand into the snake's mouth; return to the fountain outside of the castle (the first room of this dungeon) and collect the Sapphire from the water that used to be acid.
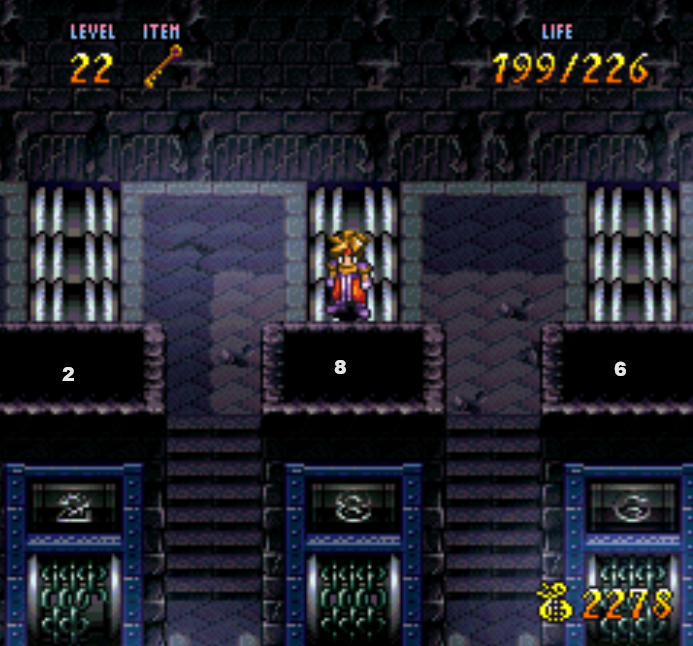
To reach the Ruby you'll need to solve the puzzle pictured above. The correct sequence of numbers is 286
After you have collected all four of these gems you'll want to return to the Hall and walk near the four portraits. This will trigger a short scene of the gems coming alive and filling each of the eye sockets. When the scene is over there will be a hole in the floor on the first floor nearby, when you fall down into this hole you'll begin the boss fight.
Tip: If you get bored of the Dining Room grinding location I recommend the west tower. You'll get almost 1k EXP a clear and it's pretty easy/straight forward.
The boss of this dungeon is named Bloody Mary and the fight with her will be 3 phases in total. During the first phase you'll have to hit the right illusion, during the second you play simon says and for the third - that's an actual boss fight. You'll see why this boss is called the hardest boss in the game once you get to phase 3.
Below are instructions on how to beat this boss, I will go into much more detail about phase 3 below because that's the hardest one.
Bloody Mary Phase 1: Don't move until the illusions stop spinning around you. Always hit the one that stops behind you, that's how you know which is real.
To advance to phase 2 speak with the guy in the NE part of the jail.
Bloody Mary Phase 2: Run to the other part of the room until she says STOP! Wait until the dialogue starts again and you can start running to the other side, you should reach her easily during the second cycle.
Bloody Mary Phase 3: Use a bunch of Magic Rings or grind until you're strong enough to beat her.
If you're level 21/22 you'll only hit Bloody Mary for 1 point of damage during Phase 3 and she will hit you for almost 40 points of damage. This is an un-winnable fight which leaves you with two options, you can either level up to 25 and then fight her or you can buy a bunch of Magic Rings and blow her up.
For those of you thinking of the grinding route, at level 25 you will only be hitting her for about 15 or so damage per hit and she has about 400 HP. She will also be hitting you for about 25 damage each time you attack her. You'll still need a bunch of bulbs and/or a Grass Pin to heal yourself during this fight.
As mentioned above, an alternative strategy is to stock up on Elec Rings at the shop in Loire. 9 is all you can hold and that will typically be enough for this fight. It'll cost you a bunch of Magirock but if you're like me you haven't really been using them all that much anyway. From my testing the only ring that does any damage to her is the Elec Rings, I wasted a lot of Magirock trying all different types of rings and that's the only one that worked.
There are a few other issues I ran into with this boss as well. For example, each time I challenged her one of my Elec Rings didn't hit her. I'm not sure why, but this resulted in me having to hit her 20 - 30 times with melee to deal enough damage to her to actually beat her (I was level 22). What a nightmare the fight was but I was victorious in the end.
Speak with Columbus after the boss fight and watch the scene, you will regain control in Litz. Before you leave the Hospital ask the lady at the counter for a Fever Medicine, we'll need this for later. At this point in time you should return to Loire too, it will be upgraded and you can get some quest items from here.
In Terranigma you are able to upgrade towns and make them larger and more lively. To do this you'll have to complete basic tasks for various townsfolk, if you'd like to learn more about this check out my Terranigma Town Expansion Sidequests Guide. All of this is optional and it doesn't provide you with many rewards so it's up to you if you want to spend the time doing it.
Tip: Return to Loire Castle and win the speed eating contest if you'd like to get another Magirock.
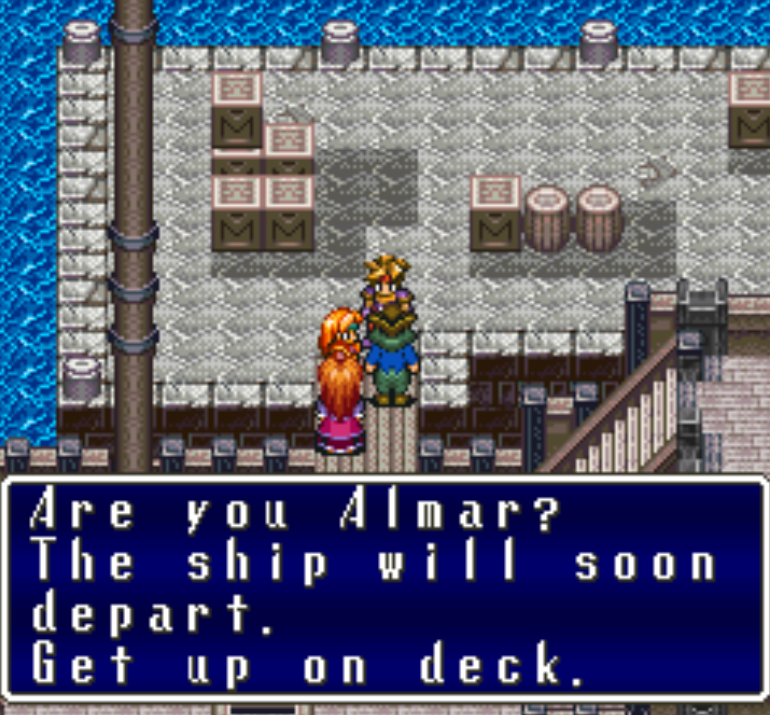
When you're ready to continue with the story you'll want to return to Litz and sleep at the Inn. There will be a scene that happens while you're sleeping, when it's over head to the port and speak with the captain here (pictured below). Also speak with Elle and Fyda then board the ship for another scene.
Once the boat starts moving talk with the people on the deck and then go inside of the door on the right hand side of the ship. Visit the room next door and loot the L.Bulb from the chest, after that crawl into bed and sleep. You'll be awoken in the middle of the night by a scream - return to the deck when this happens and a ghost boss fight will commence.
I had trouble hitting this boss with my attacks but it seems like my chances improved when I used the LightRod. The attack I primarily used was the dashing one by using Run+A. Even with the LightRod not every hit connected, I really don't know why. If you didn't buy this weapon, I assume just keep trying different weapons until one works? Or reload a previous save and purchase this weapon before sailing.
For this fight you need to hit the real ghost 3 times, after that speak with Elle and then return to your bed and sleep. When you awake the next morning everyone will be gone, exit the boat and you'll be given a Royal Letter which explains things. Before you leave the harbor go into the building in the south for a Magirock, then head to Freedom, the town to the north.
The town of Freedom and Nirlake can be expanded into something bigger if you're interested in having some conversations with the townsfolk here. Like before I recommend you check out my Terranigma Town Expansion Sidequests Guide for more information about how to expand the town.
When you're ready to advance the story forward speak with Perel in Freedom, he is the black kid riding the skateboard in the middle of town. Talking with him will trigger a scene, tell him it makes you feel better then follow him to his house in the NW part of town. You'll have another scene here after which you will want to head north to Nirlake.
Search the house in SW Nirlake for a Life Potion, for the story we need to go east in town and zone into a new area. Move the bookcase in this house to reveal Anita (pictured below).
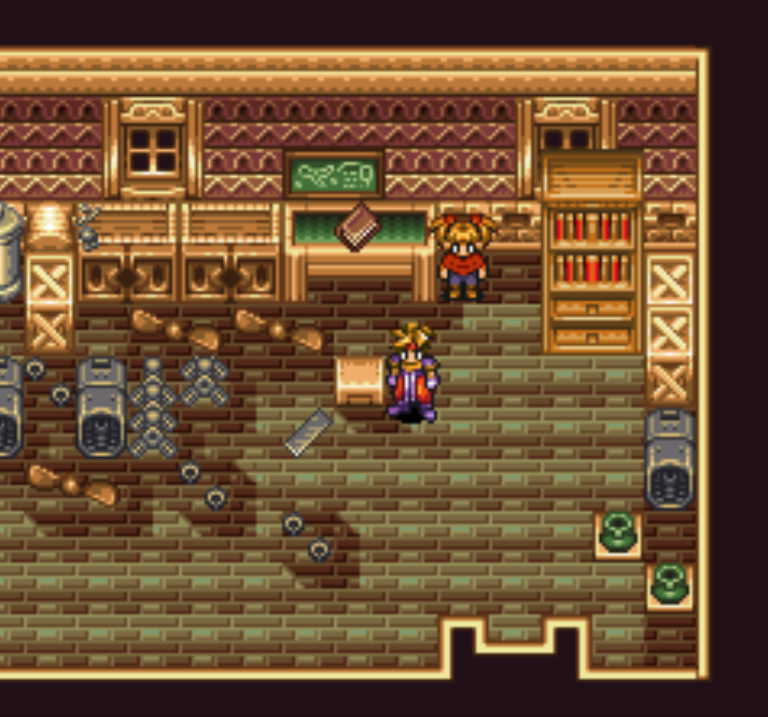
Anita is found in eastern Nirlake inside Will's house
Tip: You can pick up the Tin Sheet inside of Will's place too (it's pictured above). This item is part of the Terranigma Town Expansion Sidequests.
Head north of Nirlake to a forest called Gumin, we need to collect 9 logs from here. What you'll need to do is repeatedly defeat the tree monsters here and inspect their bodies for Logs. Exit the area and enter again to collect more until you have a total of 9. After you've gotten all 9 it's time to head back to Freedom. Speak with the guy in the town square who is talking about building a bridge across the colorado river.
Exit Freedom and travel southwest to the two trees along the Colorado River. Whenever you're looking for a bridge crossing keep an eye out for the two trees on either side of the river that look exactly the same. A picture of what I am talking about is shown below.

Go inside of the bridge map and equip the Logs that we farmed up, talk with the guy and you'll have to give him all 9 one by one. Exit and enter again to complete the bridge. Ironically the bridge is made of brick despite giving him wood. Pick up the Magirock on the bridge and continue across.
Our next destination is the town of Liotto to the south, you'll have to travel through Guiana to get there. Before you visit Liotto you'll want to visit two subareas to the southwest first. All the way south of Liotto where the mountains and ocean meet you'll find a small patch of trees. Enter for a racing mini game, victory will net you a Magirock.
Directly north of this racing mini game subarea you'll find another subarea, this one has a bunch of destroyed ruins. Search these ruins for a Life Potion and a chest with 378 Gems. Exit this subarea and go a tad bit north to another subarea, this one is called Stopover. There will be a gull here that will take you to Greenland when you speak with it and tell it !!!!!!!!!.
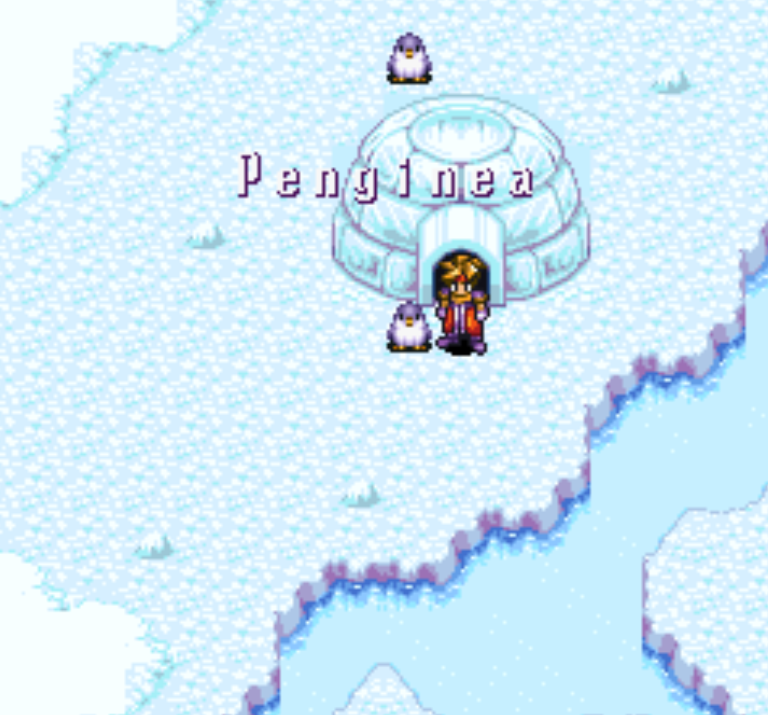
There isn't much to do in Greenland, when you land go directly south and you'll find a village called Penginea (pictured below).
Inside one of the igloos you'll find a Magirock - the other important thing we need from this town is the Starstone. You can get the Starstone by equipping a Pretty Flower and speaking with the penguin outside of the igloo in the eastern part of town. The penguin I am talking about is the same one shown in my picture above. Once you have both these items leave Penginea and travel to the cave that's northwest. Inside you'll find a chest with 961 Gems, that's the last bit of treasure for us to collect here.
Return to South America using the gull and visit the town of Liotto which we ignored earlier. In Liotto the first thing you need to do is speak with Meilin by the Pink Cloud cotton candy stand. Take her north to the statue and there will be a scene during which she asks you to return at night. Before we rest at the Inn, you can play Cream-a-cat in the town square for a Magirock. You can also find another Magirock inside the NW building in town.
Sleep at the Inn and then go back to the statue in the northern part of town. There will be a scene, after which you're free to leave Liotto. Go south of Liotto on the World Map and you'll find a port, when you arrive there will be a scene. When it's over speak with the captain guy standing on the boat and tell him that you do indeed want to battle monsters.
He will sail you over to a place called Mermaid Tower, when you arrive there will be no Mermaids, only enemies. Clear your way down to the bottom floor and defeat all of the enemies to restore this tower to its former glory. When you go back upstairs it will be filled with Mermaids again.
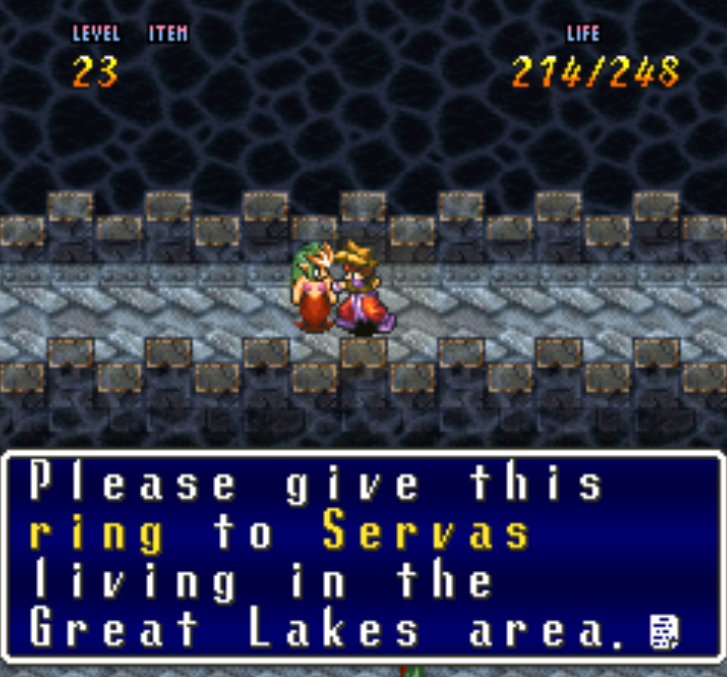
The story objective in this dungeon requires you to get the Engagement Ring to give to Servas by talking with the one Mermaid shown above. You'll also want to get the SeaSpear before you leave this dungeon, it's a massive upgrade for you. On your way to the entrance you will run right by the chest with this weapon. Talk with the Mermaids blocking the entrance to get the WaterPin and with that, we can leave here.
When you exit this dungeon you will be taken back to Liotto automatically. You'll also be given instructions on how to use the boat - from here on out you are able to sail around the world.
Exploring The World
Now that we have the boat there is a bunch of optional content for us to do. How much of this you want to do is totally up to you, if you'd rather skip ahead to the next dungeon and continue with the story you're totally free to do so. I personally would recommend you stop at the S. Pole and Mu at minimum since they both have some upgrades for you.
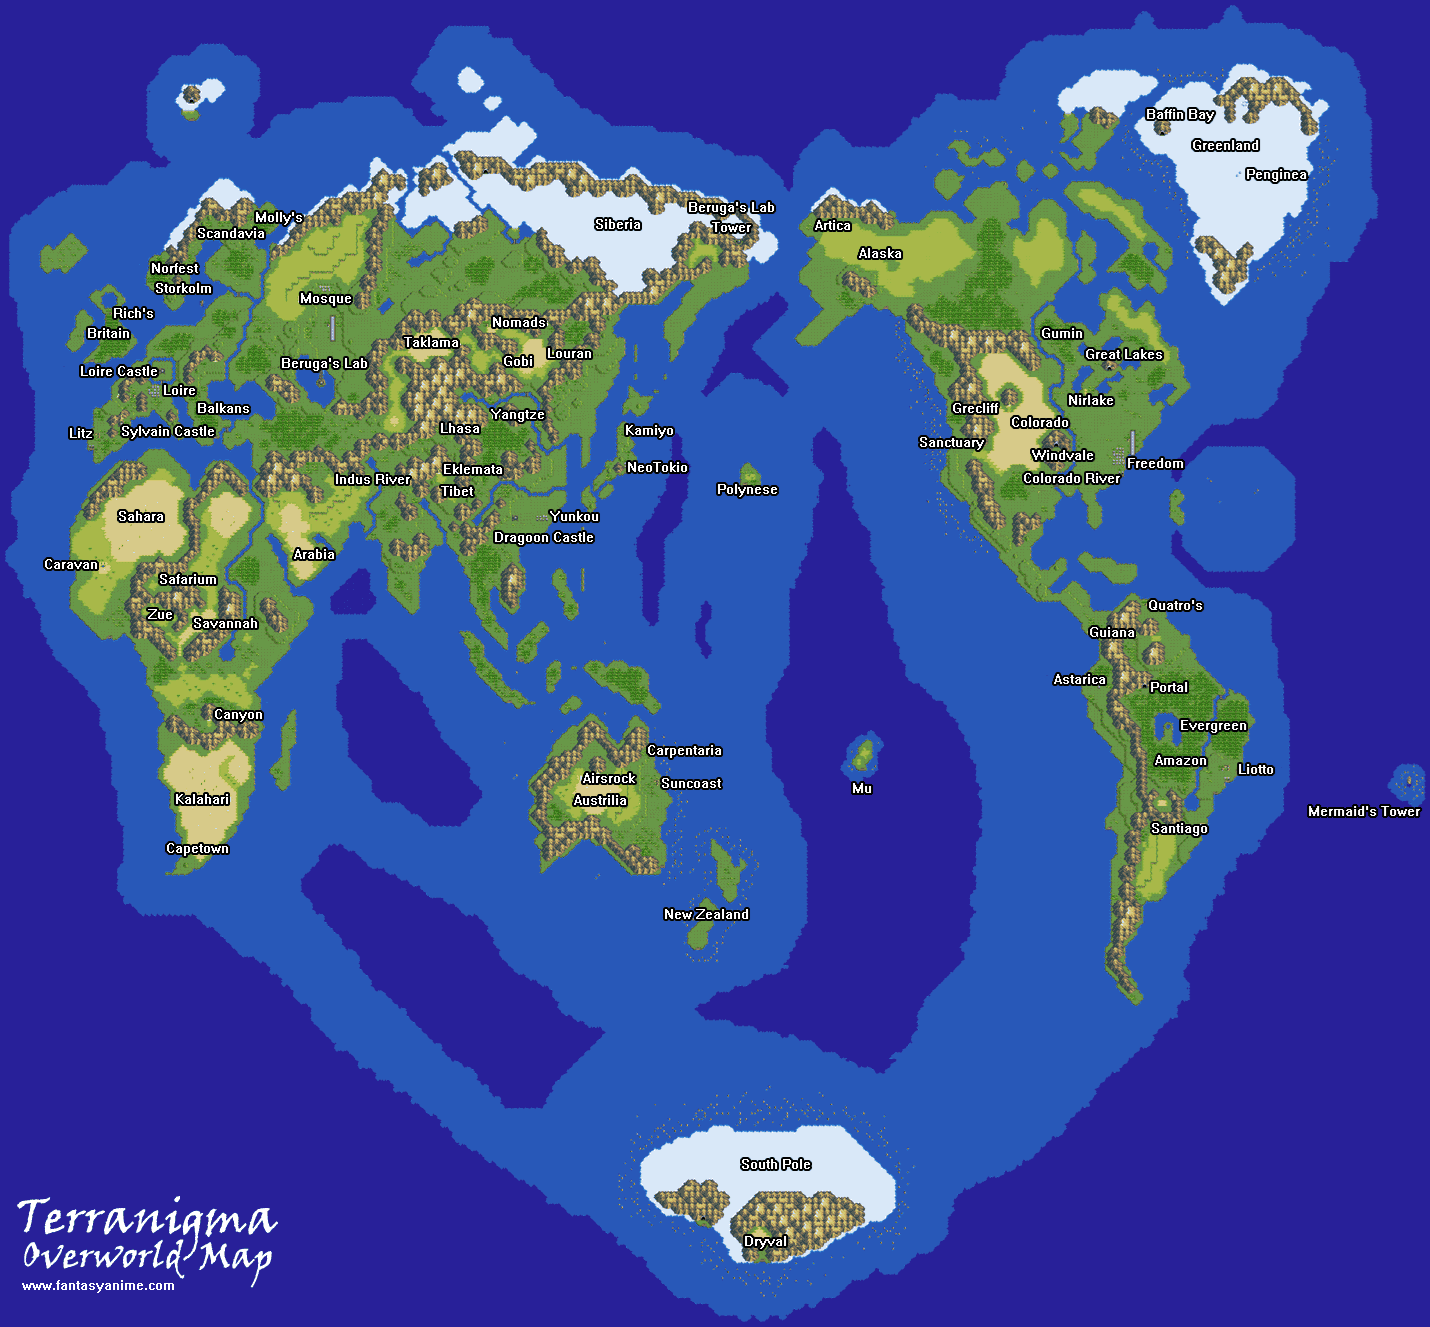
Below is a World Map for Terranigma, this will hopefully help you navigate around the world easier since there are a lot of places that we'll be visiting during this part. Full credit goes to the original creator of this map for the hard work that they put into it. If you need help viewing the map click to enlarge it.
There are over a dozen different things we can do right now and they are scattered all over the world. In addition to all of the items we can collect below there is also a lot we can accomplish with the Town Expansion Sidequest. Some steps of this quest will be mentioned below but I won't go into too much detail about it for those of you who don't care to complete it. For those of you who really want to finish it, make sure you follow the link provided for more information.
Locations To Visit:
S. Pole: Inside the small cave on the western side of the continent you'll find Sea Mail and a Life Potion.
Mu: If you resurrected this place in the Underworld you'll be able to find a Enbu Pike and a DEF Potion here.
Australia Subareas: Dock at Australia and follow the mountains east to find a subarea in the first forest. Inside you'll find a chest with 892 Gems. Keep following the mountains east to find another subarea, this one has a Life Potion and a chest with 228 Gems.
Australia Suncoast: There isn't much to do in Suncoast right now except take some pictures with your Camera and collect the Tasty Meat from the cattle rancher for the Town Expansion Sidequests.
NZ (New Zealand): East of Australia you'll find the continent of NZ, explore it to find a subarea with a Magirock.
Indonesia: North of Australia you'll find two islands you can dock on, you'll find a Luck Potion and 1403 Gems on the southern island. On the northern island you will find 378 Gems and Speed Shoes.
Yunkou (China): Almost directly north of Australia (the island you find Suncoast on) you'll find Yunkou aka China. Collect the Magirock in the northern part of town and speak with Chija's parents in the building to the south. If you gave Chija (the girl in the Nomads camp) a Pretty Flower this will update your Town Expansion Sidequest.
Neotokio (Japan): If you didn't come here earlier in my guide when I mentioned it, you can complete it now. There are 2 Magirock to be found here. Check out Chapter 3 of my Walkthrough for more information about this place and the boss.
Alaska: Sail up to Alaska and enter into the empty patch in the middle of the forest. You'll find some ruins with a STR Potion inside.
Polynese: There isn't any items to find here but there is some cute dialogue and a bit of personality that may make it worth visiting for you.
Freedom: Visit Stoma's House and give him the Tasty Meat, he will give you 100 Gems. Head downstairs into the Merchant building and into the back room to find the Black Market. Purchase KingBird's freedom for 5000 Gems. Before leaving speak with Bell and Eddy too for the Town Expansion Sidequests.
Sanctuar: If you free Kingbird in Freedom then visit him in Sanctuar/KingNest for a Magirock.
Africa Subarea: Search the northern portion of this continent near the mountains to find a subarea. One chest has 703 Gems and the other has 1003 Gems.
Africa (Oasis Caravan): Purchase the Crystal from this caravan for 1k Gems, it's used in the Town Expansion Sidequests.
Great Britain: Sell Matis' Painting to Rich here for 1000 Gems. This is part of the Town Expansion Sidequests.
NW Island: In the northwestern portion of the World Map to the north of Britain you'll find a lone island with a cave. Inside there will be a long tight rope that leads to a Magirock.
Litz: Give the Tin Sheet to the Sardine guy and the Crystal to the crafter in the adjacent building. Speak with the sardine guy a second time to get your Tinned Sardines. This will complete more of the Litz part of the Town Expansion Sidequests. You need to go to Freedom and deliver the Tinned Sardines there to complete all of Litz.
Loire: If you did the tasks that are part of the Town Expansion Sidequest then you should speak with Marily, Matis and the guy at the Winery. This will make Loire grow a second time.
When you're done visiting all of the various locations and collecting all of the goodies available to us it's time to return to the Nirlake/Freedom area to continue the story. Sail your boat back to Freedom and then travel north to Nirlake. Just north of Nirlake you'll find our next dungeon, Great Lakes Cavern.
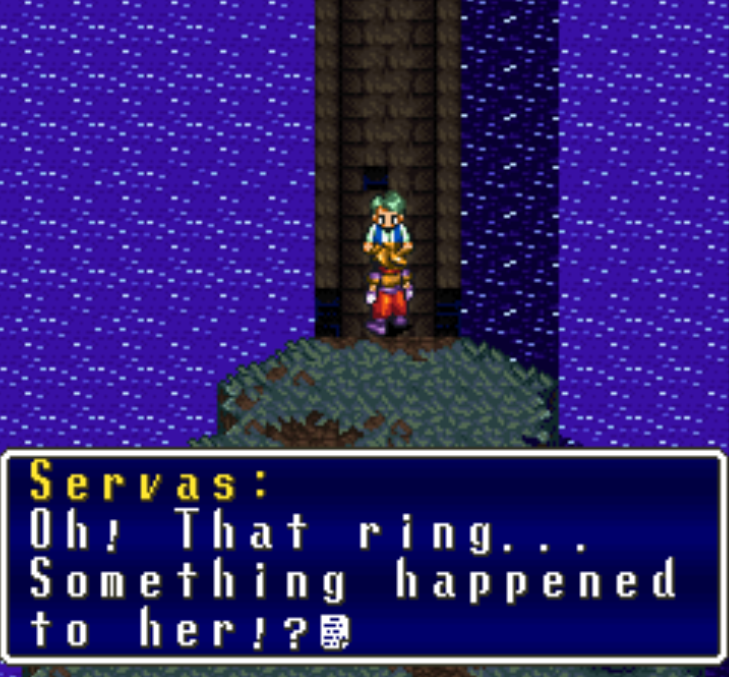
To gain access to this dungeon you will need to equip the Engagement Ring that we got earlier and speak with Servas (pictured below). Once he sees the ring he will vanish into thin air and you'll be able to pass.
Return to Chapter 3 of my Terranigma Walkthrough
Continue to Chapter 3 (Part 3) of my Terranigma Walkthrough
Continue to Chapter 3 (Part 4) of my Terranigma Walkthrough

