Terranigma Walkthrough - Chapter 2
You begin Chapter 2 with a conversation between Ark and Yomi. When you regain control you can use the save book up above to save your game if you want, otherwise you'll want to travel south to exit this area. On the World Map our first destination is called Evegreen aka Evergreen. Just south of the cave we exit from you'll find a small plot of land surrounded by water, this is where Evegreen is.
When you enter Evegreen you'll find a vendor standing outside, it's the "human soul" spirit balls that you can sometimes talk to. If you forgot to buy any items back in Crysta then you can do so from this vendor. Press A while facing the open hole in the tree to climb inside when you're ready to start the dungeon.
The first thing about this dungeon that I figured you should know is the treasure chests are little bulb like things which I have shown in my picture below. You'll find these gray flower-bulbs that shake and if you interact with them from the front you can open them for loot. You'll find the Ra Spear inside of this dungeon from one of these bulbs (it'll be on a raised platform in a room with poison water) among many other items.
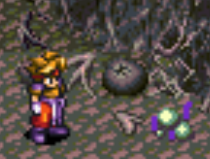
Chests in this dungeon are gray flower bulbs, like pictured above
As you progress through this dungeon you will hit a dead end where the path ends and two fishes are swimming. Defeat the fishes to make a bridge appear, then fall down into the hole in the next room. The next big land mark you're looking for is a small area with stairs going down that is blocked off by the red fire-spitting plants. These red plants are apparently called Abbees.
The room I am talking about will have one Abbee that you need to uproot to gain access to the area. After that, you'll find numerous Abbee surrounding the stairs but none of them will be in the way so you can skip them and go down. Keep progressing through the dungeon and you will eventually hit another dead end with a plant enemy on a ledge. When you defeat it a soul will spawn and talk to you, it'll tell you to follow it.
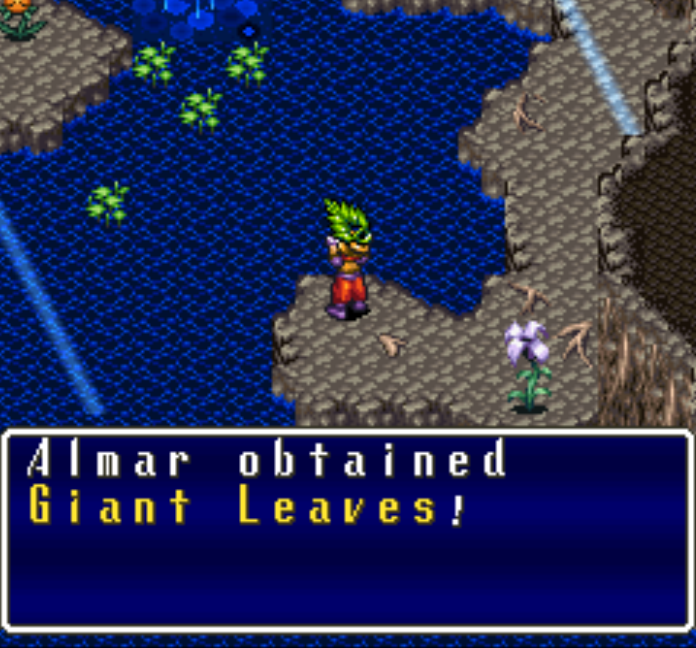
Following the soul will lead you down a long vine and into a large room with some water. Interact with the flower and it will tell you to grab a nearby plant and use it as Flippers (pictured below).
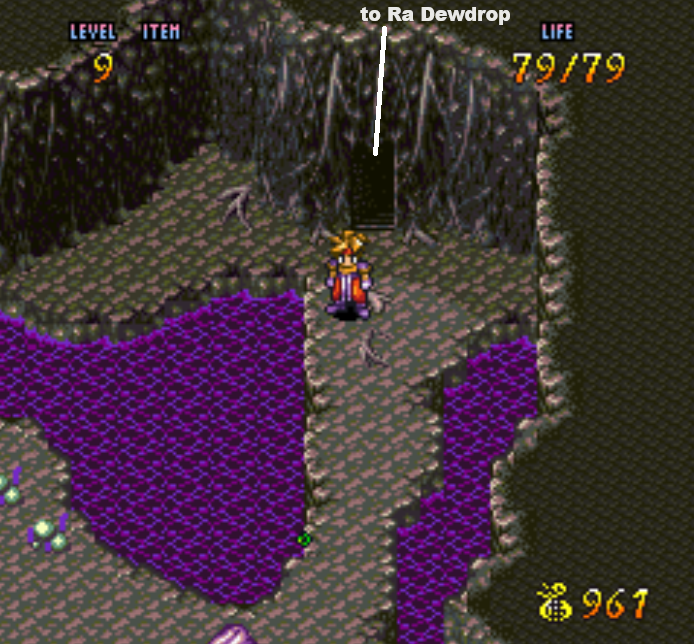
Now when you jump into the water you will be able to swim around - this includes for poisonous water too! Backtrack a bit to the fork in the road earlier in the dungeon. If you go so far back that you reach the room with all of the red Abbee enemies - you've gone too far. The area you're looking for is the fork shown in my picture below.
If you're below level 10 I recommend you get lost in this dungeon for a bit and fight a bunch more enemies. You can definitely beat this boss at level 9 but I find that it's better to be over leveled than it is to be under leveled. Of course, this all comes down to personal preference - do whatever you like!
This fork will take us to an important item called the Ra Dewdrop, you'll get it by inspecting the flower that you find at the end of the hallway. You'll want to consume this item immediately because it will make you immune to the poison used by the next boss.
After getting the Dewdrop you'll want to swim east to find the LeafSuit, it's a new suit of armor that you can equip now too. Keep swimming to the right and you'll find a vine behind a waterfall that you can climb up to get back into the heart of this dungeon. Do you remember that room in the dungeon where if you tried to enter you'd be incapacitated and pushed out? Well, that's the room we're looking for right now.
Once you enter that room you better be ready for a boss fight because after a short scene it will begin. At the start of the fight you'll need to hit the claw things that appear in the holes on either side of the boss arena. It's basically whack a mole. Once you deal enough damage the boss will show an eyeball out of the northern most hole instead of the centipede thing.
Focus your attention on the eyeball and keep hitting that/destroying the claw-balls that the boss throws out onto the ground when it does. My advice is to use the rusher attack (run+A) as it seems to be really effective. Plus it gives you half a sec (estimate) invulnerability frame which is very helpful.
Just like before, if you need to heal press Select and use an S.Bulb or M.Bulb, you should have plenty by this point in the game. Once the boss has been defeated watch the scene, when it's over you'll find yourself outside the dungeon with much of the area regrown. Visit the human soul outside again and you'll find new items for sale - one of them is the Ra Armor. If you'd like to buy this now it definitely is an upgrade. Or you can save your money, it's up to you.
Before you leave Evegreen you'll want to speak with the Ra Tree - it's the same tree we crawled inside of to start the previous dungeon. There will be some dialogue with this tree during which you'll be given the GrassPin item. That's all we need to do here, you're now free to leave.
Tip: Exit Evegreen and travel south to find a small area on the World Map with a magic vendor and a Magirock.
Continue north of Evegreen and you'll find an area called Guiana, there will be a vine you can climb up here to pass through. Once you're through keep going north until you find the next area, GreCliff. I recommend you stop by all the other areas you see along the way as they'll have useful things like vendors, treasures or a book for you to save your game. My job is to direct you from story event to story event, you'll do everything inbetween.
GreCliff Walkthrough
Much like the previous dungeon, I will leave you to explore a lot of this place yourself. For games like this I find guides very confusing that try to tell you "right, left, right" and give directions through each area. Instead of giving directions I prefer to give you plot points of things you're looking for, if a plot point is hard to find then I will direct you to where it is like I do sometimes below.
So, for this dungeon the first important plot point is finding the RocSpear. You can find this spear by following the outer edge of a large room, you circle around the side and exit out of the southern doorway. This will lead you to a room with two rocks blocking off a chest. Touch the boulders and you'll make some rock monsters appear, defeat them and open the chest for the RocSpear.
The RocSpear is both an upgrade for you but also an important weapon for advancing through this dungeon because when you use this spear on dark gray boulders you can destroy them. After you obtain this spear return to the fork that lead us here and instead of going around the room, go north to find two large boulders we can now destroy.
Tip: You can defeat the mudman monsters by using a run+B+A attack on them.
Our next notable landmark is a tunnel which you'll have to fall down (pictured below). This tunnel is the first "challenge" of this dungeon, as you fall down it you'll want to hold left on your controller so that you don't fall straight. Holding left will get us to a new part of this dungeon which has the next key item that we need.
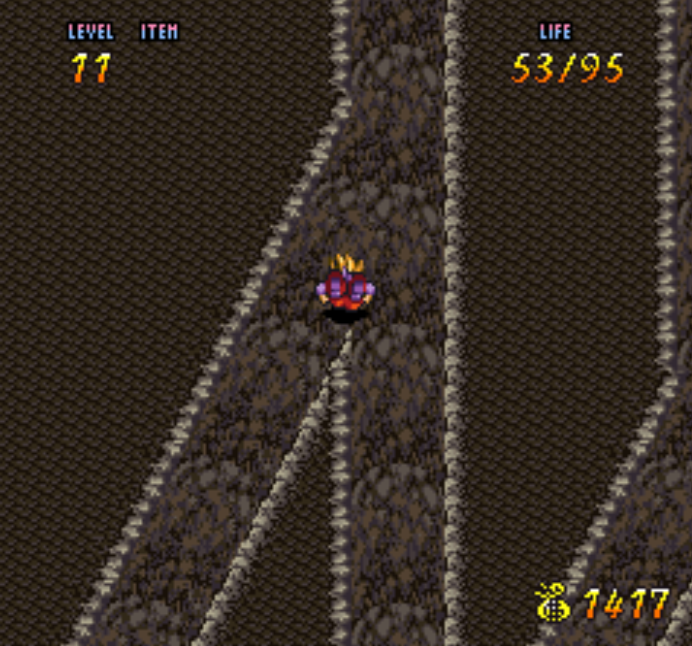
Hold Left while falling down the pit in GreCliff
After you end the left tunnel let go of the analog stick and just fall straight down. You'll arrive on a platform with a lone chest, inside is an S.Bulb. Go down the vine and follow the linear route through the next few areas, you'll eventually come to a nest of birds with a small blue sparkle. Inspect the blue sparkle to get a Sharp Claws item.
Throughout this dungeon you've seen walls with little holes in them - it looks like you can climb up these areas and with the Sharp Claws you can! Now all that's left of this dungeon is to challenge the boss, they're known as the Dark Twins. You'll want to make sure you're at least level 13 before you fight them.
Tip: Consume your Life Potions, STR Potions etc. They will give you permanent boosts to your stats.
You can find the Dark Twins by climbing up the mountain to the very top. Honestly, this dungeon is pretty linear and you'll most likely have to run through it a few times to get level 13 anyway. Spend some time exploring and make sure you got everything, then climb up and up until you find the boss' lair.
I'm not sure how to explain the fight with the Dark Twins because I one shot the boss every time I try it. The fight starts with a green bird that flies around and shoots rockets at you. Eventually it will dive bomb your platform and all you have to do is your charge attack (Run+A) to hit it when this happens. I hit the boss for 42 and again for 42 and it dies. If your boss stays alive longer you'll eventually have a brown bird show up that poops on you.
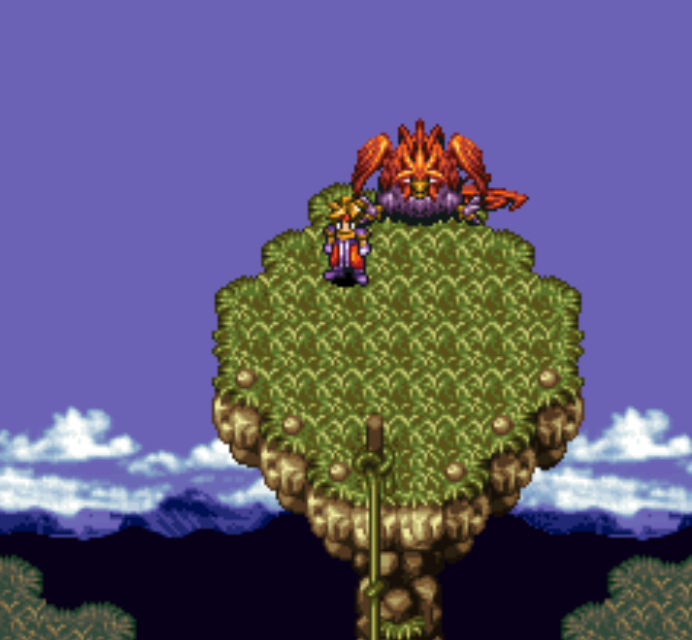
Deal 80 damage to one of these birds and they'll both be defeated. When you regain control of your character you'll be in Sanctuar with a bunch of birds. Go north as far as you can in this area and climb the wall to reach another area called Kingnest. You can climb up the wall in any location, in Kingnest you can climb the walls too but you're looking for a vine to climb which leads to the big boi you see below.
Talk with the King bird at the top of Kingnest (pictured above) and he'll tell you that you need to reactivate the wind too. In order to do this you'll need to climb down the vine and talk with one of the three white birds standing in a line below. These birds will fly you to Windvale which is a very short dungeon.
All you need to do inside of Windvale is throw 3 rocks into the pit near where you see the light blue sparkle of light. Once you throw the third rock you'll get a message on your screen thanking you for waking up... whatever it is that you woke. Return to the bird that flew you here and you'll be taken back to Kingnest, talk with the king again and you'll get WindPin.
Head back down the vine and purchase a BirdSuit from the bird shop keep here and then speak with the gull on the left to fly to our next location, Safarium. There are two vendors here but not much else, exit Safarium and travel south to our next dungeon - Zue.
Zue Walkthrough
This dungeon is a long one and it comes with a few unique quirks - like an overcast sky when it rains and a clear sky when it is sunny. One enemy has a different attack when it's raining and the bushes you must crawl through are significantly harder to see. Other than this though there isn't much this mechanic does. To advance through this dungeon you will need to collect souls from defeating monsters and activate the 3 Rainfall Altars throughout.
When you first enter this dungeon search the entire place and defeat all the enemies you find to free the souls that you need. The first batch of souls are spread out quite a bit. We need four souls per Rainfall Altar and you can only free these souls by defeating monsters then speaking with the souls that appear. To reach the first Rainfall Altar in this dungeon you will need to crawl through the bushes that I have pictured below.
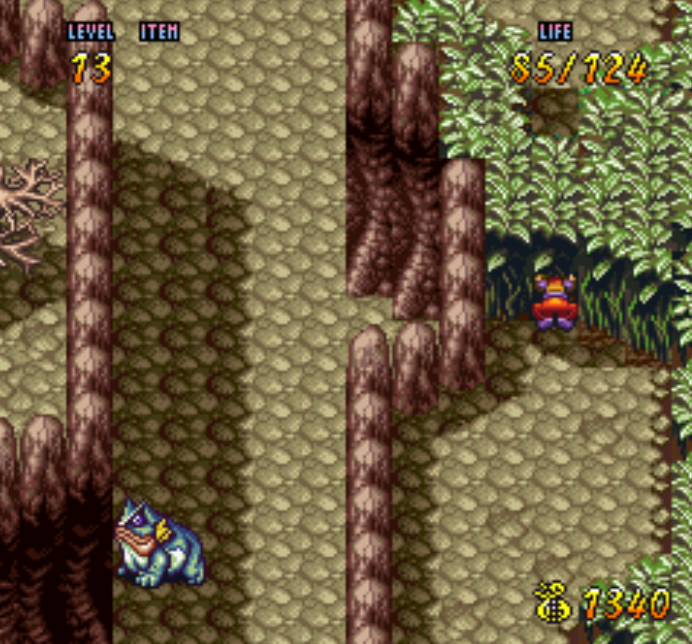
You can crawl through some bushes in Zue to reach new areas
Crawling through the bushes in this location will lead you straight to a Rainfall Altar; just crawl under the next gap you find and climb up the wall to reach the top. After you activate this Rainfall Altar you can now swim over to a platform and collect the DEF Potion which will give you a permanent increase to defense.
As you progress through the dungeon make sure you defeat any and all monsters because you never know which has the soul you need (you also need EXP). You'll find more treasures too, like the Sticker which is a new weapon. You don't want to equip this just yet though because you need your RocSpear to break through some boulders ahead of you.
Eventually as you progress through this dungeon you will come to a wall, Ark will stop immediately and comment on how the wall is shaped odd and how it looks flimsy enough to knock down with some air. You can knock down this wall by hitting the frogs nearby, their actual enemy name in this game is Douma.
To make a Douma spit air you'll need to hit it once while it is facing the direction you need. If you kill both of them before you knock down the wall then reset this area by leaving and coming back. Doing this will respawn the enemies. Let the air bubble that the Douma spits hit you, Ark will fly into the wall and you'll smash through it with your body. I kept trying to dodge the air attacks initially and let them hit the wall but that wasn't necessary.
You'll find the next Rainfall Altar a little bit past this wall, if you're missing one soul it's because you need to run past this altar first and defeat an enemy then return to it. This Rainfall Altar will fill much of the remaining water ways, you can access the final Rainfall Altar now by swimming all the way south if you wish. However, you need all four souls before you can activate it.
In order to collect the remaining souls you'll need to push the stumps aside (pictured below) and cross the river. North of this location you'll find two chests, one has a Life Potion which will give you a permanent boost to health.
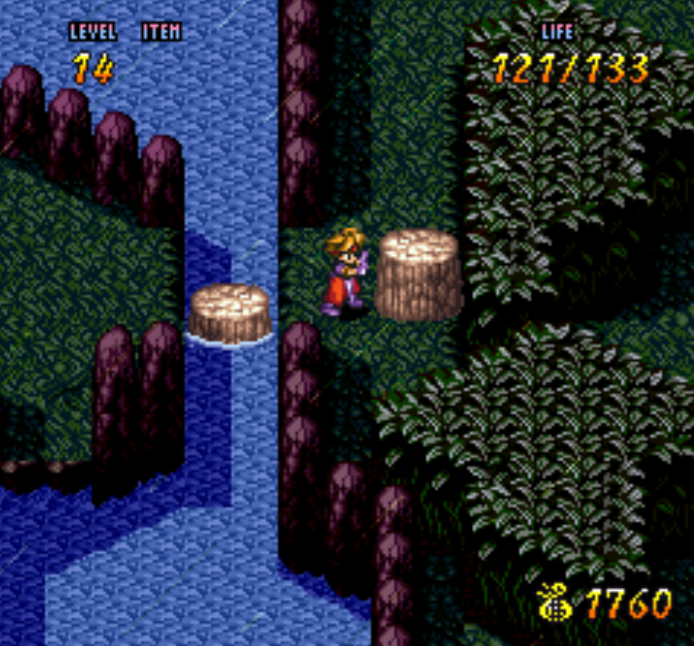
Push the stumps aside to reach the other side of the river
When you reach the other side of the river defeat every enemy you see and speak with all of the souls that are released. You need a total of four and 3 are found on the right hand side of the river after crossing the stumps shown above. Once you've collected them all swim down the river south to find the final Rainfall Altar.
After you activate the final Rainfall Altar you'll be able to find a Luck Potion near the entrance of the dungeon, aside from this potion all that's left is the boss. To reach the boss of this dungeon cross the river again where the stumps are and continue south. The river in the south used to be dried out - there was a Magirock down here before and a dead end. Now that there is water you can grab the ledge and make it to the room with the boss.
The boss you'll be fighting in the Zue dungeon is named Storm Master. During the first phase this boss spits flames across the boss arena at you and throws its scythe claws. My advice is to use your dash attack (Run+A) on the boss constantly during this phase to deal damage while avoiding damage. After doing enough damage the boss will switch to phase 2.
For phase 2 the boss will transform into more of a flying creature and the platform you're on will be falling into the earth. Much like with the previous bird boss you will only have a brief window to attack each time the boss flies close to your ledge. Otherwise you'll have to run back and forth dodging attacks until you can return an attack.
When the fight is over you'll get a short scene after which you will regain control of your character in Safarium. Talk with the Gull to learn that the Lion King wants to talk with you, head north and into the cave for another scene during which you'll meet King Neo. After the scene continue north into the Lion Den and then speak with King Neo in the bottom left of the den.
King Neo doesn't say much, but when you talk with his wife sitting right next to him - she will issue your next task. His wife asks you to find their son Leim in the Canyon dungeon to the south, this is our next destination.
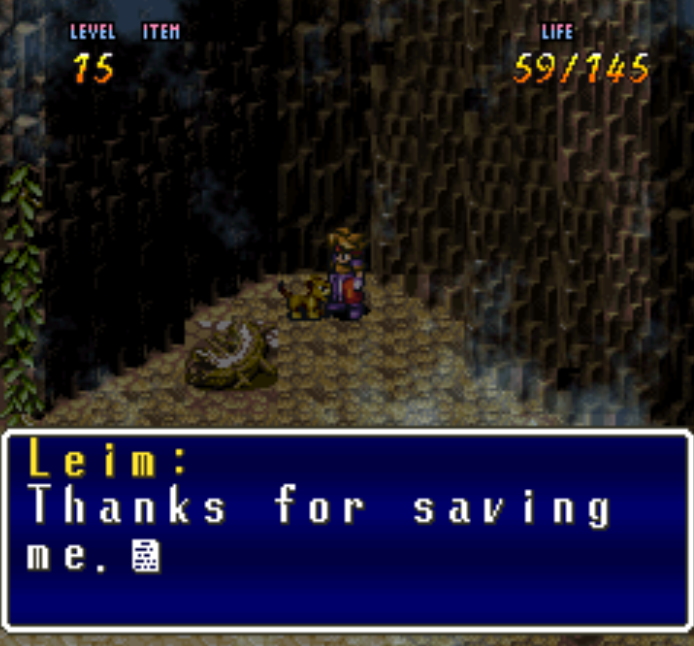
Enter the Canyon dungeon south of Safarium and climb down the vine; you'll find Leim in the area down here being attacked by two birds. Defeat them and speak with him to have him join you. For this next part, all you have to do is follow Leim and protect him. When he stops talk to him to get him moving again. I recommend you go ahead of him to defeat the enemies so they don't defeat him.
Another tip is for the mud monsters use your Run+B+A (running jump attack) to defeat them. That's like the only attack that can effectively damage them. Eventually you will come to a stone bridge, this is the most pain in the butt part in my opinion. You need to walk with Leim, not too fast and not too slow otherwise one of you will fall down.
You will eventually come to the final screen where you'll have a mini boss fight against Mud Doll. For this guy you need to pick up the boulders in the arena and throw them at the boss. Leim will replenish your boulders each time you consume one.
To hit the boss you'll need to wait until he surfaces from the ground and his whole body is exposed. When he surfaces jump an throw your boulder to hit him; do this a couple of times for victory. Once defeated the Mud Doll will lower a bridge, as you cross it he will blow it up and Leim will finish the fight without you. Watch the short scene and speak with Leim when he stops talking to advance.
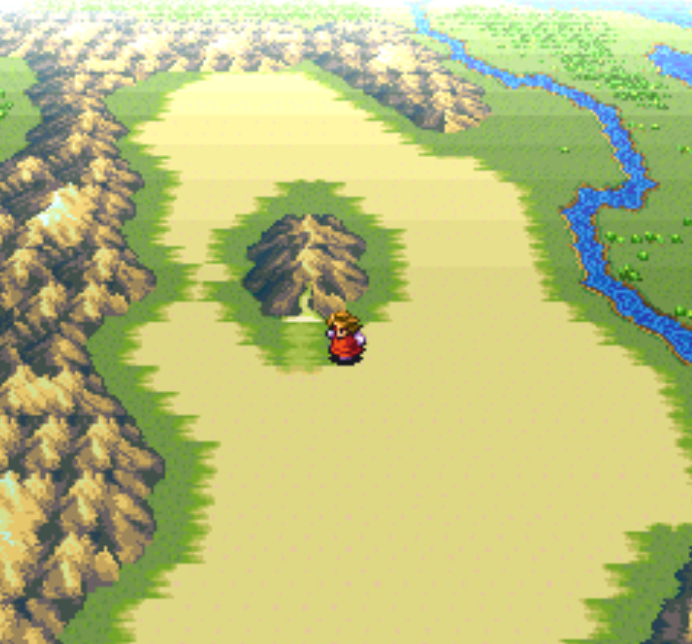
Leim calls a gull for you and you fly back to Safarium. Head downstairs and talk with Leim's mom and dad to get the Neo's Fang item. Talk with Leim too if you want, when you're done it's time to travel east of this location on the World Map to Indus R. You can find Indus R along the river right where I am standing in the picture below.
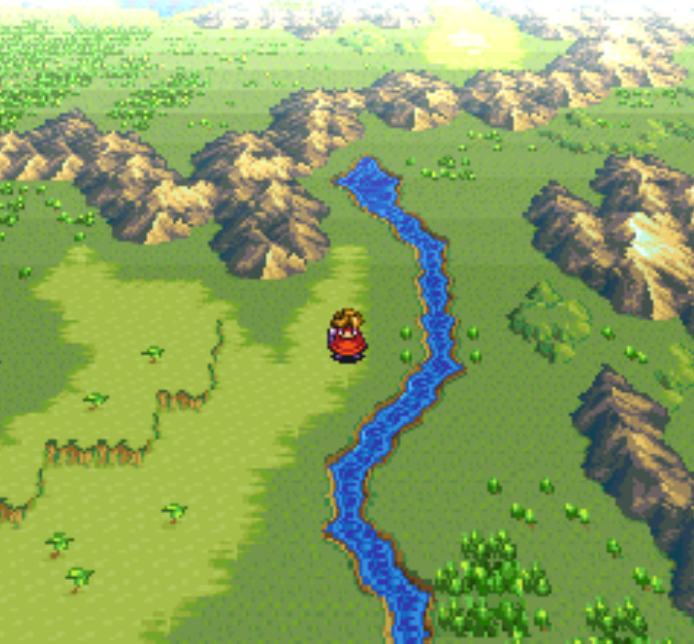
Indus R on the World Map (walk right into the two trees)
Speak with the vendor inside of Indus R and purchase the Fur Coat item, you'll want to equip this along with the Neo's Fang weapon. You need the Fur Coat to not freeze to death in the next dungeon and Neo's Fang is a weapon upgrade for you. Once you have both equipped you'll want to travel west to Tibet and enter the mountain you see to find Eklemata.
Eklemata Walkthrough
The first part of this dungeon is very straight forward, keep going from area to area and you will eventually come to a Yeti sitting in a hot tub. You will have a bit of dialogue with Yomi during this part, after which you'll want to climb down the vines and enter the cave. This cave has a few forks to different rooms which contain some loot - one of the forks goes to the story objective too.
Circle around the room in this cave to reach the bottom right, you'll have to pick up and throw some rocks out of your way to get here. You will also need to clear some rocks out of the way near the northern "slides" in this room. What you need to do to advance is slide down the two slides in the north, when you collide with the wall you will smash it to pieces and uncover a new area.
Additionally, when you climb the vine in the bottom right of this cave you can go over to the left and then fall down where you see a short vine (pictured below). Falling down into this pit will take you to the FirePike weapon. In the NW of this room when you break down the wall by sliding into it you will find the Ice Suit, this is an upgrade of armor for you.
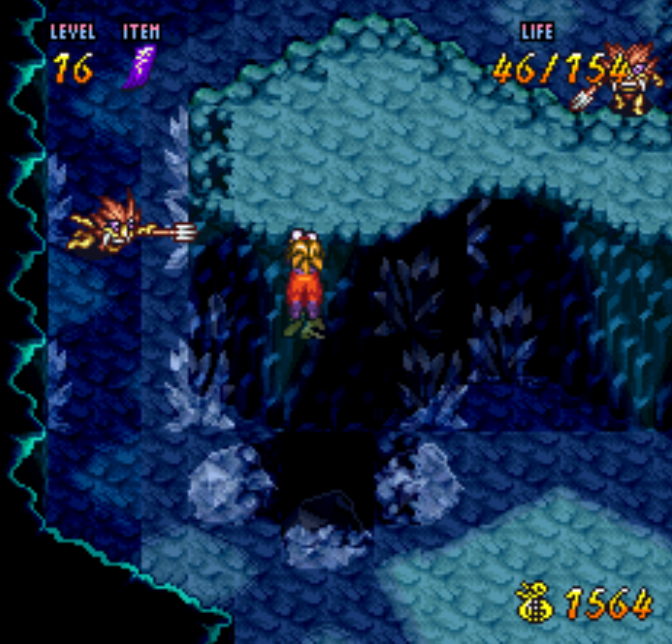
Fall down into this pit for a FirePike weapon
Much like the other route, slide into the NE wall to break it down. Follow the path and it will lead you to a Snowgrass Leaf. You need this item to advance the story, return to the Yeti in the pool of water and equip the Snowgrass Leaf. Press the button to use an item while facing the water and you'll throw the leaf into it.
The Yeti will tell you to follow it, when you talk to it in the next area it will toss you over the small gap to the other side. In the next part of this dungeon you will have a few forks in the road that lead to treasures - explore and collect. You will eventually reach a long ice slide which will have you slam into a wall outside and trigger an avalanche.
When you wake up you'll meet a mountain goat in a cave, keep talking to her to advance the story. Eventually that mountain goat will break out of this cave and you'll climb your way up the wall to freedom. Back outside go south to find the lake we crossed with the Yetis - it's now filled in with snow. Travel east along the lake and up the mountain to a new area.
From here the path to the next boss is pretty straight forward, keep going up until you eventually find a large hole in the ground which you fall into. There will be a small amount of cave and then a small amount of outside before you reach the peak of the mountain which is where you fight the next boss.
This boss has three stages, the first he'll be a Yeti - he will throw crystals all over the arena and blow you around to try and make you hit them. For this part of the fight try and stay into the top corner. Watch the direction the Yeti faces too as that will tell you the direction he is blowing you.
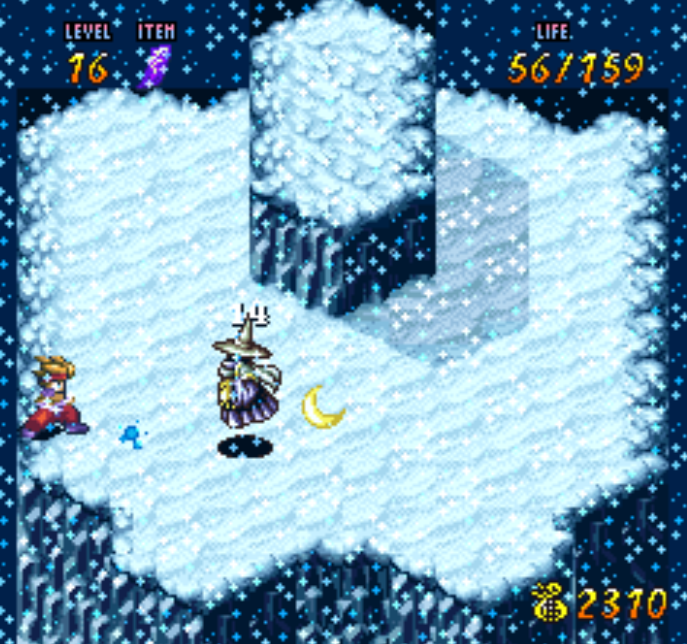
Phase 2 will be a Cadet monster from earlier in the game (pictured above). During this phase the only way you can deal damage to the boss is to hit him with his own attacks. Wait until it shoots the crescent moon things at you and hit them right back. For this part my advice is to face the boss and spam the A button when the boss is about to shoot at you.
Your character will do the traditional anime "many strikes all at once" attack and you'll always hit the crescent moon back. As for the final phase, it's a game of hit and run. Each time you hit the boss he will despawn into a group of bats and they will do damage to you if you're hit. To avoid the bats and hit the boss you should do a running slide attack (Run+A). You can use this skill to hit the boss and to get through the bats since this ability gives you brief invulnerability frames.
Most guides online recommend you be at least level 17, I did the boss at 16 and it was a piece of cake on my first attempt. When the fight is over you'll get a long scene during which you will conclude Chapter 2.
Continue to Chapter 3 of my Terranigma Walkthrough

