Terranigma Walkthrough - Chapter 1
Terranigma begins in the village of Crysta with you in control of our Hero named Ark. You start in your bed room, inspect the diary on the table to save your game when you wish. At the start of the game my advice is to run around a bit and get familiar with the controls. Speak with everyone in the village and do the normal RPG stuff. When you're ready to advance the story you'll need to complete 5 steps - all of which are listed below.
Some of you may need a bit more hand holding than this, in which case you should read a bit further down the page for more information about these steps.
1. Speak with the Elder
2. Go to the Weaver's House and apologize
3. Return to the Elder's House
4. Throw 2 pots at the blue door to break it open
5. Open the chest inside of this room
When you first begin the game you'll be inside of the Elder's house, this is the first required dialogue flag. He's the old man in the room with two chests, when you find the room with the blue door - the Elder's room is above it. After speaking with him you'll have to next visit the Weaver's House. Their house is directly north of the Elder's House.
At the Weaver's House you need to speak with Elle's mother, she is sitting across the table from Elle. When the conversation is over return to the Elder's House and there will be a scene in the room with the blue door (pictured below). All you need to do here is pick up 2 pots and throw them at the door to bust it open.
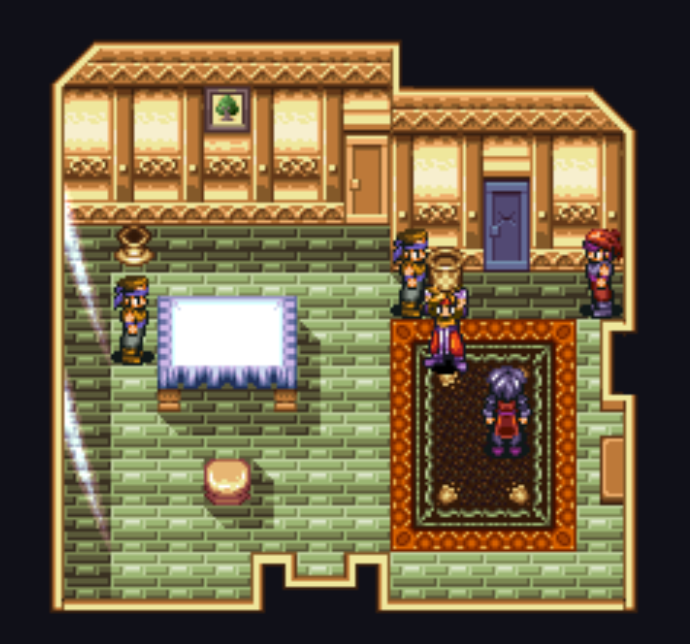
Throw 2 pots at the blue door to break it down
Once the door has been broken down go into the basement and follow the linear path to the box that is talking to you. Interact with the box and you'll trigger a long tutorial explaining how to use the room(s) you find yourself in. When the tutorial is finished go into the Weapon Room and inspect the blue light on the small square here, it'll morph into a weapon for you called CrySpear.
You will be interrupted by Elle after getting your weapon, she will turn blue/fall asleep right in front of you. More scenes will play out, after which you'll want to go upstairs and try to exit the building you're in to find the Elder. For whatever reason the Elder wasn't affected by this spell, talk with him to get more details then go back to his room to open those two chests from earlier in the game.
In one chest you'll find an S. Bulb item and the other contains 50 gems. Gems are the currency in this game, much like with the Elder all of the shopkeepers in Crysta somehow escaped the spell that was cast. Game logic, right? Before you leave Crysta the last thing you'll want to do is press Select to enter the box.
Enter the Weapon Room and equip the CrySpear, you'll also want to enter the Armor room and equip the Clothes. That's all we can do inside of here for the time being, press Select to get out again. Now it's time to leave the safety of our town and travel across the World Map.
This World Map is very linear and easy to figure out, when you leave town follow the path until you reach a tower - enter that tower. For the first part of this game we're going to need to conquer 5 towers in total. As you can imagine each tower will be more difficult as we progress.
The first tower of this game is extremely easy to navigate and complete. About half way up this tower you'll have to go through a window and climb up some chains to reach the top. Pay attention to the walls and look for windows that are broken to find the right spot. When you reach the top of the tower you'll find a door, talk to the NPC out front and he will trigger a boss fight as well as explain a bit more story to you.
Your first boss fight is against a group of Red Huballs, they're extremely easy and you shouldn't have any difficulty. Once the fight is over Eurasia will be resurrected and you will be removed from the tower. I recommend you go right back into the tower and start clearing it again for both the Gems and the EXP. You'll want to collect ~200 Gems and hang around until you get to level 4 or so.
Before you visit Tower #2 my advice is to return to Crysta and purchase the Leather Armor that is available at the shop. When you're ready, you can find Tower 2 to the north of Tower 1. This dungeon starts to add in some puzzles to make the floors more complicated.
Tower 2 Walkthrough
On the first floor of Tower 2 you'll want to push the statue in the top left portion of the room over to reveal a path that goes up. Go up the stairs and press the switch near the door in this room to trigger another statue in the previous room. Return to the first floor of the tower and go over to the right hand side, you'll be able to move a statue here (look at the gems on the head) to reveal another staircase up.
Much like before you will need to hit a switch in this room, this will reveal a path in the central part of this room which we can not reach from where we are now. You'll need to return to the first room of this tower and go up the first set of stairs we revealed to reach this new stairway. Lots of backtracking and a bit confusing, I know.
Now you've finally made it to the third floor, all you need to do on this floor is hit the four switches to make the bridge appear in the south. Go upstairs and you will find a room with about a dozen different statues. Look for the statues with red jewels in their heads and push the one on the left to the left and the statue on the right to the right. Pushing them the wrong way will spawn a lot of enemies (free EXP!).
If you aren't already level 5 it's recommended you do some grinding in this area (by spawning enemies) before proceeding.
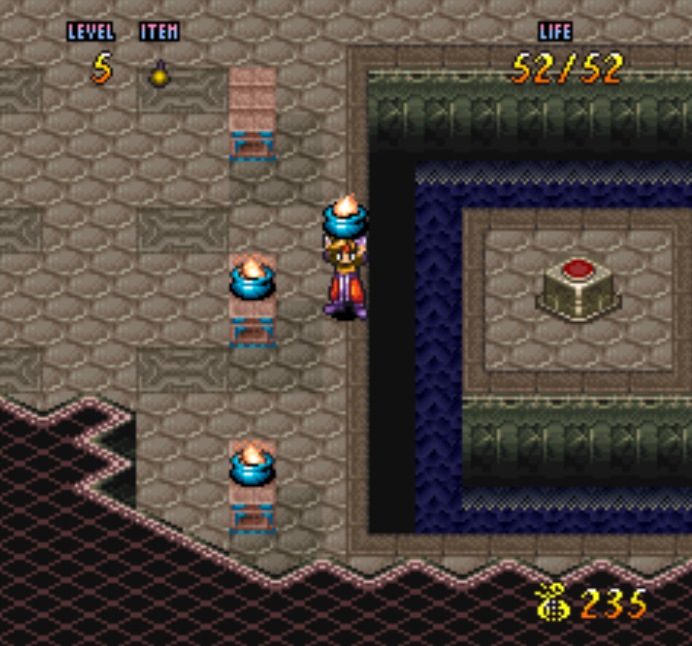
The next floor will have a switch sitting on an island surrounded by water, you will need to pick up one of the pots nearby and throw it at the switch to hit it. Once you do this you can speak with the cloaked figure and enter the door it was guarding. There will be a short scene during which South America will be resurrected.
You're now done with Tower 2! Like always you'll be removed from the tower once you complete it, back on the World Map you'll want to travel northeast to the next location.
Tower 3 Walkthrough
This tower seems to be a test of your jumping skills, it's pretty linear but there will be many platforms you have to jump to throughout. In the first room you'll want to go up the stairs in the north to proceed (the stairs down in the NE lead to a Magirock). To reach the chest next to the stairs in the middle of the first room you'll want to push yourself into the wall on the right until you find the path (it's kind of hidden). You'll find an S. Bulb inside.
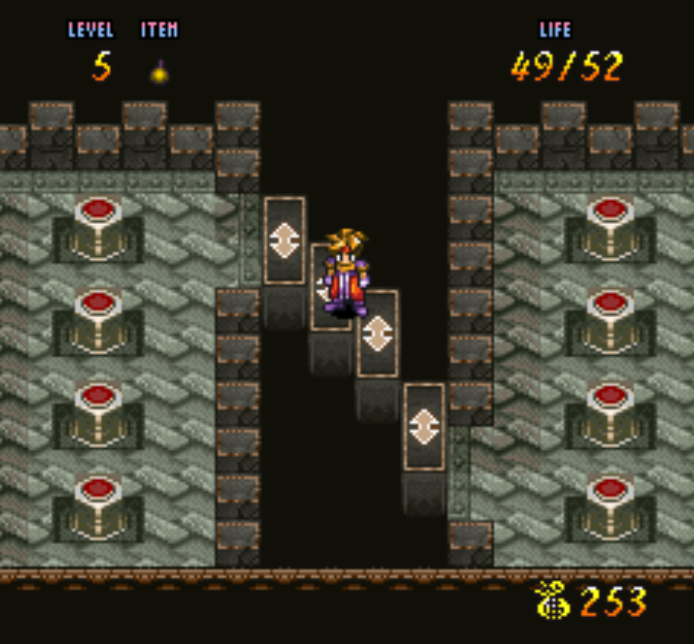
On the next floor you'll find the puzzle shown in my picture below. You will have to press each switch to move the floating platform associated with it. In order to cross this gap you'll need to align each platform a little bit off center like you see in my picture below. Depending on how good you are at lining them up you may be able to run across them or you may have to jump.
From here the path to the top is pretty linear, in one of the large open rooms you'll find a door with two switches next to it. Make sure you grab the chests in the bottom right and left of this room because one has the Sleepless Seal item which you'll want to equip immediately. This will make the Guardners less annoying to deal with since they won't be able to put you asleep with their attacks.
Something I learned around this point in the game is that you can do a jumping ground slam attack with your spear by running and press B+A. You can also perform a charging attack by pressing A while you are running too, but I assume you probably figured that out already. The spear dive (run+B+A) and (B+A) are the only two attacks you have right now that can defeat a Guardner enemy.
If you press the two red switches in the room with the Sleepless Seal it will release some Red Huballs, fight them for EXP... Or accidentally zone into the next area and miss the fight forever (I could never make them respawn). You'll find the boss of this tower in the next area, it will be a High Cadet that uses illusion magic to trick you.
The secret to this fight is the High Cadet will always spawn behind you. So, for the easiest victory you'll want to turn around and wait until they phase into existence then charge him and attack. Rinse and repeat until defeated then go through the door to save Africa!
Tower 4 Walkthrough
You can find the fourth Tower 4 to the east of Tower 3, it's pretty easy to locate. After exploring the first floor of this tower you'll notice that there is no way to the floor above you; so instead of going up you should fall down instead! Much like the previous floor, this one won't have a way up either, instead it has four holes that you can fall down into.
All holes but the Southeastern one take you to the same area; the SE hole will take you to the top of the tower and the rest of them will take you to a bunch of bonus loot. I strongly recommend you do the bonus loot portion of the tower first because you'll get some Magirock and of course EXP.
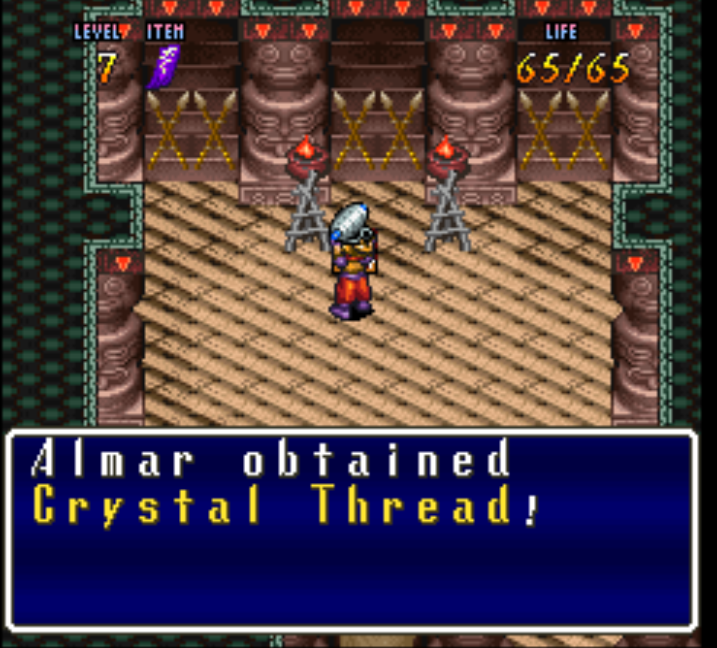
When you're ready to proceed drop into the SE hole and continue up the stairs until you reach the top. Make sure you grab the chest that contains a Crystal Thread (pictured below) as this item is just as important as the boss in this tower. After this dungeon we'll give this item to Elle to craft something new that lets us access the final tower.
Continue through the dungeon to reach the door at the very end, NE of that door you'll find another Magirock. When you enter the door in this tower you'll have to fight the boss, it's basically a centipede of Huballs. The purple ones you can't hit but the yellow ones you can, keep hitting and defeating the yellow ones until you destroy the entire centipede.
Once you destroy the centipede you'll be removed from the room, enter the door a second time and there will be a long scene during which you rescue North America. When the scene is over you'll be removed from the tower and placed back on the World Map. Before we can continue to Tower 5 we'll need to return to the town of Crysta first.
Back in Crysta you'll want to talk with Elle, she will ask for the Crystal Thread you looted from Tower 4 and start turning it into a cape for you. To advance the story you'll need to return to your bed and sleep, you'll wake up in the middle of the night. Visit Elle while it's dark out and talk with her for another scene then return to your bed and sleep again.
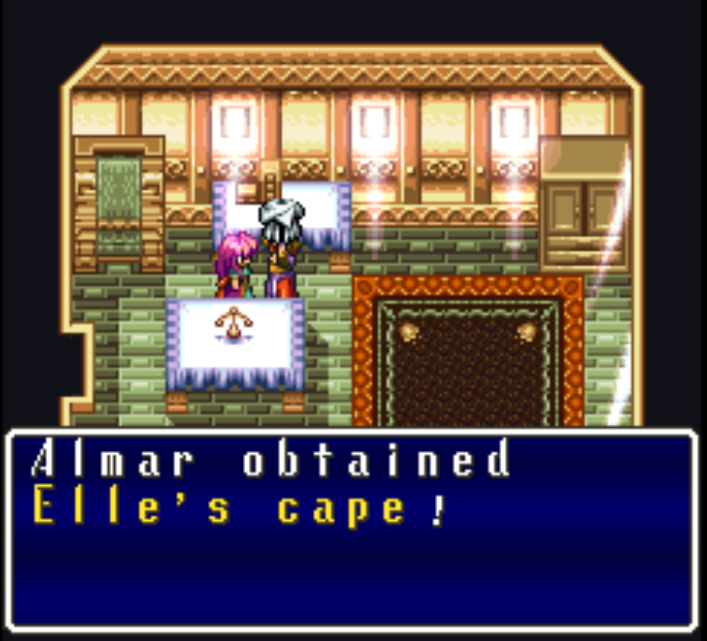
The next morning you can visit Elle and she'll give you Elle's Cape - this item is an upgrade for us and it's also a requirement to access the next tower. So equip it immediately.
After you equip Elle's Cape it's time to travel to the final tower. Return to the area with Tower 4 and go south until you find Tower 5. Directly south of Tower 4 you'll find a different dungeon that we'll talk about in a bit - for now you can't do much inside of there. Tower 5 is the next dungeon below this one on the World Map.
Tower 5 Walkthrough
When you try and enter Tower 5 there will be a brief cinematic during which Elle's Cape will protect you. If you try to enter without this cape on you'll be ejected from the dungeon instead. As for the tower itself, it's basically a boss tower. The path to the top is extremely linear and once you reach the top you'll have to fight your first boss - ShadowKeeper.
To beat the ShadowKeeper you'll have to attack the two claws until they're both destroyed. After that unload on the head until the boss is destroyed. I was able to stand next to the boss' head (not in front) for awhile and spam A to attack numerous times. Don't forget to press Select when you get low on health and consume the S. Bulb or M. Bulbs to heal.
Australia is the country you restore in this cutscene, you'll also restore more villagers. Before you go back to town I recommend you do the steps below, we have two more places to restore first.
Final Part of Chapter 1
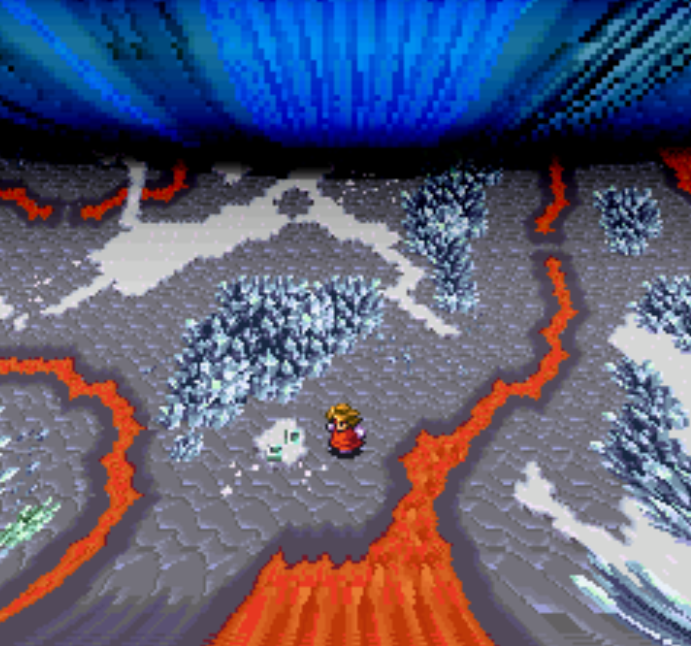
Polynese Dungeon on the World Map
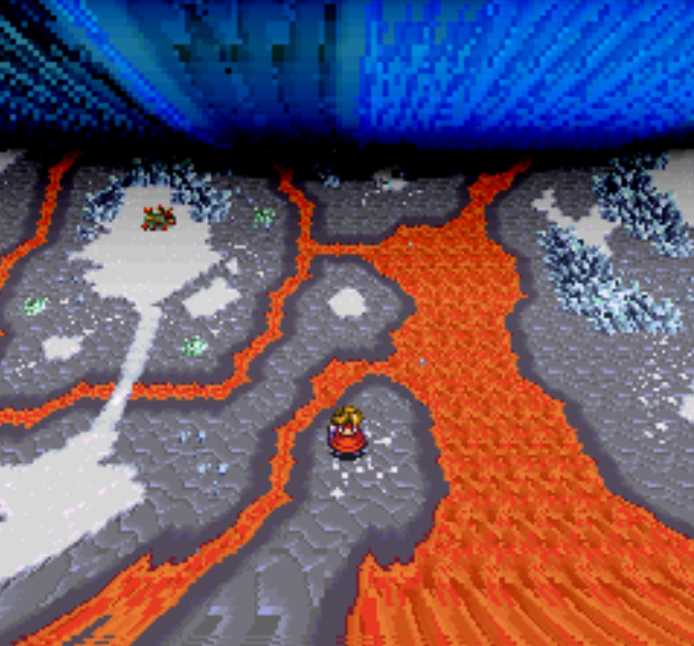
Once you're done with Tower 5 and ShadowKeeper has been beaten you'll still have two more locations to visit, the first is a small dungeon that we'll call the Polynese Dungeon (pictured above). I mentioned this place earlier, you can reach it by traveling directly south from Tower 4. It's two small buildings on the World Map.
Visit this place, clear it of all enemies then go through the door and you'll restore Polynese. The next dungeon you need to visit we'll call the Mu Dungeon. You'll find this place to the north of Tower 3, a screenshot of what you're looking for is shown below.
The Mu Dungeon will require you to solve a very easy puzzle, if you mess it up exit and enter again until you reach the door.
When you're ready to advance the game you'll want to return to Crysta and speak with the Elder. He will tell you to meet him east of town at a big hole. You should visit the vendor in town and stock up on S.Bulbs, M.Bulbs and P.Cures because you will need them for the dungeon to come. Visit Elle for a scene too, she is in her house.
Once you're all done and ready to advance the game to the next Chapter exit town and travel east to the hole. If you're having trouble finding the hole look at the screenshot above, you can see Crysta on the map. There is an island just southeast of town that is a blank patch of snow in my picture. It won't be blank for you, it will be the hole.
Enter the hole and speak with the Elder, tell him you're ready to go and then jump down into the hole when you're done. This will be the end of Chapter 1.
Continue to Chapter 2 of my Terranigma Walkthrough

