Soul Blazer Walkthrough - Chapter 2
Exit town to the south and continue east across the underwater area until you find the cave entrance. Go inside and you'll find a new portion of the underwater dungeon, there will be a sliding escalator (which is probably meant to resemble water currents) bit during this part. Make sure you get all of the enemies along the escalator portion before progressing to the next island called Blester.
Blester is pretty straight forward, you can defeat all of the enemies here except a pack of metal gorillas. We need the Thunder Ring to beat them so it's back to town for now. Once you're back in town speak with the mermaid in the western portion of town (pictured below). She will ask if you've seen the queen of the mermaids, regardless of what you respond she'll bring up Lue and tell you to please save him - then she will move aside. Step onto the portal that was behind her and you'll be teleported to a new place with a dolphin.
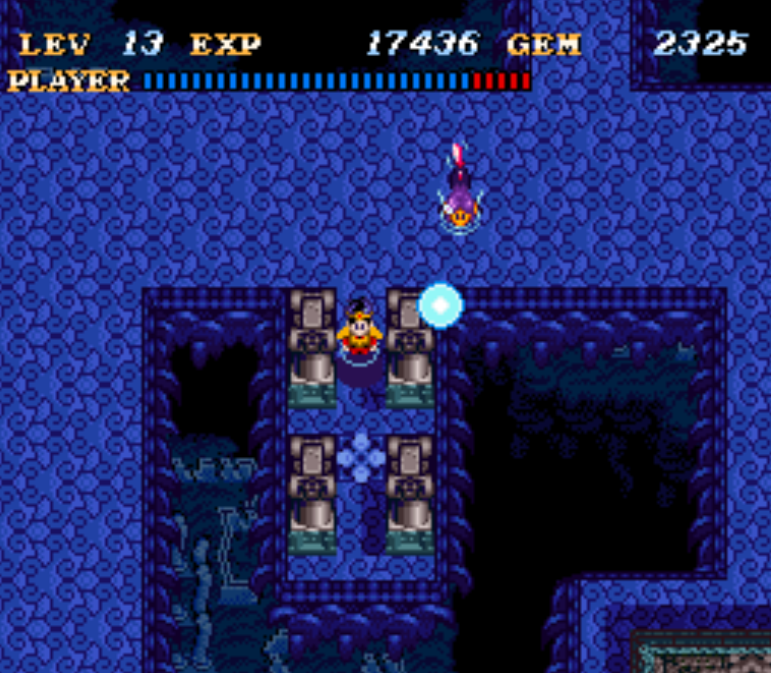
Step on the teleporter in this picture to save Lue!
After going through the portal speak with Lue (he's the dolphin swimming around) to get the Thunder Ring. Equip your Dream Rod next and then talk with the dolphin who is sleeping; equip the Big Pearl when you're inside of the dream and then speak with the dolphin that's here. He will move off of the green panel and let you press it which opens up a new path. When you try to go that way the dream ends.
With the Thunder Ring in hand it's time to return to Blester so that we can unlock the final mermaid statue. Remember that one panel that spawned metal apes? We need to eliminate them with the Thunder Ring. Equip the Thunder Ring and each time that you get near one of those golden pyramids you'll trigger a bolt of lightning from above. Lure the metal apes to these pyramids and hit them with lightning to take care of them.
Return to town when you're done and interact with the final mermaid's statue. Exit town to the south and from here go northwest to reach the final area(s) for us to clear. When you arrive in this new area you'll want to go east to find a chest with a Power Bracelet inside. This bracelet doubles all damage that you deal while you have it equipped. It's up to you if you want to use this one or the one that halves the damage you take.
West of where you found the Power Bracelet you will find a Secret Cave. If you remember the dolphin's dream that we entered earlier - this is the cave that we gained access to when we stepped on the green panel during it. Inside the cave you'll find green panel which will spawn 4 chests. One chest will be empty and the others have a Medical Herb, Master's Emblem D and 80 Gems.
Once you're done looting the cave, exit and take care of all the remaining monsters in this area. The final set of monsters you defeat will spawn a blue teleportation tile which takes you back to the Master's Shrine o' fast travel. Since there are two purple Sea Urchins that spawn right next to this teleportation tile - that makes this an excellent grinding location if you're behind on levels. I was personally Level 19 when I challenged this next boss, but 18 would work too.
If you'd like, you can return to town and use the Dream Rod on Servas in the northwestern house. He is a dolphin and you'll learn the location of a 1 Gem treasure on the Ghost Ship. It's not really worth the time IMO so I don't bother with it. When you're ready to challenge the boss you'll want to go north of the final blue teleportation panel and climb the rope.
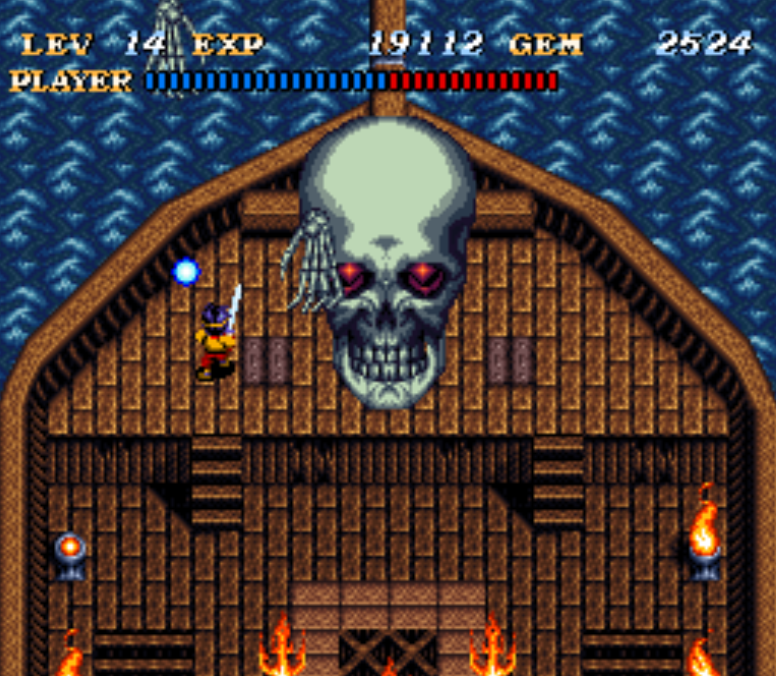
Travel up the Ghost Ship until you reach the northern most point aka the bow. Here you'll find the Flying Skull which is our next boss.
For this fight you'll be fighting a giant skull and two small hands that will attack you. The hands can be destroyed in 5 or so hits and they take a bit to respawn; the hands do not damage the bosses health. In order to damage this boss you will need to attack the giant flying skull when it flies down to the ship. Swing at the skull each time it flies down to the ship and deal with the hands while it's above you.
All in all this is a pretty easy fight I believe. When it's done step on the green panel to release the queen and return to town to speak with her. She will give you the Blue Stone as a thank you and with that you're now done with another town. Return to the Master's Shrine o' fast travel and you'll find a new location on your map, it's to the north of our current one.
Soul of Mountain House & Mountain Walkthrough
Like always you'll want to immediately head into the dungeon and start unlocking townsfolk to talk to. When you're almost at the end of the Aurora's Ridge dungeon you'll unlock a few chests and in one of them you'll find Magic Armor. You'll want to equip this immediately since it's an upgrade for you.
The next part of this dungeon will have a sliding ice puzzle - you need to follow it around until you reach the large open space at the end. From here you'll need to circle around the ice and make your way to the platform that goes up to the ledge that the caribou is on. A picture of the platform you need to aim for is shown in my picture below.
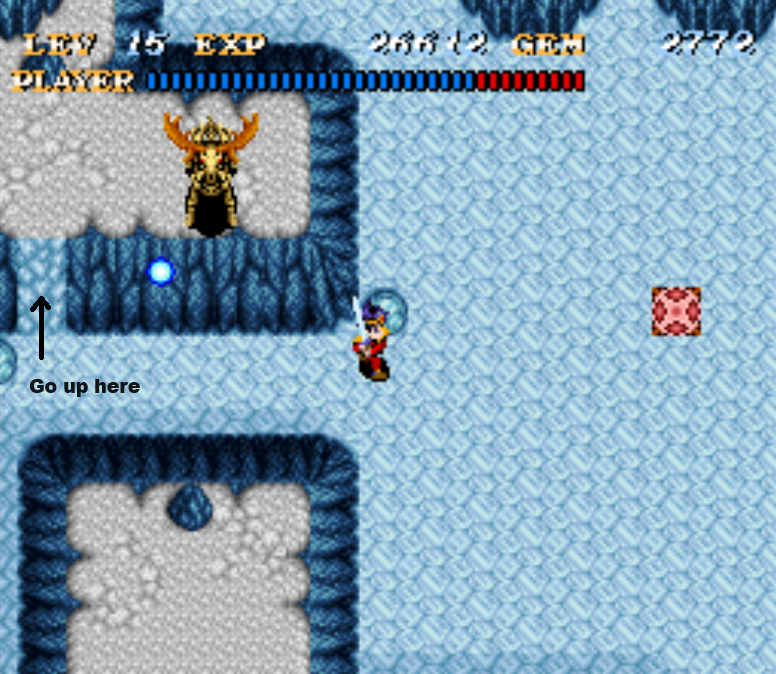
Slide around on the ice to reach the platform shown in this picture
There isn't much left to do after you finish this part, clear the remaining monsters then return to town. Back in town you need to speak with the person by the pond for the Mushroom Shoes item. This will let you walk on ice without sliding. Equip these shoes and then return to the same area shown in my screenshot above, you'll be able to step on the green panel now and save one last person in town.
Go south from this location next across the ice to a new area and then go inside of the cave to our next dungeon. This place is called An Ice Hill, clear this dungeon and then progress to the next one which is called Ice Field of Laynole. You'll find a new sword in the northern portion of this place, the Lucky Blade. To reach this sword you'll have to run across a bridge that flickers in and out of visibility.
When you have this sword equipped you'll increase the number of Gems that monsters drop, kind of a crappy bonus if you ask me. In order to clear this whole area you'll need to cross two bridges that flicker, the northern bridge leads to the Lucky Blade and the southern one has some monsters.
Clear this dungeon and when you reach the Master's Shrine o' fast travel portal take it back to town. There's actually nothing for us to do in town right now, no story objectives and no bonus loot. We're also done with that part of the dungeon, there aren't many more monsters we can reach.
After warping back into town you'll want to go southeast and exit through the new exit (pictured below). This exit will actually put you into the same area we just cleared - but on a platform you couldn't reach previously.
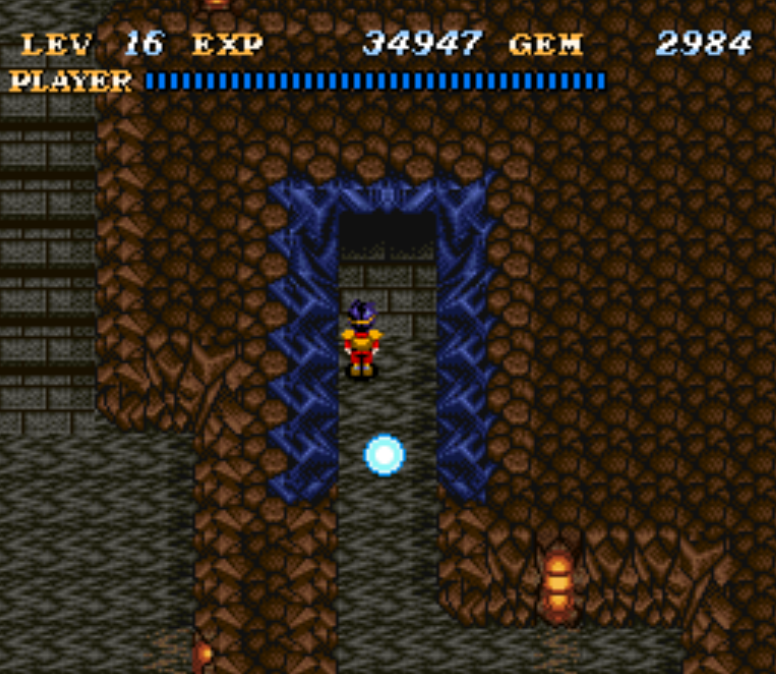
Go back to town and exit via the new eastern exit
After entering the Ice field of Laynole from this new direction you'll find more bridges that sparkle and are hard to see. As you pass through the sliding ice portion you will find the bridge that you need. Defeat the monsters on this first platform and you'll make a chest appear with a Strange Bottle inside and another bridge/monster pad. Visit the island to your east and defeat the bats then stand on the green panel to make another chest appear. This one has the Rotator Magic Spell inside of it.
Rotator will eat up Gems very quickly but it will create a ring of damage around you that will deal significant damage to enemies. The next few areas of this dungeon are very linear - when you reach The Underground Lake, Lune you will want to start paying attention more because if you exit this area in the north you'll start the boss fight. You probably want to be more prepared before running in there.
Clear out all of the enemies in the room before the boss and you will make a blue teleportation panel appear. Use that to return to town, we're going to collect two items from town before advancing to the boss. Back in town you'll want to go southwest to find the prison, use your Dream Rod on the sleeping mushroom in the corner. You'll get access to a dream and you will need to step on the green panel inside of it.
Go back to the Master's Shrine and teleport back to the last area we cleared (the area just before the boss). Travel south in this area to find the platform from the dream with a new panel for you to claim, it will free a snail back in town which is important for another item. Before we do that though, go directly east from where this panel is and you'll find the Master's Emblem F (pictured below).
Like many items in the game, you won't pick up the Master's Emblem F by opening a chest or pressing any buttons. If you walk on top of the area it is found you'll automatically pick it up.
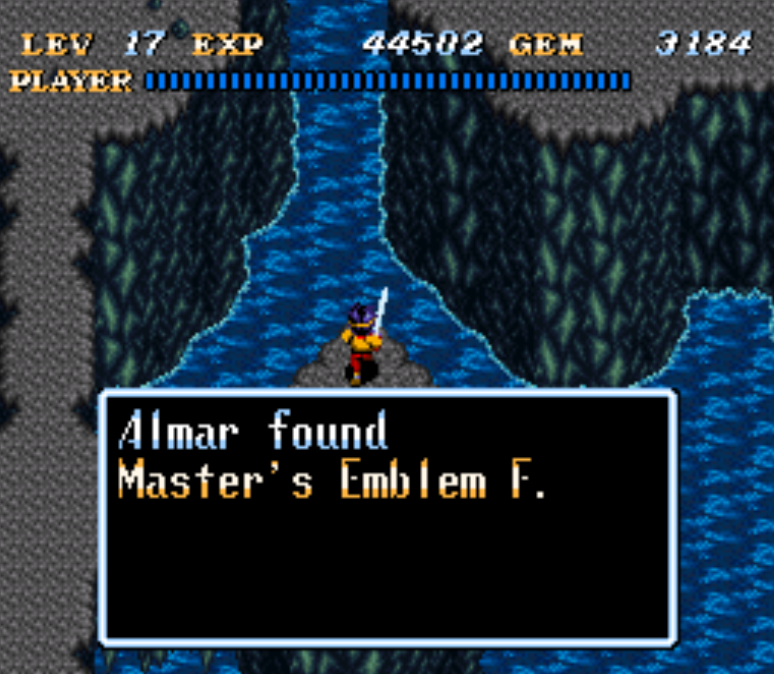
This is found south of the room the that lead's to Poseidon's lair, there will be a small island on the right with this item
Return to town again and this time speak with the snail that you freed just before you got the Master's Emblem F. You can reach this snail by going south of the blue teleportation tile and walking through the wall. The exact location that you can walk through the wall is shown in my picture below. If you know what you're looking for this place is very easy to find.
Speak with the snail inside of this room and he will give you Master's Emblem E. If you've been keeping track that is 3 of 8 emblems in total for us so far. We'll get the remaining ones in the next few dungeons/towns.
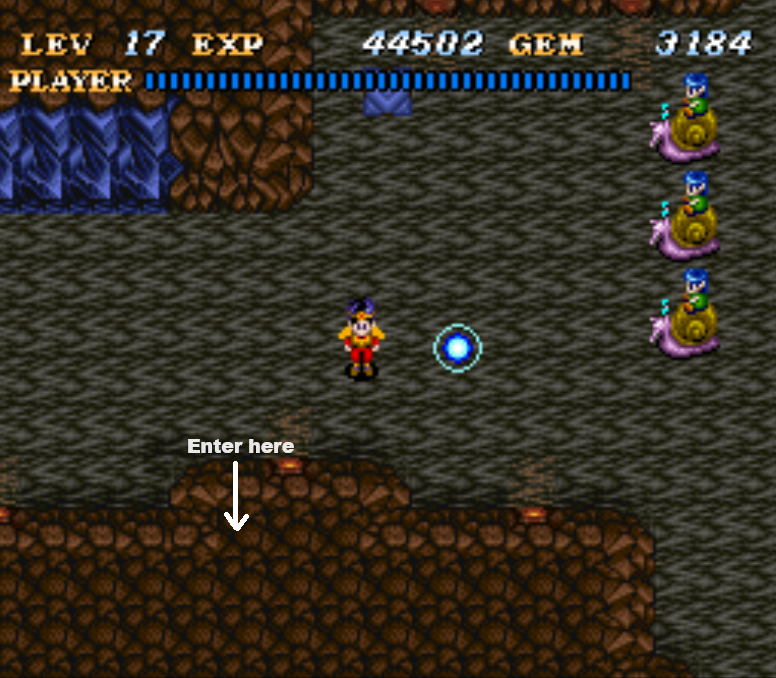
Enter this part of the wall to get Master's Emblem E; you must have the correct snail unlocked first
Before we challenge the next boss you may want to travel back to a previous town too and collect a Medical Herb. This boss can be easy once you learn the rotation and you probably won't need the herb but it's better safe than sorry. Just remember to swap to it when you get low on health during battle or it's useless.
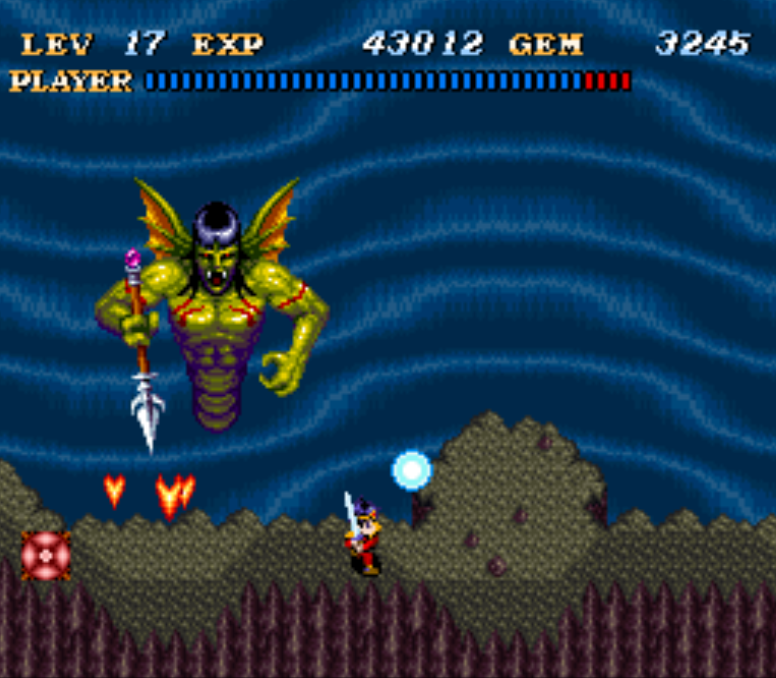
Finally, you're done with all of the optional stuff and we can finally take on the next boss, Poseidon.
Poseidon has very predictable attack patterns. He can surface in 3 different areas in the room and he will use the same attacks and the same movements each time. The strategy that I have found best is to hold your sword like a poke stick. You'll want to dodge all of Poseidon's attacks except for the one where he comes close and stabs with his spear.
When Poseidon gets close to the platform and stabs with his spear, that's your opportunity to use your own poke-stick against him. Stand off-center of Poseidon so your sword hits his arm and you will hit him without him being able to hit you. That's all you need to do for this fight, don't worry if you don't see his health bar going down at first because it has to change colors before it will start to deplete.
Once Poseidon is dead you'll need to free the King by stepping on the panel. Return to town and speak with Nome (he's a snail) in the jail for the Silver Stone. If you want to, you can speak with the King too but it isn't a required dialogue flag. You're now done with this area, head back to the Master's Shrine o' fast travel and select Move to go to a new location. Next up is Leo's Laboratory.
Leo's Laboratory & Dungeon Walkthrough (Part 1)
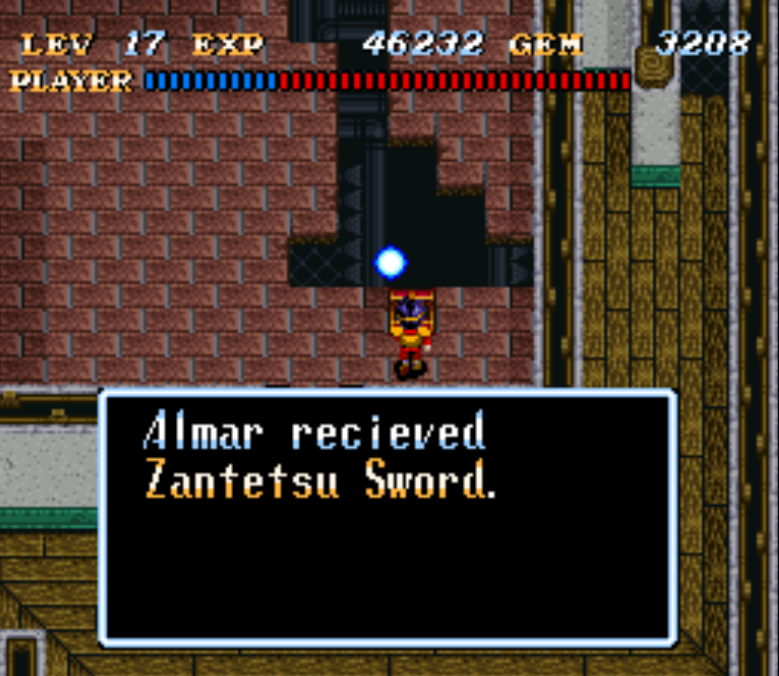
When you arrive at Leo's Laboratory go through the door in front of you and then down the stairs in the west to enter the dungeon. The time has finally come for us to get the Zantetsu Sword which will allow us to defeat metal enemies! After you defeat the first batch of enemies in this dungeon you will make a door back in town which leads to the chest with a Zantetsu Sword.
Yes, you'll want to stop now and get this immediately. There are many enemies we can't defeat in this part of the dungeon without the sword. Also, once you get this sword I strongly recommend you go back to areas in previous dungeons to collect some more loot and to get some more EXP.
If you're interested in returning to previous dungeons to collect some really good loot you should follow my directions below. It'll only take 30 minutes or so and the rewards are more than worth it! You'll eventually have to do the Durean part below anyway to advance the story; the item there is required for the final part of the game.
Zantetsu Sword - Return Dungeon Visits for Metal Monster Slaying
Every location in this list is optional aside from the St Elles (Durean) spot. There you'll get the Red-Hot Stick which is an item you'll need to advance the story later in the game. If you don't get it now, you'll have to come back for it later.
Grass Valley (Leo's Painting): Your reward will be Tornado Magic from a chest; you will also unlock a few other things in town which we'll get next. If you can't find the items I mention in town it's likely because you forgot to step on a green tile to spawn something (like maybe the vine...)
Grass Valley: Go through the club house to reach the ledge where you found a Strange Bottle earlier in the game. Climb the vine here and speak with the spirit lady for the Recover Sword. We can't use it yet, but it's a massive upgrade from what we have now. Visit the small house in the southeastern corner of town and climb up the vines to reach the area shown below. This is where you'll find Master's Emblem A, you won't have to press any buttons - just step onto the area it's found and you'll automatically pick it up!
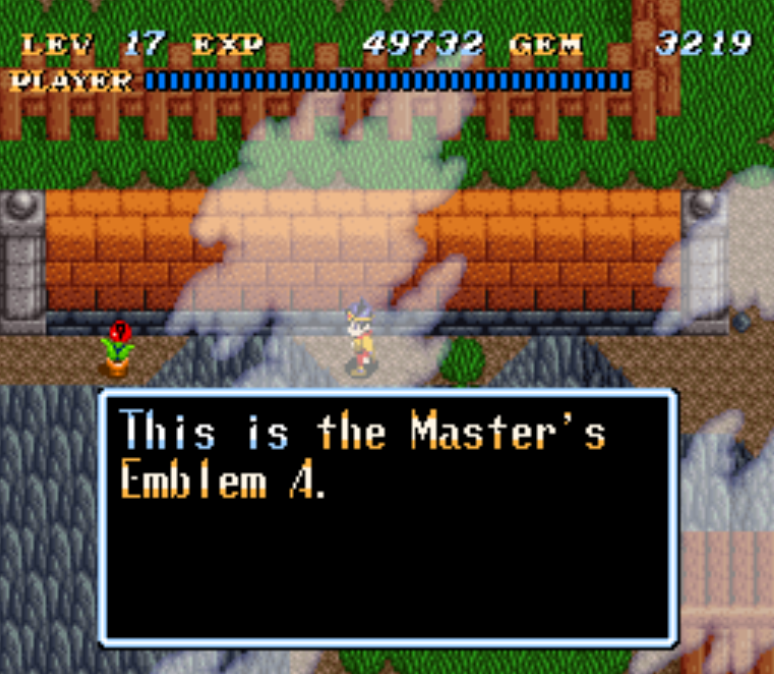
Climb up the vines in the southeastern portion of town to find this
GreenWood (Fire Shrine): The main reward(s) you'll get in this dungeon are the Light Arrow Magic and Strange Bottle. You will also find a fairy gemstone which will give you 1 EXP each time you speak with her. With turbo on an emulator you can spam B and speak to her once every second which would be 60 EXP a minute. 3600 EXP an hour, that really isn't all that great. Especially if you have to sit here and press a button over and over.
St Elles (Durean): Last but not least, you'll find a pack of metal apes in the Durean volcano area. Defeat them and return to town, speak with the mermaid south of the blue teleportation panel (she is in the same building with the mermaid who heals you/gave you Bubble Armor). She will give you the Red-Hot Stick item which is part of a quest later.
With that, we're done all of the optional dungeon revisiting and we can jump back into the main story/new dungeon. Fast travel back to Dr. Leo's Laboratory and let's get to clearing!
Leo's Laboratory & Dungeon Walkthrough (Part 2)
You'll want to clear all of B1F and B2F before you return to town for the first time. After clearing all of B2F you'll spawn a blue teleportation tile which is when you'll know it's time to return to "town". Head to the 2F in town and equip the Dream Rod again. The first thing we'll want to speak with is the suffering cat, you'll have a scene in its dream after which you'll get the Door Key item.
Return to the first floor and equip the Door Key that you just got. Interact with the dresser in the room that it unlocks for the Mystic Armor. This is an upgrade for us so equip it immediately. Next, you'll want to stand next to the dresser that gave you the Mystic Armor and push it to the side. This will reveal the Master's Emblem G that is underneath. Like always, your character will automatically pick this item up.
To reach the next part of the dungeon you'll want to go up to the 2F of "town" and inspect the town model that's in the room below the cat we originally talked to for the Door Key. A picture of which town model I am talking about is shown below. Remember this location because we'll be coming back for more town models in the future too.
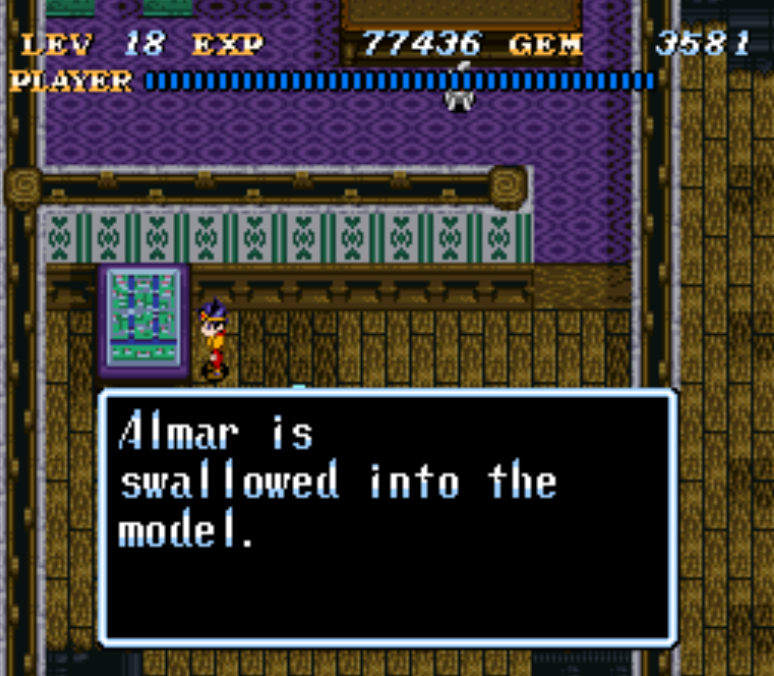
To enter the next part of the dungeon, interact with the town model
Head over to Chapter 3 of my Walkthrough to continue with this dungeon!
Continue to Walkthrough Chapter 3
Return to Walkthrough Chapter 1

