Illusion of Gaia Walkthrough - Chapter 3
The previous Chapter ended with you clearing the Seaside Palace and Mu dungeon. After beating the Vampire bosses and talking with your friends you travel through some tunnels. You'll regain control of Will inside of these tunnels - on the fifth day go east and pick up the mushroom. Return to your friends with the mushroom and you'll skip ahead to day 8 which is just another scene.
Eventually you guys will finish going through the tunnel and you will reach the next town, Angel Village. You can follow your friends down the ladder and talk to them if you'd like, otherwise go west down the other ladder and travel through the town.
Red Jewel #24: From the surface go west and down the ladder to the 'town' portion with people. Enter the eastern door and then travel west along a narrow ledge; go into the door that is on this narrow ledge. Just north of the door you will see a fountain, inspect it for the jewel.
When you're ready to continue with the story go downstairs in the town. Go west across the narrow ledge (the same ledge that leads to Red Jewel #24) and continue downstairs through the next doorway. Travel east in this room, walk across the narrow ledge by the waterfall then go through the doorway in the east which leads to the next dungeon.
Our next dungeon is called Path to Ishtar and this is a difficult dungeon to guide you through but a somewhat easy dungeon to explore. Do you remember the Seaside Palace and how that worked with the multiple floors and how they weren't all connected? This dungeon works more or less the same exact way as that place.
My advice is to clear out all of the enemies you find in the first few areas before advancing to the area shown in my screenshot below. If you ever get lost in this part of the dungeon pay attention to the torches, they're (almost) always pointing towards the path to the top aka back to Angel Village.
The place shown in my screenshot below is what you're looking for when it's time to go further in. It's a room with two statues, some water and torches on the wall that are pointing in opposite directions. In order to reveal the doorway shown in my picture you will have to inspect the wall in this area until it's uncovered.
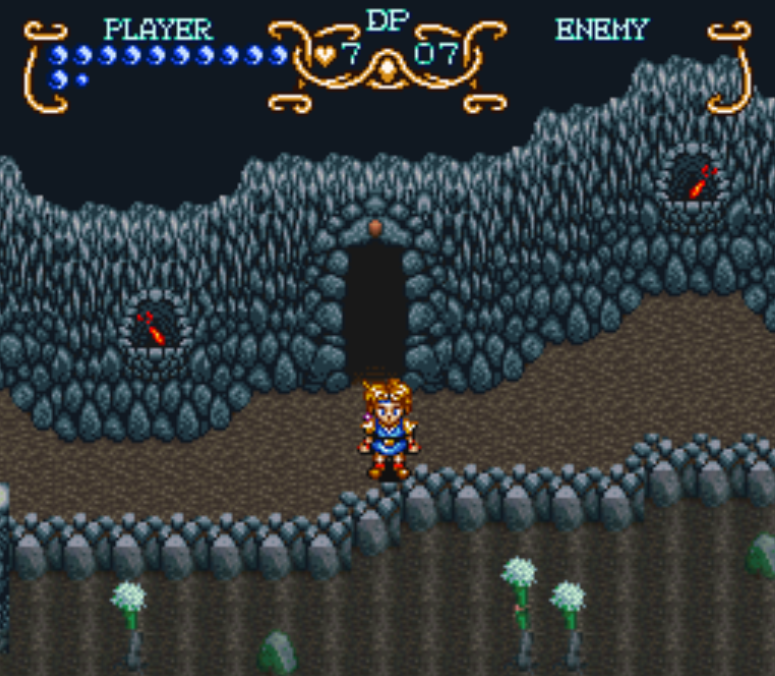
Inspect the wall to reveal the door shown above
After going through the door make sure you get Red Jewel #25 from the next room. The room after that one will have a wind tunnel which is really annoying to deal with. You'll need to double tap the directional buttons to run against the wind, movement will be slow. Make sure you beat both of the totem enemies in this room for a permanent boost.
Red Jewel #25: After you reveal the hidden door (pictured above) you will see a small crack next to the door in the next room which you can slide into using Will. This small crack will also be protected by a monster. You'll find the jewel inside; it's hard to miss.
Keep progressing through the dungeon defeating all the enemies as you go. You will reach what seems like a dead end in a hallway with a few statues, inspect the wall again in the north to reveal another passage. This door leads you to a room with some waterfalls, go east past them to find 3 doors.
Red Jewel #26: This jewel is found to the east of the two waterfalls, search the red pot in the second room. Inside the first room you'll find a picture of Kara, to the right of that is the pot with the jewel I am talking about.
Inside the third door you'll find Ishtar, he tells you to solve all of the riddles and if you do - he'll give you back Kara. For the first riddle room the jar on the right hand side of the room changes color. Select that jar to proceed. Inside the second riddle room you'll want to select the two jars near the table. Both of them were red in the previous room.
The third riddle room has a chest inside of it, search it for an Herb. Make sure you get the Herb now because you won't be able to return for it. This chest is also the solution to the next riddle, when you reach the adjacent room point to the chest. Search this chest for Red Jewel #27 before you leave the room.
Red Jewel #27: Search the chest inside of the third riddle room for the jewel.
Finally, in the final riddle room the answer is Will. If you notice his hair is blowing unlike the previous room, selecting him will complete the challenge. Return to Ishtar's room and open the chest for some Magic Dust. Use this Magic Dust on Kara's painting to free her and trigger a scene.
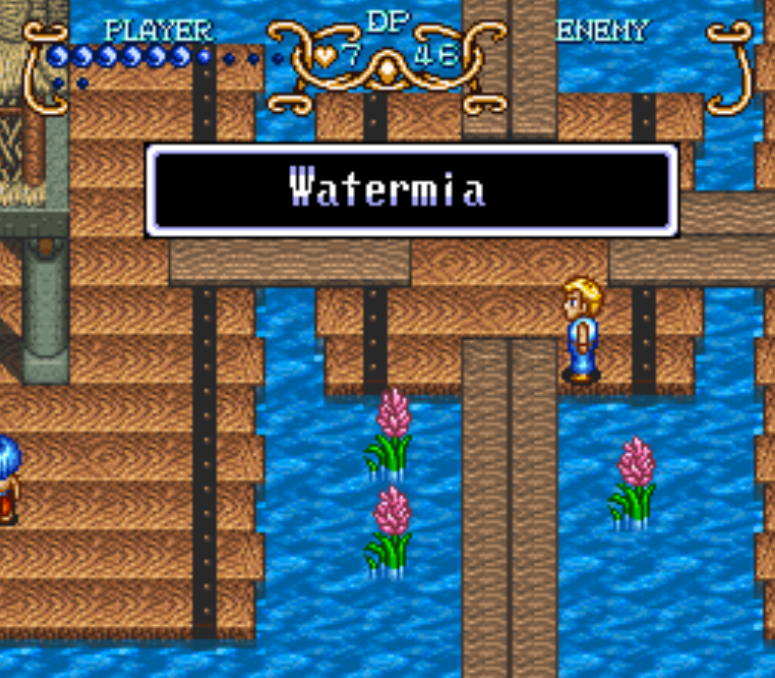
Speak with Neil back in the camp and tell him you're ready to travel and he'll take you to the next big location, Watermia.
To advance the story you'll need to visit Lance and his father inside the northwestern house of the city. Speak with them and then leave the building. You should also visit the southeastern building in town, it's called Desert when you enter and inside you'll find the Jeweler. Depending on how many Red Jewels you've found so far - you're probably due for a bunch of upgrades.
Red Jewel #28: Visit the SW corner of town and inspect the circle of jars around the girl standing outside. The correct jar is the NW one.
Red Jewel #29: Go into the Gambling House (called Desert when you enter) in SE Watermia, inspect the northeastern pot inside for this jewel.
Red Jewels Tip: Equip the Red Jewels like you would any other item and consume them. This will get them out of your inventory. You could also visit the Jeweler in town to get them out of your inventory & collect your rewards.
When you're all finished in town return to Luke's house in the northeast and watch the scenes. After they're done equip Lance's Letter in your inventory and read it, apparently he is going to the Great Wall of China. Exit town via the southern entrance/exit and select "Great Wall" on the World Map.
After entering the Great Wall follow the linear path defeating all the enemies as you go until you reach the sandy bottom. Make sure you go up every ladder along the way as you travel east across this bottom, when you go up the third ladder you'll find a sparkle on the floor. Press A overtop of this sparkle and you'll find Necklace Stones, this is the necklace Lance made for Lilly.
Tip: If you're bit by an Asp (snake) enemy in this dungeon move left and right as quickly as possible to shake them off.
Climb up the ladder(s) above where you find this necklace and you'll get back to the top of the Great Wall. Keep going east until you find a hole, jump down and you'll be in a hallway filled with clay armors. The last one in the line will transform, beat it then go down the stairs. Go into the room on the far left of this next hallway to find a chest with Red Jewel #30.
Red Jewel #30: Found in the early to middle part of the Great Wall inside of a chest.
You should explore as much as possible and defeat all of the enemies you find. Eventually you will come to a room with multiple doors (pictured below). The sparkle on the floor is letting you know which doorway you need to go up - head up and hit the switch upstairs. You should also pick up the sparkle, it's another piece of the necklace.
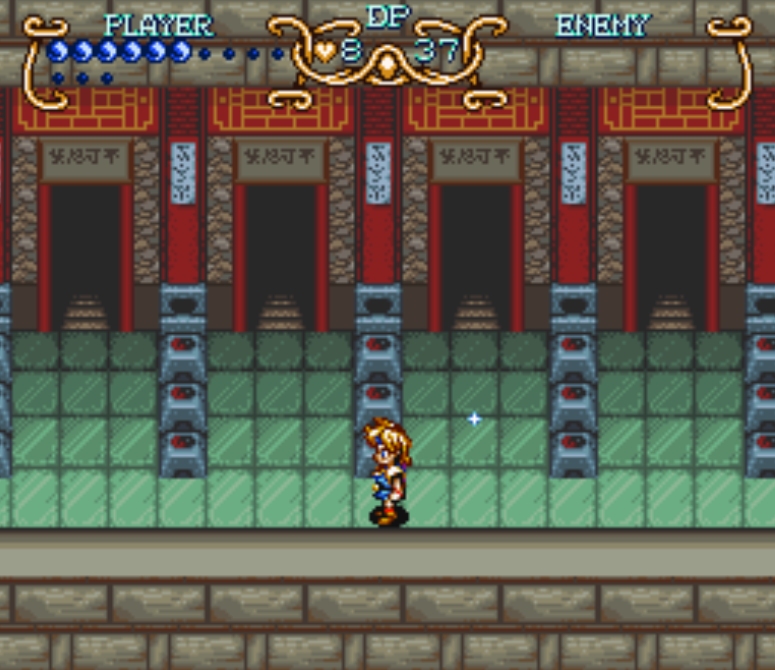
Go up where you see the sparkle on the floor and hit the switch
After hitting the switch go through the left-most door and defeat the archers, then continue deeper into the dungeon. Lilly will join you again and fly into your pocket when you reach the top of the wall, shortly after this you will find many ramps down. Go into the room above these ramps and you'll find an Herb in the chest.
Go down these ramps but stop yourself before going up the next small ramp. Head through the door and clear all the enemies, hit the switch and you'll be right back at the Herb chest. Next time you run down the ramps don't stop and continue across; we only stopped this time to make sure we got all the monsters.
You will jump across all ramps (and pass multiple doors) but you can't do anything about it for now. We need a new skill before we can access the areas that we ran past. For now, continue forward in the dungeon. In the next area you will find a long pit that you can jump down and multiple doors which lead back up from that pit.
Our goal is to reach the portal in this pit which will teach Will a new skill - Spin Dash. You can find the pit one floor above the bottom floor. This is a very difficult skill to use in my opinion, you need to hold A until Will starts flashing. Once you're flashing press L and R one after another until you see arrows appear around Will. Pick a direction and he will start spinning/moving in that direction.
Head back to those ramps we just ran over top of and this time you'll want to use your Spin Dash to run back across two of them. Try your hardest not to run across all of them and instead land near the doorway we need. Head downstairs here and clear all enemies to find a portal that lets you transform into Freedan.
Transform into Freedan because we need his Dark Friar skill to advance; head back up to the top of the ramps and continue right across the Great Wall. When you hit the dead end with the Archer enemy use Freedan's Dark Friar to defeat him and clear a path forward.
In the next area you'll find a statue puzzle, you will need to move the statues around by hitting them and by using L or R. One tip, you can hit these statues up if you stand next to them and face up. When you reach the eastern side of the room hit the switch to turn all the statues into Archers - defeat them for a permanent upgrade.
Keep going through the linear areas until you reach a ramp at the top of the Great Wall that you can't pass. Go into the door here and you will find another room filled with statues (pictured below). Our goal here is to hit all of the statues with glowing eyes to turn them into real enemies.
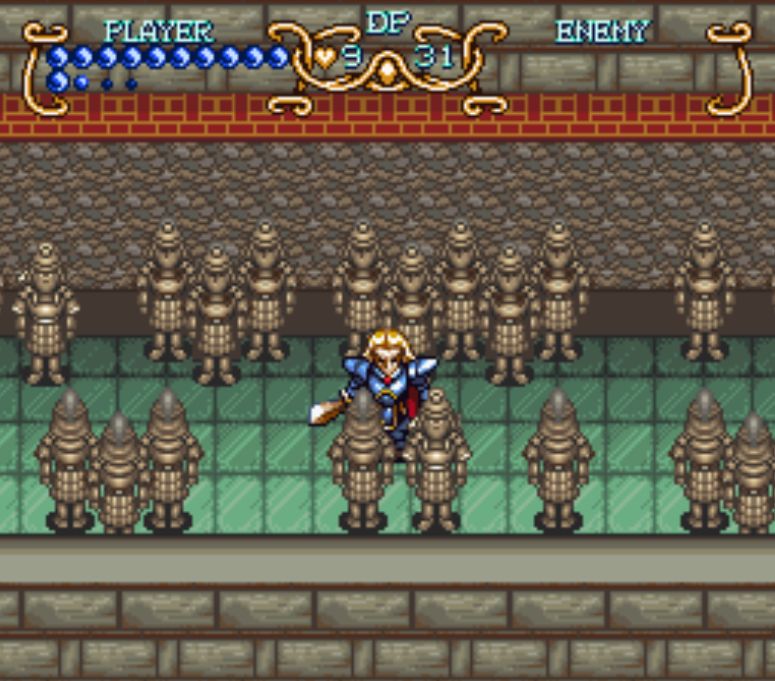
Hit the statues that have glowing eyes to reveal their true form
If you're having trouble figuring out which statues are real and which are fake you can also press start and look at the map. Once you have defeated them all a portal will appear next to the stairs. Enter and turn back into Will because we need him to cross the last ramp. You should also save the game because we have a boss fight coming up.
Use Will's new annoying Spin Dash skill to jump over the last ramp and continue east. In this area you have to jump off the wall to reach the boss's lair.
Sand Fanger Boss Fight
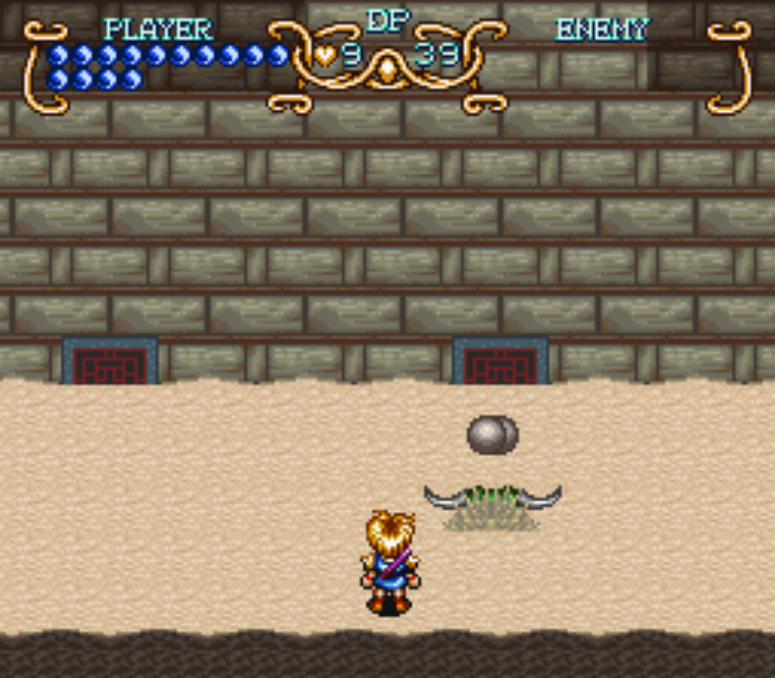
The most important thing I can tell you for this fight is to stay near the bottom of the screen and the boss will never be able to hit you. Sand Fanger has a few different attacks that will involve him moving very quickly across the screen. During all of these attacks ignore the boss and let it do its thing. If you can actually hit the boss as it's quickly moving across the screen more credit to you because it's really hard.
Your main opportunity of attack is when the boss creates the sand whirlpools and sticks his head out to spit eggs (or bombs). A picture of the moment I am talking about is shown above as your only picture for this boss fight. Dark colored balls = bombs and light colored balls = eggs.
Destroy the light colored eggs quickly because they will hatch into little worms which will annoy you; avoid the bombs. Other than that my only advice is to keep hitting the head every opportunity you have and eventually the boss will go down and victory will be yours! Your reward will be another Mystic Statue key item - only two more then we've got all 6!
Continuing With The Story
Now that Sand Fanger is defeated head east to find a ladder, climb up and continue east. Go through the door at the end of the hallway and you'll find Lance inside. There will be a scene between Lilly and Lance, speak with both then travel east for another scene. When you regain control of your character you will be back in Watermia.
Exit Lance's house and go to the southeast part of town, enter the building and speak with the Jeweler again to trade your recent jewels for some rewards. After doing that exit the building and ride the lily northeast of this building up to a new area in town. You may have to wait 30seconds or so for the lily to arrive but trust me, it will.
Ride the lily north and speak with the man on the raft to play the game. This is a really stupid game - the poisoned glass is the one to the far right so you'll want to avoid drinking that one. Drink all the glasses to the left of that and when there is only one left your idiot opponent will drink it.
Next, there will be a scene - your opponent left you a note and it says you get 4 Kruks for beating him. Just the thing you needed to continue your adventure and how convenient too - it's just the amount we needed as well. Return to our house and speak with everyone. When you're done talk with Neil and he will take you to the next town, the City of Euro.
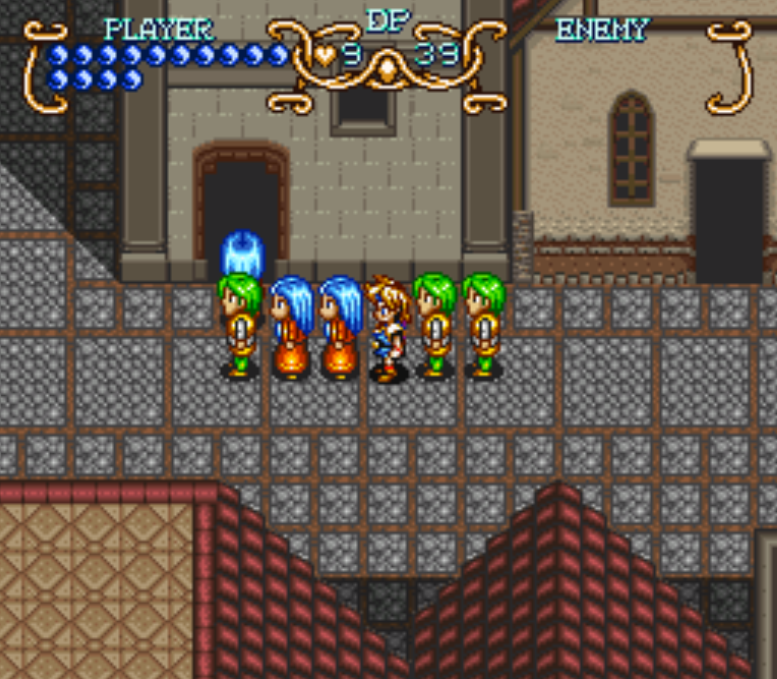
When you regain control of Will you will be inside Neil's mansion in the City of Euro. There are a few things for us to do here but the first and most important is to wait in line (pictured above)! Exit the Mansion and go east to find this line of people. You can't cut in line, you must start from the furthest position away and then work your way to the door, it'll take 2 - 3min in total... Unless you use Turbo on emulator.
Inside this building you will find two potions that you can drink, Life Medicine and Dark Medicine. Both of these will give you permanent boosts (Life to HP and Dark to Dark Friar) and are well worth the time spent waiting in line. If you already upgraded your Dark Friar power you can't drink the Dark Medicine - sorry completionists! Once you drink both exit the building and find the three Red Jewels scattered about town.
Red Jewel #31: Visit the market south of the mansion and speak with the woman wearing a blue dress for an Apple. Return to the mansion and go into the room on the left, give the apple to the girl. Rinse and repeat until she gives you the jewel.
Travel east from the mansion down the road until you find the alleyway that goes north. Head north down this alleyway and go into the first building on the left. Speak with the two old men inside arguing and you will get Mt. Kress marked on your map; we need this location to advance the story. Make sure to go left when you leave their house to collect the Red Jewel #32!
Red Jewel #32: After speaking with the two old men who are arguing exit their house and go to the left down the small alley. Search the wall at the end to find the jewel.
Red Jewel #33: Go north of where you found the house with the two old men arguing, walk past the first left turn and stop just above that when you find the two red roof buildings with a gap between them. Look at the two roofs to see the gap between them, you won't be able to tell there is a hidden alley here otherwise. Walk down the hidden alley then climb up the ladder to reach a shrine. Go inside and inspect the shrine to reveal a door behind. Inside the room with the chained laborers you'll want to inspect the SE barrel for the jewel.
After you've collected the 3 jewels and spoke with the two old men to get Mt. Kress marked on your map - you're all done! Exit town to see the World Map and before we visit our next dungeon/area you'll want to return to Watermia first. In Watermia we can pick up Red Jewel #34 before we continue with our adventure.
Red Jewel #34: Return to Watermia and speak with Lance inside of Luke's House.
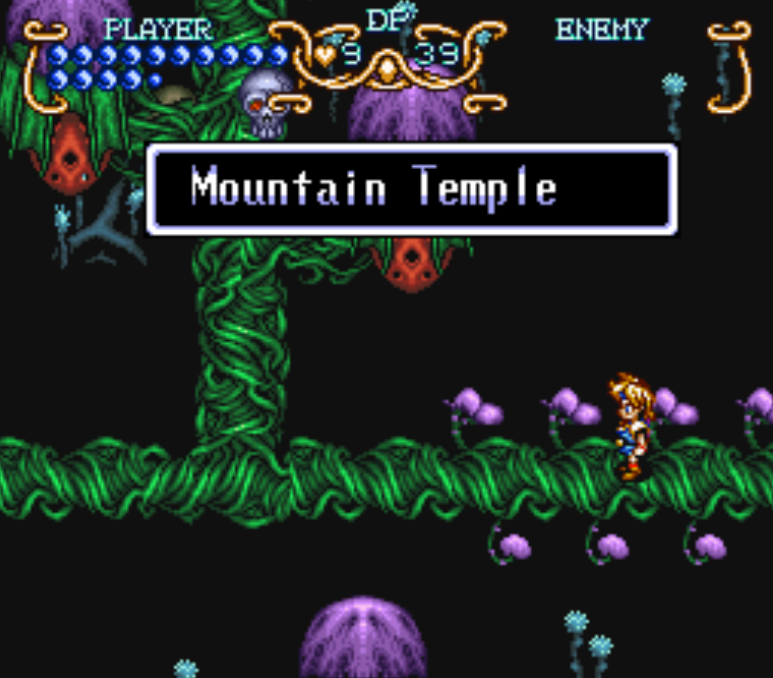
From Watermia travel back to the City of Euro and then from there travel to Mt. Temple. When you arrive you'll be greeted with a hellscape of scenery (pictured below).
Like always my initial advice is to spend a bit of time clearing the dungeon of enemies and learning how it all works. In the second area of this dungeon you will find vine ramps which will shoot you to groups of mushrooms. You'll need to use Will's Spin Dash skill to reach the second patch of mushrooms in the south.
There will be a portal here which transforms you into Freedan; make sure you get this before proceeding. In this next area of the dungeon you're looking for Red Jewel #35 and Mushroom Drops. Both are found inside of chests sitting on top of some mushrooms. Guiding you to both of these is hard because there are so many twists and turns. Thankfully this dungeon is quite linear and the pattern is easy to recognize.
Red Jewel #35: When you find the portal that transforms you back into Will (travel east to find this) go south of it and follow the vine path across the mushrooms. It's a very straight line that leads directly to the red jewel.
Similarly, if you can't find the Mushroom Drops chest, start from the portal mentioned in the Red Jewel #35 location. Travel west of this portal - jumping across the various mushrooms. When you go west two screens you will find the Mushroom Drops in the northern part of this area. This whole area can be very confusing but it's also very contained so you shouldn't have too much trouble locating the two important items.
When you're ready to proceed you'll want to find the area with the shredded vine (pictured below). Stand near the vine's edge and use your Mushroom Drops to regrow the vine. This will build a bridge for you and let you cross to a new area.
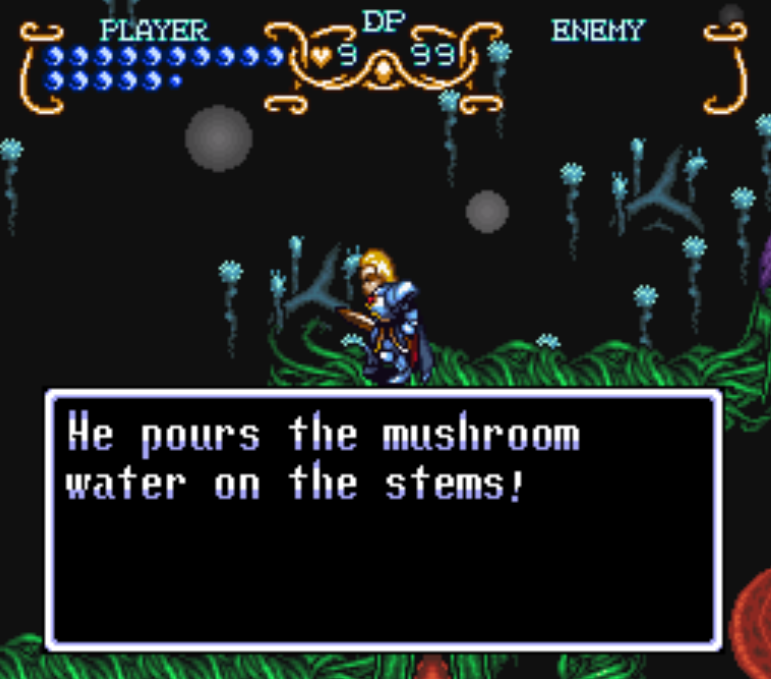
Use your Mushroom Drops item to regrow frayed vines
In the new area the number one thing you'll want to keep an eye out for is another chest with more Mushroom Drops. Much like before you will find this on a patch of mushrooms in the north of one area. In order to progress further into the dungeon you're going to need to use this item on another broken vine to regrow it.
After regrowing the vine you will go through a few linear areas before using some ramps to jump across more mushrooms/vines. You will actually pass the next broken vine that we need along the way too, remember where it is. Eventually you will come across yet another chest with some Mushroom Drops inside. If you haven't already figured it out - you'll need to use this on more broken vines to proceed.
Keep going through the dungeon until you find the chest with a Teapot inside. This is the final drop we need to consider this place done. On your way back to the dungeon's entrance press Start in each area to make sure you have defeated all of the enemies. It's very easy to miss one so make sure you double check.
You'll need to transform back into Will and use his Spin Dash skill to get over a ramp near the entrance of the dungeon. Once you're out return to the City of Euro and head into Neil's Mansion. Equip the Teapot and use it near Neil's mother, then speak with Neil.
Talk with Kara after the scene then with Neil again and you will automatically be whisked away to the next area, Native's Village. Speak with Kara two times after you arrive and then watch the scene with Hamlet. Am I the only one questioning the direction of this writing anymore? I mean, what on earth?
Red Jewel #36: Visit the house on the right side in Native's Village and inspect the pot in the SW corner.
When the scene is finished and you're freed speak with the boy on the right hand side of the fire. He will mark your map with the next location - Angkor Wat. Once you get this location added to the map exit this area and travel to Angkor Wat on the World Map.
Before going into this dungeon you'll want to spend some time exploring outside and defeating all of the enemies. For the monsters that extend their heads at you - in order to defeat them you need to hit the head 3 times while it is being extended away from the body. This will destroy the head and make the monster vulnerable to damage.
Red Jewel #37: After you enter the building of Angkor Wat go to the right immediately; it's the first chest you see where you have to run down one ramp to get up another. Very easy to find.
After clearing all monsters outside, head inside and start clearing there too. You will reach a dead end with two wall bugs, smash them and slide through the hole they create. Much like before, clear this whole area of enemies and when you reach the wall bug at the end it will create another path for you.
Keep following the linear path through the dungeon, press Start on each room to check the map for any enemies around you. The path forward isn't confusing so all you have to do is check to make sure you didn't miss any enemies (if you want all the permanent upgrades). As you progress deeper you'll find another chest at a dead end, this one has an Herb inside.
There is a set of stairs that lead to this chest as well as a ramp; use your Spin Dash skill to catapult Will up the ramp and to the platform on the other side. Shortly after this jump you will come to another wide open area called the Garden. The Garden has a lot of enemies as well as a portal that will let you transform into Freedan.
Use Freedan's Dark Briar Skill (press A while the big ball travels through the air) to explode it and deal high damage to everything it hits. You can use this to hit enemies far away so that you can defeat all of them and collect your permanent upgrade. Exit the Garden maze area in the north to find the second half of this dungeon.
Clear all of the enemies going northeast in the first room until you reach a portal that will teach Freedan a new power. Earthquaker is the name of this skill and it will stun + deal damage when you use your attack while jumping off of something. Remember that golem spinning around to the west of where we entered that was blocking the way? You guessed it, use Earthquaker on the ledge near him to stun him and defeat him!
I'm unsure if this was a bug, but for me the golem was done spinning when I got back to him and he let me defeat him without fighting back. Keep going north from this location for Red Jewel #38; after getting that go south and ignore the stairs going up that you will pass. Keep following the route on the 1F and you'll be lead to another outside area.
Red Jewel #38: After going through the Garden and entering back inside the castle you'll want to go northwest to a thin hallway where you find a fork in the road. One path goes south and continues with the dungeon, another path goes north and leads to this jewel.
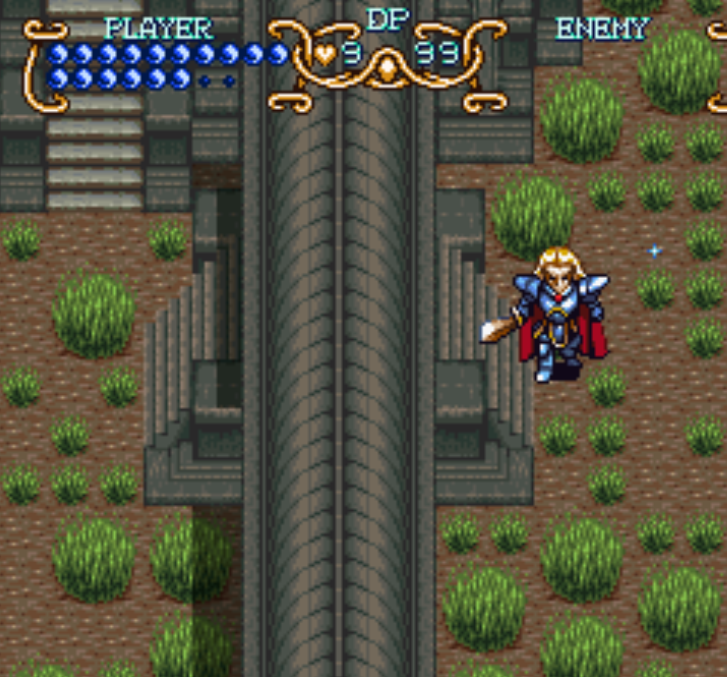
Search the location of the sparkling light to pick up Black Crystal Glasses
The item you're looking for in this next portion of the dungeon is the sparkling light (pictured above). Search this area to find the Black Crystal Glasses, this is an item we'll need to finish the rest of this dungeon so make sure you grab it! Equip this item in your inventory too and use it so that you're able to see when you reach Main Hall 2F.
First thing you need to do in Main Hall 2F is jump down the hole in the southeast and turn back into Will at the portal. After doing this collect the next Red Jewel #39 and then go upstairs to Main Hall 3F.
Red Jewel #39: Enter Main Hall 2F as Will and slide through the hole in the wall in the southwest part of this area. Jump down the first hole that you see and you will land next to the chest with this jewel.
Continue to Illusion of Gaia Walkthrough Chapter 4
Return to Illusion of Gaia Walkthrough Chapter 2

