Illusion of Gaia Walkthrough - Chapter 2
This Chapter picks up where the first ended, we just finished the town of Freejia and traveled across the World Map to the Diamond Mine. As you probably guessed, the Diamond Mine will be our next dungeon. Inside the second room of the dungeon you'll find a locked door that leads to an elevator and your first two chained laborer. There will be a chest in this room too with an Herb inside.
Tip: If you didn't know you can equip your Red Jewels and use them like an item to get them out of your inventory. When you consume a Red Jewel this way it will fly back to the Jeweler and count towards your total!
You can free the laborers by attacking the ball chain attached to them and then speaking with him. To progress past the second room you'll need to hit all four switches to open a different locked door. We can't use the elevator just yet but remember where it is since we'll be back in a little bit.
In the next room defeat all the enemies to create a path to the portal which lets you transform into Freedan again. Before you do the transformation though, head west from that portal to the same area you see my standing below. You'll notice when you stand in this area that your character experiences the wind animation. Remember that tip about wind blowing in this cave?
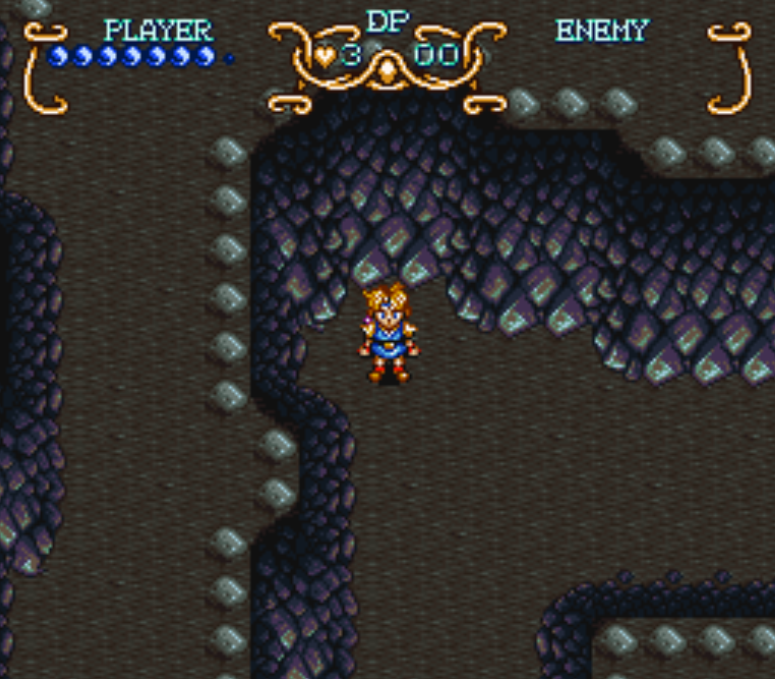
Use Psycho Dash on the wall above me for 3 Red Jewels
Red Jewel #15: Use Psycho Dash on the wall in the mines (pictured above) to break it. Speak with the Laborer for 3 Red Jewels.
Red Jewel #16: Use Psycho Dash on the wall in the mines (pictured above) to break it. Speak with the Laborer for 3 Red Jewels.
Red Jewel #17: Use Psycho Dash on the wall in the mines (pictured above) to break it. Speak with the Laborer for 3 Red Jewels.
After you collect the 3 Red Jewels return to the portal and transform into Freedan, once you do that continue south to the next area. There will be one enemy you can't reach in this next area, skip it and go down the stairs instead. Defeat all of the enemies as you progress through the hallway until you hit the dead end in the back.
Step into the portal, transform back into Will and use your Psycho Dash on the wall in the north to open a new passageway. In this room you'll find a portal which will teach Freedan a new ability called Dark Friar. This power works a lot like Psycho Dash, you hold down the A button and wait until it's charged. When it's fully charged you will unleash it by letting go of A.
If you read the instructions when you got the power you will know that it is useful for hitting ranged enemies that you can't normally reach. Remember that worm in the previous room that was out of our reach? You guessed it! Head back to that worm and hit it with Dark Friar from across the gap, this will remove the wood fence between the two ramps.
Run down the ramp on the left so that you can run up the ramp on the right - then exit through the doorway. In this room you'll find a single laborer, free him and then speak with him for the Elevator Key item. Now that we've got the key, it's time to return to the second room of this dungeon with the locked elevator door. Equip the key in your inventory and then inspect the door to open it.
Follow the linear path after riding the elevator down and step on the wooden platform to ride it to a new area. Hop off the elevator and follow the path until you reach a room with a locked door in the center and two stairs that go down on either end. The stairs on the left take you to the Morgue - defeat all of the enemies here and search the sparkle in the bottom right near a corpse to find Mine Key A.
Take the second stairs down, clear all the enemies and free the laborer. When you speak with the laborer he'll give you Mine Key B, we now have both keys so return to the locked door in the previous room and open it. Inside this room you'll find 3 kids chained up, free all of them and one will teach you the Memory Melody which you'll need to use on Lance later.
With that, we are now officially done with this dungeon! Exit the dungeon through the same door we entered from and return to Freejia. Once you're back in Freejia return to the Inn and play the Memory Melody for Lance, when the scene is over speak with Erik to travel to Neil's Cottage in the woods.
Inspect the four inventions inside of Neil's Cottage and then speak with him to advance the story. Answer "Yes" when Neil asks you a question and your group will travel to Nazca Desert next. When you first arrive speak with all of your friends (including Neil); you'll need to speak with Kara two or three times to advance the story.
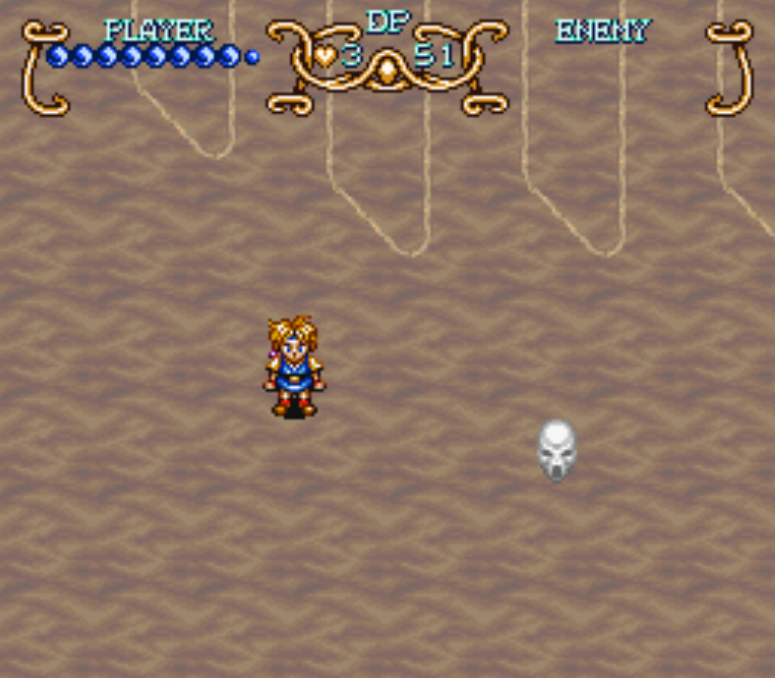
After you speak with everyone travel to the southwestern portion of this area to find a Moon Tribe Shadow (pictured above). Follow this ghost until it takes off running then return to Neil and speak with him. When Neil asks you where the red star was answer him "Condor's Left Foot" and then follow the gang down to that foot.
Inspect the area in the middle of all your friends and you will have a bit of dialogue before you're teleported to the Sky Garden - our next dungeon. This dungeon is broken up into 5 parts, you'll need to do each part in clockwise order starting with the Northeast. Our goal is to collect the Crystal Balls in each of the four parts of the dungeon, we'll then use them to access the boss at the end.
Red Jewel #18 (Sky Garden - NE Room): From the first room of the Sky Garden you'll want to take the NE fork. You'll find this jewel inside of a chest in the NE portion of the NE room... If you're confused take solace in the fact that this jewel is very easy to find.
Clear all of the enemies you can in the NE room, after collecting Red Jewel #18 from the chest go to the southern portion of this area and jump off the side to reach the dark side of the garden. Defeat all of the enemies in the dark side of the garden then jump back to the normal side in the southwestern portion. This will let you reach the platforms in this area that you couldn't reach previously.
You will find a statue blocking a chest in this area, defeat the sword and then use L or R to move the statue away from the chest. Open the chest for a Crystal Ball , this is the item we need for advancing the dungeon. Finish off any enemies that remain, you will have to jump from the dark side back to the light in the SE to find the last enemy. He'll be guarding a chest too with an Herb inside.
Tip: If you are low on restorative items spend some time defeating enemies in each of the four areas and returning Gaia's portal to heal. You can heal to full by talking to Gaia as many times as you want.
Return to the first room of the dungeon, this time we're going to do the same exact thing in the southeastern portion. While exploring the normal SE Sky Garden you will find two statues with swords that attack you. The first statue is near a ramp that you have to jump across and the second statue is hiding a secret room which leads to a Gaia portal (pictured below). Use your L or R buttons to move the statue out of the way.
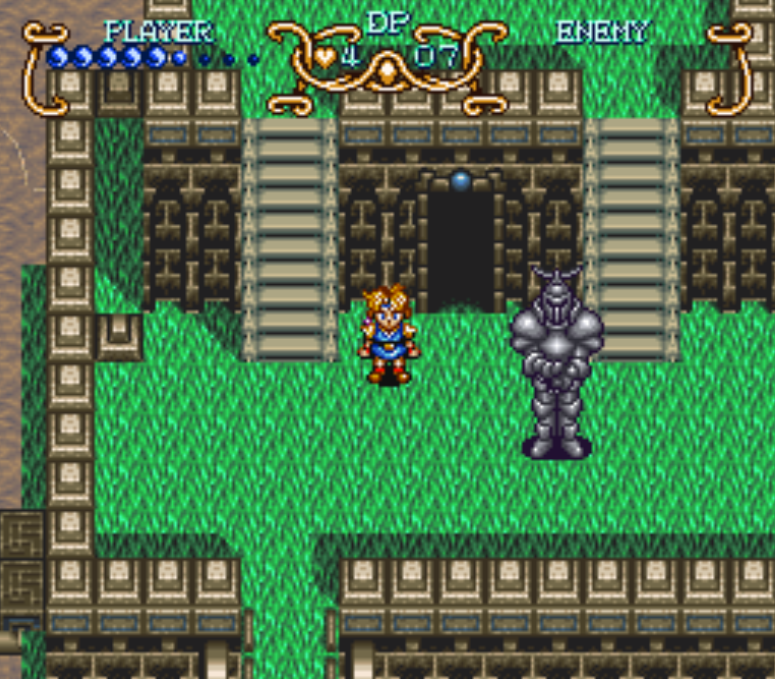
Use L or R to move the statue out of the way and reveal a hidden room
Transform into Freedan then continue along the linear route through this part of the Sky Garden until you hit a dead end. From here you can jump off to the dark side, clear all of the enemies and then jump back to the normal side again. Make sure you use Freedan's Dark Briar skill to reach the enemies surrounded by the blocks - defeating them is a requirement for proceeding.
In my opinion the rest of this side is very easy, defeat all of the enemies and you will clear the path to the chest with a Crystal Ball. Once you get this item you're done with this part of the dungeon. Next up is the southwestern side. Follow the linear path through this area, when you reach the large square box at the end - search the southern part for the first jump off point.
Red Jewel #19: Right after you arrive in the dark side you will find a chest to the west which contains this.
Clear all the enemies you see in the dark side and open the chest for Red Jewel #19. What we need to do next is hit the switch then jump back to the light side, if you did it right the path to the west on the light side will be open. You'll need to remember this gimmick for the rest of this, when you hit switches it will affect both parts of the dungeon. We'll be jumping to the dark side to hit a switch again real soon.
After you defeat all remaining enemies on the light side you will reach a dead end by a portal to Gaia. Jump off here and hit the switch on the dark side; if you stand south of the switch you can reach it from beyond the pillars that try to trap you. Return to the light side and transform into Will using that portal. You'll need to go to the southeastern portion of the dungeon and use Will to Psycho Dash some statues (pictured below).
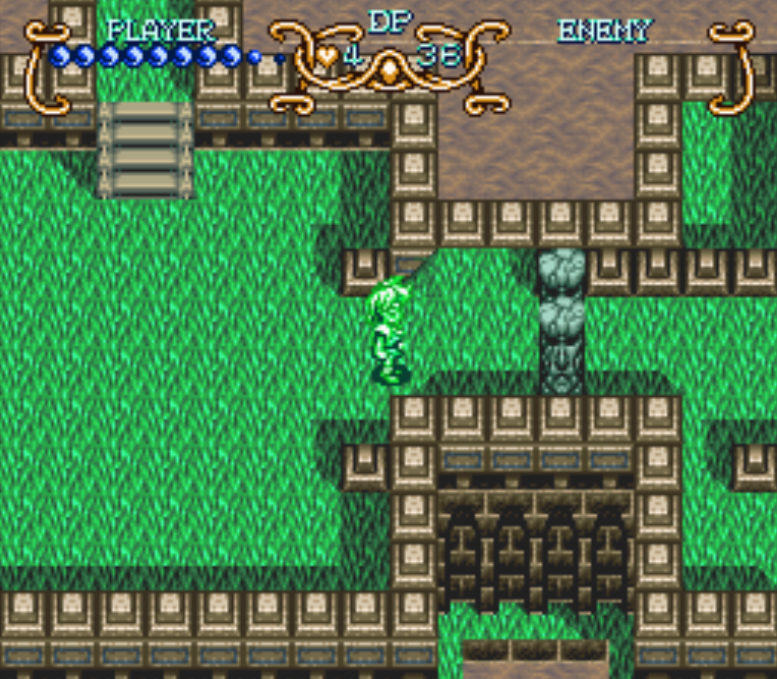
Use Will to Psycho Dash into the statues and destroy them
If you're having trouble reaching the statues it's because you need to spring down the decline so that you can make it up the next incline. Just like how we always do it in this game to launch ourselves sky high and just like we're going to do to reach the chest at the end here.
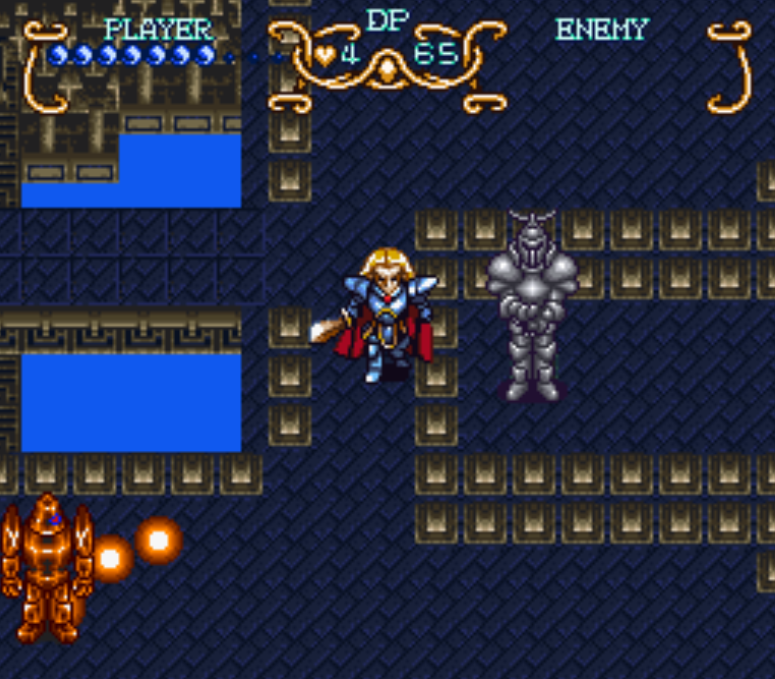
After you destroy the statues go back to the dark side and finish all remaining enemies. In the bottom right corner you will find a suit of armor, destroy the sword and use L or R to move the suit of armor west to the floor tile that "makes a noise" when you stand on it. You will raise the four pillars next to this switch when you position the armor on top of it, after doing this return to the light side.
Use your Psycho Dash to destroy the statues again and then climb to the top of the half pipe and sprint down that like Tony Hawk. You'll run straight to the chest at the end of this area which contains the Crystal Ball. Return to the portal and turn back into Freedan - after that return to the central room of the Sky Garden so we can finish the final (western) side.
For the western side you will begin the same way we always do, defeat all monsters in the area as you progress through it. The first set of ramps you find will require good positioning to get across, the second set of ramps will require you to stop yourself mid-way. After you jump from the first ramp hold left on the controller and Freedan/Will will skid to a stop on the middle platform.
Jump down to the dark side and clear out all of the enemies you find. Near where you arrived you will find a statue which you can only hit by using Freedan's Dark Briar skill. You need to hit the statue with Dark Briar then defeat the sword it holds. Use L or R to pull the statue up one tile and then over to the west until it's on top of the switch (pictured below). If you fail, return to the light side and then come back to reset the statue.
South of where you moved the statue on top of the switch you will find a jump down area which takes us back to the light side. You'll find a few more monsters to defeat in this area along with 2 outgoing ramps. Both of these ramps will lead you to a chest, the southern ramp will take you to the Crystal Ball which we need for progression and the northern ramp to an Herb.
Be sure to explore the dark/light side to defeat all of the monsters, when you're done return to the central room of the dungeon yet again. We need to place these Crystal Balls into the four different holes in this area to create a bridge across. Equip the Crystal Ball like an item and use it to place it into the various holes. Once the bridge is finished cross it to reach the boss room.
Viper Boss Battle
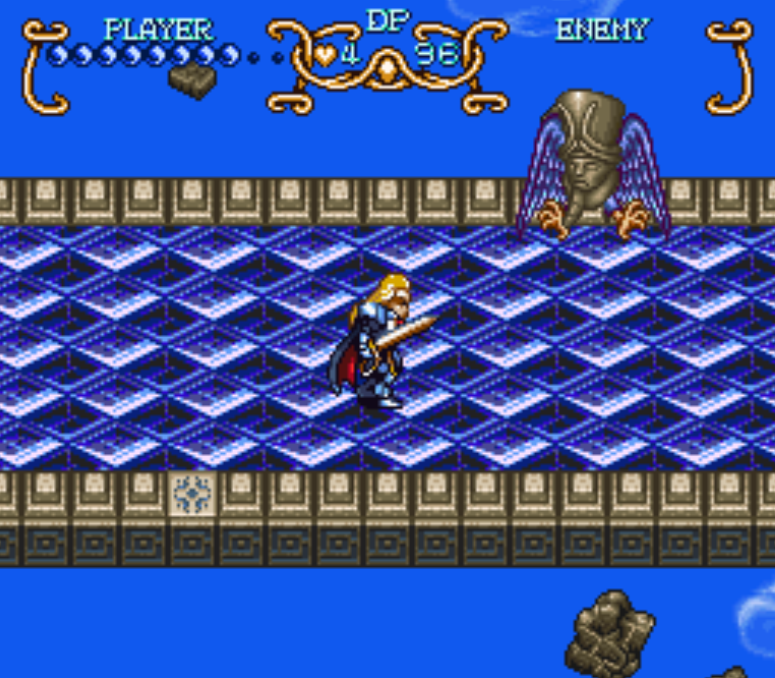
This boss is definitely the easiest one of the entire game, it's basically a bird with a statue face that flies around and attacks you with feathers. You'll see many rocks flying around too but they can't hit you during the fight so don't worry about them at all. Unlike the previous boss you can hit this one and deal damage the entire time - there is no phase during which you can't damage it.
Being able to hit the boss all the time is a pretty big upside, but it comes with the downside that the attacks do way more damage. The attacks this boss uses are rather straight forward and basic but they hit really hard. Also, you'll have wind pushing you around the boss arena during the entire fight. Despite all of this, it's still a rather easy fight - eat an Herb if you need to.
Once the battle is over go to the left side of the platform and jump down for a rather cool scene. It's quite amazing how they pulled this off on SNES hardware, I will give them props for it. When the scene is over you and your friends will fly to Mu.
Mu, Seaside Palace & More (Continuing The Story)
When you regain control of Will you will find yourself in the Seaside Palace. Your friends can be found in various places throughout the palace along with 3 different Red Jewels. I recommend you be thorough while exploring this area so that you don't miss anything.
Don't forget too if your inventory is getting full you can consume the Red Jewels like an item to make them teleport back to the Jeweler! To progress the story you'll want to find and speak with Lilly to make her join you, then you'll need to find a set of 3 coffins and inspect the one on the left for a Purification Stone.
Red Jewel #20: You'll find this Jewel by searching the chest near Kara.
Red Jewel #21: From the room with Kara you'll need to go downstairs once and then back upstairs to reach this chest. On Kara's floor when you go downstairs you go down 2 sets of stairs; when you go back up you only go up one flight of stairs.
Red Jewel #22: Two gray slimes will fall down next to the stairs that lead up to the small room with this jewel. If you've already taken out all of the enemies, better directions may be -- this jewel is found in the room just above where you find ghost Neil and Erik.
Once you have the Purification Stone you're looking for the room shown in my screenshot below. Stand on top of the fountain (same spot you see me standing) and equip the stone in your inventory then use it. Watch the short scene and the water in the fountain will turn blue.
Exit this room and start talking to people, you'll learn that everyone has been imprisoned here for some reason or another. The only person you need to speak to for advancing the story is a man who gives you the Seaside Palace Key. If you're having trouble finding the room with this key, my advice is to first locate the small room with two staircases and the guy wearing a purple robe. One staircase will go up and one will go down; this room is found in the middle portion of the Seaside Palace and you're required to pass through this room to go from the top of the area to the bottom.
From this room you will go up the stairs and then west until you find stairs going down. Go down these stairs to find the man who gives you the Seaside Palace Key. It can be a bit confusing, I know. After getting this key our next stop is the very top of this area - where we originally teleported in at.
At the top floor of the Seaside Palace you will find a locked door in the western hallway. Use the key on this door to open the path to our next dungeon, Mu. Head through the first long hallway and exit in the south to reach the actual dungeon. Clear some enemies in the first room and exit in the northeast.
In the next area you'll find new cloaked enemies which teleport around and a few "circle" enemies which you can't beat yet. The circle enemies look a bit like bubbles so that is what I am going to call them in this guide. You can move these bubble enemies by pressing L or R; you can also move them by hitting them. Move and bubbles in your way and keep following the linear path around the dungeon.
You will eventually hit a dead end, when you leave this area you'll get a comment from Lilly about the empty chests being in the exact locations where the statues' line of vision crosses. Return to the previous area that was a dead end and inspect the ground where the vision crosses between the two statues (pictured below). In this location you will find the Statue of Hope.
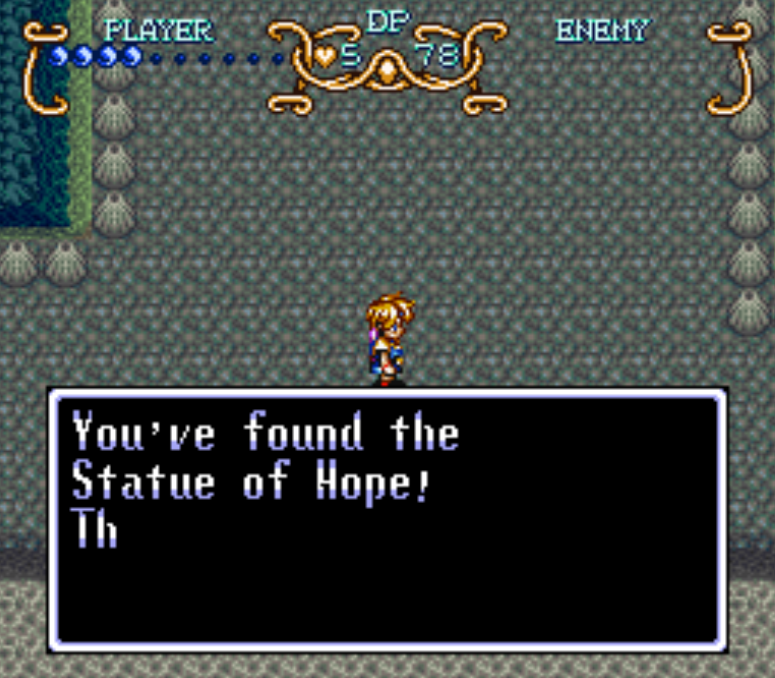
Search inbetween the two statues line of sight to find the Statue of Hope
Now that you have the Statue of Hope it's time to return to the Room of Hope which we passed earlier. Equip the statue and then use it in front of the altar in this room to drain some of the water in this dungeon. My advice is to exit this room and go northwest back to the previous room; you'll find a portal in the newly drained area that lets you transform into Freedan (and heal).
Transform into Freedan then spend a bit of time running around and destroying all of the enemies you can find. When you are ready to advance the story you'll want to return to the portal that you transformed into Freedan at and exit this area to the south. Make sure you take the exit by the pink colored tiles (meaning, take the exit where the water has been recently drained and not the previous one).
In this next area you'll find a mud golem enemy which you'll need to destroy with Dark Briar. Once that is done position the bubble just south of the blue ramp leading to this enemy and bounce yourself off the bubble and up the ramp (pictured below). This is pretty easy to do and it will get you up to the top of the ramp.
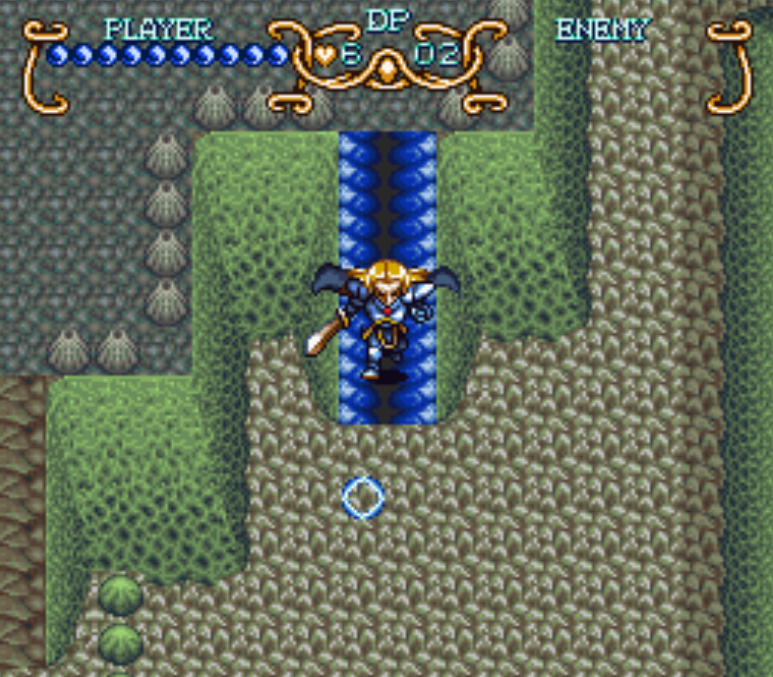
Use the bubble to bounce up the ramp
Eventually the path you are following will lead you to two switches and a line of spikes. Hitting a switch will lower the spikes for a brief window, you will need to sprint on your character to make it in time. My advice is to hit the switch near the spikes then sprint north and then sprint south. I made it with about half a second to spare which means it has some room for error.
Keep following the linear path until you find a dead end with a portal to Gaia. Enter the portal and go to the Will statue to transform back into Will and to learn the Psycho Slider ability. Remember all of those small holes we've been seeing in the walls recently? With this skill Will can now get through these cracks!
Return the same way that we came and when you find the first hole (in the green wall) use Will's skill to get inside. All you need to do is dash towards the wall and press the attack button when you're close enough to slide. In this next portion of the dungeon you'll need to go south and use your L or R buttons to move the bubble to the blue ramp. Much like we did with Freedan, use the bubble to bounce yourself up the ramp. Next, clear all of the enemies you can find up here - two of these enemies will spawn statues when defeated.
Just like before, the two statues are looking at an area which you'll need to search for the next key item. The area they're looking at is just east of the statue that's facing east - search the barnacles right before the spike traps for another Statue of Hope. Make sure you clear the remaining enemies so you get the bonus then return the way we came.
Our next destination is the second Room of Hope which is found in the first room of the dungeon. Use the Statue of Hope here just like we did last time and you'll lower the water level again. Collect the Red Jewel #23 to the south of this room and heal up at a portal to Gaia if needed.
Red Jewel #23: After lowering the water level a second time go south of the Room of Hope and open the chest for the jewel.
To continue with the dungeon, you'll want to go up the path next to the second Room of Hope and then search the wall directly to the south of it. You will find a small hole directly south which you can slide through (pictured below).
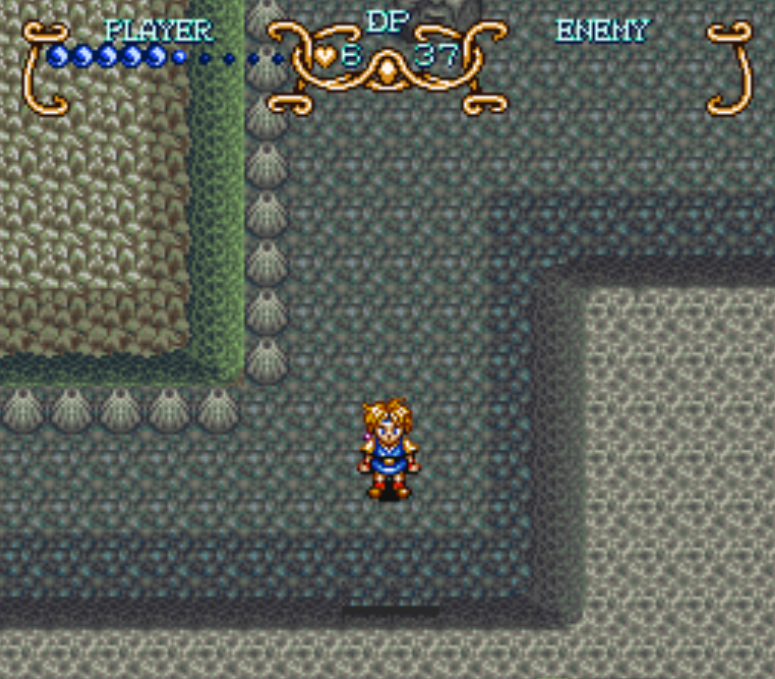
Slide through the hole pictured above after draining the water a second time
After sliding through the hole go down then southeast; ignore the hole in the wall to the west and exit this area through the east for now. Defeat the two cloaked enemies in the next room for a bonus and the two mud golems in the room after that for a bonus. Loot the chest by the two golems for Rama's Statue which is an item that we need.
Return to the previous room where we ignored the hole in the wall to the west; this time you'll want to slide through that hole. Defeat the enemies here to get another bonus then go north. Just like before you should defeat all the enemies here for a bonus; open the chest in the northeast to find another Rama's Statue as well.
Our next destination is the Sanctuary which is where we'll need to place both Rama Statues. From where you found the second Rama Statue you'll want to return to the previous room and then exit to the south. This will lead you to another room with a cloaked guy (defeat him for a bonus) and continue west into another area. You'll find the Sanctuary through a hole in the wall in this area.
Equip the Rama's Statue and place both of them on top of the platforms in this room. Doing this will cause you to be teleported to a new area. Go north in this new area and interact with the statue at the top of the room, he'll tell you that he is Rama and you should speak with all of the spirits.
Walk around the room and speak with all of the spirits that were summoned, then speak with Rama in the north again. Rama will give you a Mystic Statue which is a key item and he will open a new path for you behind him that leads to the next boss.
Tip: You should return to a portal before proceeding so that you can transform back into Freedan.
Jack & Silvana (Vampires) Boss Fight
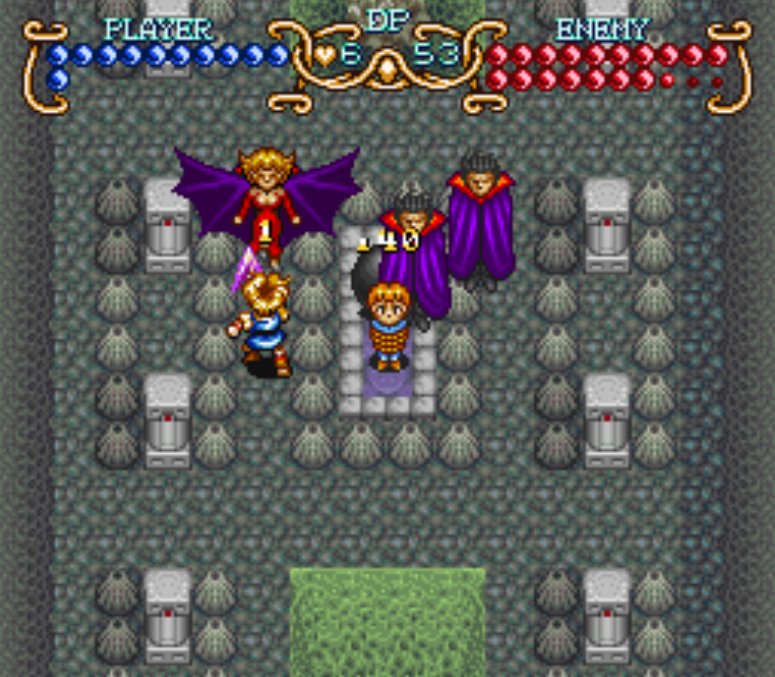
This is going to be one of the hardest boss fights you've had up until this point; you'll be fighting against two identical bosses who both use the same attacks against you. You will also have a timer for this boss fight which means you can't use an extremely slow but safe strategy. The bomb sitting behind Erik is what will display the time you have left. I don't recommend worrying about it too much since you have plenty of time.
Each Vampire will use spinning orbs around them along with streaks of fire that they shoot down each lane. They also have one more ultimate attack which you need to dodge - a giant energy ball. If you get hit by the giant energy ball you can say goodbye to 75% of your health, that makes this the most important attack to dodge. My primary bit of advice for this fight is to whack each Vampire 2 - 4 times after they move to a new location. If you get close to them quickly you can get about 4 attacks in before they start using their orbs/fire. Otherwise you can only get about 2 or 3.
After beating both Vampires run behind Erik and inspect the bomb to defuse it, choose either wire when you are asked. Your choice doesn't matter, either way you defuse it and save Erik. Once that's finished go south towards the entrance of the room and your friends will find you and there will be a scene.
Continue to Illusion of Gaia Walkthrough Chapter 3
Return to Illusion of Gaia Walkthrough Chapter 1

