
Walkthrough for Jade Cocoon 2
This page includes my full walkthrough for Jade Cocoon 2; how to beat the game and everything I have learned over the course of my two playthroughs is written down in this guide. Before we start let me explain a bit about how this game works because it's quite unique and unlike most other RPGs on the PS2.
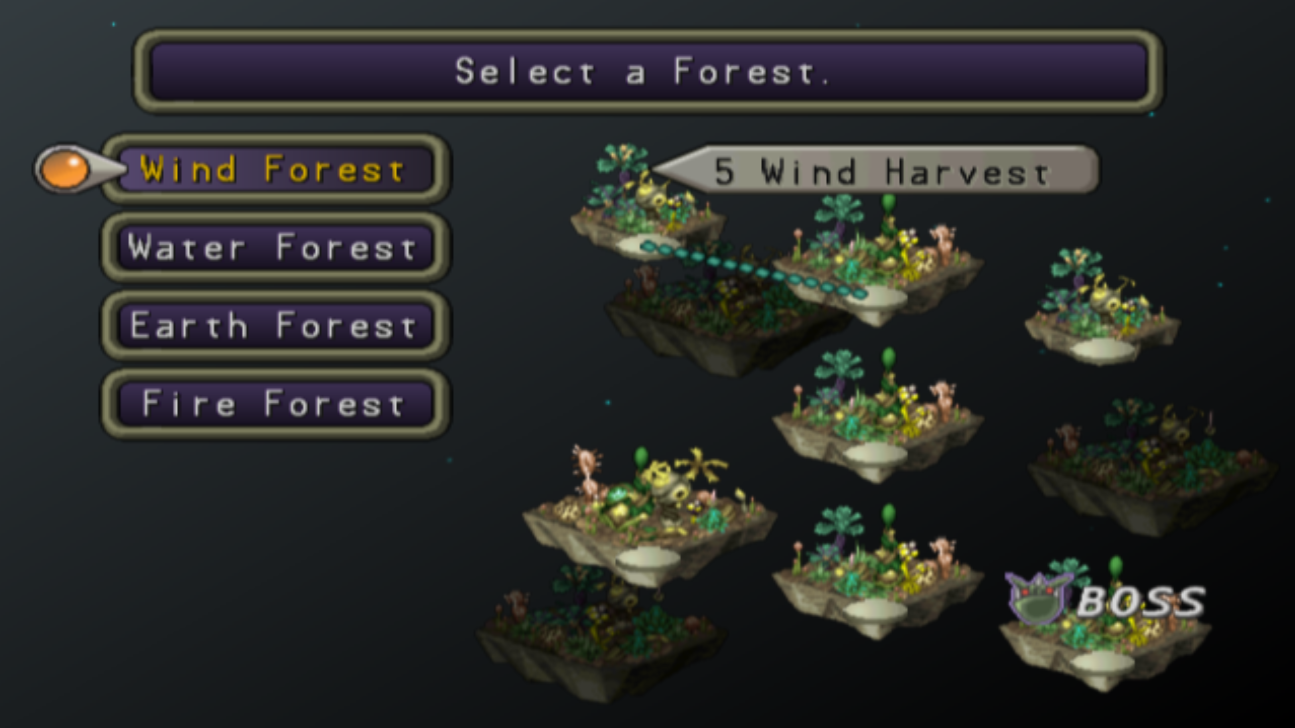
Let me start off by saying that the story in this game is not at all linear. You will have 4 forests that you can progress through and each of the forests will have 4 levels. To progress from one level to the next you'll have to defeat a boss. The game's "story" happens throughout these 4 forests, inside each forest you will meet a unique cast of characters and you'll repeatedly run into them as you progress through each level of the forest.
As you run into the same characters over and over more of the story will reveal itself. You'll learn about them, their motivations and why they're after the same item(s) that you are. You'll also learn more about the main character and the fairy accompanying him. Each time you progress to a new level of the forest it'll jump up in difficulty as well.
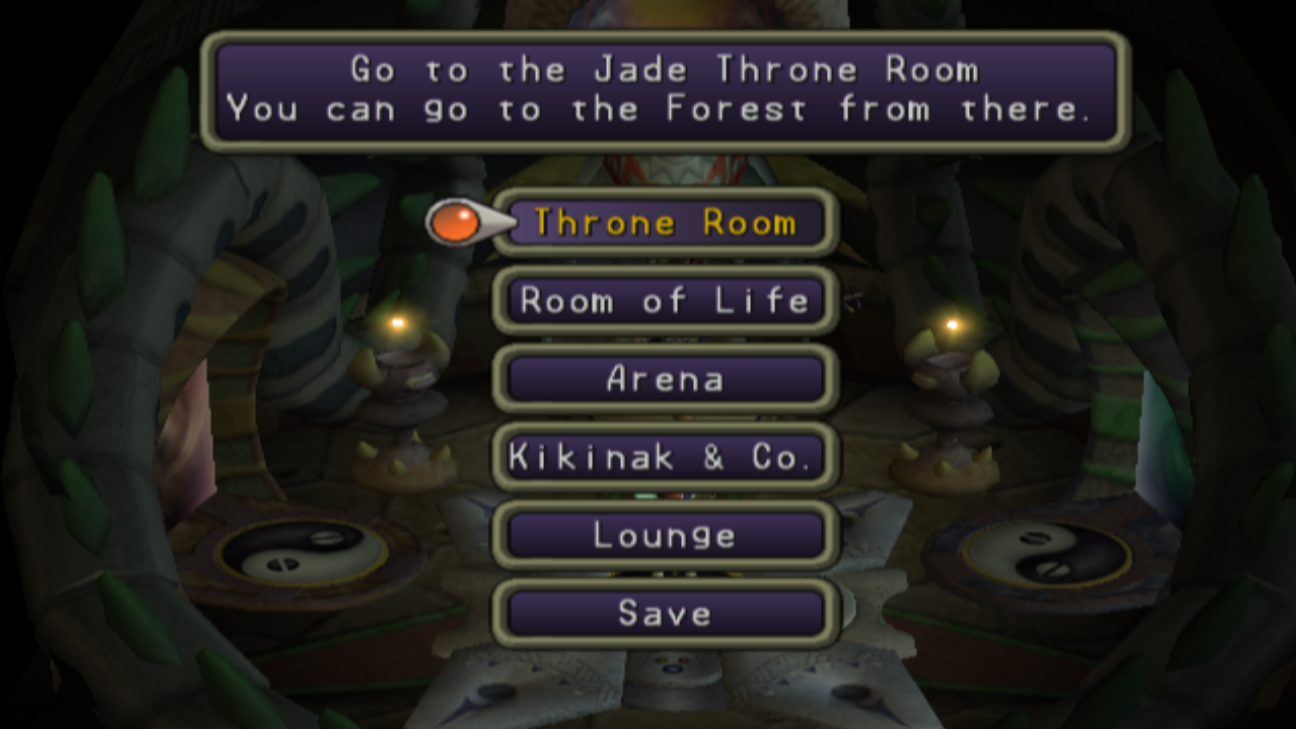
When you start the game you will be in an area known as 'The Temple' which will act as the main hub for this entire game. You can travel to different parts of The Temple using the portal in the center of each area, below you can find a little bit of information about what each area in The Temple does.
Throne Room: In this room you'll find Levant as well as the entrance to the Kumari Gate and the Kaya Gate. Both of these gates will lead you to this game's dungeons - you'll be visiting this room frequently.
Room of Life: This room will be one of your most visited because this is where you will merge your beasts, hatch new ones, store unused ones and turn in cocoons.
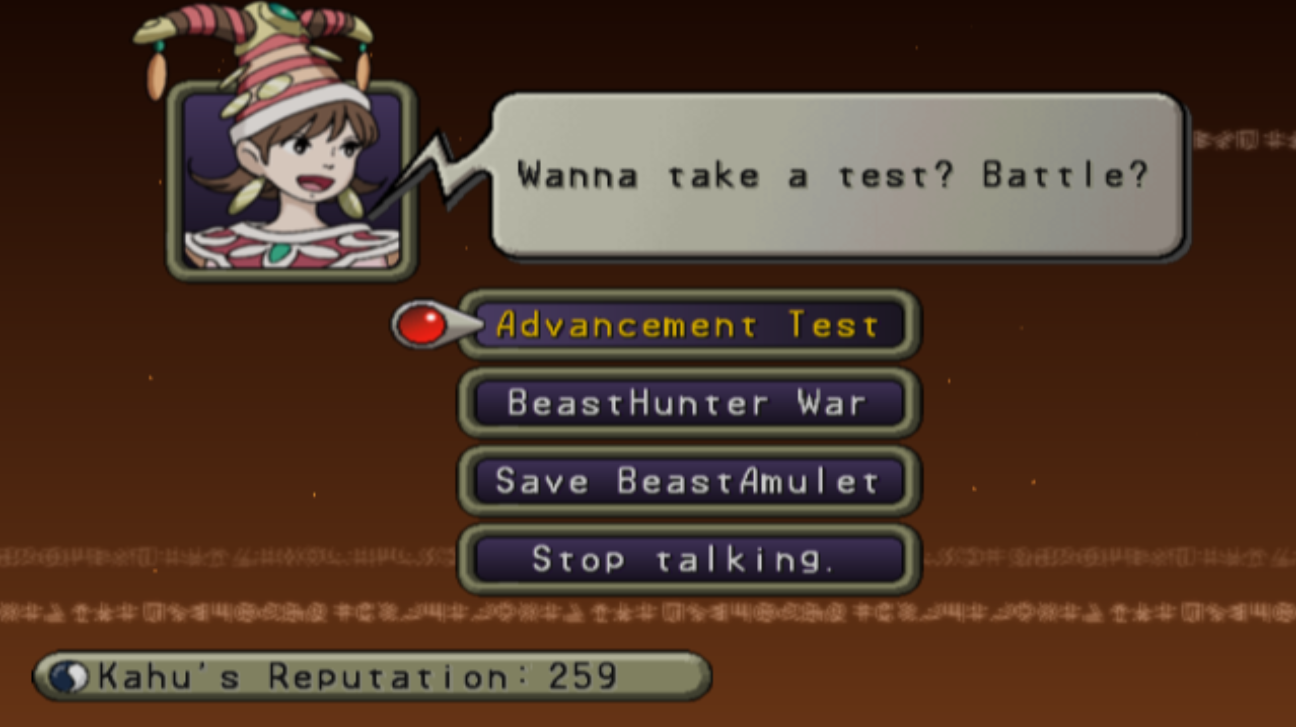
Arena: The Arena is the location you'll be visiting to participate in the Beast Hunter Wars and to take the Advancement Tests that allow you to carry more beasts with you.
Kikinak & Company: Here you'll be able to access the Warehouse where you store all of your extra items and a shop which allows you to buy and sell items. You'll be visiting this location many times while playing the game because Yan is important for merging beasts among various other things.
Lounge: At this location you'll find a Bulletin Board which gives you different Jobs, depending on what is available. I recommend you visit this location often and complete as many jobs as possible. When you're ready to turn in a job speak with the NPC next to the Bulletin Board.
When it comes to progressing the main story of this game, the order you want to do things is entirely up to you. There is no set path that you must follow, pretty much everything is open ended and you're able to jump around and do things in whatever order you wish. The only limiting factor will be how good your team is and whether or not they can handle the challenges before you.
At the start of the game what I would recommend you do is Level 1 in every forest - for now I would recommend you avoid fighting any of the bosses. Doing each of the forests will get you quite a few Seed Beasts which you'll need when it comes to merging. For more information about this check out my Jade Cocoon 2 Beginner's Guide. You'll also find a bunch of eggs while doing these forests which you should hatch in the Room of Life in town each time you return. Any beasts you leave in the kennel will still earn EXP while you battle so having a stash of them is super important (especially for when you mess up a Divine Beast -- which you probably will).
Important! Try to get a Water Divine Beast that knows Medinia as soon as possible. Medinia will heal your entire party when it's used and is one of the best abilities in the game. Without this ability the first half of the game will be significantly harder (trust me, I know from experience).
Once you've finished Level 1 in each of the forests you can hit up the Lounge and do any available Jobs that you'd like to. Jobs typically will take you back to areas you've already visited which give you an excuse to do some grinding to level your Divine Beasts. My recommendation would be to try and get 2 of your Divine Beasts to level 20 then merge them to make them more powerful.
Jobs will also earn you some money as well as some Reputation, both of which are very important in this game. Reputation will allow you to take Advancement Tests at the Arena which will allow you to have more Divine Beasts active during battle. This is as important as it sounds - each Divine Beast you add to your team will make you significantly more powerful.
You can do the first Advancement Test whenever you want, I would recommend doing the 2nd one after you've got 2 Divine Beasts to level 20 then merged them to make them more powerful. Also, as aforementioned, Medinia will make or break your team in my experience. Every time I have tried to do these tests without Medinia I have gotten spanked - however with Medinia they're a piece of cake.
Each time you beat one of the Advancement Tests don't forget to go to the Room of Life and pick up a new Divine Beast for your team. I recommend you only use 3 sides of your Beast Amulet for the time being, I typically do Fire and Water for my first 2 then place my third on either Wind or Earth. My fourth Divine Beast typically goes onto Fire or Water in one of the side slots. These side slots are important because they will allow you to attack with 2 Divine Beasts during a single turn.
Depending on your current Reputation and how good your team is you may be able to handle the 3rd Advancement Test right now as well. It'll definitely be very challenging at this low of a level but it's possible to do if you have the right team setup. For what it's worth on my first playthrough I had to wait until much later to do the 3rd test. I messed up 2 Divine Beasts experimenting and trying to learn skills and it didn't work out well for me.
Once you've advanced your rank as far as you can go it's time for us to get to the "meat" of the game. You will need to beat the boss on Level 1 of a forest to unlock Level 2 and then you'll need to do the same thing on Level 2 to unlock Level 3. For right now you should focus on completing Level 2 on each of the four forests then doing Level 3 on each of them. I believe this is how it's supposed to be done because if you beat Level 2 on a single forest then try Level 3 without beating the others you'll notice a jump in difficulty.
Keep in mind that you can technically do things however you want, if you want to push to Level 4 on a specific forest to get better Seed Beasts you can do so. The world is your oyster. The way this game is designed is very unique in the sense that you can do things in any order you want - your overall goal is to collect all four orbs and you'll do that by beating the bosses on Level 4 of each forest.
While you're doing each of the four forests you'll also want to hit up the Lounge every so often and complete any Jobs posted on the Bulletin Board. Additionally, I recommend you visit the Arena and participate in the BeastHunter War for some extra money, Reputation and practice on how to beat difficult foes.
Arena: Here you can participate in Advancement Tests as well as the BeastHunter War. The BeastHunter War is a very difficult arena that will put you against other BeastHunters. Reputation and money is earned when you win a battle.
Lounge: Visit the Bulletin Board here constantly to check for new job postings. You will earn money for completing jobs along with Reputation. The jobs also give you an excuse to grind the same worlds repeatedly which you'll definitely need.
You will have to run through each level of each forest multiple times to collect all of the Seed Beasts and to see all of the story events. Seed Beasts are found by talking to the Beast Hunters that turn out to be Kalma. They'll usually growl at you or say something before attacking you. When you defeat them you'll acquire a Cocoon which you can take back to the Temple to acquire a Seed Beast.
Eggs are a bit different, when you hatch an Egg you'll get a Divine Beast which you can then use on your team. I recommend that you keep some eggs in your bank stash because some of the Jobs at the Bulletin Board will require eggs. Doing the same with other items is worth while too since sometimes quests will ask for other materials. This is only true for the first half of the game though, once you collect all 4 orbs and move onto the next "dungeon area" you won't be able to use the Bulletin Board anymore.
Depending on how well you merge your Divine Beasts and the team setup you choose - you may have a little or a lot of grinding to do. Learning what skills were good and which were not cost me a lot of time grinding.. Thankfully you can overwrite your skills each time you merge a beast so you don't have to live with your mistake forever.
For more information about all of this stuff and how to play the game I recommend you check out my Jade Cocoon 2 Beginner's Guide. That guide will give you the information you need so you don't have to spend days worth of grinding to beat this game.
When you feel comfortable enough to challenge one of the bosses and collect an Orb, by all means go ahead. You will know best when you're ready, I make sure that I finish every Advancement Test before challenging a boss (at minimum) and typically wait until I make it to 3 merges on my main 3 beasts. With the right team setup you can do it way earlier than this though.
Nam; he is arguably the hardest of the four bosses
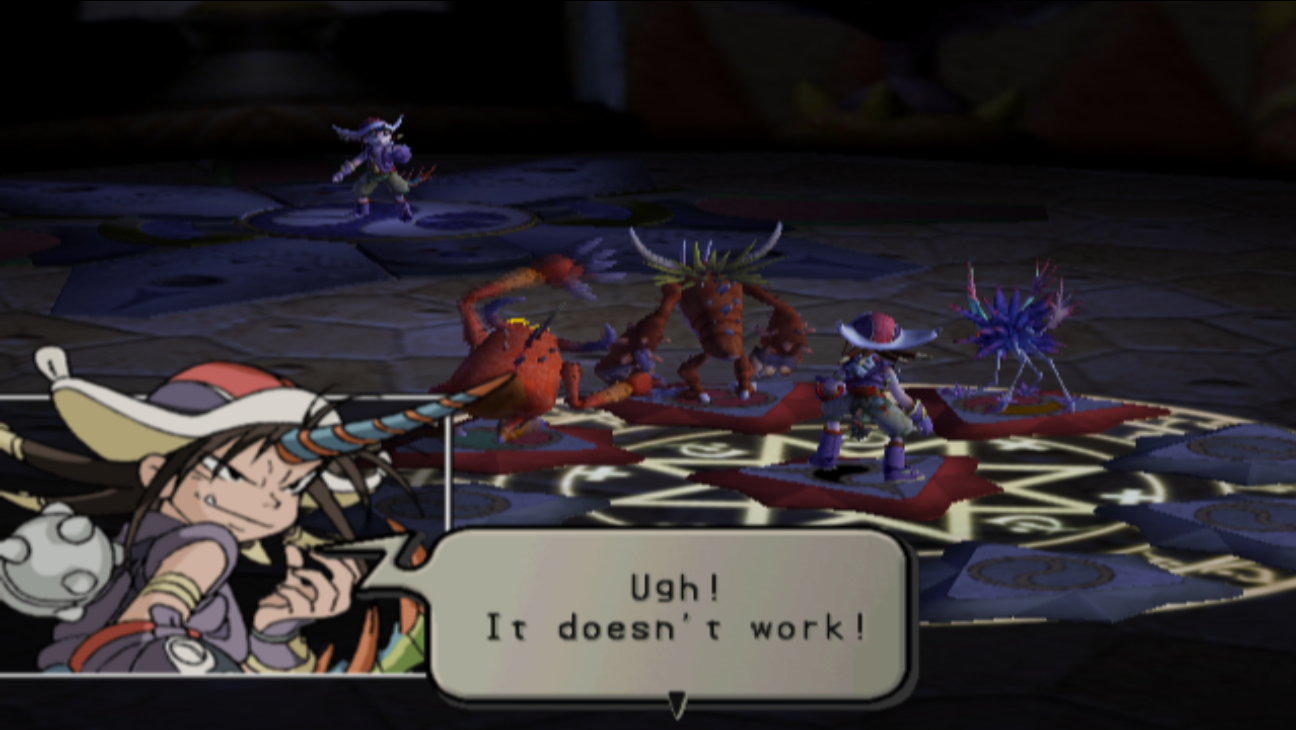
There are a few tips that I can give you when it comes to fighting bosses in this game... First, if you want to make the fights a lot easier - use your items. You can find many different books throughout this game that will make boss fights significantly easier, like books that restore the HP or MP of every beast on your team during a single round. Many different items will allow you to deal damage directly to the enemy too.
Correctly using items will allow you to take on bosses way earlier than you'd be able to otherwise. To give you an idea of how important items can be, speedrunners spam them during pretty much every boss fight because it allows them to eliminate bosses without grinding for hours.
My second big tip for fighting bosses would be to rotate your beasts often. Spread out the damage you take across all of your beasts then use Medinia/Medinite to heal everyone once they've all taken some damage. In my experience Fire and Water are the most important beasts on your team because Fire will be your burst DPS along with your tanks and Water is your healers.
Keep in mind if you'd like the extra survivability & support you can have 2 monsters that use Medinia/Medinite instead of just one. This will allow you to almost completely heal your entire team in a single turn. If all else fails you can always grind and level up your monsters more to make the bosses easier. As always, check out my Jade Cocoon 2 Beginner's Guide if you need additional help figuring out a good team composition, what abilities are good or anything like that.
Each time you defeat one of these bosses you will be given an Orb which will appear in the Throne Room where Levant is. When you collect all 4 and tell Levant you're ready you will advance to the second half of this game. Before you advance to the next part of this game you should finish up all of the Bulletin Board Jobs you want because they're going away forever. Also, you will lose access to all of the low level forests and all of the Seed Beasts and goodies therein.
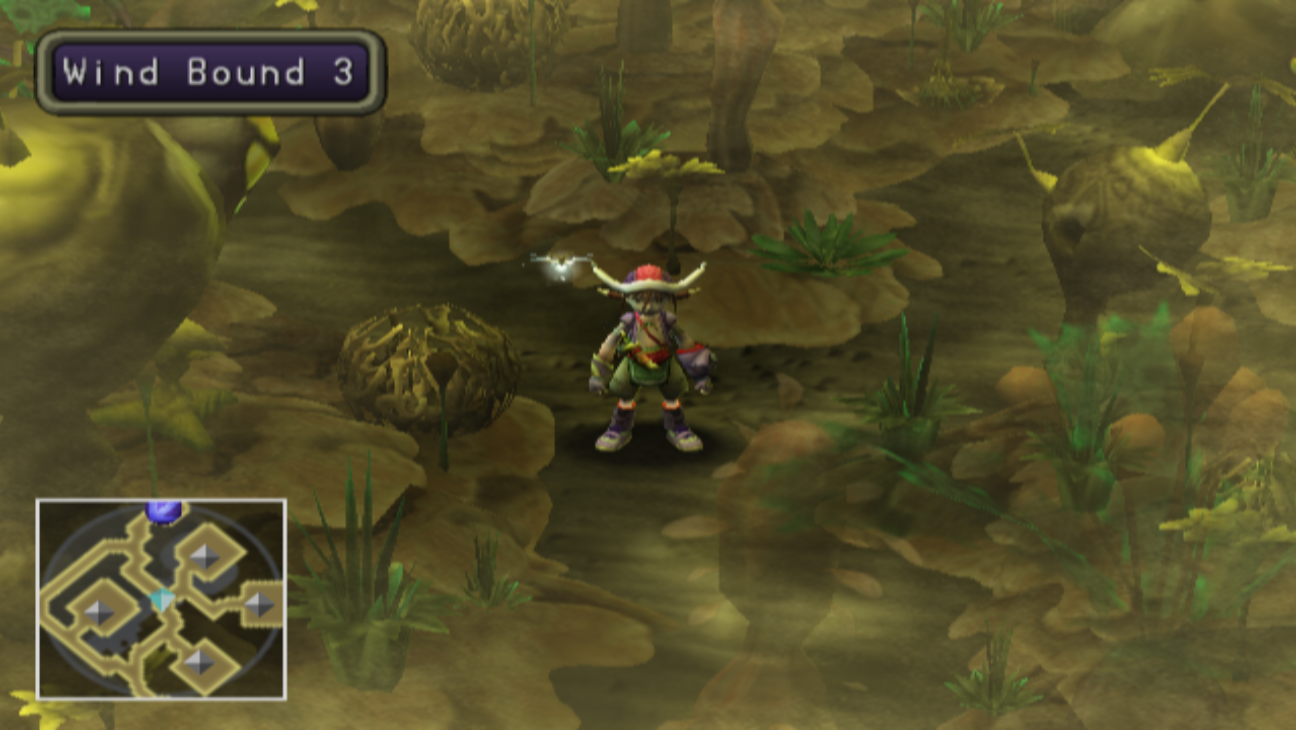
I recommend you take your time on this first part of the game, run each forest multiple times - visit each Ogrevine and loot the contents. The only good guide for this game on Gamefaqs lists what you can find in each of the forest wormholes, I won't repeat all of that here since I don't think it's really necessary. You're expected to clear each forest multiple times for different jobs so you naturally will collect all of the Seed Beasts in the game. I didn't miss any on my 2 play throughs and I did each forest 3 or 4 times.
To proceed with the next part of the game talk to Levant and tell him you're ready. You'll get a long cutscene after which you'll face off against the Kalma that is inside Kahu. I personally did not find this fight to be very hard but your mileage may vary. Defeating the Kalma within Kahu will unlock the next series of dungeons which is the final portion of the game.
This next part of the game has you visit the Kaya Gate which is to the right of the Throne that Levant sat on. Much like for the first half of this game you will be tasked with going through 4 different dungeons each of which are a different type of element. Unlike before, these dungeons will not be straight forward and there will be multiple branching paths that you can follow.
How these dungeons will work is typically at least one route is a dead end that will take you out of the dungeon. Another route will typically be blocked with a Gate that you can't open for the time being - this gate will lead you to the final boss of this area. In order to open the Gate you'll need to locate a Kalma in one of the Ogrevines throughout the upper floors of these dungeons. This Kalma will drop a colored crystal which will be your key to open the gate and proceed to the boss.
You'll find the most annoying part of these dungeons to be the random exits that boot you back to the start. To beat these dungeons you'll need to memorize which exits are bad exits and which are good exits. Sadly, I can't really explain to you well enough through text how to navigate these dungeons. Gamefaqs had maps drawn out in Microsoft Word if you want to use those - I didn't find them to be very helpful though.
Although, I can say to search for Jade Cocoon 2 speedrunners on Youtube, skip ahead to the dungeon you want and watch his path. Obviously they are going to take the most direct path since their goal is to beat the game as quickly as possible. I will provide you with general advice below about what to expect in each dungeon and where you'll find the important things to complete it. Navigating those dungeons and actually 'playing' the game I will leave up to you.
Dark Water Forest: On the 2nd level you'll find a locked gate, the Princess Vine behind this gate will take you to the boss of this dungeon. In order to open the gate you will need to collect the Crystal key from the Kalma on the Stagnant Pond Terminus level. You can reach the Stagnant Pond Terminus floor by taking one of the different branching paths in this dungeon. It's difficult to explain to you without maps and there are no maps for this game so...
Dark Wind Forest: The Wind Crystal you need to open the gate in this dungeon is found by defeating the Kalma on the Duststorm Terminus map. As for the gate that leads to the boss, you can find it directly behind the location you start at in the Dark Wind Forest.
Dark Earth Forest: You'll find the gate in this forest on Wilderness Level 3 and the Kalma that drops the Green Crystal to open it on the End of Killing Fields map. The various dead ends on this map can get a little confusing if you don't pay attention.
Dark Fire Forest: The Kalma you need to defeat for the Red Crystal is found on the End of Blaze map. You'll find the gate that leads to the boss on the Hellfire Level 1 map. I recommend you bring some items to resurrect your beasts while clearing this dungeon because there are lots of enemies that will use Death spells that one shot your beasts.
Note: Now that Kahu has wings he'll be able to use a new skill during battle called Restore. Press Triangle during battle to bring up the Command Window and you'll find Restore at the bottom under Escape. Restore will heal your entire team for 50 points of damage and consume 1 Shield on Kahu. Shield is replenished after every fight so this is a pretty nifty ability for you to use.
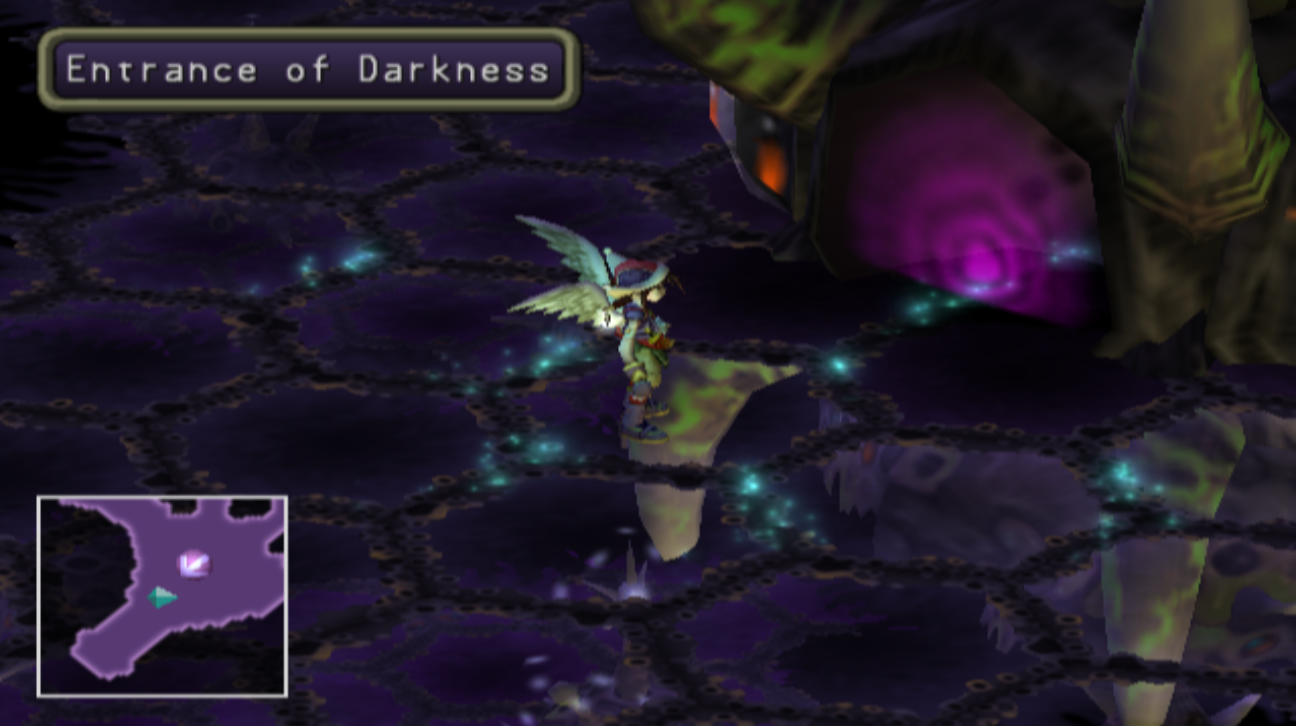
Once all four of the Dark dungeons are finished you'll get a cutscene where Kahu gains a set of wings and you'll gain access to Lilith's Lair (pictured above). This is the final dungeon of the game and is not much harder than the previous ones if you ask me. Inside every Ogrevine in this dungeon you'll find a Kalma who gives 5000 EXP when defeated. This makes it one of the best dungeons for you to grind some extra EXP in if you want.
The dungeon itself is pretty linear and small but you'll still have to search each Ogrevine for the Keyspore plant to proceed from floor to floor. What I would recommend is to complete this dungeon once and get to the floor right before the final boss then teleport back to The Temple to heal your beasts and recover all of your HP. Save your game then proceed through the dungeon once again, this time to challenge the final boss.
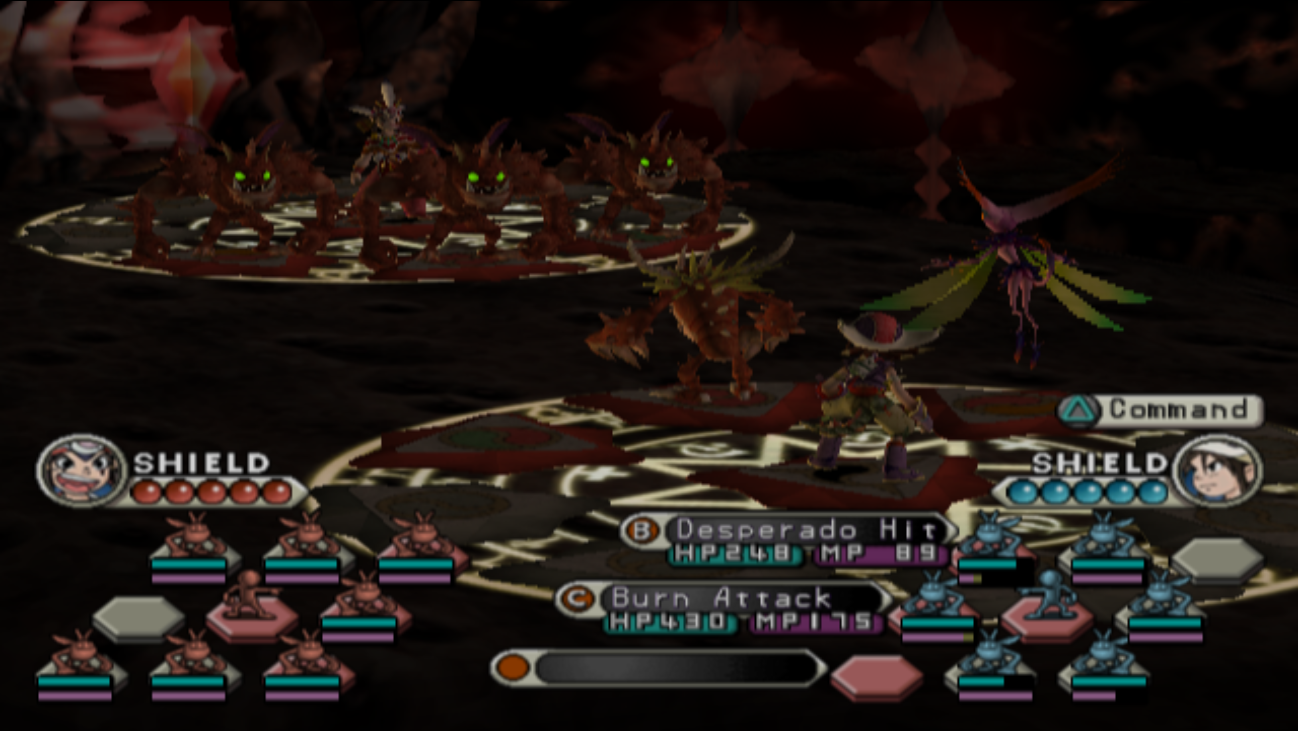
Much like all of the boss fights before this fight will also have multiple parts. The first fight will be against the possessed Levant and the 2nd fight will be against the Kalma that possessed him. A screenshot of the Kalma I am talking about is shown below.
For the most part the fight against Levant will be extremely easy - he doesn't even attack every single turn. The only skill you need to watch out for when fighting Levant is Seal. Seal will banish one of your beasts from the battle and you won't be able to get him back until after the fight.
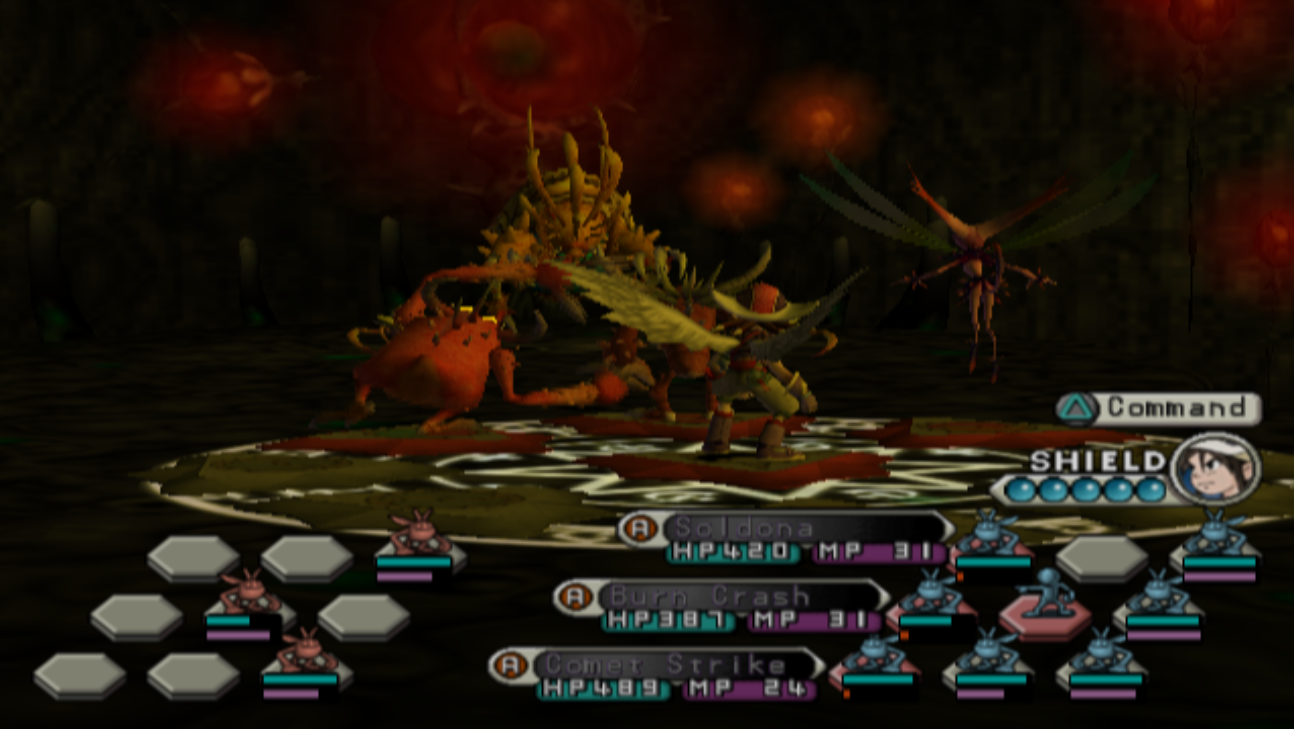
When the fight starts against the second boss, it will summon 2 beasts to protect it in the front row. Each time these beasts are defeated they'll instantly be summoned again so attacking them is a waste of your time. Your main target is the big Kalma in the center of the enemy's board - once you defeat him the fight ends.
In my opinion the only thing you have to pay attention to with this boss is the color of it. Throughout the fight the boss will change elements and when it does the color of its skin will also change. Pay attention to this because the boss will be immune to whatever element it currently is. Also, when it summons beasts they will be the same element as the boss at the time of summoning.
Tip: You may want to kill the beasts it summons if they're an element that is particularly frustrating to deal with, like Earth or Water.
There isn't much else I can say about this fight since I don't think it's even that difficult. None of the enemies will have insane burst damage so it really is more of a battle of attrition than anything else. If possible I would recommend you eliminate one of the 2 beasts that the Kalma summons because it won't resummon until both are dead. That way if you defeat one and leave one alive you make the fight easier.
Sadly, there is no way to control which enemy your beasts attack so you can't really stop your beasts from attacking the one beast in the front row. Once you win this fight you'll be rewarded with 99,999 EXP and the credits will roll. After the credits you'll be asked to save your game then you'll have a few more scenes before you regain control of Kahu. During the post game scenes you'll unlock the 8th slot on your BeastAmulet.
Just before you regain control of Kahu you will learn what has changed in the Temple now that we're in the post game. Essentially the Lounge is now active again and giving out Jobs that you can complete. Also, the Arena has changed a little bit too. There are numerous new Battles that you can participate in at the Arena if you'd like.
Most importantly, the original gate we used in this game is now open again and you'll be able to visit all 4 of the primary forests once again. Additionally, each of the 4 forests now have new sections that you can explore. These forests will consist of the post game content for Jade Cocoon 2.