
God of War Walkthrough Chapter 4
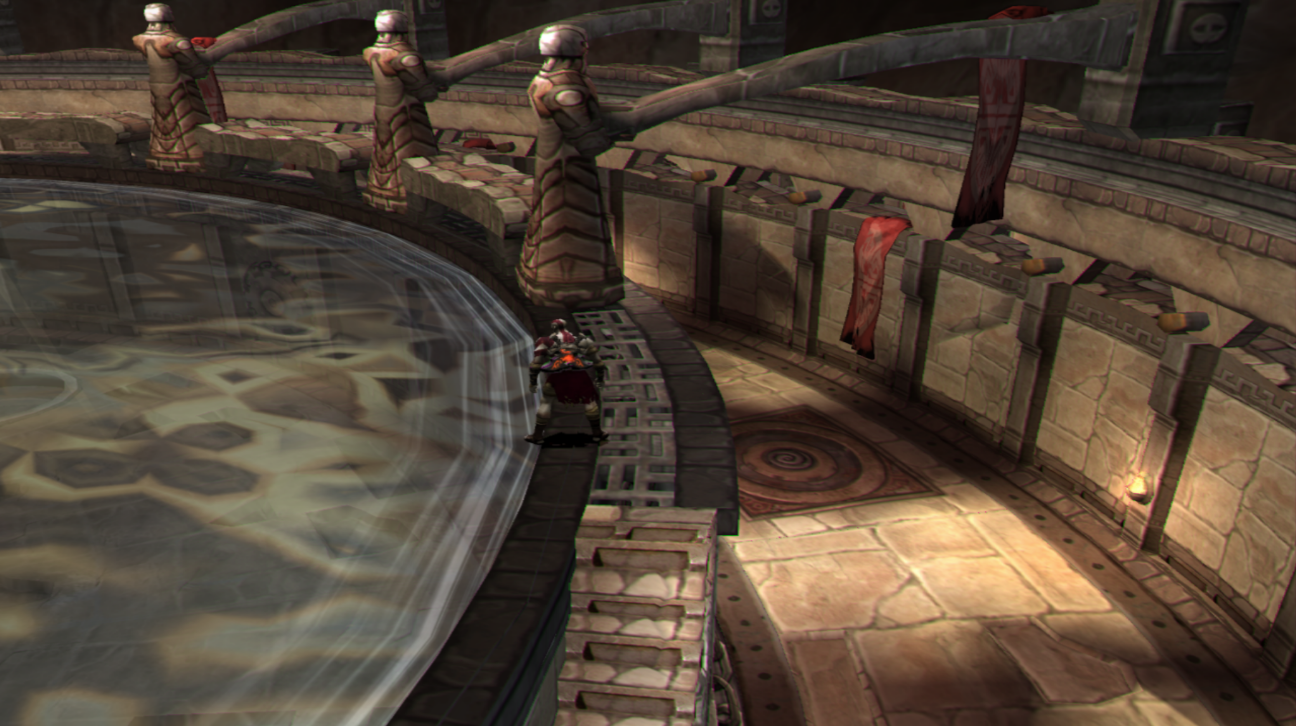
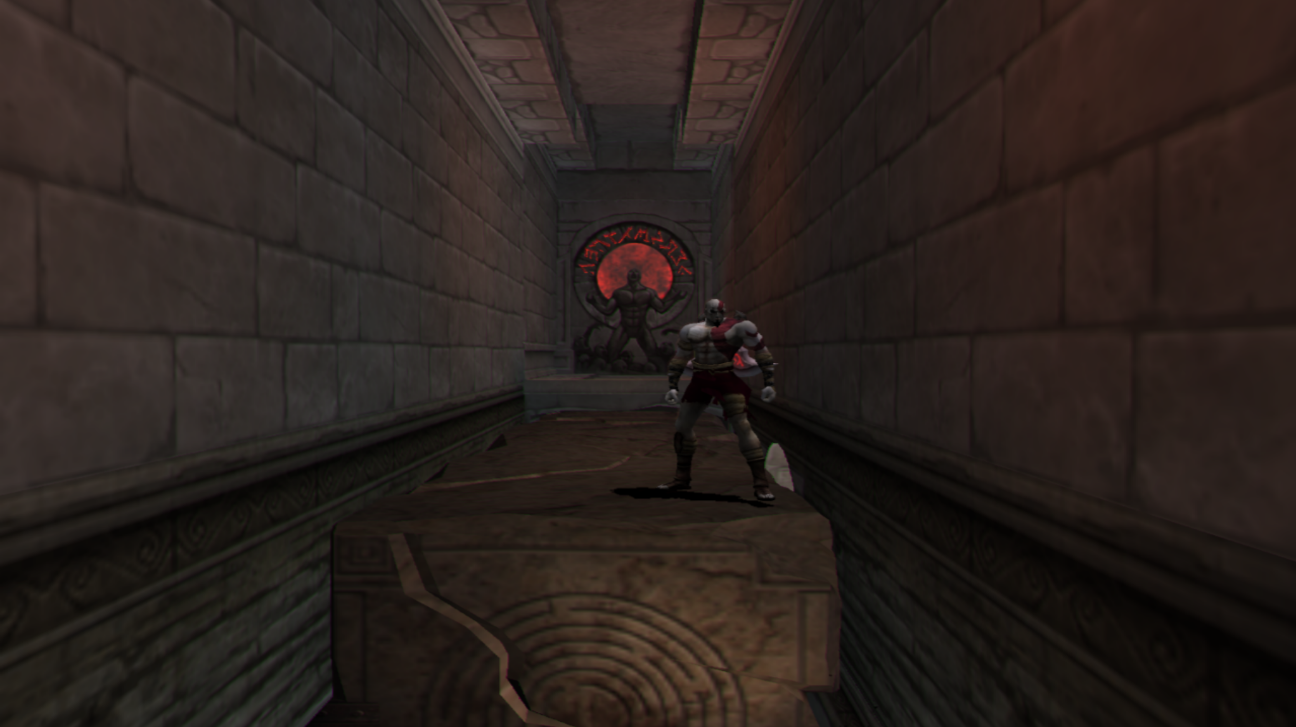
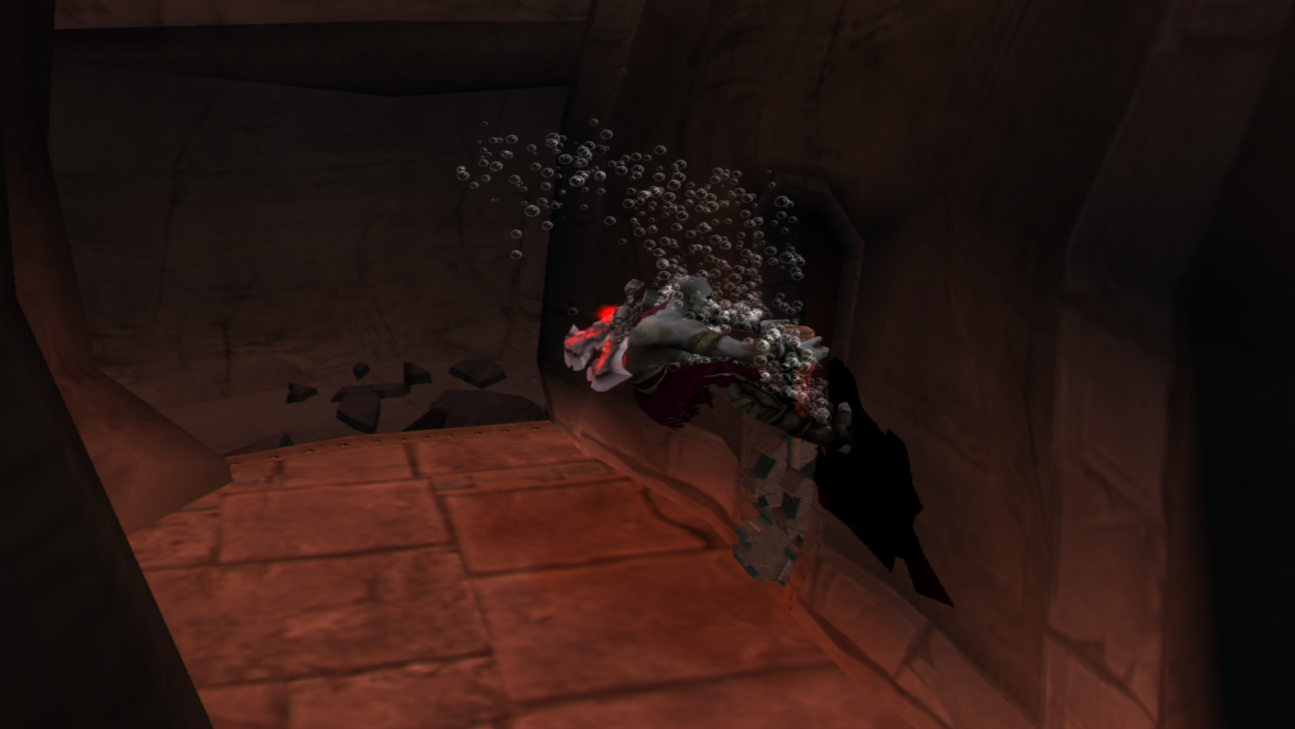
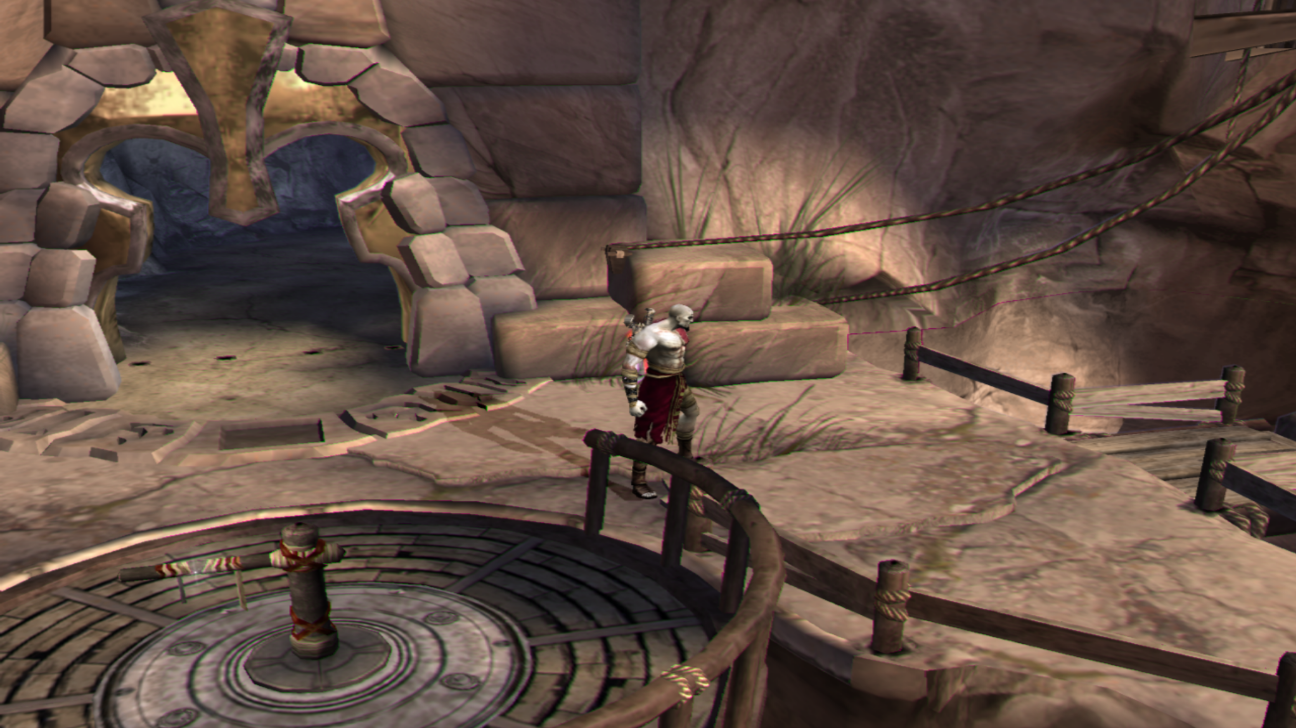
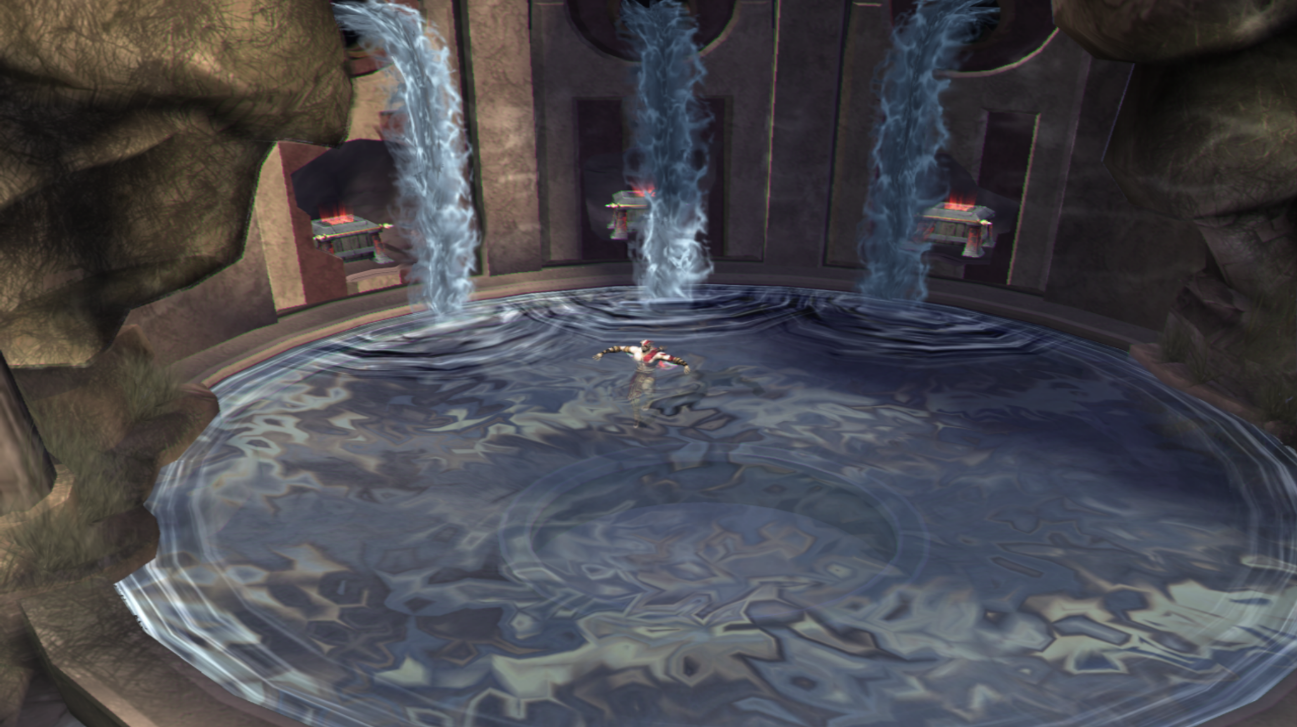
In the center of the Rings of Pandora there is a giant pool of water (pictured above); we were here not too long ago but we didn't have the ability to swim underwater at that point in time. You'll want to return to this pool of water and dive down to the bottom this time, there will be a hole in the floor that leads you to a cavern - swim through it.
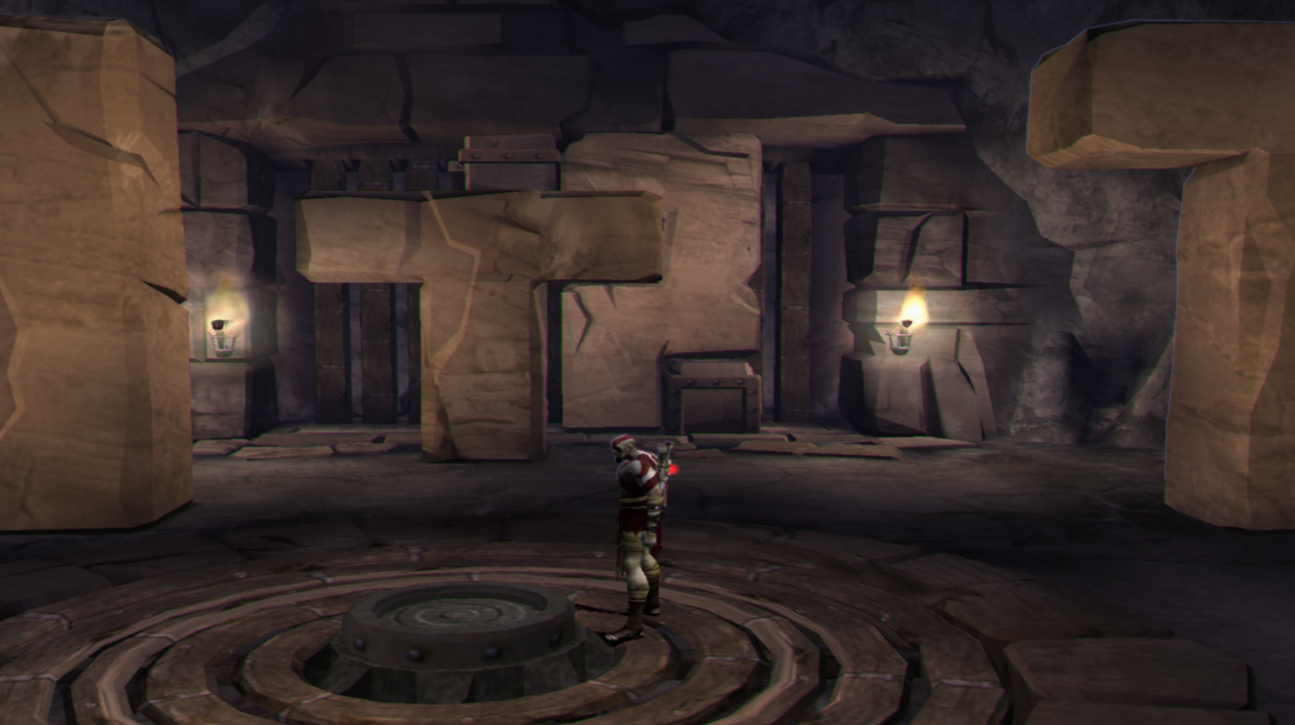
You will surface in a small hallway that leads you into a large room with a giant door and a lever. For right now we won't be messing with this door or the nearby lever, instead you'll want to search the wall across from where you entered this room and you will find a wall that you can break through. It will lead you to a Save Point as well as a health and mana chest.
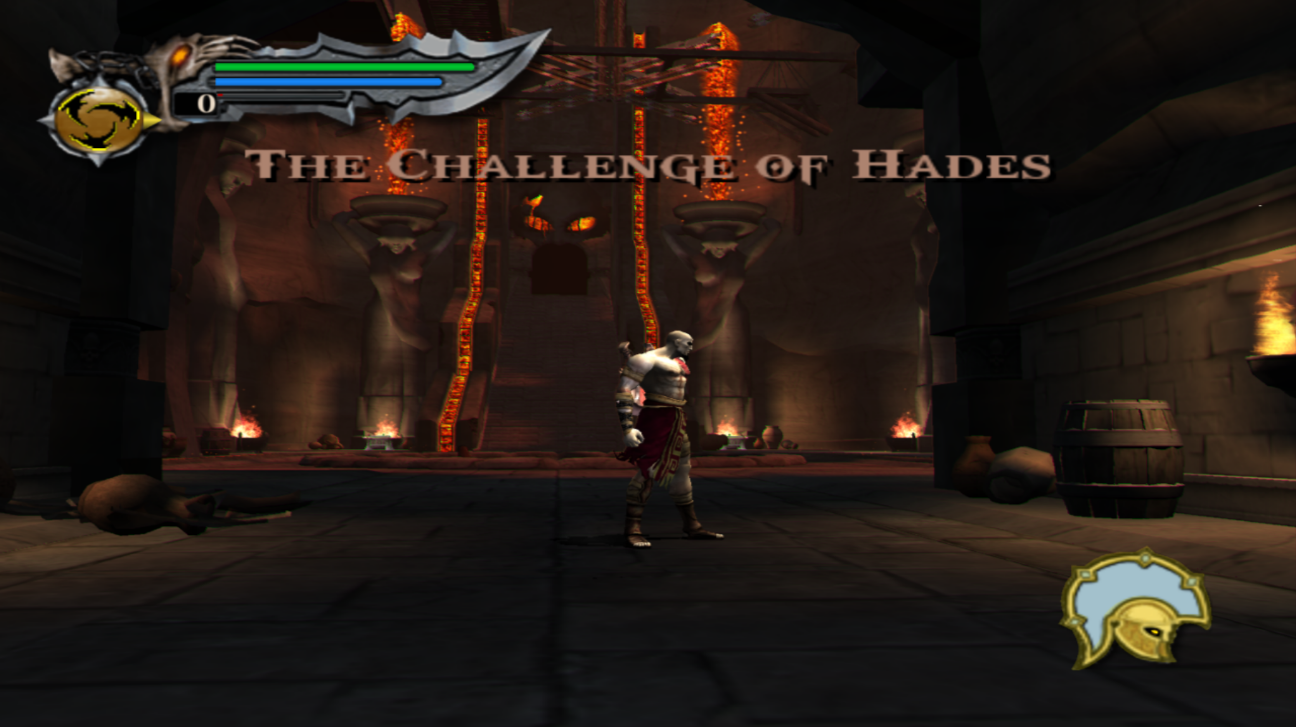
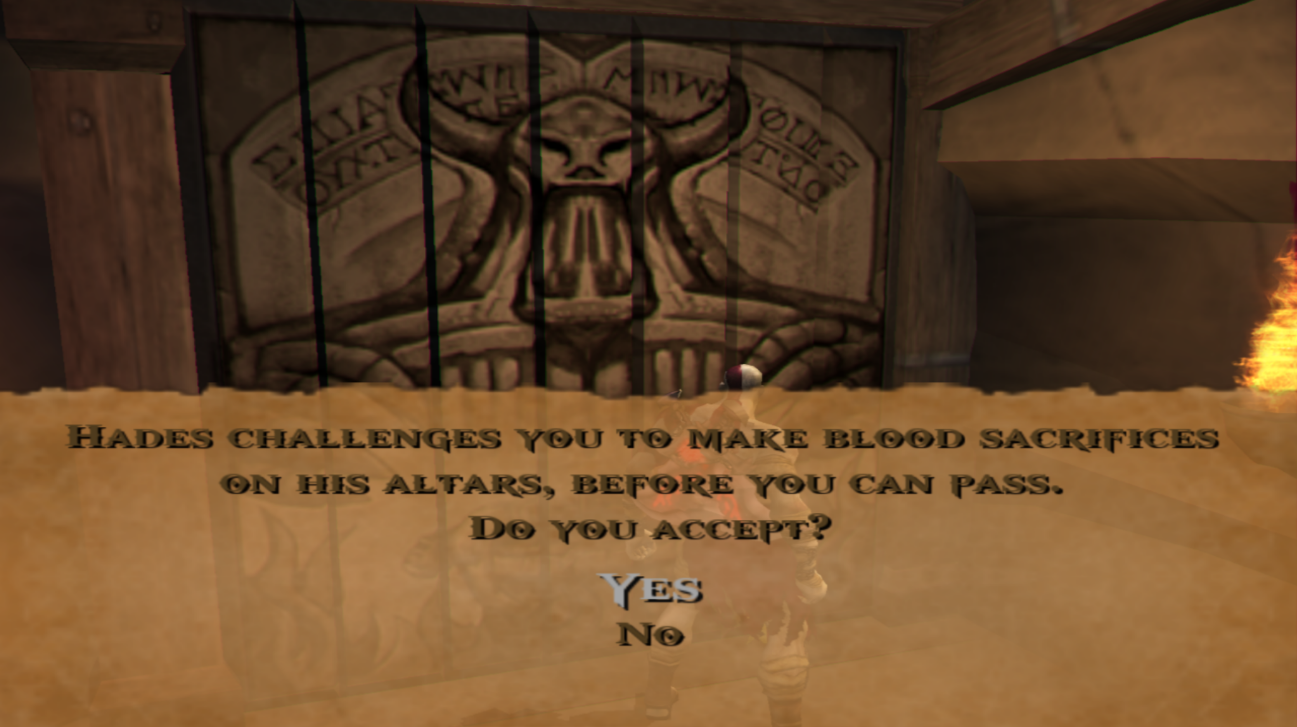
Beyond the health and mana chests you'll find a giant room and when you enter it'll give you a popup saying The Challenge of Hades! On the left side of the screen in this room you will be able to climb a small platform which leads you to a door, also pictured below. Accept the challenge when you are ready to proceed.
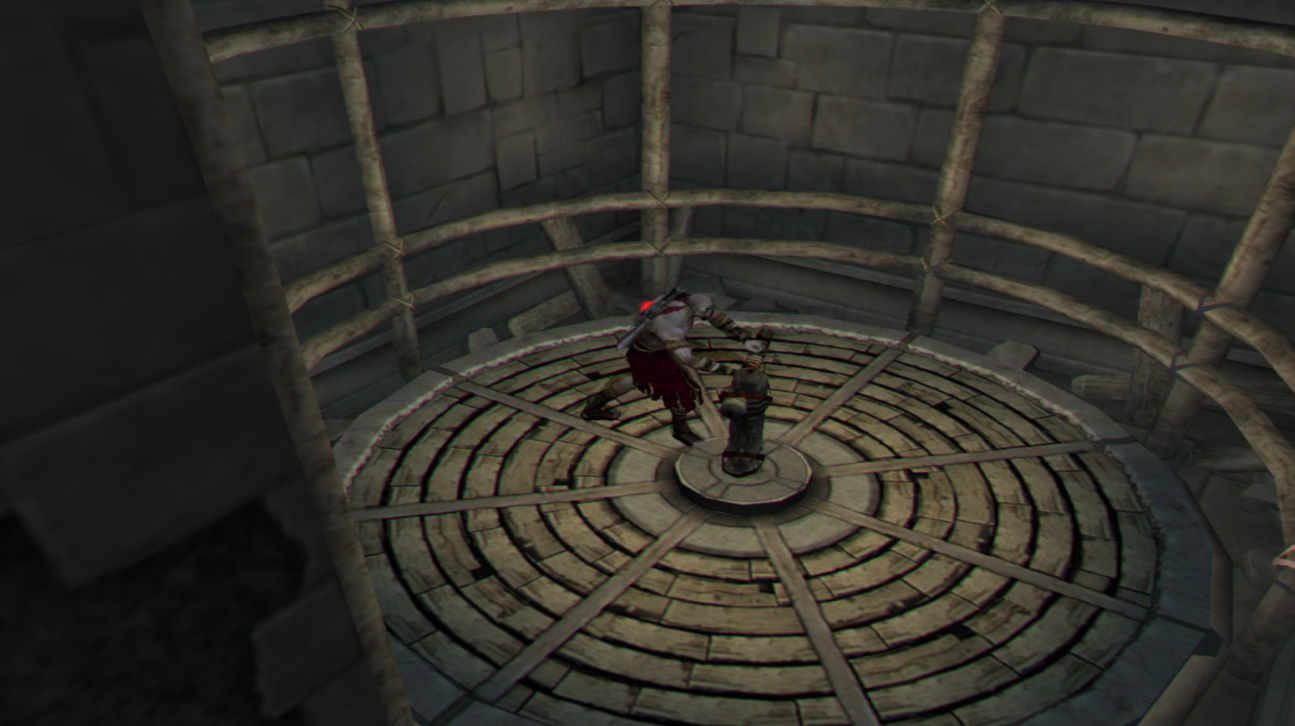
Centaur enemies will be summoned once you accept this challenge and a blue ring will appear on the ground at the bottom of the staircase. All you need to do to make the blood sacrifices is to defeat 4 Centaur enemies inside of the blue circle on the ground. If you need to - use Medusa's Gaze or Poseidon's Rage to help you defeat the enemies. Both of these magic abilities will allow you to defeat the enemies where they stand - or immobilize them where they stand.
Each time you defeat a Centaur inside of the blue circle a fire will light up on the circle letting you know that you've defeated one. After you light all 4 fires on this circle you'll get a quick cinematic - the door is half opened now and a new circle has appeared on the ground. Repeat the same thing with the other circle and the door will open fully.
Go through the door and it'll lead you to a health and mana chest as well as a locked door which you'll have to spam R2 on to open. To the right of the locked door you'll be able to climb onto the ledge above you which has 2 Red Orb chests as well as a chest with a Phoenix Feather inside. Make sure to grab these items before proceeding.
The next few hallways have some traps for you which will involve jumping over lava and dodging some arrows - this is the start of Hades' Maze. In order to leave this maze you will need to defeat all enemies within so make sure you poke your head into each room and fight the enemies you find.
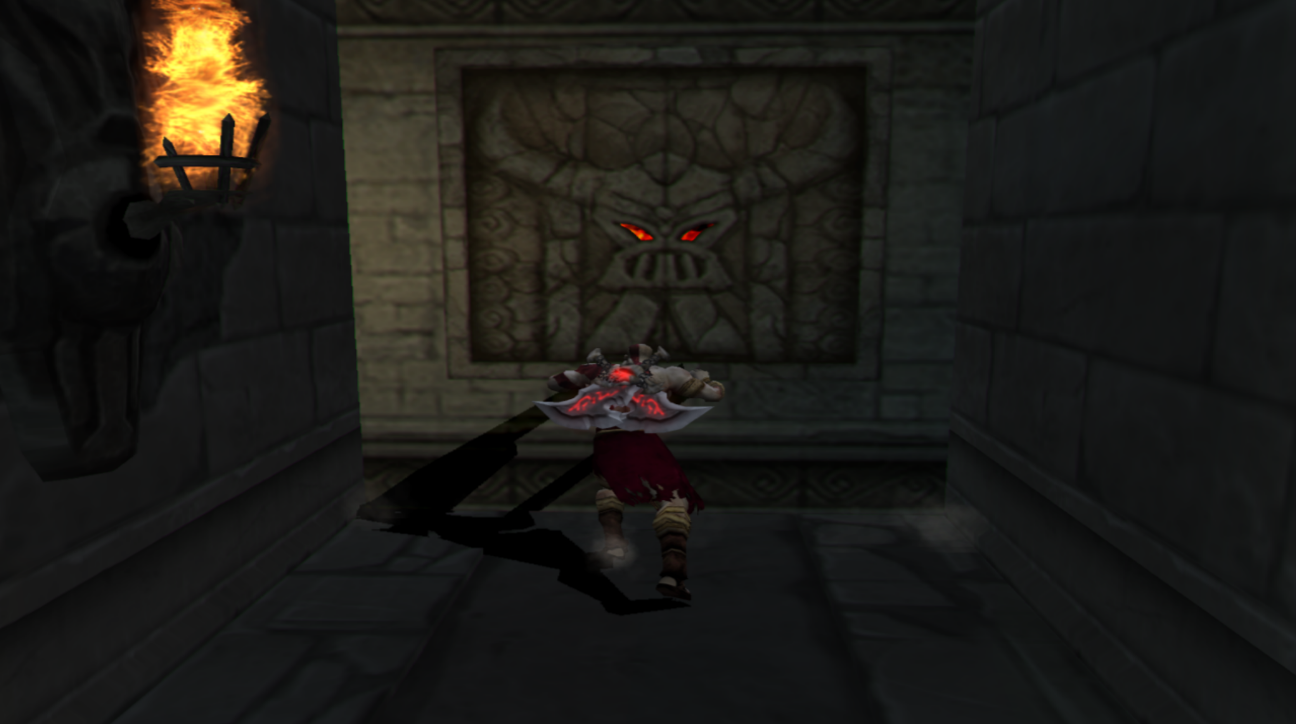
Not too far into the maze you'll find a platform with a lever on it (pictured above). Turn the lever and you'll raise the platform - jump off the platform and onto the ledge once it's high enough to reach the ledge above you. Upstairs you will find a locked door, a trapped room and a wall with the symbol of Hades on it as well as two glowing eyes.
The trapped room is how we will get out of the maze eventually - but for right now you'll want to focus on the wall with glowing eyes. Press R2 and you will be able to push this wall (which turns out to be a small box) into the next room; enemies will spawn once you do this. Defeat all of them (including the Archers ontop of the ledge nearby) and then open the locked door/grab the Health chest.
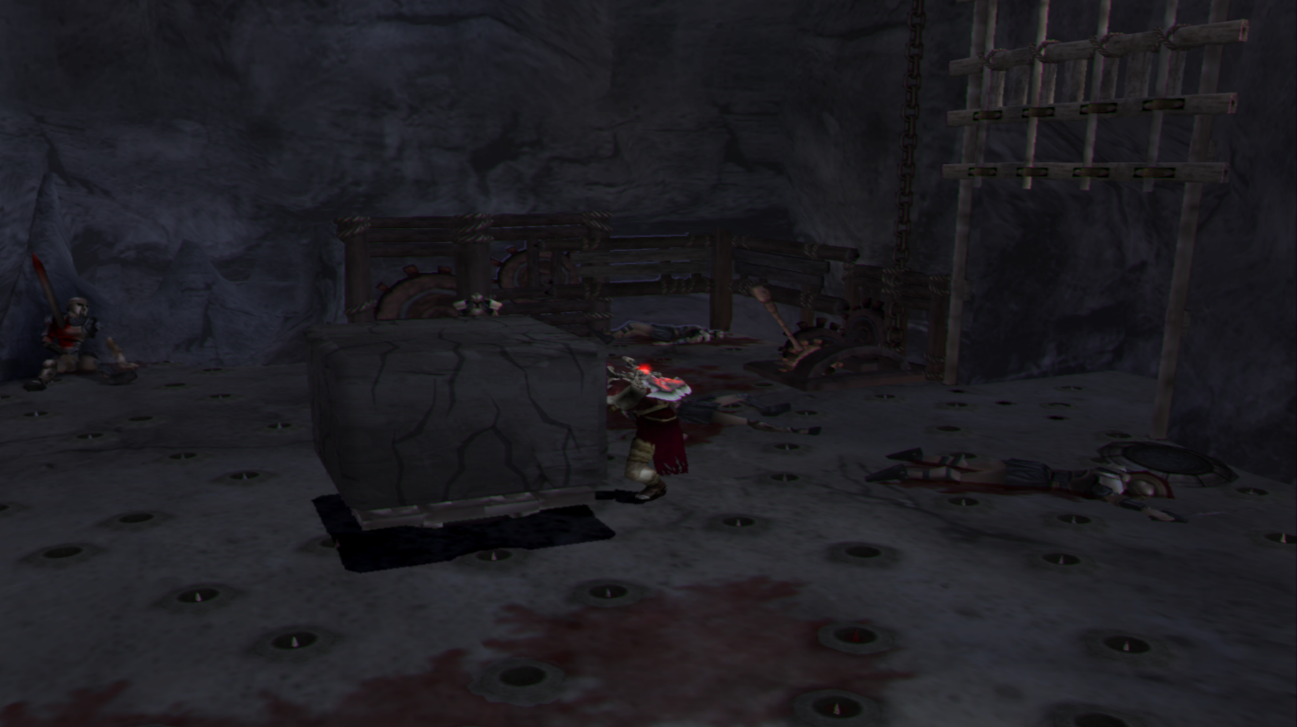
Assuming that you defeated all of the enemies downstairs the way out of this maze should now almost be open - but we have four more enemies that we have to defeat first. In the room next to the locked door that you opened you'll find a trapped room (pictured below).
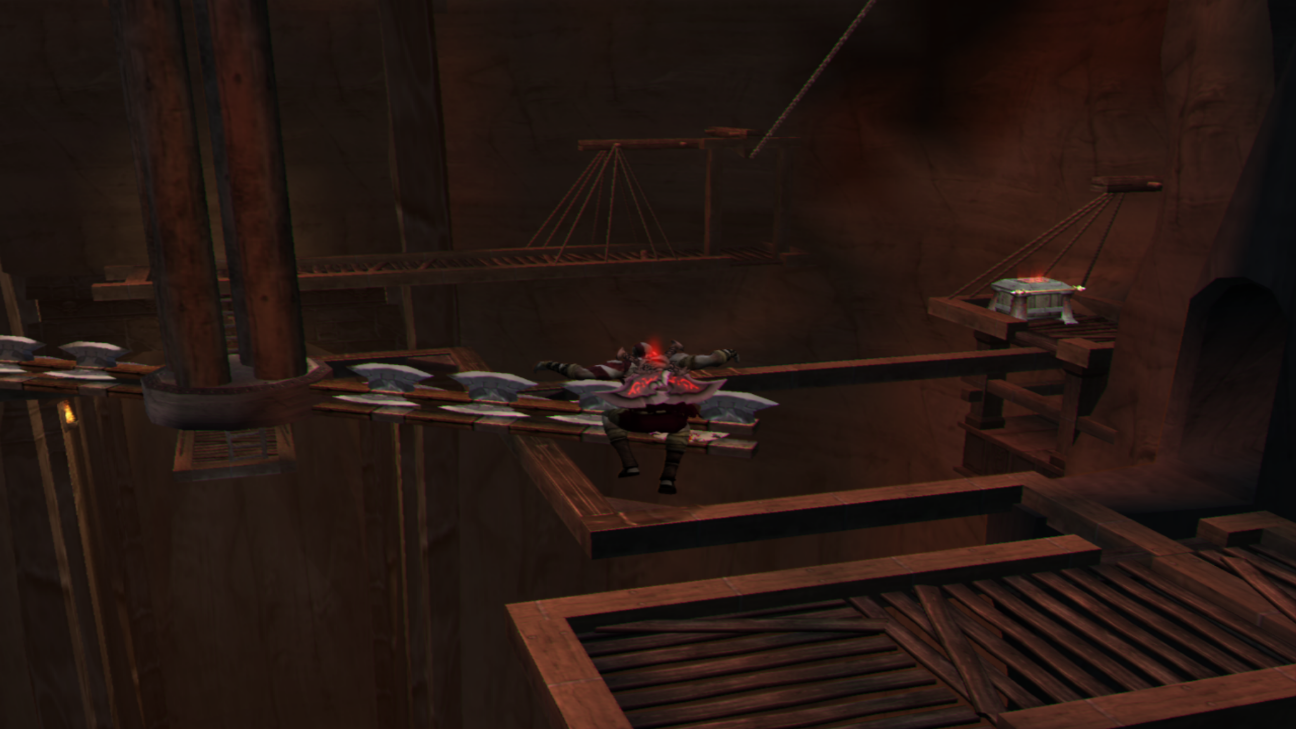
Inside of this trapped room there is a giant stone mallet, let's call it, that smashes into the wall over and over. You need to jump ontop of this mallet to reach the door at the other end (pictured above). When you approach the door two enemies will spawn, this leaves us with two more.
What you need to do now is to stand near the edge of the mallet, like you see me in the screenshot above. Every 3rd smash into the wall that this mallet does it'll pull back very far and you'll have a very brief window of opportunity to access the other small room in the mallet's path. You can see the small room I am talking about behind Kratos' feet in the screenshot above.
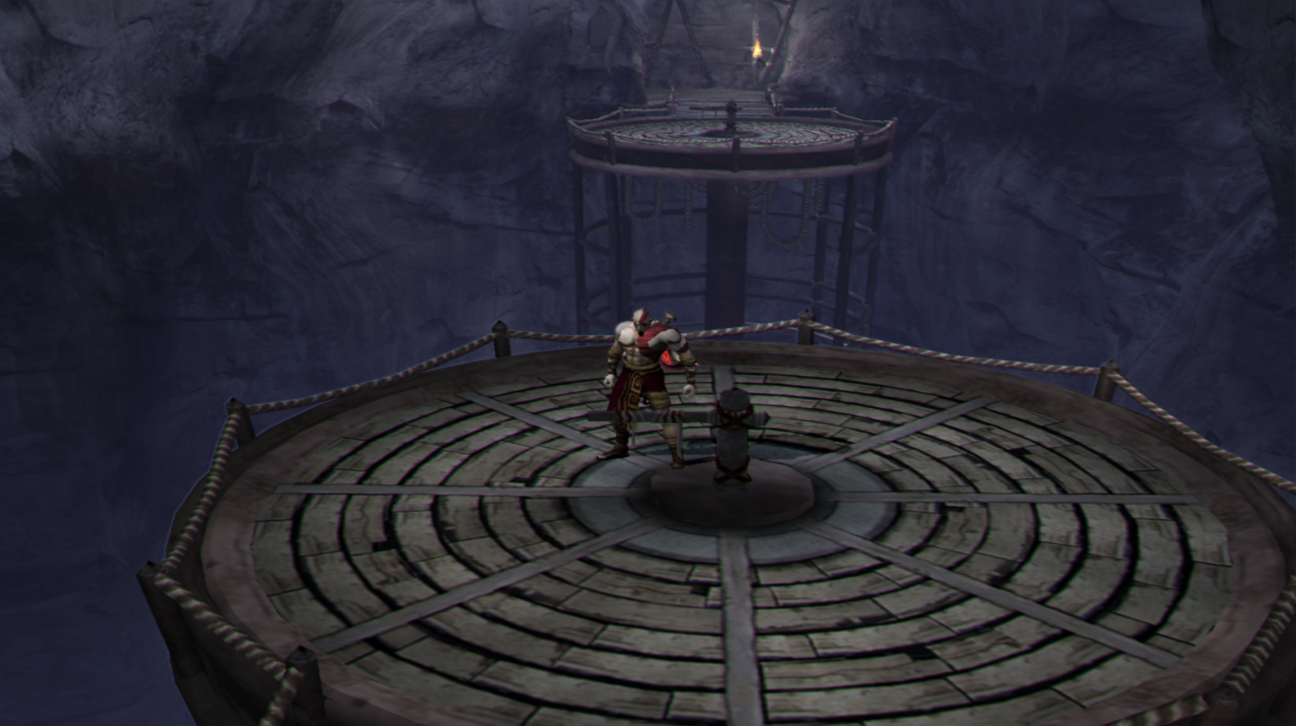
You'll find the last two enemies that you need to defeat inside of this room. Once you've defeated all of the enemies inside Hades' Maze the door will open and you will be able to leave. You will find yourself back in the large room earlier where we defeated the Centaurs, step on the switch in front of you to raise a giant statue out of the pool in the middle of this room.
Jump down from this ledge and into the pool of water that you raised the statue out from. At the bottom of this pool you'll find a lever (pictured below), pull this and it will make a light shine from the Statue of Hades' head.
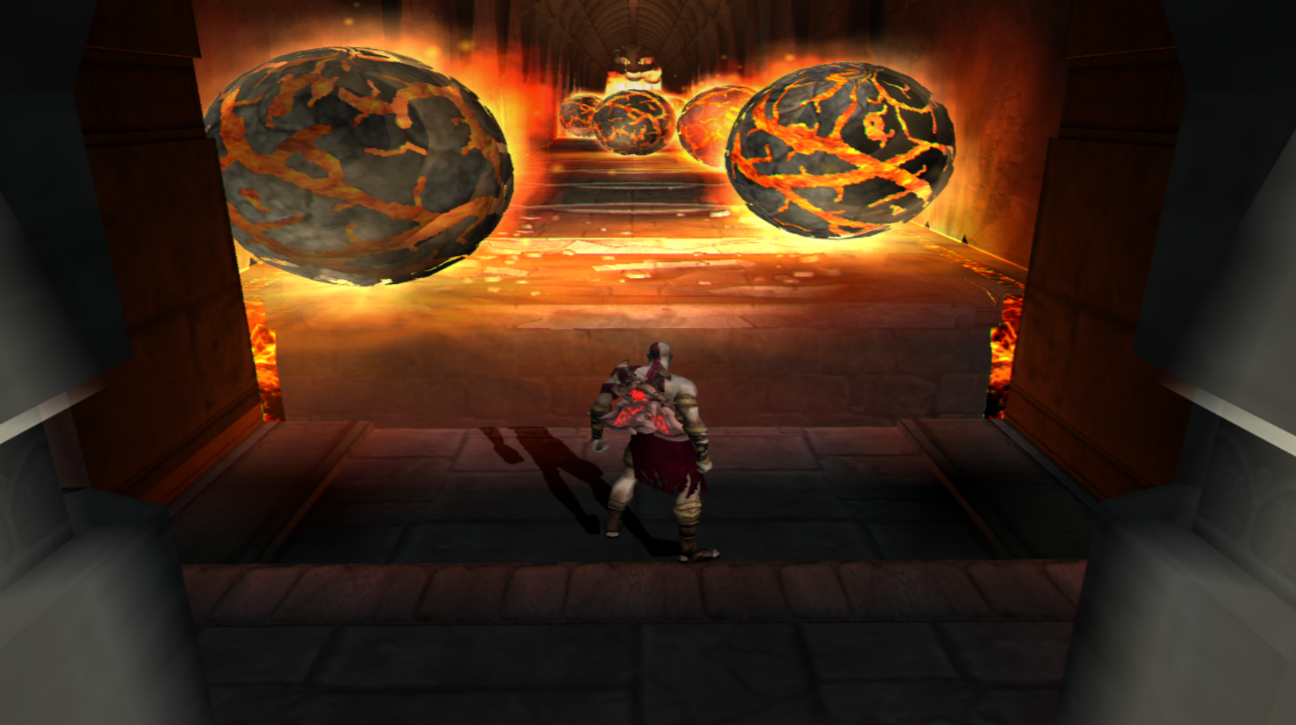
Climb up the ladder on the Statue of Hades and pull the lever on its shoulders to turn the head - it'll point towards the top of the stairwell illuminating your path forward. This will trigger a scene where big fiery balls start rolling down the hallway. You'll have to dodge these fire balls and proceed down the hallway until you reach the far end.
At the bottom of the slope that the fiery balls are rolling down you'll notice an opening which you can go inside - head inside of this opening. You'll have to fight a few Undead Legionnaire enemies inside, once they're beaten grab the chests (one of which has a Phoenix Feather) and then prepare to exit the room.
Our goal right now is to open the doors in the hallway with the flaming boulders; one door is the correct one and the other doors are all dead ends. When you exit the room with the chests run away from the slope where the boulders are coming from and follow the wall on the left of your screen. Count the doors as you go back in the direction you came - the one we need is the third door. A screenshot of the correct door is shown below too.

The correct door to open to get out of the hallway
Proceed down the hallway and you'll come across a room with some armored Minotaurs and Undead Archers that spawn once you defeat a Minotaur. When all enemies are defeated you'll have two routes you can go, one will lead you up some stairs to a rope and the other will lead you to a platform with a bunch more Undead Archers and a Health/Magic chest.
Clear the platform of Undead Archers first so they aren't an issue when you're climbing on the rope and make sure to grab the Health/Magic chest so you're fully restocked. Climb across the rope when you are ready to continue, you'll have to fight some enemies on the rope but they shouldn't be an issue for you.
The rope will dump you off on a platform where you'll have to fight some more enemies. Climb the ladder when you're done and you'll find yourself in a set of maze like hallways. Explore every dead end because one of them has a chest with Red Orbs inside of it - the rest will have vases and jars that you can smash for a small amount of Red Orbs too.
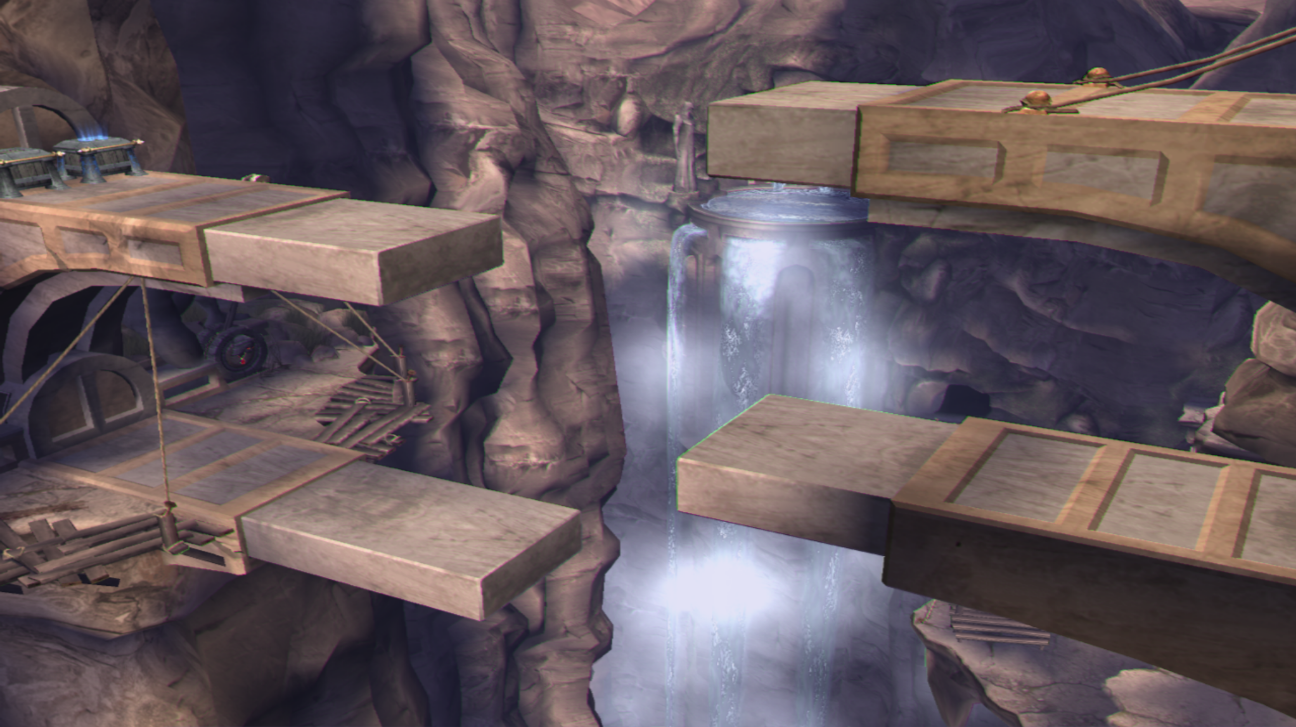
At the end of this maze you'll find a beam puzzle (pictured below). You will have to walk across each of these beams and dodge the spinning blades without falling off. The puzzle itself is quite linear and there are a few chests with Red Orbs that you can side track to grab throughout.
My advice to you is to stand still when one of the spinning blades gets near you and do a double jump to avoid it. A double jump will be high enough for the blades to pass you without hitting you. Once you make it to the end of the first sets of beams you'll need to jump onto one of the spinning wood platforms that doesn't have any blades on it. Then you can climb the ladder(s) up to a new area.
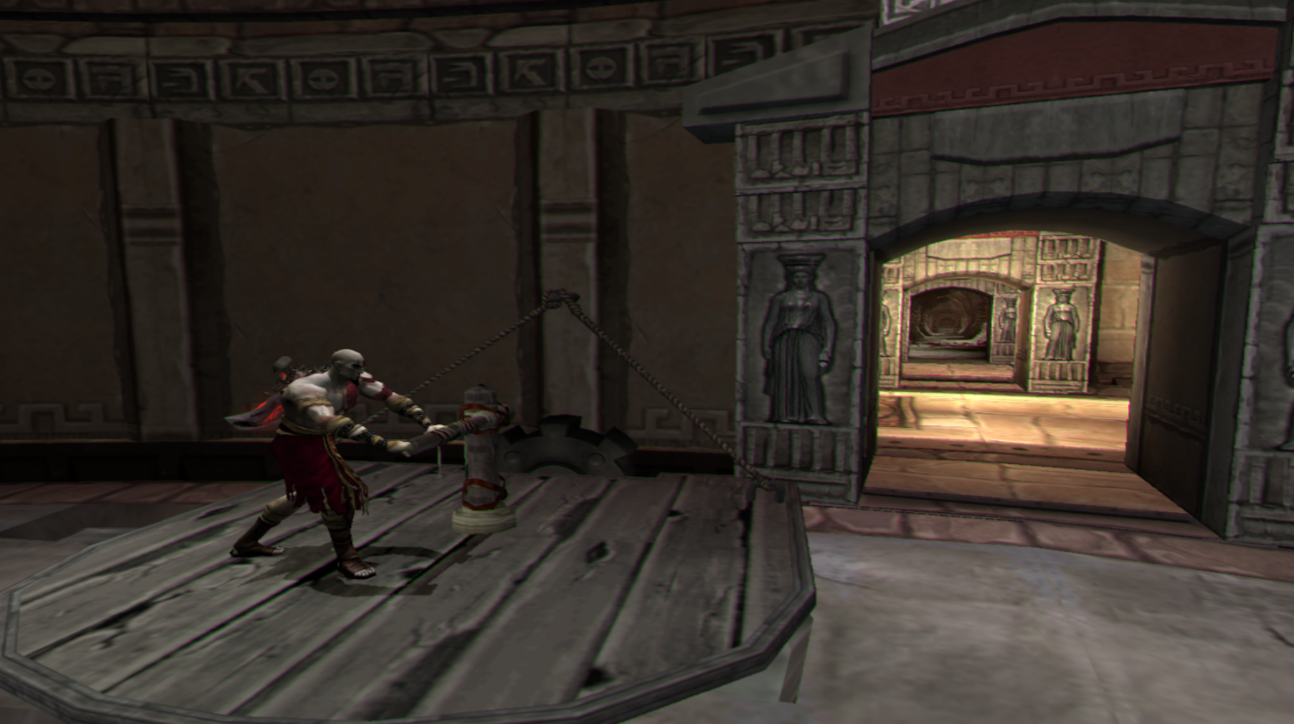
To proceed with the story you'll want to jump onto the rope up here and ride it down. Before you take this rope though I recommend you walk across the remaining beams and grab the chest of Red Orbs - then return to the rope and ride it down. The rope will spit you out onto some more platforms, follow the linear path until you reach a valve/crank in the wall that you can turn using R2.
When you turn the crank you'll get a scene - remember that door back at the start of this level that was locked? The door said something about having the symbol of the Minotaur on it - Well turning the crank just unlocked it! Continue along the linear path and the platforms will eventually break and dump you back at the start of the Challenge of Hades.
Back track a bit from this location and you will find yourself in the giant room with the door we just unlocked. Approach the door when you are ready for a boss fight.

This fight can be pretty tough, you'll want to start by just hitting the boss and dodging its attacks. When you deal enough damage to it you'll start a quick time event which you can activate with the Circle button. If you perform the quick time event successfully Kratos will slam the monster's head into the ground and stun it for a little bit.
Once the boss is stunned you'll want to run over to the lever in this room and pull it to fire a log at the boss. Stay ontop of the ledge with the lever for now - the boss will run around the room and keep returning to the ledge with the lever to attack you. You'll want to deal enough damage to the boss until it runs back to the door at the opposite end of the room and curls up into a ball; triggering another quick time event.
Rinse and repeat the quick time event and the firing a log at the boss. It's up to you if you want to fight the boss ontop of the ledge with the lever or jump down into the room - the strategy changes a bit depending where you fight him... So my advice is to do whatever you find easier.
Keep hitting the boss and you'll notice that his armor is now starting to fall off - once all his armor is gone you'll get a scene. Now it's just a normal boss fight, once you get his health very low the boss will become tired and you'll have to return to the lever and shoot one more log at the boss to impale it on the door. This will conclude the boss fight.
Go through a crack in the open door and you'll find a large chest containing the The Architect's Son's Head which is a story item that we need.

Now that you've acquired The Architect's Son's Head return to the room where we fought the boss and there will be a new Magic Power for you to grab, courtesy of Hades. This is the final magic in the game for us and it's called The Army of Hades. Enemies will spawn once you accept this new power, use The Army of Hades to defeat the enemies and the door leading out of this place will open up.
Back track through the underwater cavern until you find yourself back in the Rings of Pandora. Before you leave the pool of water in the Rings of Pandora you'll want to place The Architect's Son's Head into the skull door that's underwater. This will drain the water and allow you to operate the levers nearby.
For this next part we'll need to line up the outer Ring of Pandora and the inner Ring of Pandora. The first thing you'll want to do is head out to the outer Ring of Pandora and make sure that the you use the lever until the opening is pointing down the bloody hallway that used to have spike traps. We moved the outer ring earlier to open the locked door with the Muse Keys, we simply need to change it back now.
Once you move the outer ring back into place you'll want to move the inner ring so that you can see clear down the bloody hallway and into the room at the far end of it, as shown in my screenshot below. Then you'll want to get inside of the statue in the inner Ring of Pandora and spin that until you can see down the same hallway, this is also shown in my screenshots below.

With every thing lined up perfectly you'll now want to go all the way down the bloody hallway and use the levers to turn the eye and shine the light. This will trigger a cutscene after which you'll want to return to the inner Ring of Pandora and pull the lever to continue with the dungeon. Kratos will ride an elevator up to the top of the statue and then ride the statue's hands over to a new area.
A few steps into this new area and you'll get a scene introducing another new enemy, Satyrs. They are pretty easy to defeat - my advice to you is to do quick and easy combos to keep knocking them down - Square, Square, Triangle is what I usually use when fighting them. It prevents them from doing much of anything because they're always too busy recovering from attacks.
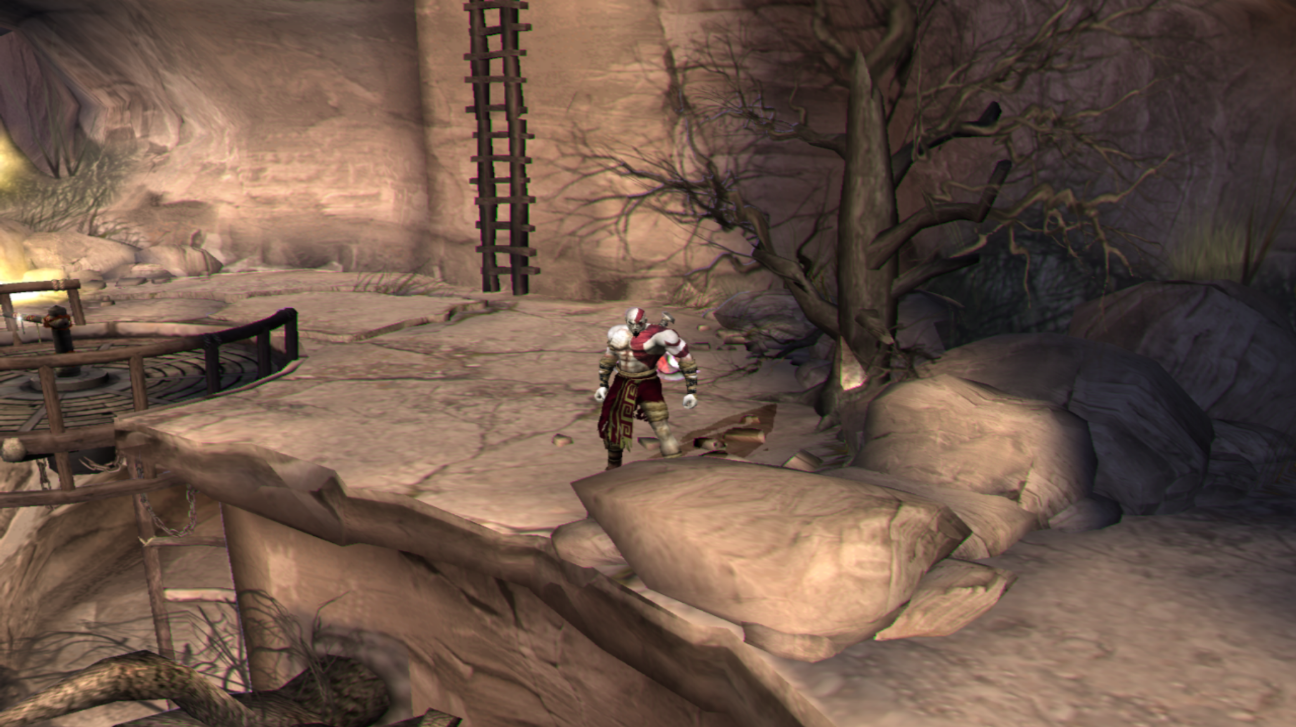
Defeat them and continue across the bridge for another scene. On the other side of the bridge you'll want to follow a narrow walkway to the right (pictured below) where there will be a wall you can break through. Inside you'll find two chests containing Red Orbs. Continue up the road to the Cliffs of Madness once you've claimed both chests.
The first part of the Cliffs of Madness is linear and pretty easy - if you have any trouble with Undead Archers in the distance use Zeus' Fury and throw some Lightning Bolts at them to eliminate them. Jump across the platforms and climb across the rope following the linear route until you come across a lever and platform. Turning the lever will raise the platform just like it always does. The platform will bring you to a ledge (pictured below).
At this point in time the path branches off into two sections. The right path which goes over the rubble will lead you to the Necklace of Aphrodite. Following the path that leads you up the ladder will take you to a different room where you'll find the Necklace of Hera. We're going to start with the Necklace of Aphrodite so jump over the rubble and continue along the cliff face.
Jump over the rubble and follow the path towards where the Necklace of Aphrodite is kept
Start by following the linear path and fighting the numerous enemies along the way. You'll have to fight a variety of Undead Legionnaire and Satyr enemies as you progress. After clearing a room full of enemies you come out to another cliff face where there will be another lever and platform for you to raise.
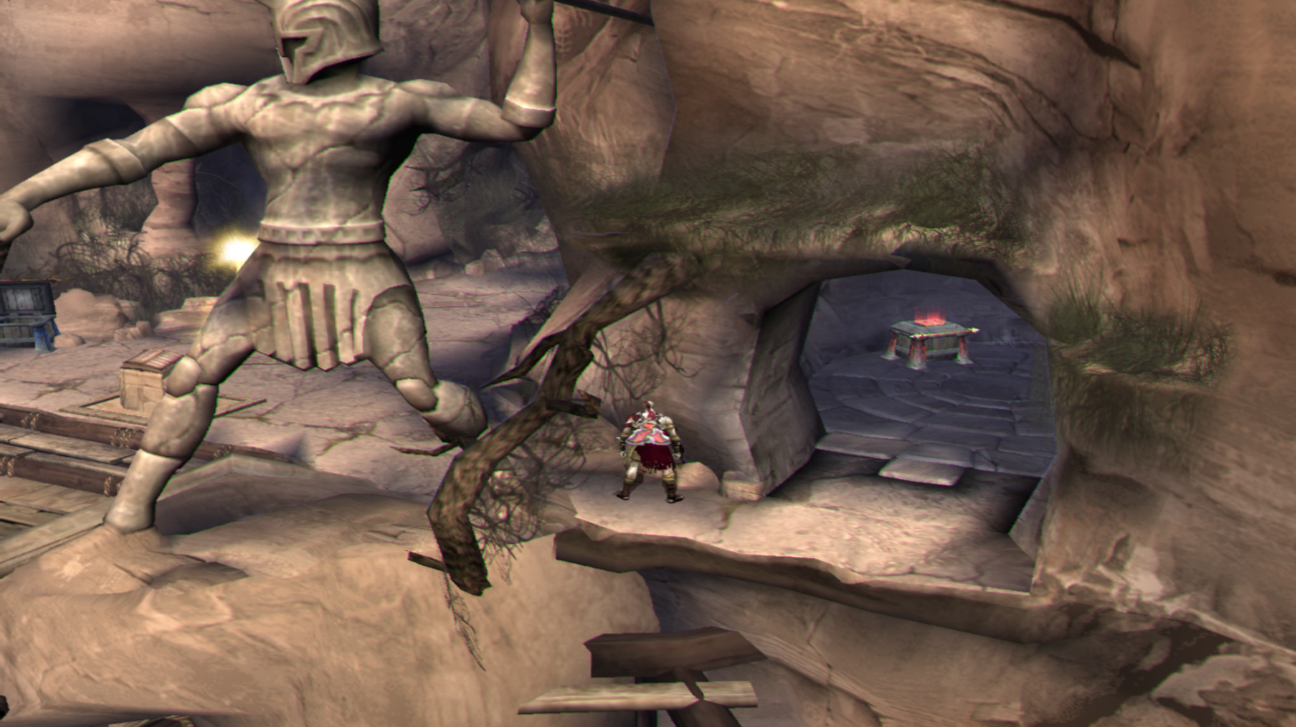
Raise the platform by spinning the lever and you'll find an entrance into the cliff face which is marked by a design that looks like a yellow helmet (pictured below). To the right of this entrance you'll find a rope tied around a block - you can ride this block down to the area where you get the other necklace we need. Don't do this yet though, you'll want to continue through the hole in the mountain marked by the yellow helmet.
The path marked by the yellow helmet design will lead you to the Necklace of Hera
Before you enter the room before you I strongly recommend you save your game because you're about to do one of the hardest puzzles in this game and it will likely take you a few tries. In this next room when you pull the lever it will block your exit and also begin a timer. You'll be tasked with moving the stone block into the adjacent room and using it to jump ontop of a ledge before the timer runs out.
I recommend that you spend a minute or two scouting out this room before starting the puzzle. Figure out where you need to move the block to and where the ledge is that we're going to be jumping to. This will make the next part a lot easier. This next part is very tricky because you'll have just enough time to move the block into place and jump onto the ledge before the spikes shoot out of the ground.
You will need to use the 'kick' method to move the stone block into the right position. Once you pull it out from the hole in the wall get behind it and kick it across the room - then kick it twice into the adjacent room where the ledge is. You will likely need to move it by hand a little after the 2nd kick to line it up properly with the ledge so that you can make the jump.
Explaining how to do the puzzle through text is difficult so if you'd like to see a video of how I did it check out my Spike Floor Puzzle on Cliffs of Madness Youtube Video. After you finally make it onto the ledge you'll want to jump across the gap to claim the Necklace of Aphrodite. Claiming this item will lower the spikes in the room and allow you to leave.
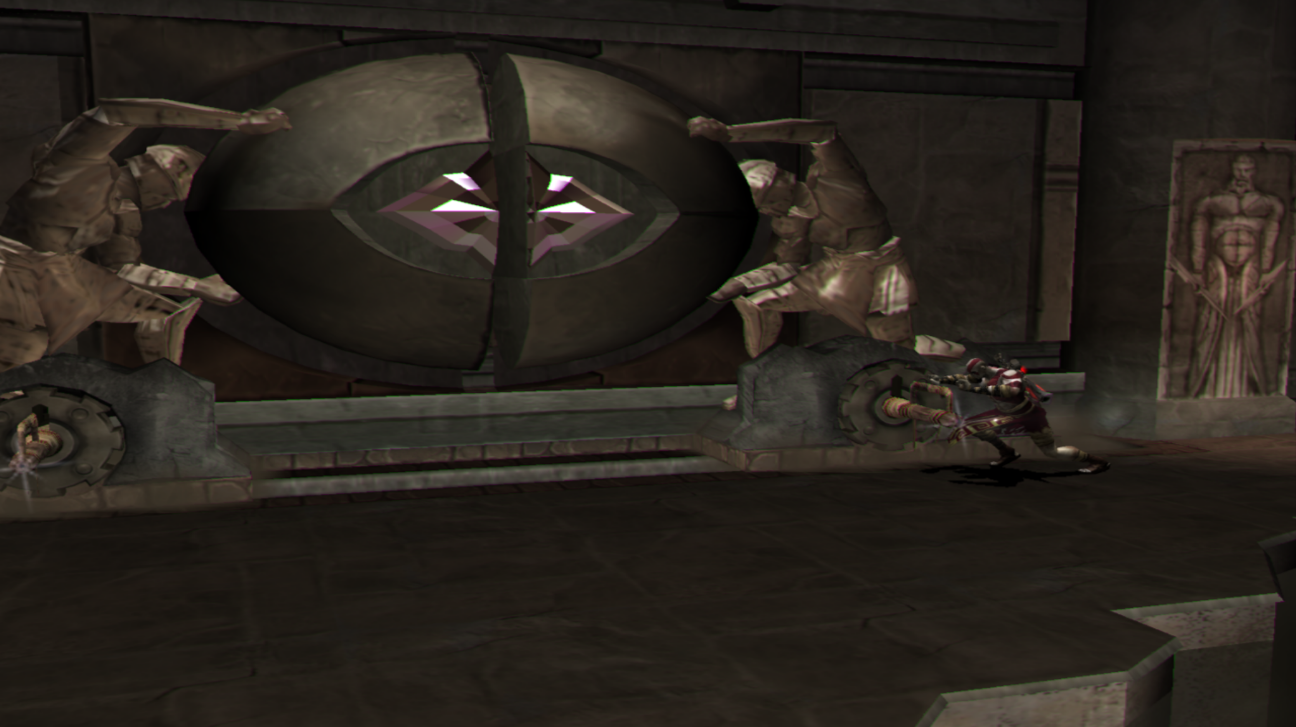
Head back outside to where the Save Point is and go to the right - there will be a block you can ride down to the next part of the area. I pointed this block out earlier to you, it's easy enough to find. Defeat the enemies here if you haven't already and you will eventually come out to an area with a demon shaped entrance (pictured below).
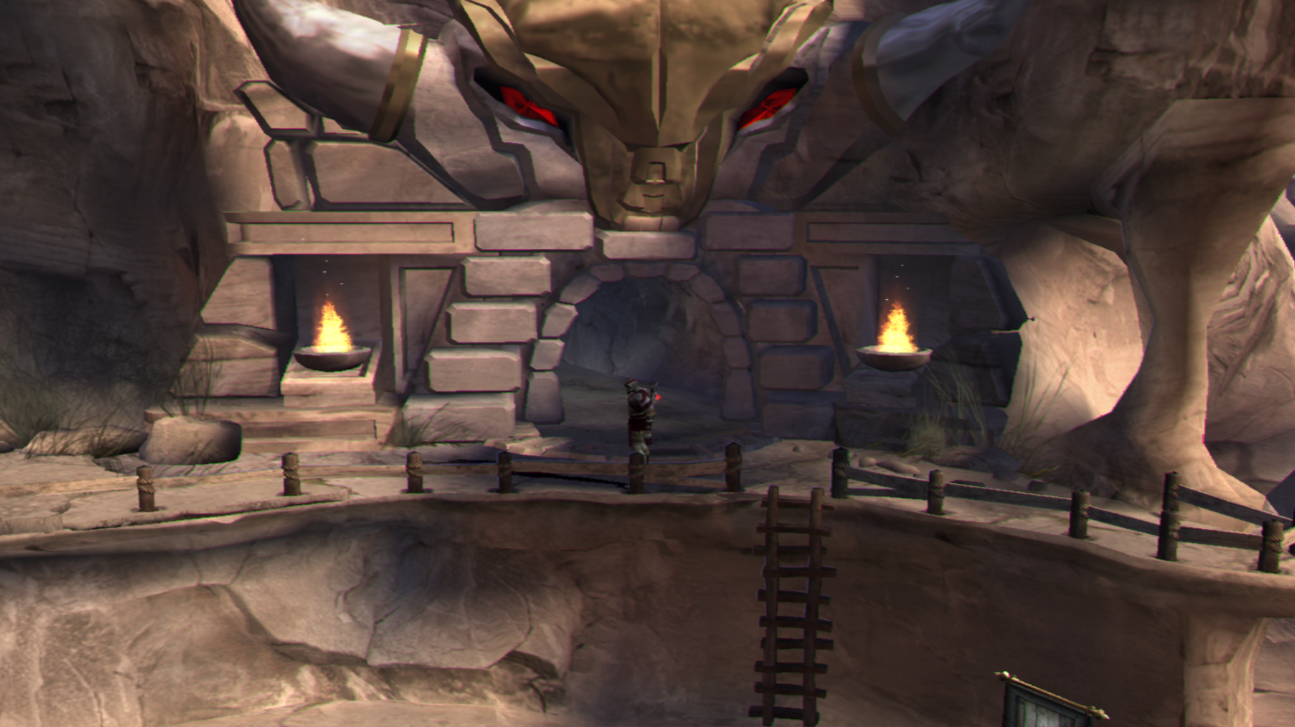
Inside you'll have to fight two Satyr enemies before you come across the two platforms shown in the screenshot above. What you need to do here is grab the lever in the center of the platform and turn it - you'll see that this moves both platforms when you do it. Turn this lever until both platforms pass each other by a small distance then let go.
Assuming that you gave yourself enough distance you will be able to jump across the walkway from one platform to the other. Now that you're across you'll be doing a bit of fighting - after you beat the two armored Minotaurs the path will split. One route will go down a ladder and the other towards the bridge. This bridge is where we will be placing both of the necklaces that we're currently collecting.
Let's take a quick detour right now though near this bridge. When you are looking at the red slot where you can place Aphrodite's Necklace you'll be able to see a red chest in the distance. Jump over the rubble to the right of the Aphrodite statue and you'll find a chest with Red Orbs next to a cavern which leads you to another 3 chests with Red Orbs (pictured below).
Once you've got these 3 chests return to the ladder just before the bridge and climb down. You will fight a bunch of Satyrs as well as Undead Legionnaire enemies in a very bad environment; you will be lucky if you're not thrown over the side of the cliff by a Satyr. Once you've beat all the enemies grab the chest next to the rope and slide down it.
There will be a big fight against some armored Minotaurs after which you'll come across a room with a different kind of puzzle in it. Inside this room there will be blocks of various shapes and a dial in the center that lets you turn them. Run towards the screen and you will find a lever that lets you rotate the dial in the center of the room.
The first two pieces that you'll want to move into place are the question mark shape ? and the T shape. You can see the two shapes I am talking about in the picture above. You'll have to turn both blocks using the dial in the center of the room so that they fit into each other - just like in my screenshot. Once you have these two blocks in place the rest of the puzzle is pretty straight forward.
You'll have to turn the L shaped block so that it fits on the far left side; the straight I block will fit over on the right. Last but not least you have the tiny i block which you'll put under the T. If you'd like to see a video of me solving this puzzle instead of text directions check out my Block Puzzle Solution (How to get Necklace of Hera) Youtube Video.
Note: The tiny block is not used in the puzzle at all, just move it out of the way and ignore it.
Once you solve this puzzle grab the Necklace of Hera and exit the cave. You can climb back up to the bridge using the ladder on the right hand side that was lowered when you grabbed the necklace. There will be a short climbing part where you'll have to battle some enemies but it won't be too hard.
If you want a bunch of extra Red Chests while climbing the side of the mountain go up as far as you can go then to the left as far as you can go. This will put you into a new section of the cliff where you'll be able to go all the way over to the right and find a few platforms with chests that you can jump across as well as a chest tucked away in the cliff face on a ledge.
To return to the bridge area where we will place the necklaces you'll want to climb down to the bottom right of this cliff and exit in that area.
Back at the bridge place both necklaces into their proper places and you will activate the bridges above you. You will have to jump back and forth across them to get up top and from there you'll be able to collect two chests (pictured above) then follow the linear path to the next area.
Continue to Walkthrough Chapter 5
Return to Walkthrough Chapter 3