
Dino Crisis Guides & Walkthroughs
The game begins with you in a small area with Gail, one of your companions. You can push a crate in the area behind Gail for an item, to advance the story go into the Material Storage room near him. There's another two items in here, one is a Key Item - BG Area Key. To reach the other item push the shelf nearby then interact with the shelf that the item is on.
Note: I am not going to be listing the names of each item you find because the game randomizes what they are.
Exit the room and try to go through the door next to where you started the game for a scene. Follow Gail out of the door when the scene is finished; the next few areas are pretty linear just follow the path and watch the scenes. Our first puzzle of the game is in Backup Generator Room 1F, there will be a window with some batteries and switches that we have to press in order to align the colors (pictured below).
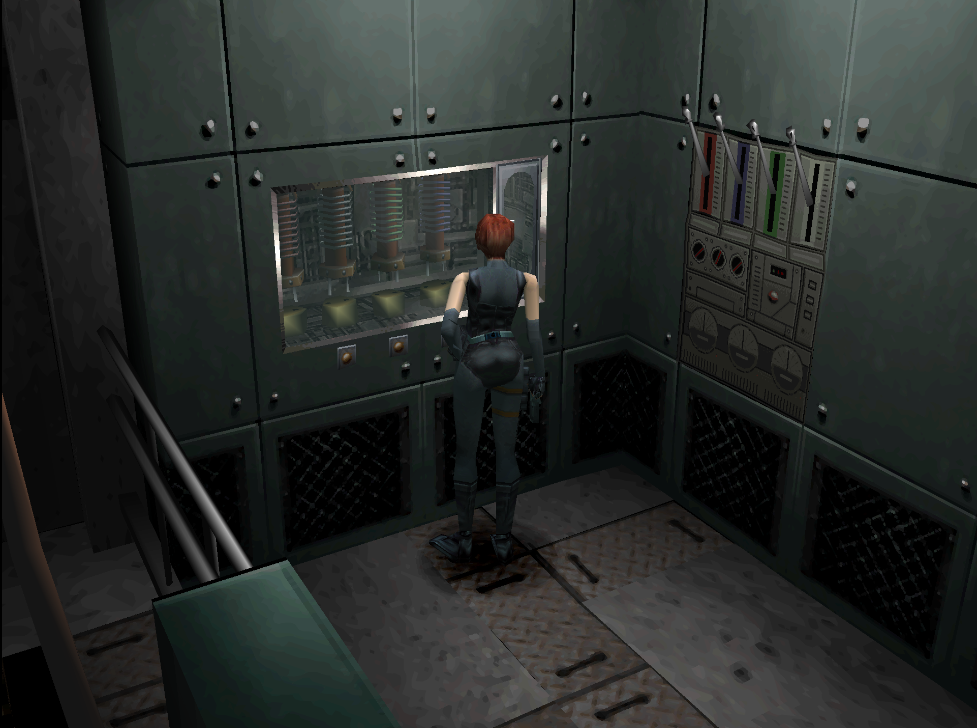
Interact with the window and press the switches in order: Right, Center, Right. Or if you've already messed with it, the goal is to align the batteries in the same colored order as the levers on the wall. After doing this interact with the levers on the wall too before leaving.
You'll have a scene outside involving your first dinosaur, run from this encounter since any bullets you use will be a waste. We need to return to the area we started the game at and go through the same door Rick did. Go down the hall and climb inside the vent you find here. The first vent opening that you come across leads to the Control Room Hall, grab the item in the hallway here and take a look at the box on the wall. This is called an Emergency Box and there are a few of them in the game, they can be opened with Plugs.
<Emergency Box Explanation>
To continue with the story go into the nearby door to find Control Room 1F. You'll have a scene with Rick inside of this room, when it's finished go back down the hallway and through the door near the vent we came down. This puts you in the Management Office where you'll find a few goodies. Grab the Shotgun on the floor to your right, DDK Input Disk H (sitting on the desk - you can see it when you walk in) and the Plug inside of the box next to it. Search the adjacent room for the Panel Key 2 on the floor as well.
Note: If you're playing on Easy the Shotgun is already in your inventory so it won't be located on the ground in this room.
If you'd like to read a file on the computer in this room press the switch on the wall near our exit door to boot it up. This is totally optional but I figured I would mention it, when you're done here exit out of the door next to this switch. When you leave you'll be asked to save your game, this room is one of the many save rooms of Dino Crisis. Whenever you leave one of these areas it will always ask you to save.
You'll have a scene in this hallway and there is also an enemy here waiting for us, go through the door next to it to find the Locker Room. Pick up the DDK Code Disk H from ontop the locker and the other item from the ground. Read the journal on the table for the passcode to the safe in the Management Office then head back to that room.
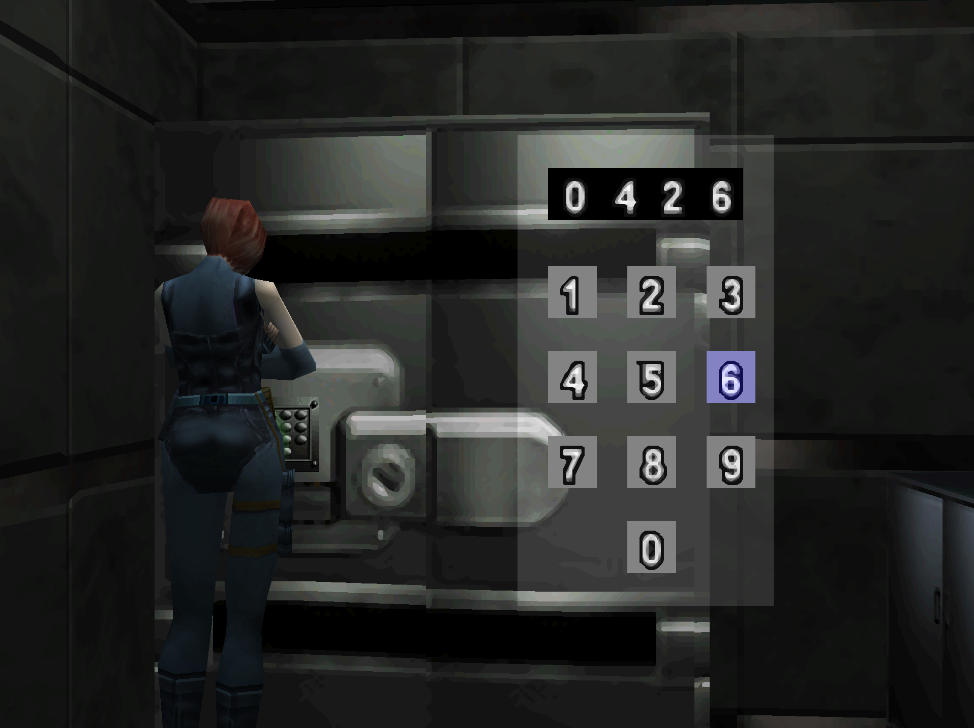
Management Office Safe Combination
The passcode for the safe is 0426, grab the Entrance Key from inside and the item before leaving through the same door we came in. Hit the switch on the wall in this hallway and go through the door that it opens up for you to find the Main Entrance. There's two items you can grab here, one is under the stairs on the 1F and the other is found upstairs by moving the crate.
When you're ready to advance the story again go through the double door on the 1F of the Main Entrance, our Entrance Key unlocks this door. This leads you to a dead end with DDK Code Disc N and an item on the ground. If you want some more info search the file on the ground here as well, when you're done head back inside.
Head upstairs this time and through the door to the Hall 2F area. There is another raptor in here to deal with in this hallway and a side objective if you're interested. Ignore the door near the seats for now and go down the long hall, this leads to the Communication Antenna Room. There's a journal in here which tells you about a weapon locker in the lounge and the password: 8159.
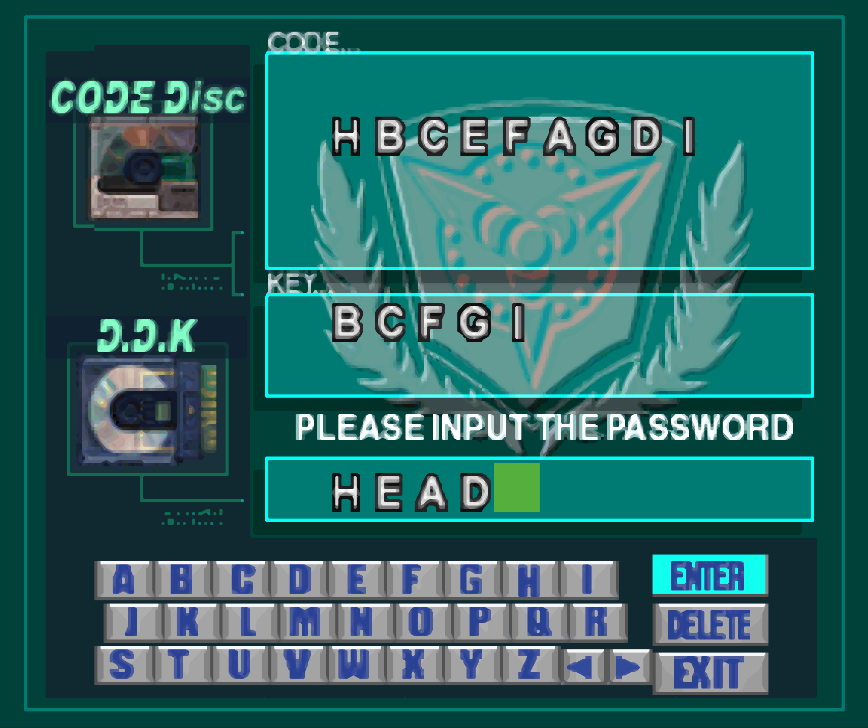
You'll find the lounge through the double doors back in the Hall 2F. The safe we're looking for is a wall safe, input the 8159 code for the Handgun Slides. You can use these to permanently upgrade your handgun! Return to the door near the torn up seats in the Hall 2F and insert the DDK into the wall terminal to bring up a code entry screen (pictured below). Input the code: HEAD to open up the door.
During a scene in the Chief's Office you'll get the Panel Key 1 item. Search the room for DDK Input Disk N as well as another item on the ground. To advance the story search the medal case in this room and insert both Panel Keys that we found (you will have to do it from your inventory). When it asks for a code input 705037 to get Key Card L.
A T-rex will interrupt your peaceful loot collecting by smashing through the window. You can either shoot it until it leaves or run by it, your choice. Return to the Main Entrance area and this time go through the double door under the stairs. There will be a scene when you get near it, when that's done inspect the panel next to it to set another DDK and input an unlock code. The code this time is NEWCOMER.
Elevator Hall is the name of this room and it has a red Emergency Box on the wall as well as a Plug found on the ground right next to it. While you're in this room be sure to search the map in the middle of the room. This will put all of the rooms you haven't explored yet onto your map.
Red Emergency (2 Plugs) Box Contents: 10 SG Bullets, Poison Dart, Intensifier, 9mm Parabellum 34
Leave the Elevator Hall and enter the Lecture Room Hallway. Use the panel on the wall to disable the lasers and enter the first door you see to the Office. Kill the raptor in this room and interact with the double doors to create a shortcut back to the Office Hallway. Return to the previous hallway and this time follow it to the end, you'll find the Lecture Room here.
There's an item to be found between the rows in the lecture room but the main thing we want here is the BG Room B1 Key, it's a brown key sitting ontop of a row of computers by the whiteboard. When you grab this item it will trigger the game's first DANGER sequence.
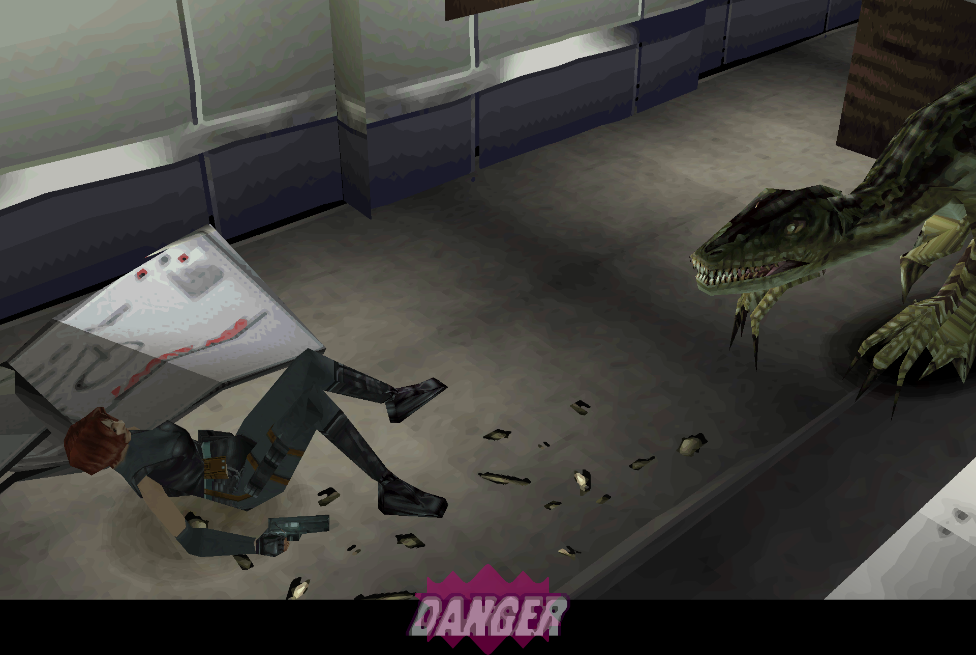
When you get these sequences you will need to mash buttons on your controller to survive. It doesn't seem to matter what buttons you press, as long as you press a lot of them in a short period of time. Once the event is done you will get a scene of Gail saving you. For some reason though he pretends not to know what these creatures are...
Our next task has us going all the way back to the area where the game began. To get here return to the Main Entrance and go into the Office Hallway door that's here; if you run close to the glass in the Office Hallway you can trigger another DANGER sequence, but it isn't 100%. Remember that locked door in the Backyard of the Facility? The one with the item inside we couldn't get to at the start of the game? Well, now we can! Unlock the door here and enter the area to find a ladder going down.
Down here there's another window with batteries inside that we have to organize properly. You may notice there's one missing too, grab the battery from the charger on the wall nearby and put it into the box. You will have to use the item from your inventory. After that, the correct order is: Right, Center, Left, Right, Center, Right.
Just like before, our goal is to match the battery and lever colors on the wall. After inputting the correct order use the levers on the wall to turn the power back on. Rick will call you and tell you to return to him... Before you do that though push the shelf in this room to reveal a Plug. When you return to Rick you'll have a cutscene and your first branching path (pictured below).
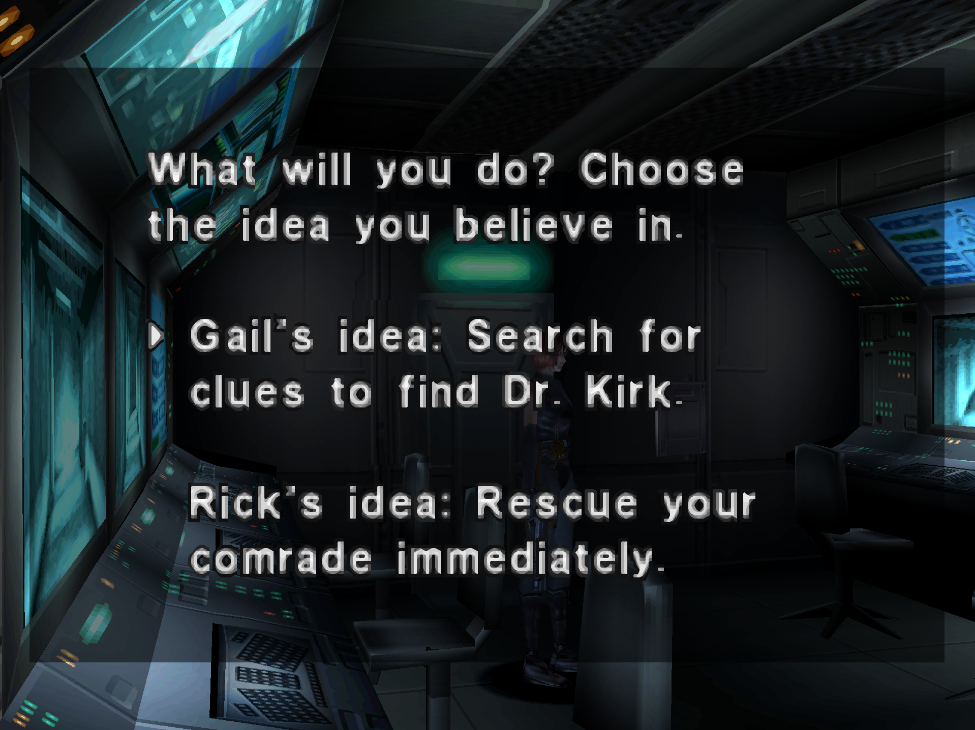
<explanation about routes and shit>
1. Backup Generator Room 1F Battery Puzzle: Right, Center, Right
2. Control Room 1F through the vent
3.