Soul Blazer Walkthrough - Chapter 1
Soul Blazer begins with you speaking with "The Master", he will ask you to choose a name for your character and then have you enter your first room. Inside of this room you'll find a chest, open it and equip the Sword of Life that you get from the chest. Use the sword to defeat the monsters, speak with the old guy again and step onto the teleportation pad to exit.
You'll be returned to the original chamber where we named our character, step on the next teleportation pad to exit this area and you'll be sent to Green Valley Highlands. This location will serve as the first town that we save, but for right now there isn't anything we can do right now in this area. Climb down the stairs to the south and speak with the flower then continue into the first dungeon.
How this dungeon works is pretty straight forward, you will find squares which glow red and spawn monsters. Defeat all of the monsters then step on the green square to resurrect/free someone in your village. In the first part of this dungeon you'll want to clear all monsters and step on all of the squares to advance your story.
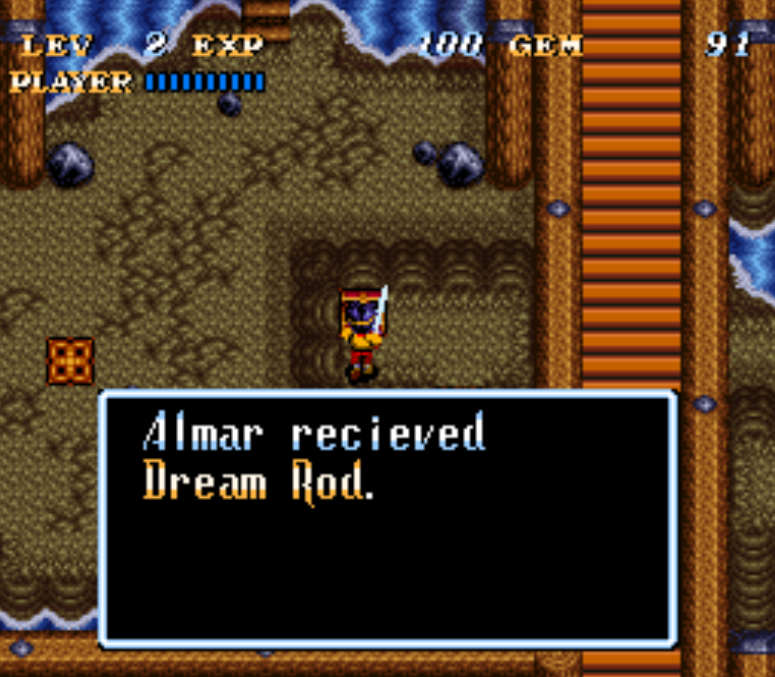
For our first clear of the Underground Castle the two important things we need to complete are finding the Dream Rod from inside of a chest and rescuing the guy who operates the water mill. The Dream Rod is found in the NE portion of the dungeon.
After completing both of these things you'll want to return to town and speak with the guy who operates the water mill. Turn the wheel on the water mill for him since he can't figure it out and this will activate an elevator back in the dungeon for us. Before we return to the dungeon explore town a bit, climb the vine down to a cavern and go inside for two chests. One has Iron Armor and the other has 50 Gems. You can speak with the fairy in here for 80 EXP too.
Once you're done with all of that, return to the dungeon and ride the elevator up in the southeast to access a new portion. Clear this new part of the dungeon, defeat all of the enemies and step on all of the green squares to free more villagers. After clearing everything that you can reach it's time to return to town again.
Back in town you need to find the house with Lisa inside (go straight east) and use your Dream Rod while standing next to her bed. When you're inside Lisa's dream step on the square switch to open up this new portion of the dungeon. Lisa will tell you to bring her back an item, Leo's Brush, which you'll find in the part of the dungeon we just opened up.
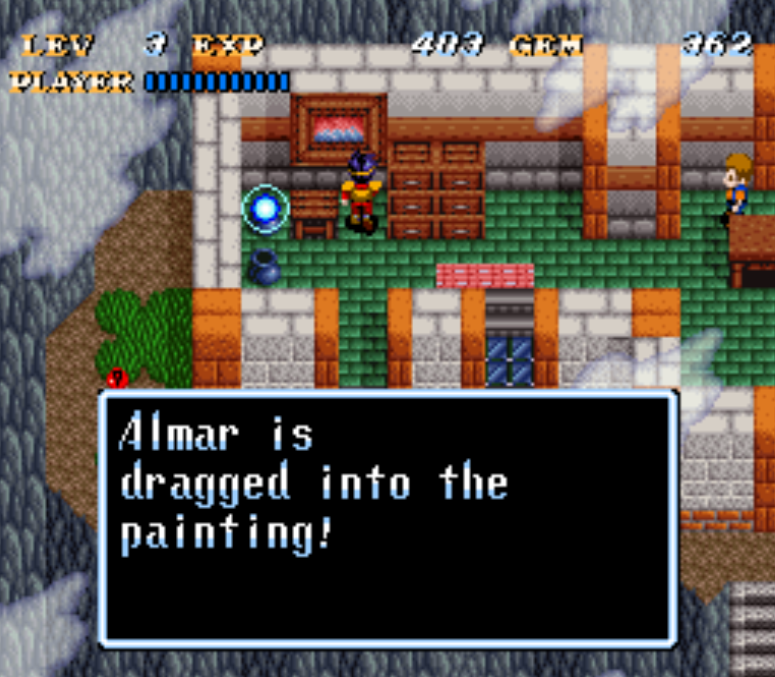
Return to the Underground Castle and visit the portion of the dungeon we just opened. Defeat the monsters, free the citizens and open the chest for Leo's Brush. Once you have the item return to town and speak with Lisa again, after that go north to the lone house up the stairs and equip the brush. Inspect the painting with the brush equipped and you will be sucked inside (pictured below).
This dungeon is very linear and I doubt you'll have any trouble navigating it. About half way through this dungeon you will encounter some enemies you can't defeat with your current weapon. You'll need to wait until later in the game when you get the Zantetsu Sword to defeat these enemies. Once you get that sword you can defeat metal enemies, which if you look at these guys they're basically metal tentacle things with blue faces.
While you're clearing this dungeon make sure you defeat all of the enemies that you find (including the torches) because you never know what will unlock a new area, villager or piece of loot. This is a good rule of thumb for this entire game too, always defeat every enemy.
About 3/4 of the way through the Leo's Painting dungeon when you're going up the long red carpet escalator you will uncover a blue tile. This will take you back to the original room we started the game in and this acts as a fast travel back to town. It's also a warning that you have a boss coming up so you may want to stock up, heal up and get prepared before going forward any more.
Return to town and find the sleeping Tulip, push it aside and pick up a pass from the ground. You can show this item to the boy in the northern part of town and he will move aside to let you through the cave. Go through this cave and you'll find a Strange Bottle on the small cliff that you end up at. You don't have to press any buttons to pick up these items, for me it was automatic when I stepped on the location.
Strange Bottle will make it so that you don't lose any Gems when you die. You should probably use it a few times when you fight this next boss because this boss is extremely hard in my experience. If you struggle with this boss like I did my advice would be to go back to the Underground Castle and grind some EXP. You'll get 1 and 2 EXP a kill which is terrible but if you're on an emulator you can turbo speed in and out of an area really fast to respawn monsters. I'd recommend level 5 before this boss but it's up to you, maybe you'll have an easier time with him.
To challenge this boss you'll want to teleport back to the dungeon via the blue tile and head north up the long red carpet conveyor belt.
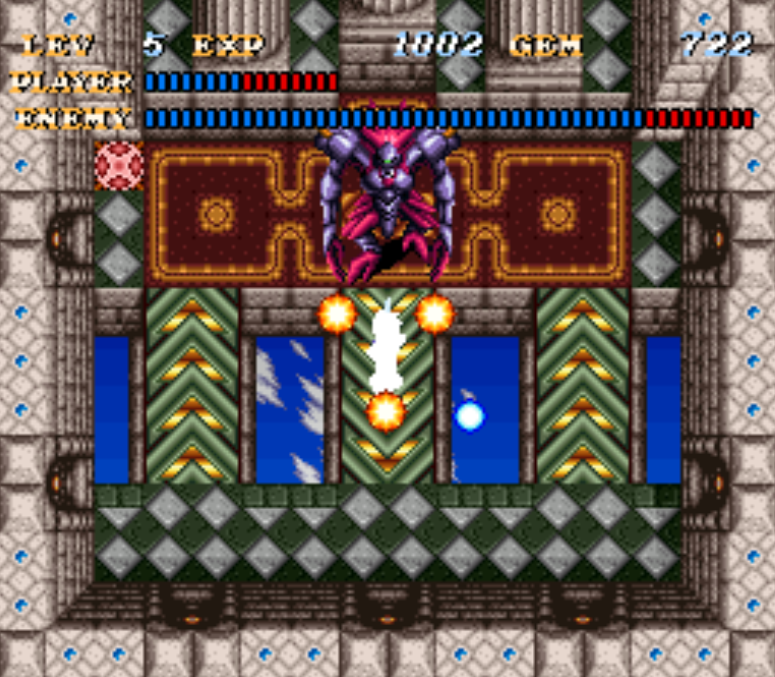
When this boss is entirely blue it will be invulnerable to all attacks. To avoid making it blue you'll have to use a very specific strategy which is to hold the L or R button so that your character sticks the sword out in front of it. As your character is doing this you'll want to charge up the middle conveyor belt and tap the boss with your sword a few times.
You can tap down to avoid sliding into the boss, but other than that do not hit your attack button. Our goal isn't to swing our sword but rather to hold it out in front of us like a spear and charge at the boss. If you watch your character's animation you'll see when he does this, the game calls this crab walking (at least when you're pressing right and left while holding your sword like this).
I created a save state right before this boss and I ran the fight probably 25 - 50 times while writing this guide. The strategy I describe above is quite literally the only strategy I found that came even remotely close to working. Actually, if you level up to 5 and you have a Medicinal Herb equipped while you do this boss you will never have to dodge a single attack. Just make sure your sword keeps poking the boss as you charge up the middle escalator and you will eventually win.
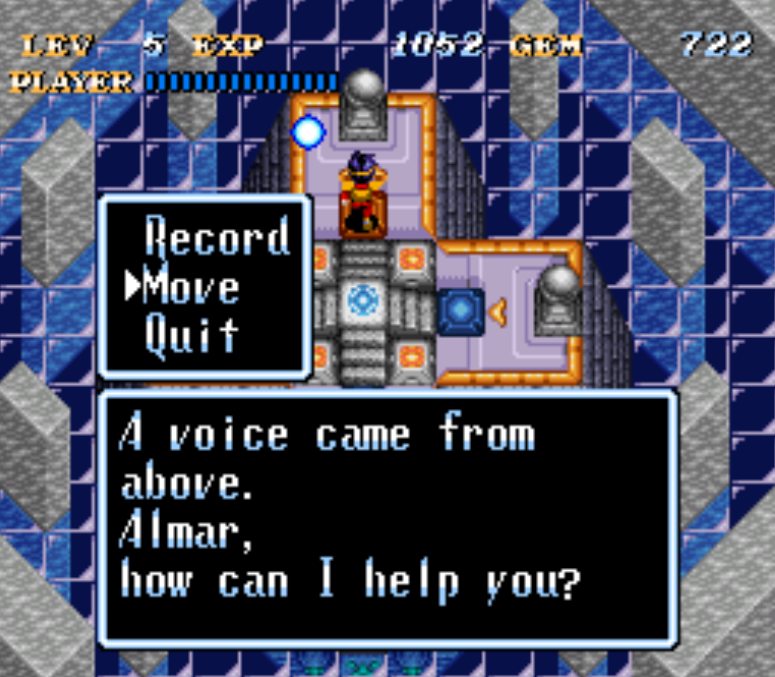
After your victory step on the green panel in the top left to free the Village Chief, then return to town and speak with him. You'll be given the Brown Stone item which is a key item. Now that you've got that return to the room with all of the teleportation tiles and step on the golden tile in the north (pictured below).
Select the Move option at the golden tile and you will be brought to a World Map where you can choose your next location. Our destination is GreenWood to the south.
GreenWood & Lostside, A Marsh Walkthrough
When you first arrive in GreenWood there is nothing for you to do - just like the previous town was originally. You'll find the entrance to the next dungeon in the southeastern portion of this area. This dungeon is called Lostside, A Marsh and Just like most of the dungeons in this game, this place is pretty linear. One thing I would like to draw your attention to though are the Water Lizard enemies.
You will find these Water Lizards jumping out of the water almost everywhere in this place. They aren't connected to any of the green panels on the ground which means they will always spawn even after you clear out all of the enemies. I recommend you go out of your way as much as possible to grind these lizards because level ups make a significant difference in this game.
If you're like me and you struggled with the last boss - why not out level the future bosses to make the game easier? Ultimately though that choice is up to you. On your first clear of this dungeon the main item you're looking for is the Delicious Seeds, they're found inside of a chest in the underground portion. These seeds will get us a better sword when we return to town so make sure you get them!
The underground portion of this dungeon will also have some orange statues, swing your sword at each of them to trigger a battle with fake ones. After you have cleared out all of the monsters you can reach in each area it's time to return to town and collect a new sword and get a key item too.
Note: If you make it to the Fire Shrine you've gone too far, go back to town and do the steps below first.
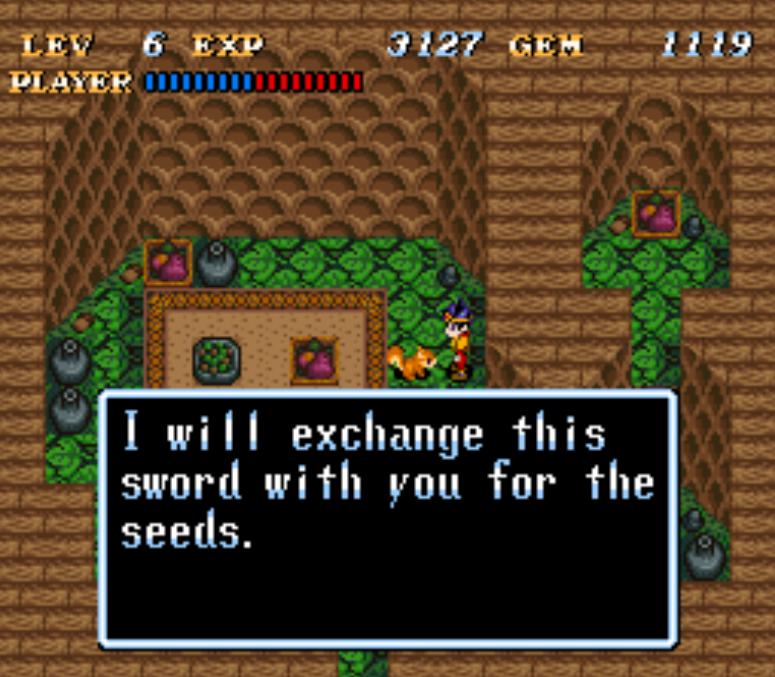
Enter one of the trees in the northern portion of town and equip the Delicious Seeds that we just got from the dungeon. When you talk with the squirrel (pictured above) you'll trade the seeds for the Psycho Sword. This is a small upgrade for you but an upgrade none-the-less.
The next thing we need to do in town is enter the hole just north of the Crocodile. Inside here you'll find a mole, when you speak with him he'll join you as the Soul of Light. Basically, he will light up the room in a few dark areas in the next part of this dungeon. Enter the dungeon again and this time you'll want to complete the Water Shrine and some of the Fire Shrine.
You can only do about 3/4 of the Fire Shrine right now - when you reach the red bridges that damage you when you step on them it's time to return to town. We can avoid damage from these bridges by upgrading our chest armor to the Ice Armor which we'll do now.
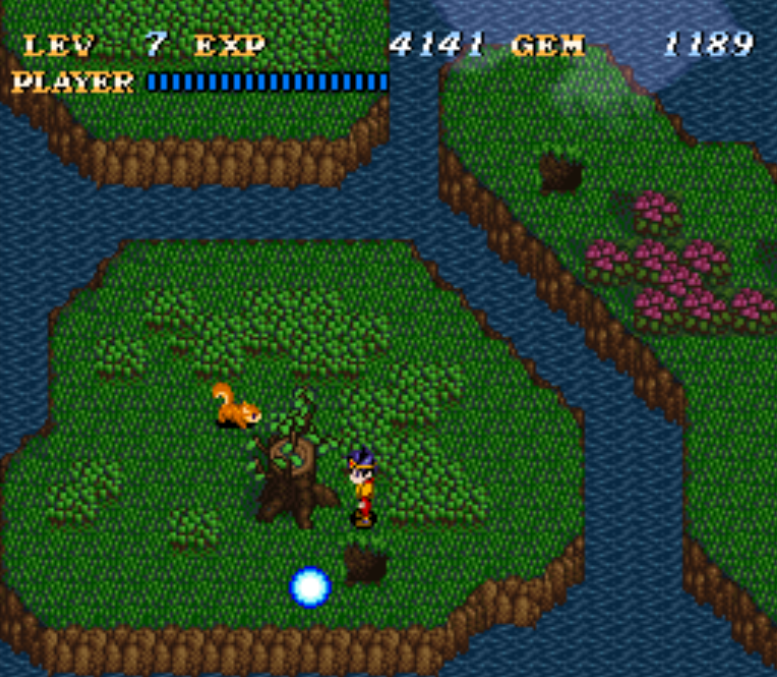
Return to town and enter one of the mole tunnels in the bottom left, follow the linear passage to the small island in the south (pictured below). On this island you'll want to equip your Dream Rod and then interact with the stump. This will bring you into a dream world just like in the previous town.
Inside of this dream world you will want to walk to the right and step on the green panel to clear some bushes. Talk with the bird who is to the far left and you will exit the dream world. Just like in the previous dungeon the changes we made in the dream world carry over into the real world. Go north in town and you can now get behind the large tree to access the chest with the Ice Armor inside.
Now that you've got this armor it's time to return to the dungeon and make our way through the Fire Shrine! Keep clearing monsters and progressing through the dungeon, you will eventually find a raft that refuses to let you ride it until you can prove you're from GreenWood. This is as far as we can go right now, to go any further we need to return to town and get another key item.
Let's return to town again and this time you'll want to use your Dream Rod on the bird that's asleep near Turbo's grave. Step on the green switch inside of the dream and then speak with Turbo (the dog) when he appears; after talking with Turbo speak with the bird to leave.
Visit the mole tunnels outside of the dream and enter into the eastern one. Inspect the bones in the room that we were just in during our time in dream world and you will get The Leaves of Greenwood which is the item we need to convince the raft to carry us. Return to the dungeon and ride the rafts into the Light Shrine.
The Light Shrine is another very linear dungeon, it also has another type of enemy that we can't defeat right now. Inside of the Light Shrine you'll find large firey balls that bounce around from wall to wall. Hitting one of these balls with your Psycho Sword will freeze it for a few seconds but that's all we can do to them for now.
Note: To defeat the large red balls (Spirit Balls) that bounce around you'll need the Spirit Sword. You'll get this weapon later in the game and you'll have to return here when that happens.
If you reach B1 of the Light Shrine and you can't see anything it's because you didn't get the Soul of Light by talking with the mole in town. Scroll up to where I mention the Soul of Light to learn which mole you need to speak with. During your clear of B1 you'll create a blue tile in the south which will take you back to the "fast travel" room which connects the whole world. Avoid exiting B1 in the north because that is where the next boss is found. Before we challenge the boss we'll want to return to town first and collect some items.
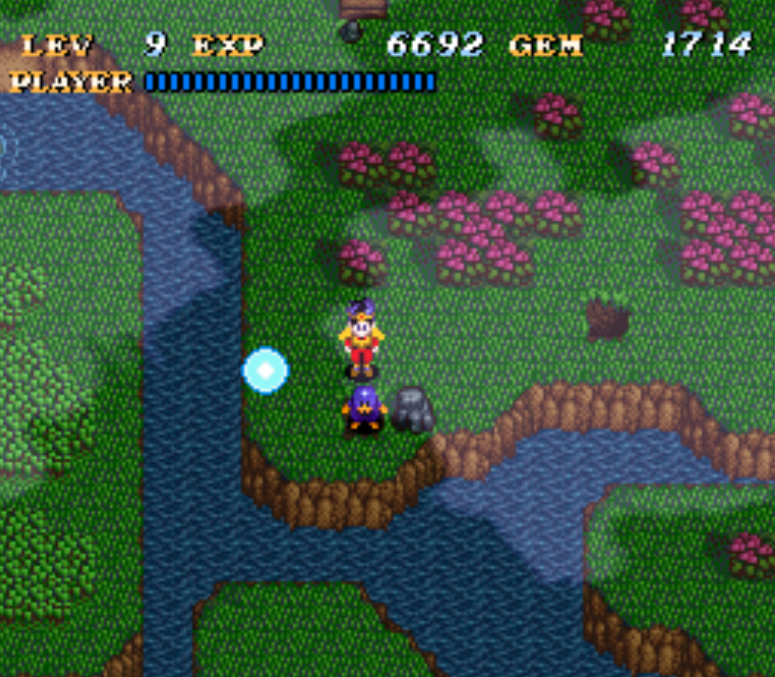
Escort Monmo over top of her hole and speak with her
Return to town and speak with Monmo in the northeastern portion of town. She will ask you to return her to the hole that leads to her home. The hole you need to bring her to is southwest of her location, it's the same one pictured above. Once Monmo is standing on top of the hole speak with her and she will disappear.
Go down into the hole and open the chest for a Mole's Ribbon item. Equip this item and then speak with the mole that's found in the tunnel south of this one, this mole asks to see an item that belonged to Monmo. The mole will take the ribbon from you and move out of your way which lets you speak with the other mole to the south.
The mole to the south will give you Shield Bracelet which is an item that halves the damage dealt to you by enemies. This is an amazing item and you should have it equipped most of the time from here on out. Just remember to switch back to a Medical Herb when you get low health!
Last but not least, visit the building in the north where we got the Psycho Sword earlier. Speak with the squirrel in the northeast part of this building and he will give you the Master's Emblem C. For now there isn't much we can do with this item, you'll need to collect all 8 before we get any use from it.
Once you're done collecting these items from town it's time to return to the dungeon and challenge the boss. Use the blue tiles to fast travel back to B1 of the Light Shrine and go all the way north to reach the boss room.
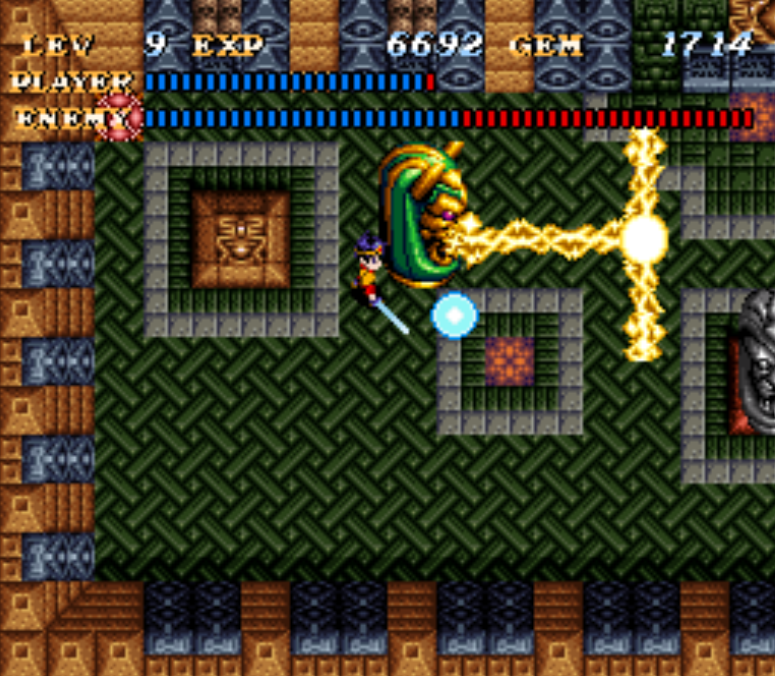
For this boss fight you'll be fighting 3 different totems back to back. The first fight is against the Light Statue which will shoot thunderbolts out in the shape of a T. Your strategy for this boss will be to stay close to him because he'll have a hard time hitting you with the T shaped lightning attacks this way.
After beating the Light Statue a Water Statue will spawn. This is probably the easiest of the bosses, he can only do 90 degree turns which give us an advantage and (aside from running into you) his only other damaging attack is to spit water in front of him. As long as you stay near him you should be able to avoid most of the damage.
The final fight will be against the Fire Statue which is the hardest one. He doesn't have the same weaknesses as the other two, for this fight you'll mostly want to employ a hit and run style strategy. All in all, I found this boss to be significantly easier than the first boss we challenged. If you're struggling at all my advice would be to spend a bit of time leveling up in the previous dungeon(s). The Water Dragons give 10EXP a pop and they always respawn which makes them great for grinding.
With the boss defeated make sure you step on the green tile to free the Guardian of the Woods. Return to town and collect the Green Stone by speaking with the Guardian and we're done this town. Enter the Master's Shrine of fast traveling and step on the northern golden tile. Select Move and travel to St. Elles next.
St. Elles & Seabed Sanctuary Walkthrough
Head north and speak with the Mermaid Statue to get your required dialogue flag. Apparently we need some Bubble Armor to survive under the water, so let's go do that. Return to the Master's Shrine of fast travel and you'll find a new blue tile available for us. Step on this tile and you'll be teleported to our first dungeon.
This first part of the dungeon is very short and you'll mostly be fighting the entire time. At the end of this part of the dungeon you will find a bunch of trees around a lake, stepping on green tiles will get rid of both the trees first and then the lake. When you step on the final tile you'll resurrect the mermaid we need, once you do that it's time to return to town via the blue tile back at the start.
Back in town you'll want to go south and talk with the Mermaid swimming around, she will give you the Bubble Armor. Equip this since it's an upgrade and then get the chest east of this mermaid for the Mermaid's Tears item. To reach this chest you'll have to exit the building and enter it from the eastern side.
Return to the mermaid who gave you the Bubble Armor and exit town to the south. This will put you underwater, without the Bubble Armor you will have an air meter and things will be a lot more difficult. Clear out the area of enemies and then go up the stairs near the entrance to the final monster spawner which is back on land in the previous dungeon.
This will spawn a mermaid statue back in town that tells you to come and speak with her, she will remove the golden fish statue pictured below for you so that you can continue with the dungeon.
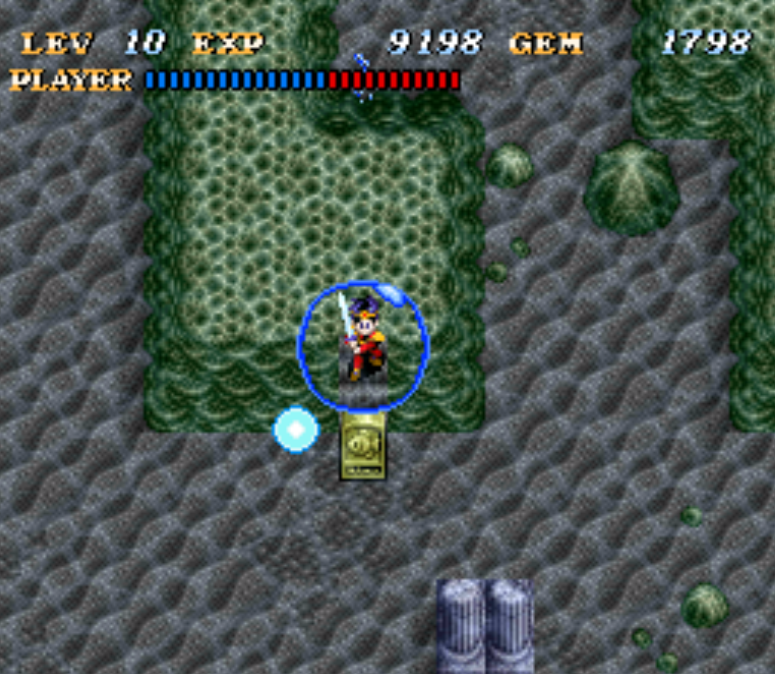
Talk with the Mermaid Statue in town to remove the gold fish statue
Tip: The Mermaid who gave you the Bubble Armor will also heal you when you speak with her. Also the purple Sea Urchins in this area will always respawn and give you 20 EXP each time you defeat one.
You'll clear a bit more of the dungeon under water in the same area as my picture above, after clearing everything you'll exit in the southeast to an above ground area. The whole thing is very linear, at the very end you'll spawn another mermaid statue back in town. As you can probably guess, return to town and speak with it.
While you're back in town you'll also want to speak with the angelfish in the eastern portion. He will join you and give you the Soul of Shield which will protect you from magma in the next part of the dungeon. Remember the mole that joined us in the previous dungeon just like this? Yea, it works like that.
Speak with the mermaid who gave you the Bubble Armor to heal up and exit town in the south. Our next destination is Durean which is found to the southwest this time. The first chest you'll find in this area has a Strange Bottle which will do nothing if you already have one. During this dungeon you will find another enemy type that you can't defeat yet - they are a metal ape.
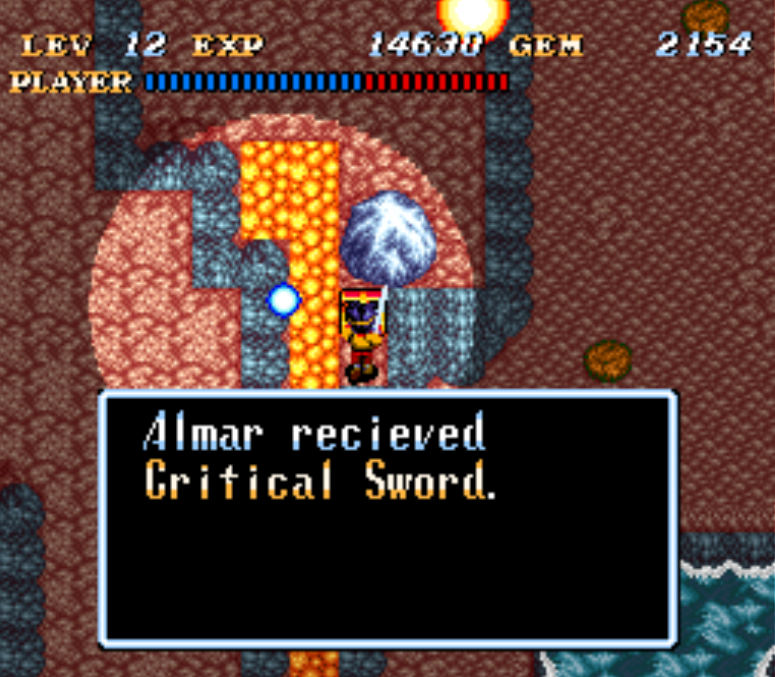
About half way through Durean you'll find a chest with your next weapon inside, Critical Sword. You will have to run over some hot coals to get this weapon. Like the name suggests, this weapon has a chance to deal a critical hit with your attacks.
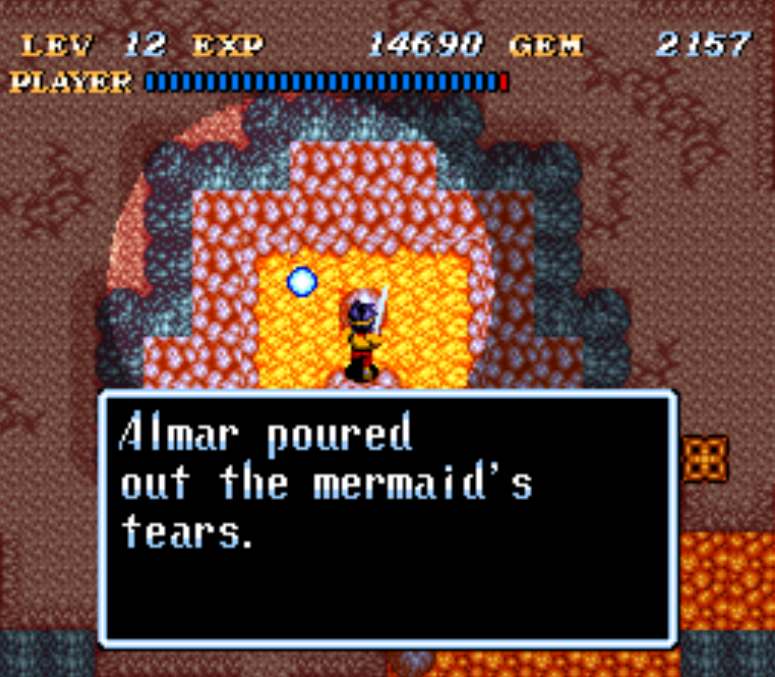
After collecting the sword all that's left is to climb up to the top of the mountain and use the Mermaid's Tears to put out the fires. Equip the Mermaid's Tears as an item then run up to the top of the mountain right in front of the glowing rock. You'll automatically consume the item. Wait 10 seconds or so and all of the magma in the dungeon will go cold.
Take care of the last set of monsters and step on the final green tile to unlock another mermaid statue. Return to town and speak with this mermaid statue, you'll see that the next location that is unlocked is the statue in the northeast of the underwater area. Try to remember this because we have a few more tasks to do in town before we head over there.
Next, you'll want to go southwest of the mermaid statue's in the center of town. You'll find a dolphin here who tells you to stand on his nose, he will push you across the water and over to a chest which contains the Big Pearl. To the east of this dolphin you'll find a mermaid who teaches you the Magic Flair magical ability. If you're having trouble finding these two NPCs, you'll find them to the west of the mermaid that heals you when you talk to her (aka the one who gave you Bubble Armor).
When you're ready to continue with the next part of the dungeon, head over to the next Chapter in my Walkthrough!
Continue to Walkthrough Chapter 2
Return to Soul Blazer Guides Index

