
Lufia and the Fortress of Doom Walkthrough - Chapter 3
During the final parts of Chapter 2 we reached the town of Odel and did the various fetch quests to advance the story. This chapter picks up the story when you're done with all of the objectives in Odel and Lyden and you're ready to advance to Arus.
If for some reason you are unable to advance to Arus I recommend you go over my list of steps below one more time and figure out which you missed. This guide picks up at Step 7 on the list below.
1. Talk with the old man in Odel and learn about Arus
2. Chat with Piron inside the throne room of the castle and agree to help him
3. Visit Lyden (southeast of Odel) and talk with the man eating at a restaurant in town (pictured below)
4. Return to Piron at the castle in Odel and talk with him
5. Inspect the broken bridge inside of the cave west of Odel
6. Return to Piron and talk with him
7. Follow Piron to the cave and inspect their work - then return to the bridge and it will be fixed
Tip: Make sure you visit Shaia Lab 1 in this area, there are multiple teleporters here including one in the cave and one in Odel. This location will get added to your Warp list if you visit it (it'll be called Platina).
After talking with Piron in Odel he'll go to the cave nearby to build the bridge, you'll have to find him inside of this cave and talk with him. He'll ask you to back track out of the cave and all the way to another entrance and watch the work he does from the cliff nearby. Once he finishes you'll have to run back to his spot to cross the bridge and continue with the dungeon. It's all a bit silly but that's how this game pads out content.
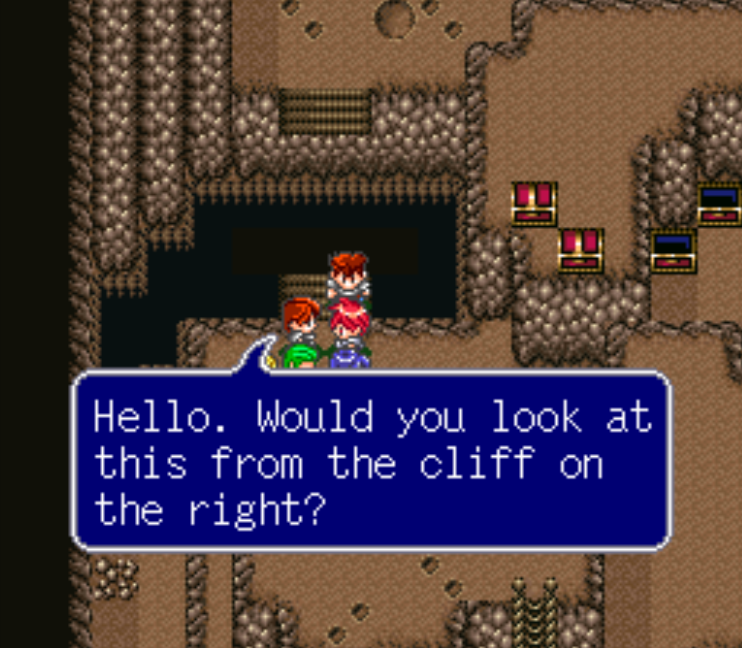
Watch Piron from the cliff nearby
My favorite thing about watching Piron build is you have no experience and would have no idea if he was doing a good job. Wouldn't he ask you for protection instead? You also don't comment at all while watching him build, so you technically don't even help him. It's all so dumb it hurts my brain.
Something that doesn't hurt my brain though are the Mimicker enemies in this dungeon. You've encountered them before in a previous dungeon too, they're the enemies that look like Mimics in basically every other RPG. Mimicker enemies give you 3000 EXP per kill but they run from battle very quickly. The best strategy to use against them is to use the Confuse spell from Jerin to keep them in battle longer.
If you can hit them with Confuse they'll be in battle for a few turns which will give you the odds you need to beat them. Using items to beat them quickly is a good strategy too - 3000 EXP is quite a lot per kill so going out of your way to get them is well worth it!
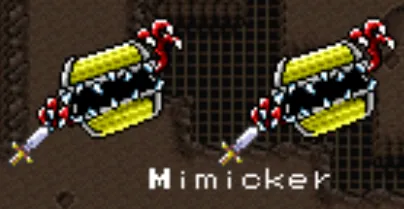
Each Mimicker gives 3000 EXP when defeated
To make it to Arus you'll want to cross the bridge that Piron finished working on and go right. Follow the linear path to the stairs and go down - you'll be lead to a door that Lufia opens for you. Keep following the path and you'll find stairs that go up back to the World Map. Just north of where you surface is the village of Arus.
Go up the stairs in Arus near the patch of flowers and you'll trigger a scene. When the scene is finished speak with the old man in the house near the flowers, he'll tell you to visit the Tower of Grief nearby. You have to travel west of Arus and through the cave to reach the tower. I don't recommend you buy any upgrades right now because we'll be getting much better ones in a little bit.
Tip: You probably have a character that is level 25+ by now - visit the Old Cave dungeon near Grenoble! You can easily travel here using your Warp spell. Go into the Adventurer's Guild part of Grenoble by paying the guy 50G and then grab the quest from the clerk. This time you have a quest to find a Miracle Gem which will award 5000G when you bring it back to the guild.
The Tower of Grief is as linear a dungeon as you could imagine. Go straight when you enter the dungeon and up the stairs to find a chest with a Dragon Egg. Your goal is to reach the top floor and speak with the old man that's here next to the chest that contains a Miracle. During the dialogue/scene Lufia will get an increase to her max MP. When you're done talking with the old man jump from the tower and use Warp to return to Platina if you unlocked it or Odel if you haven't.
If you don't have Platina on your list of Warp locations then travel to Odel first. Once you're in town travel north until you reach the castle, instead of going inside the castle though you'll want to follow the left path which leads you to stairs. Keep following the linear route and you'll reach Shaia Lab 2. If you talk with the people in the basement they'll tell you to keep going down the stairs and you'll find a teleporter to take you to Shaia Lab 1 which is where Professor Raile is found.
You may get a bit lost in this part since when you go downstairs it leads you to an area where the path splits 4 ways and each route has a teleporter. Telling you to go straight at this fork probably isn't enough, so look at the ground instead. There will be numbers and letters on either side of the fork, the western path has a 1 that points in that direction. As you can probably guess this means that it's the path to Lab 1.
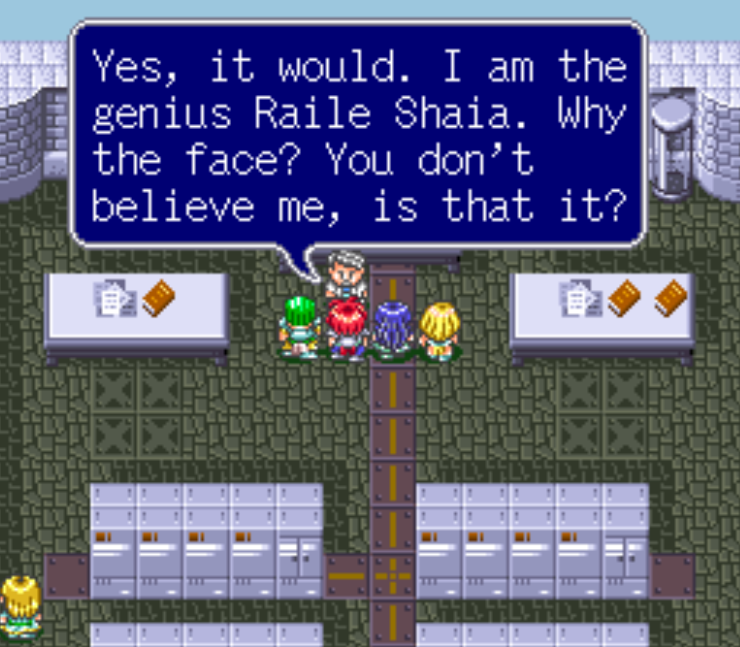
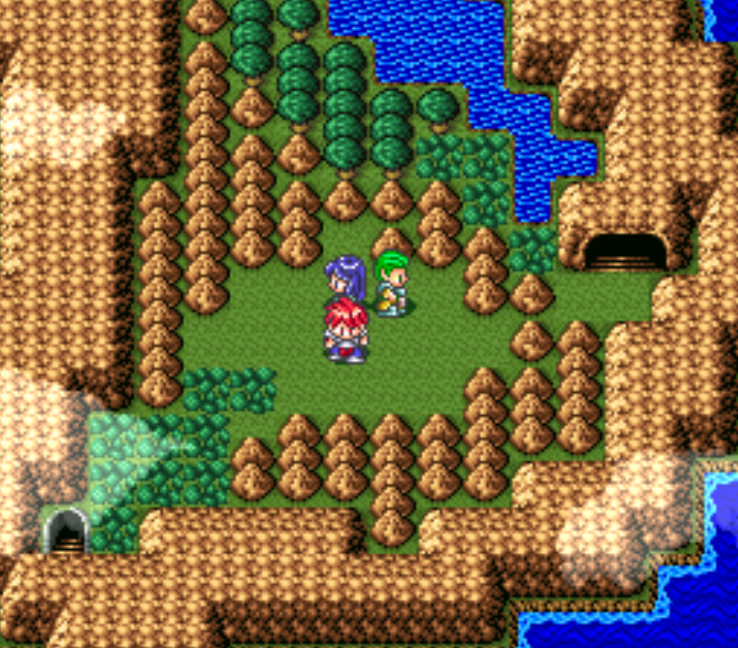
Once you make it to Shaia Lab 1 you'll want to find Professor Raile Shaia (pictured above). Talk with him and there will be a long scene - after which you'll get your boat! As Raile said you'll want to meet him at the Shaia Lab #3 next to progress the story. You can find this lab directly west of the first lab; you'll want to travel here next and get the dialogue flag that's needed. All you have to do is go inside of Carbis and speak with Raile.
Professor Raile asks you to visit the town of Bakku and bring back a man named Cooper. Before we do that though, we should do some optional exploration and content first. To help you navigate the world from this point on I have managed to find a half-way decent picture of the World Map that I included below. Full credit goes to the original author who posted this on Gamefaqs 30 years ago. Now that we have access to the entire world there is a bit of optional content that we can do before advancing the story.
Side Questin' Time!
Before we visit the next Shaia Lab and advance the story forward, let's do some exploration. I recommend that you visit every town on the World Map that you can reach because this will make it easier for you in the future. When you visit a town you can easily return to it by using the Warp spell on Jerin or by using a Swing Wing item. Use the map below if you need help locating any towns.
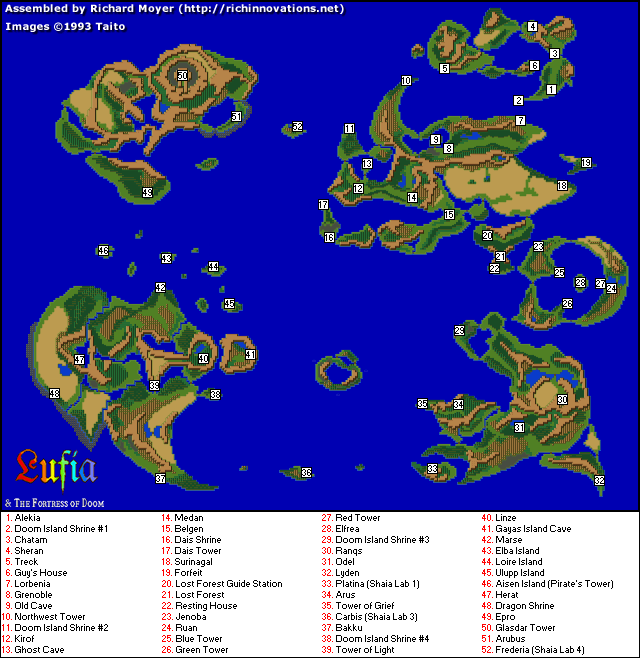
Full credit goes to the original author of this map. There aren't many online, this is the best I could find
There are probably a dozen different locations that you can visit right now but I have made things easy for you and narrowed it down to 4. Below are the four key locations that you will want to visit before you advance the story forward again. Frederia, Marse and Forfeit are all towns and we're mostly visiting those towns to upgrade our gear.
My final location on the list below, the Tower of Light, is actually the next dungeon for us to do... However, we want to do this dungeon before we come here during the story. If you visit the Tower of Light prior to advancing the story to that dungeon you'll be able to grab a best in slot helmet called Might Helmet from here. The Might Helmet is the whole reason we're going to this dungeon now instead of waiting until later.
It's up to you which order you'd like to complete the below tasks. Normally I would recommend Frederia first since it has the best equipment money can buy for this point in the game. Marse has some equipment too but it's only two pieces.
Places To Visit Before Advancing Story:
(#52) Frederia (Shaia Lab #4): Purchase Grand Blade, Carbo Plates, Clear Silk, Carbo Shields, Carbo Helm, Carbo Cap, Sword Shoes and Cat Heels and equip onto your characters. It will cost over 100k to outfit all of your characters with new equipment.
(#42) Marse: Buy 2 Silver Wrists from the armor shop.
(#19) Forfeit: This town lets you buy back any items you've sold in the game. Visiting this town is technically optional (even for this part of the guide) but it's useful to get it on your list of Warp locations incase you ever need it.
(#39) Tower of Light: Clear the dungeon and loot the Might Helmet from the top. This is a best in slot equipment for whomever you put it on (use it on Jerin) until the end of the game. If you're confused on how to reach this tower check my walkthrough below for guidance.
Tip: The number in front of each location is the number it appears as on the World Map above. Use this to quickly find your location.
During your time exploring the world you'll be getting a lot of EXP. It's important to remember that you return to Grenoble and get the quest for the Old Cave then return there and do the next floor every 5 levels. This dungeon will give you a lot of potions that give you permanent stat boosts along with a decent sum of gold each time you do it.
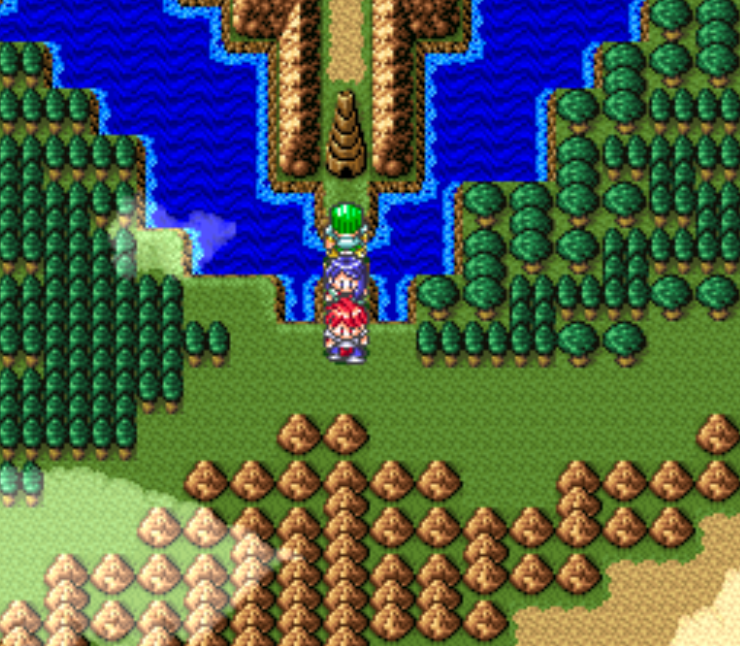
While we're on the topic of leveling up, you may decide that you want to grind a lot at this point in the game. I did because I didn't like each battle having a 1/20 chance to KO a party member without me being able to do anything about it. For this point in the game, the best location I found to grind and level up my characters was on the same island that Frederia is found on (pictured below).
Frederia Grinding Location
Most of the battles you fight on this island will reward you with 2 - 4k EXP. I was able to level my characters from 30 - 40 in just a few hours, leveling past 40 though started to take more and more time for each new level. The upside though is once you get to level 40 the mobs become easy enough that you can spam auto attack for most fights. Pair this with the emulator's super speed button and you can find much more quickly.
How high you'd like to go in level is entirely up to you, I personally went to 45 or so with my main character. This allowed me to relax for the next few dungeons/areas and not have to worry so much about my level and how much damage the enemies did/how difficult they were.
Note: The Old Cave 7th Level is the deepest level of the cave in the game. Once you advance beyond level 30 you won't get any new floors for this dungeon.
Returning to the Story
Before we jump back into the story I am going to strongly encourage you to Warp over to Frederia and visit the Weapon shop. You'll want to purchase 20 - 30 Ex Arrows and Ex Bomb items, if you have been following my guide for awhile then you may already know what these items are for...
For those of you who are new to my guide (or the game) - in this game you're expected to use items like these during combat to defeat hard groups of enemies. I talked about this earlier in my walkthrough when it became obvious to me that's how this game was designed.
You've probably already noticed this but some enemies are a piece of cake and others will completely destroy your group if there are too many or you get unlucky. These items are used on the latter group to quickly eliminate them before they become a problem. They're handy for boss fights too. Another alternative is to stock up on Smoke Ball items which will get you out of combat when you use them during a fight. If you'd prefer to flee tough fights rather than engage this is the item for you.
When you're ready to continue with the story our first stop is the town of Bakku...
Important!! You're about to miss a best in slot item if you haven't already visited the Tower of Light! Important!!
Important!!: If you visit Bakku and advance the game right now prior to clearing the Tower of Light dungeon you will not be able to obtain the best in slot helm, Might Helmet. For those of you who want this helm, scroll down to find the Tower of Light and clear the dungeon now/obtain the helm. Return to here once you have it.
Important!! You're about to miss a best in slot item if you haven't already visited the Tower of Light! Important!!
Bakku is found in the southwestern portion of the map, it's actually the most south-western town on the entire World Map. The Tower of Light is found directly north of Bakku, you can reach it from Bakku without using a boat. In the town of Bakku you'll need to speak with the old man in the building just north of where you enter. He'll tell you the key wasn't actually stolen and he has it - this is one needed flag.
Next up you'll want to talk with the town priest. You can find him in the church that is on the pier; he's the guy standing behind the counter. He'll tell you that Cooper went to the Old Cave Level 5 and you'll need to travel there to get him. Exit the town and use your Warp spell to travel to Grenoble. If you have not been to the Old Cave Level 5 you'll need to speak with the clerk behind the counter in the Adventurer's Guild first; he'll give you the flag you need to enter.
You'll find the Old Cave a little bit north of Grenoble on the small island surrounded by water. Cooper is found in the final room of Level 5, talk with him and there will be a short scene. When the scene is over use your Warp spell to travel back to Carbis. Return to Raile and speak with him for another scene during which he tells you to visit the Tower of Light north of Bakku.
If you need help locating the Tower of Light use my screenshot below.
The Tower of Light on the World Map
Note: If you're clearing the Tower of Light to get the Might Helmet, you will find this treasure at the very top of the tower. The dungeon is pretty linear, just keep going up until you reach the top and the chest will be right there. This treasure is only available if you come to this dungeon prior to reaching it at this point during the story.
When you come to the Tower of Light during the story, you'll find a man at the top standing right in front of the same chest that had a Might Helmet before. Speak with him for a boss battle, when it's finished you'll have a short scene after which you'll want to open the chest for the Light Key.
After getting this key fall off the tower and enter back inside. On the first floor instead of going up any of the stairs go to the back of the tower instead. Use your Light Key on the door here and go through; you'll come back out onto the World Map on the other side of the Tower of Light.
From here it is a quick trip to the town of Linze which is nearby. If you talk to the residents inside of Linze they'll tell you that Brant went to Gayas Island Cave, to reach this location you'll need to go through the tunnel under his house. I don't believe talking to any of the townsfolk is a requirement to advance the game. When you go down into the basement of Brant's house make sure you go down the red hallway first, there will be 3 chests and one has a Dragon Egg inside of it.
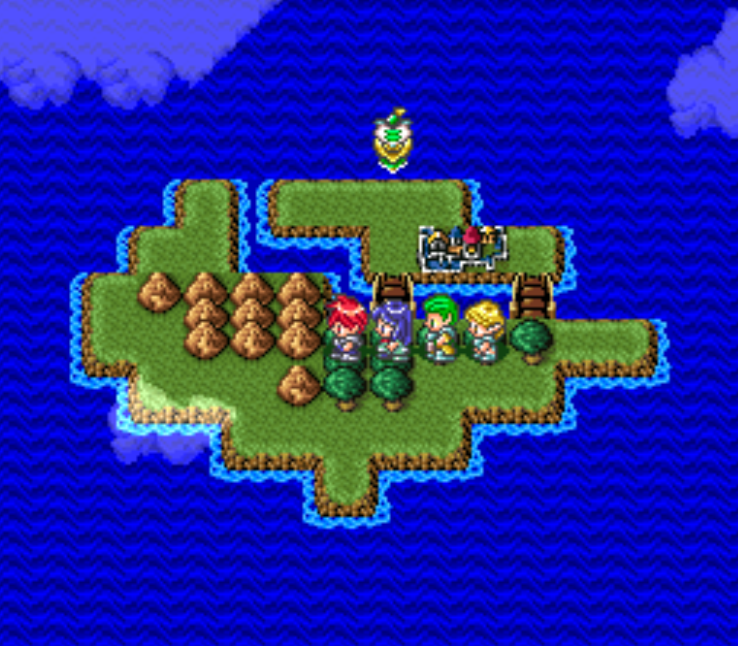
You'll come back out on the World Map in a small enclosure east of Linze (pictured above). East of where you surface you'll find another cave which you can enter - this is Gayas Island Cave and our next destination. Inside this cave you'll want to grab the Dragon Egg (Go down the stairs near the entrance; it's directly west), Alumina (Go down the stairs near the entrance; the stairs you see to the south surrounded by toxic floor - climb up them. This chest has the Alumina).
These two items are the most important ones to grab. Once you got all the available loot in the first part of the dungeon flip the switch you find to change the teleporter's destination in the adjacent room. This will let you access the second half of the dungeon with more loot and our story objective.
Keep going down until eventually you come across some blue water at the bottom of the dungeon, north of this water is the NPC (Clack) that you need to chat with. Ask him anything you'd like to know about the game's lore - also ask him about Brant. When you leave he will stop you and give you the Wave Ring. Equip this onto your main character, it's probably a big upgrade for you.
Once you're done with that dialogue use Escape to leave the dungeon and then Warp to Marse if you have the location unlocked. If not you'll have to sail north of this cave to find the town of Marse. Enter into Marse and visit the church, talk with the blonde girl inside of the church and she'll tell you that Brant has gone to Loire Island to look for Alumina.
Get back into your boat and sail west of Marse until you find a river. You'll want to sail down this river until you reach the castle town of Herat (pictured below). In my picture you can also see a dungeon entrance that goes down near the mountain - this is our next dungeon.
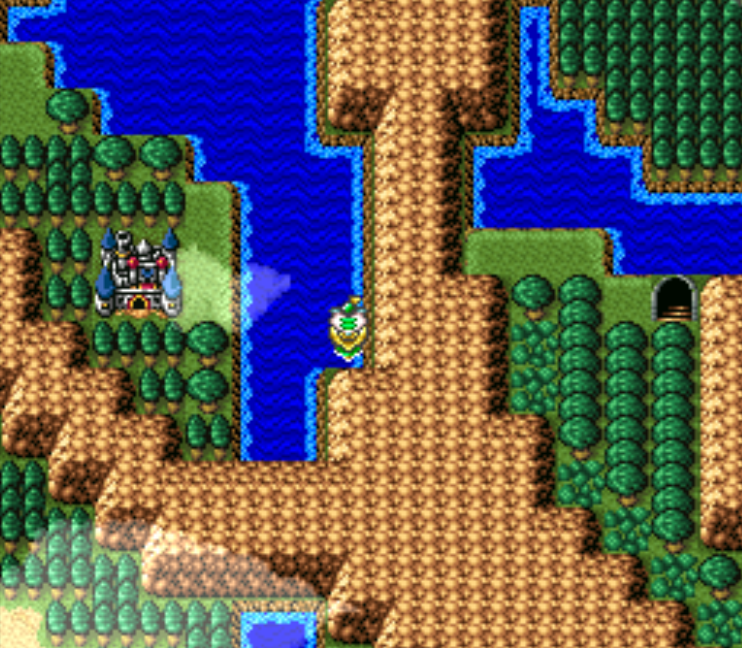
Herat & the next dungeon
The first thing you should do is enter Herat and go inside of the castle, you can find a Power Potion by searching the dresser on the third floor. Search more areas and you can find more goodies but this is the best one. As far as story flags go, you'll want to talk with the Chefs in the Kitchen here to learn that the King wants something tasty. Also speak with the King, I don't think it's necessary but it may be. When you're done you'll want to exit town and head for the next dungeon, if you look in my picture above you'll see stairs that go down east of Herat - this is where we need to go.
In order to reach this dungeon you'll want to ride the boat up the river we just came from and park it on the west coast. Run around the entire mountain range counter clockwise until you come to the dungeon shown above. There are a bunch of goodies for you to grab in this dungeon but the main item you're looking for is the Purple Newt. You can reach this item by finding a switch in the dungeon and making sure it's set to Down. Once that's set find the teleporter again and take it, this will put you into a new area where you can reach the chest.
Exit the dungeon and Warp over to Lyden (the town of chefs). Go into the basement of the chef building on the raised platform in the southern part of town and talk with the old man dressed like a wizard in the kitchen, he'll have some dialogue and ask you for the Purple Newt, give it to him and you'll get the Magic Flavor in return.
Return to Herat and give the Magic Flavor to the Chef, he'll tell you to talk with the King which you'll want to do next. The King will reward you by granting you access to his treasure room which is in the basement. Visit this location for 14 different chests, one of which has the Alumina.
Now it's time to return to our quest from earlier to find Brant. Warp back to the town of Marse and hop into your ship. Our next two destinations are found north of Marse - the first of which is Loire Island which should stand out to you because there is a boat parked outside (pictured below). You can find Loire Island a tad bit northwest of Marse, directly north of is Elba which is next.
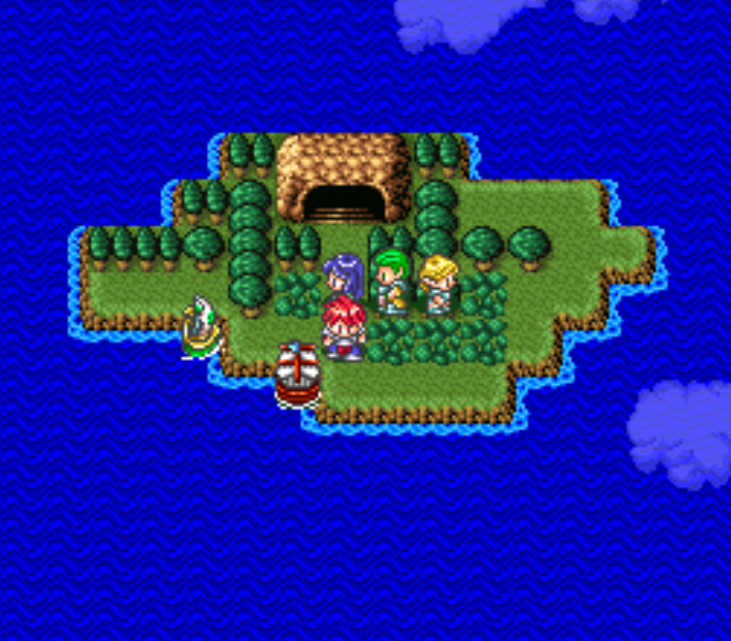
Loire Island with Brant's boat parked out front
When you enter this dungeon go all the way to the northeast in the first room. It's a very large room and the path to the NE corner is not linear; in the NE corner you'll find a doorway which leads to a very small room with a single chest - inside is the Alumina. There are many other treasures in this dungeon worth collecting too - many chests contain potions that give you permanent stat boosts so I recommend you be thorough.
Inside of the Loire Island Cave you'll also have a chance to encounter Red Core enemies which will give you 13,000 EXP if you successfully beat them. That makes this dungeon a pretty good spot for leveling up if you're interested. Our goal inside of this cave is to find Brant and talk with him, this will advance the story forward and earn you another piece of Alumina. You can find Brant by falling down a hole, he'll be stuck in here just like you. Once you teleport outside with him talk to him for the item we need.
Travel to the other cave on the nearby island (it's north of Marse). Brant told you about this cave, it's the Elba & Ulupp Island Cave that is linked by a teleporter. It's also got an Inn that you can find inside too! From my understanding the cave with the blue walls is Elba and the cave with the red walls is Ulupp. I'll refer to them by the color of their walls for this guide.
When you first enter the red cave all you can do is get a few chests, one has a Dragon Egg. You'll also want to flip a switch in this dungeon, it'll open a door nearby but you can't do anything with this from inside of the red cave. You will need to enter this area from the blue cave teleporter to access that room. Inside that room is another Alumina piece so it's important you do return to that location.
One piece of Alumina is found inside of the blue cave, venture to the bottom and pull a switch on the wall to open a door near you (it'll be in an area below you). Inside this room is the first piece of Alumina. This one is easy to get. Use Escape and enter the cave again, use the teleporter by the entrance to go to the red cave if you haven't already.
I tell you how to get the first piece of Alumina in the red cave above. The second piece you'll get kinda the same way, basically there is a teleporter in the blue cave and it connects to the red cave. At the bottom of the ladder that leads to this teleporter you'll find a door with a switch. You can set the switch to either Up or Down - each setting will change the teleporter to a location with a piece of Alumina. Get one, switch it to the other setting and get the other.
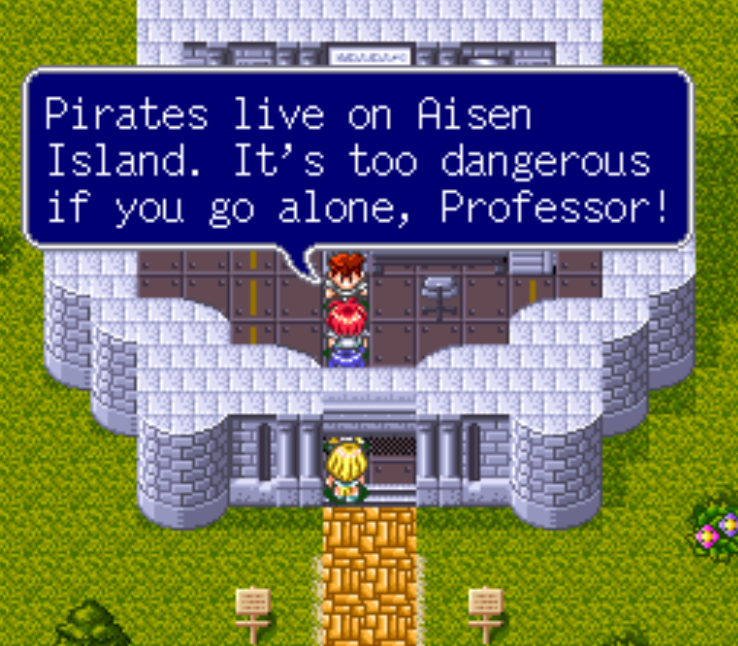
Now that you have all 7 pieces of Alumina you'll want to return to Professor Raile who is (not) found at Carbis. But you need to visit Carbis first and get the story update from one of the guards here (pictured below). He will tell you that the Professor is currently at Aisen Island, which is where you need to go next.
For those of you who are sitting at 6 pieces or 5 pieces of Alumina and you're not sure where you missed one - I recommend you check out my list below. If you need more information about any of the 7 locations that I talk about below scroll up this page a bit and get the additional info from there.
Location of All 7 Alumina
Gayas Island Cave: You can find the Alumina by going down the first set of stairs near the entrance. This will put you in a room with another set of stairs to the south that's surrounded by toxic floor. Go up that second set of stairs and you'll find the item.
Herat: Talk with the Chef and King in Herat first. Visit the Purple Newt Cave nearby and get the Purple Newt from the chest. Give this to the Wizard Chef in Lyden for the Magic Flavor and give that to the Chef in Herat. After doing this talk with the King and you'll be given access to the treasure room in the basement, you can find the Alumina in here.
Loire Island Cave: You'll visit this cave while searching for Brant, it's northwest of Marse and you can find the Alumina inside by going as far northeast as possible in the initial large room of the dungeon. There will be a doorway that leads to a very small room with the Alumina chest.
(Brant) Loire Island Cave: Complete the dungeon and find Brant inside, you'll be rewarded with another Alumina piece.
Elba (North of Marse; Blue Walls): At the bottom of this dungeon you'll find a lever which is near a door. Pulling the lever will open the door, inside that room is a chest with Alumina.
Ulupp Cave (Red Walls): When you first enter this dungeon pull the switch in the main room, this will open a door. Inside of that room is the piece of Alumina that you're after. To reach the door you need to enter this dungeon via a teleporter in the blue cave. Make sure the switch in the blue cave is set to "Down" and you can reach this area.
Ulupp Cave (Red Walls): Make sure the switch in the blue cave is set to "Up" and then use the teleporter, the chest with Alumina will be on the top platform inside of the red cave.
Continue to Chapter 4 of my Walkthrough
Return to Chapter 2 of my Walkthrough