
Chocobo's Dungeon 2 Walkthrough
You start the game without much to do outside of explore the dungeon. I don't recommend you try to conserve items at this point, use the spells you get constantly because they'll help you avoid damage. Equip any Saddle/Claws you get onto your Chocobo and guzzle Potions when needed. If you're about to die use Teleport to leave and you'll be able to restart with full health.
Using spells will level up your magic in this game which will increase how much damage that school of magic does. Look at each level of magic like an attack power increase. Your Chocobo will also earn EXP which will increase your HP/Stats as you level up. Normally in this early part of the game I focus on leveling both magic and Chocobo.
I'll explain a lot more about dungeon crawling later on this page, before we get there though we have a story event coming up on Level 6 of the dungeon. Mog will find a switch and pull it which results in you being ejected from the dungeon. You'll have a cutscene during which you meet Shiroma; return to the dungeon when you are done talking to her.
Shiroma will appear again on 4F then join you as a partner on 6F. Since she is a White Mage she will occasionally heal you when your health gets into the yellow. Think of this whole first dungeon as your tutorial dungeon, learn the game and get used to how everything works before you try to defeat the boss on Level 10.
Before challenging the boss I recommend having a stock of at least 10 spells and a couple of Potions. Depending on your magic skill level you will need more or less spells to defeat him.
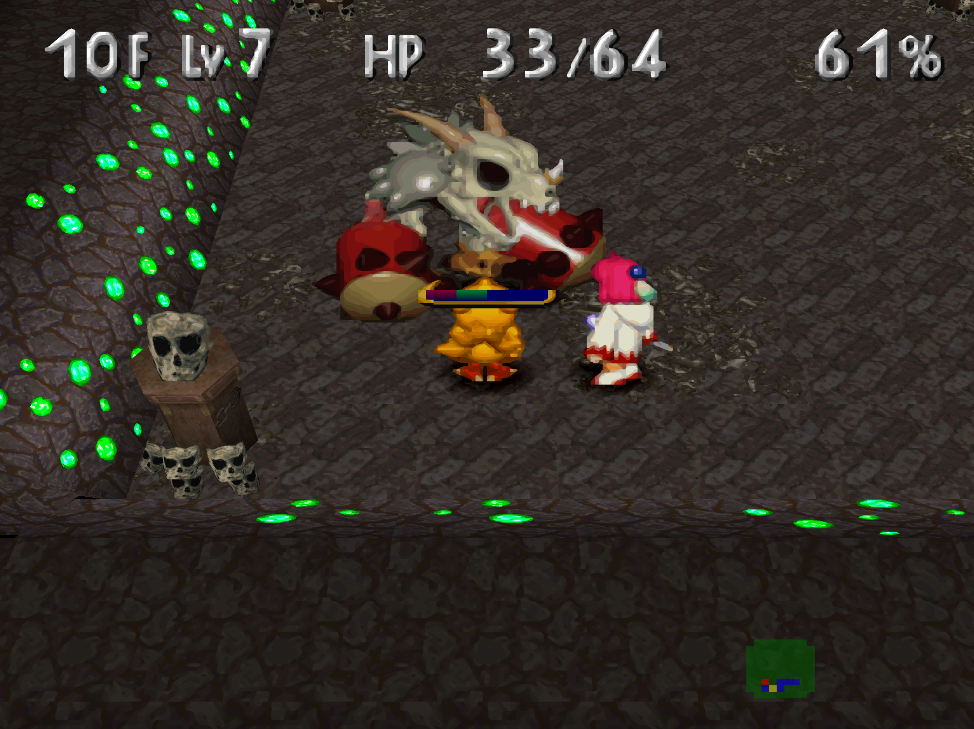
Skull Hammer is the name of the first boss and he has two phases. During the first phase you'll fight him as pictured above. Once you've dealt enough damage to him he will break into pieces and his heart will be exposed. If the heart dies you win the fight. The other parts of his body will stop you from getting to the heart, if you destroy any of them he won't merge together again. Even if he merges together again you can still take him out by doing more damage to him. You don't have to defeat the heart during the split phase.
Once you beat Skull Hammer head downstairs for another scene with Mog. When you regain control of Chocobo you'll finally have access to the Village. This is where you can store items as well as buy and sell items that you get from the dungeon. There is more to do here too but that's the gist of things.
You need to visit Mog and talk to him first then visit Chubby Chocobo and talk to him to get the tower gate open. No one in town will do normal town things yet until you come back after leaving... Right now it's all introductions and pleasantries. If you get stuck in Chubby Chocobo's shop after he opens the gate... don't forget you can run diagonally!
Now is when you can say the real meat of the game starts. We have access to a new dungeon (the Tower) and we have access to the Village. My advice is to make sure you always have a Teleporter item in your inventory before going into any dungeon. You'll want to make a couple of dungeon trips for items that we can sell for Gil or use.
Tip: Keep an eye out for Carry Tags too, they will increase your inventory size by 1. You can increase your inventory to a max size of 64. In this game inventory space = survivability.
When you reach the 3F of the Tower you're going to meet someone named Cid, from this point onward he will accompany you as your partner for this dungeon. For this reason it's recommended you push to the 3F as soon as possible to get Cid. Because even when you restart the dungeon from 1F he'll be there in the future.
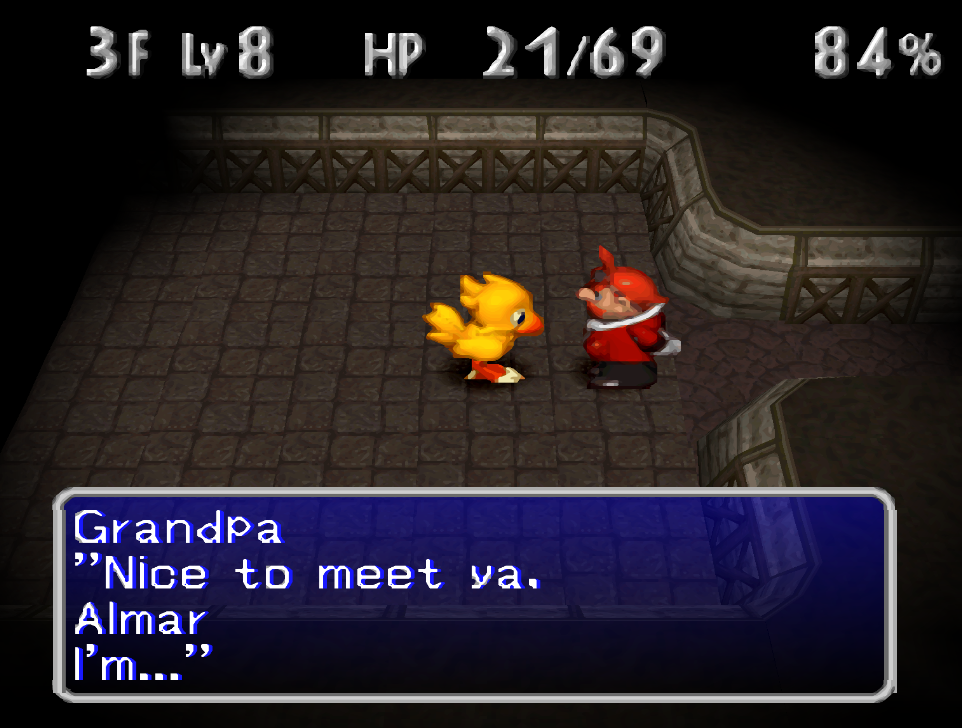
For now I recommend you stay in floors 1 - 10 and collect loot, use spells and learn the game. If you make it to floor 10 there is an exit to an outside pond area to the west. Your first time ever visiting here will trigger a scene with Bahamut. Until you learn more about the game, I would recommend you don't go past this point.
On the topic of learning more about the game, let's go over some of the core features you should know about. We already talked about spells... make sure you keep using the books you find to level up your magic skills. Normally you only want to save magic books when you know a boss fight is coming up... Otherwise I would recommend using them to defeat annoying enemies (like the Thief enemies who steal from you)... Or the enemies who unequip all your gear when they hit you.
Feathers are another big one which don't get much explanation... You can earn Feathers by completing some tasks ingame; like the Marlboro in our Village... If you use Thunder on him 7 times he'll transform into Ramuh and give you the Ramuh Feather. Events like that will reward you with Feathers but the more straight forward way to get them is to break items that are blue and +1 or higher. To make an item "blue" upgrade it at a cauldron.
How To Obtain Feathers
1. Story Events/Complete Bonus Dungeon
2. Break Claws or Saddles that have been combined (blue font) and +1 or better
When I say break the item, I mean use it in combat enough so that it breaks. With Claws you have to keep hitting enemies and with Saddles you need to be repeatedly hit. If you have a set of claws that let you dig then you can destroy walls to break them too. Don't get too attached to items because it's usually better for you to let them break. Feathers give you permanent upgrades and are definitely worth collecting.. If you wan't to make a super powerful item do it after collecting a bunch of Feathers first.
The other thing I will mention now about the Village is the Black Mage building. Inside you can find the cast of FF7 (Wedge, Biggs, Jessie) along with the Head Magician. Before we can do anything in here you need to get Jessie some essence from a monster. In order to get essence from a monster you need to defeat it with an Empty Bottle. This means lowering the monsters health into the single digits then navigating into your menu and using Kick on an Empty Bottle (assign it to the quick use so you don't have to menu dive every time).
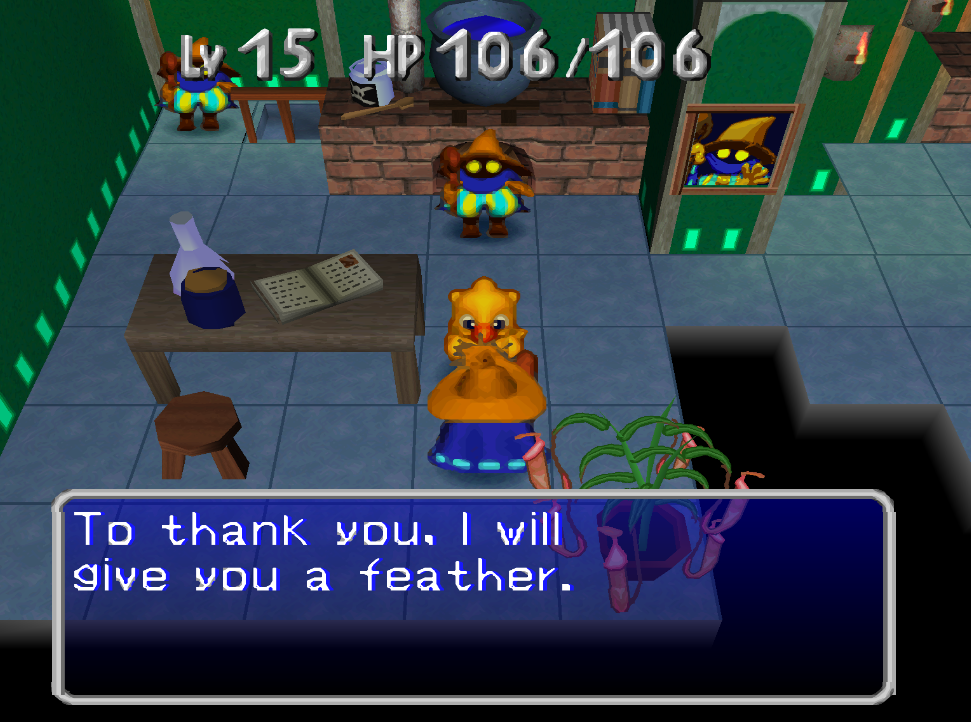
After you give Jessie an essence the Head Magician will talk to you and ask to experiment on you. Agree to this and you'll earn a Feather (pictured below). There will be more to do at the Black Mage Guild in the future as we advance through the game. Keep checking back in to see what's changed.
For now those are the useful things to do in town, don't bother giving any feathers to the ogres who want to restore the tree... It's a complete waste of feathers. You should focus on building up your equipment and using it until it breaks as well as using up your books that you find so that you level up your magic skill. Also keep an eye out for Carry Tag, it's an item which will permanently increase your inventory space by 1. You can increase your inventory up to 64 slots in total.
Speaking of Carry Tags, they're sometimes sold by the shops inside of dungeons for 10k Gil. Maybe by now you've seen one, it's typically a small room with a handful of items dropped on the ground in the middle. There will always be an NPC inside this room who acts as the 'shopkeep'. In order to buy an item you pick it up off of the ground and walk out of the door. To sell an item, you drop it on the ground and walk out of the door. None of the interactions are done with the shopkeep. Kinda strange way to do it but that's how it is.
Dungeon Shops typically sell some really good stuff, I do most of my shopping at them... Really the only thing I buy in the village at this point is the Teleport item and Potions before I go into the dungeon. I do sell a lot in the Village though, I tend to leave the dungeon fully stocked on loot then sell everything in the Village.
When you have at least 10 offensive spells and you feel that you're ready to advance the game to more difficult content you can advance the Tower Dungeon to level 15 and fight the next boss. I would advise you to be at least level 18+ before challenging the next boss... but it really depends on how many spells you have banked. You can cheese a lot in this game by spamming spells, especially if your magic is higher level.
The 14F is just a scene with Cid and his machine, Cidtank. Once that scene is finished you'll automatically visit the 15F where you'll have the next boss fight against Imp Robo Boss.
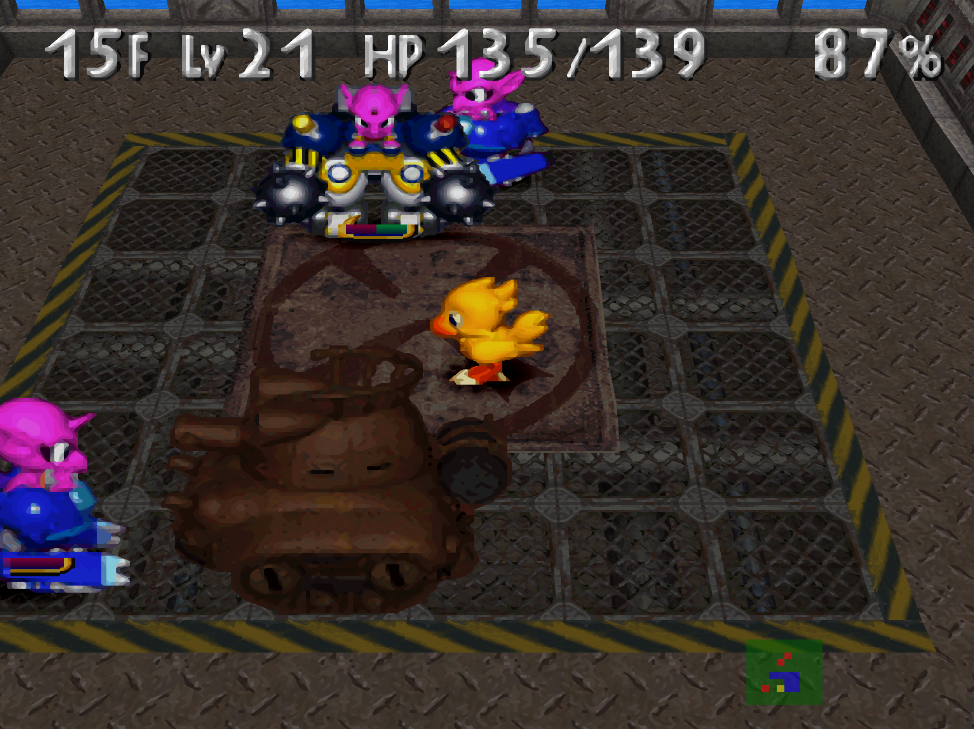
Honestly this boss is probably the easiest one in the entire game, give or take a little RNG. I did the fight 5 times for this guide and 2 of the 5 times almost nobody attacked Cid, they kept running from him after placing bombs. This gave Cid free reign to blast away at them endlessly. I barely even had to use spells.
Only one of the fights did Cidtank get beat up a lot, I had to Kick a Hi-Potion to him just to make sure he survived. When the fight is over talk with Cid for some scenes, you'll regain control of Chocobo outside of the next dungeon. Before we do that though you should return to the Village because we have some stuff to do here...
The first thing you should do is visit the Wizard Academy/Black Mage H.Q - whatever it's called. You can help Biggs make a stove for one Feather (he needs a Fire or Lightning Book) and talk with the Head Magician for another Feather. Next up visit the statue in town and tell Ben it's missing an 'Earthy Smell', he will eventually ask you for a Quake Book, give this to him and come back again later. When you come back in the future there will be a scene, you'll be given a Titan Feather as a reward.
Tip: If you didn't already take care of the Drunk Marlboro at the bar, now would be a good time. You need 7 Thunder books in total, your reward is the Ramuh Feather. This will unlock future tasks at the bar too so it's important to do.
When you're ready to continue with the story, return to the new dungeon and head inside... This is the longest dungeon yet with a total of 27 floors. You'll probably be coming and going a few times as you work your way down and build up your strength. I've been waiting for a good opportunity to give you this information and now seems like the best time since we're in a longer dungeon!
By now you've probably seen most if not all of the objects that spawn around dungeons... things like generators, levers, sealed boxes, stoves etc etc. If you're wondering what each thing does and if it's worth the resources it takes to interact with it, check out my list below to learn more.
Dungeon Objects & What They Do:
Torches: Using a Fire spell on them will reveal all of the traps. In my opinion not worth the cost.
Recycle Box: When you dispose of two items you will (sometimes) get a more useful item. Sometimes I use these instead of dropping items. They give me junk most of the time but occasionally I will get something decent like a spell book that I take.
Stove: You can combine two pieces of equipment together into something more powerful. Requires a Thunder or Fire spell to use. This is how you upgrade your equipment. Extremely important.
Generators: They work like torches, can be activated with lightning magic. I never use these, my Thunder books are more valuable.
Levers: A few random effects. Sometimes calls monsters, sometimes drops bombs, sometimes it makes the floor tiles fall, may also make a hidden passage appear. I almost always pull levers when I find them.
Springs: Fill up Empty Bottles at springs to get random potions. If you need a potion, springs aren't a bad way to get them.
Junk Shelf: Will drop various items when you inspect it. Always grab shelves.
Bookshelf: Random spells will drop from it. Like I said above, always grab shelves.
Sealed Boxes: You can only open these with magic. If you hit it with a spell watch the box's reaction to see what the correct magic type is. For example, sometimes you'll see a spark over top of the box... this lets you know to use lightning magic. Sealed boxes contain some of the most valuable items like summoning gems.
Thief Chest: Unlocked by using a Thief's Key. You can get the keys from the thief enemies. I normally vendor my keys when I go back to town and only open these chests if I have keys on me when I find the chest.
Before you challenge the next boss I strongly recommend you raise your magic skills to 10+... They don't all need to be that high but you should have your primary schools that you use most often to be 10+. Our next boss is going to be most vulnerable to Thunder and Blizzard damage so having 10 or more of each book with a skill level of +10 would make things much easier.
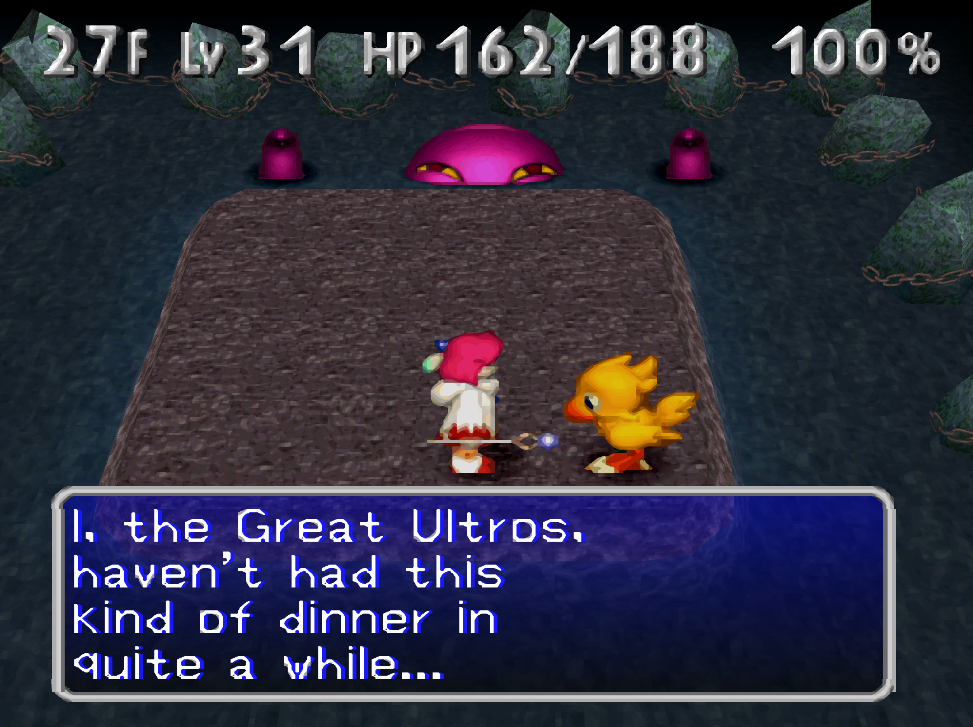
Great Ultros comes with 3 targets we can attack, two tentacles and the main body. We only have to defeat the main body to win though so I would recommend you focus all of your attacks on that. Avoid melee range with the tentacles because they will beat you up quite a bit if you don't. In total Ultros has about 1.1k HP which means it will take about 10 Thunder books in total, depending on how much you're hitting him for.
Once you've beaten Ultros head downstairs and talk with Shiroma a few times then kick the door to advance. After a few more scenes you'll find yourself back in the Village. Before we continue on to the next dungeon there are a few side activities we can complete in the village first.
Return to the bar and you'll find two Goblins having a marital spat, after hearing them the first time leave and come back for more. You'll have to sell Gobly a Ramuh Stone for 500G to advance this scene again. After visiting the next dungeon (the forest) return to the bar and speak with the Tonberry chef. He will mention needing Worm Essence from the worms in the forest to make the goblins a special dish. You can collect Worm Essence by using Kick on an Empty Bottle when an enemy is low on health. The Empty Bottle deals 4 damage and must defeat the enemy for you to claim the essence.
Aside from the bar/restaurant you should also visit the Black Mage H.Q. Talk with the Head Magician here for another Feather (I chose the Flare Feather). If you helped Biggs with the stove before you can now use it, 300Gil per combine but it means we don't have to dungeon dive looking for a stove when we need one anymore.
Jessie is also done working on her Dispel Potions, you can pay 100Gil per Potion if you'd like to. Dispel Potions will remove any Cursed Equipment from Chocobo. That's all there is to do in town for right now, when you're ready to continue to the next dungeon exit the Village and head to the entrance of the forest (just above the village on the World Map).
Note: One building I have been failing to mention is the public storage next to Mog/Bomb's house. If you don't store any items after renting a space she will keep charging you 1k every time you talk to her to rent a space... so make sure you put something in there after renting it. Doing this will also open up some dialogue that we need so make sure you do it!
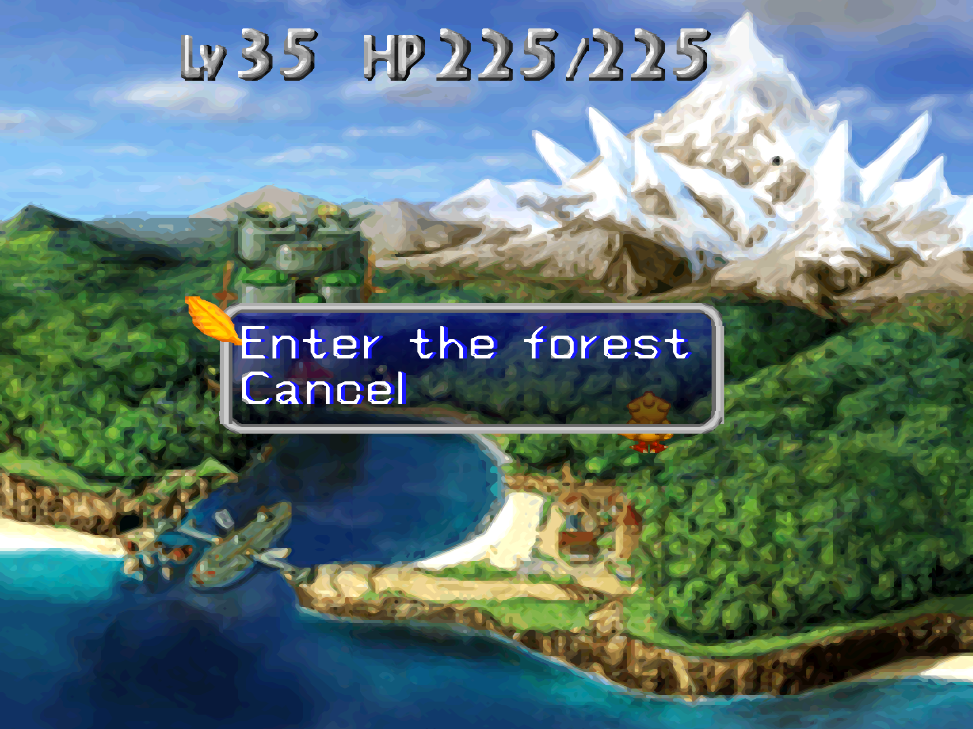
When you enter this dungeon it says it's a forest but it only stays that way for a few floors, then it will switch to a cave/mountain which continues until the end. Entering the forest will allow us to do a little bit more back at the Village too. Below are the changes back in the Village that we can make happen.
Talk with Ben in the top right portion of the village (he's now in a house with his son). There will be some basic dialogue with him (go to a dungeon then come back) and he will ask you for a Crash Stone next time. Just like before, go to a dungeon then come back to 'advance time'. Ben's wife will be back, speak with all 3 of them. Go to dungeon then return and Ben will be at the other statue in town. This is as far as I could get him for the time being.
Now that we have access to the forest dungeon you can collect Worm Essence and give it to the tonberry in the restaurant/bar too. He will use it to make the Conde Petie (FF9 reference) which is enough to please the goblins. When you go to a dungeon and return you'll find the goblins now working at the restauraunt. Go downstairs and talk with Lamy, she'll ask you for a Plant Essence. You can get these from any plant enemy, just Kick an Empty Bottle at them to kill them to collect the essence. If you give her this item in return you'll get a Dragon Essence which is a great item to use when combining armor/weapons.
About half way through this dungeon you'll have a scene with Mrs. Bomb where she clears the path ahead for you... When this happens the 'secret' path opens up in Chubby Chocobo's Shop. Basically in the top right corner of his shop you can find a set of stairs that go down to a new dungeon area of sorts.
If you have spoken with Gamedon and gotten the dialogue about her missing friend then you can do this next part... If you haven't it probably means you need to rent some storage from Gamedon first and then talk with her after going to a dungeon and coming back. This will open up the next bit of dialogue where she mentions her lost friend (we need this dialogue for the next part).
Bring two Teleport Tags with you when you enter the new dungeon area beneath the Chubby Chocobo's Shop because you'll find a hamster that roams around here. Give this hamster one of your Teleport Tags (the other is for you) and he will return to Gamedon's Storage building in town. With his friend back he'll now repair your equipment (for a price) as well.
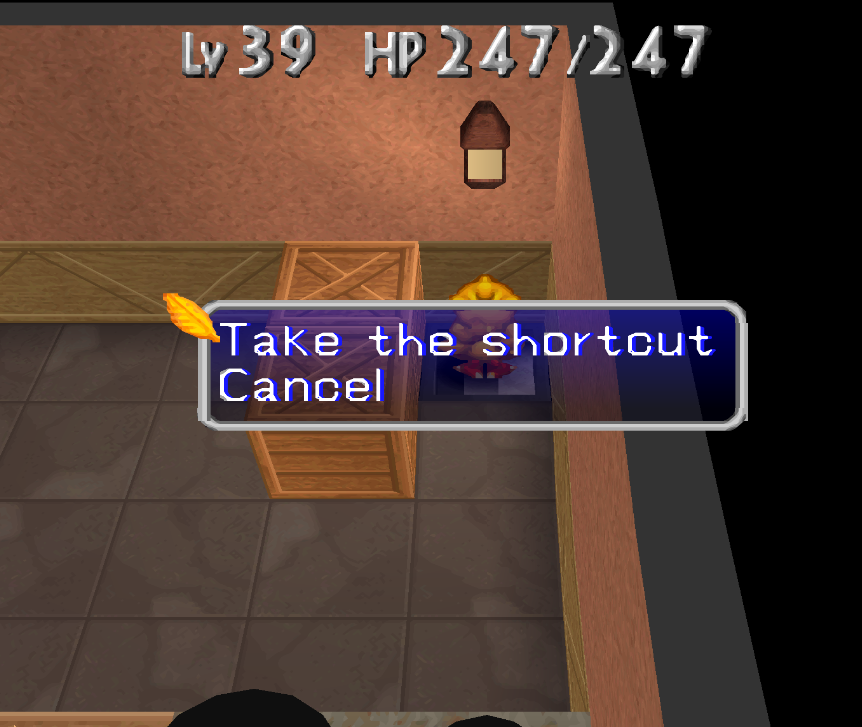
Chubby Chocobo's Shop Shortcut
This shortcut is our way of avoiding the first 10 floors of the forest/snowy mountain dungeon. It leads to a unique 1F dungeon with stairs that let you skip floors 1-9 of the forest/snow mountain dungeon. Sometimes you can find a second staircase which lets you skip more floors... I think it depends on how far you've explored in the dungeon. I was able to skip to the 17F with this shortcut.
When you're ready to make a run for the final boss of this dungeon you'll want to stock up on Potions from the shop and then head into the dungeon. I strongly encourage you to bring 20+ books of magic as well. The boss has around 1500HP so you should have enough books to cover that.. plus some books incase you run into trouble on the way there.
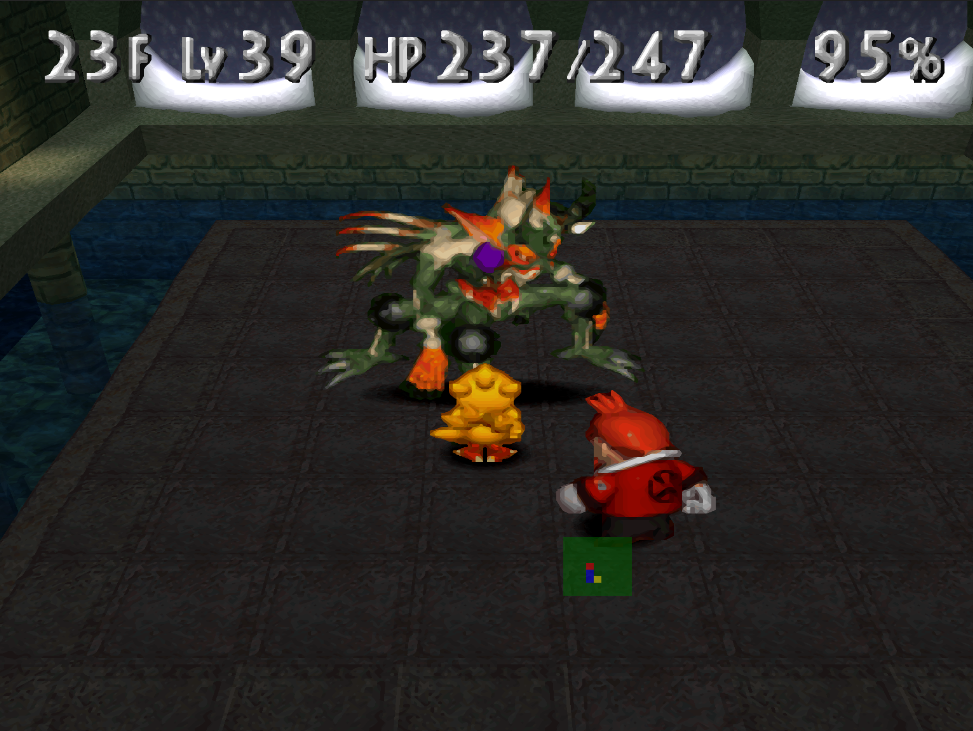
In my opinion Glass Goth is the first boss of the game that is actually a bit difficult. Drain doesn't do anything against him and if all you have is Potions to heal yourself you may struggle to out pace his damage. My advice is to spam fire spells on him until he dies. I was able to stand in melee against him for 6 or 7 books then I backed out and let Cid take hits while I finished him off. Another good choice is to use your Spell Books, if you took the Flare Feather from earlier that spell does about the same amount as a fire spell to him.
Talk to Cid when the fight is done for a scene with Bahamut and then Shiroma. When you regain control of Chocobo you'll be back inside of the Village. There isn't much to do here so visit the shop and stock up on Hi-Potion (we can finally buy them) and set out for Cid's Tower.
Cid's Tower is a repeat of the last time we were here. It looks the same and has 15F in total just like before, it even has the same final boss. Of course you should expect all of the monsters to be higher level (including the boss) but at least you know the strategy and how everything works. Imp Robo Boss is most vulnerable to lightning attacks so hit him with those books and any Ramuh stones you may have.
Honestly the bosses shouldn't be a challenge to you at all anymore... Just bring enough books to beat them and it's easy mode. After Imp Robo Boss has been defeated talk with Cid for another cinematic. When you regain control of Chocobo do some shopping in town and then exit and head north to the forest. In order to reach the crashed ship we need to first go through the forest to get there.
This dungeon is the final mandatory dungeon of the game, there's one Bonus Dungeon that opens up after we finish the main story... but this one is it for the main story. It's 26 floors in total with a few of the floors being dedicated to story events with no monsters. Once you reach floor 10 you can also use the shortcut in the Chubby Chocobo's shop to quickly return to the 10th floor.
Tips & Tricks For Easily Beating Final Dungeon
1. Carry Tags are probably the biggest upgrades available to you since they allow you to carry more stuff. Every time I do a dungeon crawl I load up on Hi-Potions so the more inventory space the better!
2. Summoning Stones are a great help on tougher fights... They'll make a big difference when fighting a boss. Each Summoning Stone does about 500 points of damage, some of them (like Unicorn) can be used as a full heal too.
3. Armor/Weapons. I recommend you pick a good weapon/piece of armor and stash it in your storage until you're ready to make a run for the final boss. Use Polish Cards on this armor and when you're upgrading it use Essences made from Kicking Empty Bottles at monsters. A good armor/weapon will help a lot when getting through the final floors.
4. Spell Books. Normally I stock up on these and make sure I have at least 10 of each type before I do the final push through to the boss. Drain is very important for healing yourself once you run out of Potions. I'll even go so far as to buy Potions from Chubby Chocobo and use the Recycling Bin inside of dungeons to generate more books.
In my opinion the final dungeon is pretty straight forward up until the 18F and above. Here is where you'll start to encounter Vampire enemies which can decrease your level, this can end up being pretty annoying to deal with... Luckily hitting the Vampire will interrupt the spell and cause it to fly away... Use your AoE book spells or kick a rock at them to hit them from a distance.
From floor 18 to 26 it's a bit of a slog and I had to leave and come back 4 times in total to get good enough stair placements to make it to the 26F. You get a new set of enemies starting on the 22F, from this point on you'll probably be spending a lot of spell books just to clear each floor and find the stairs.
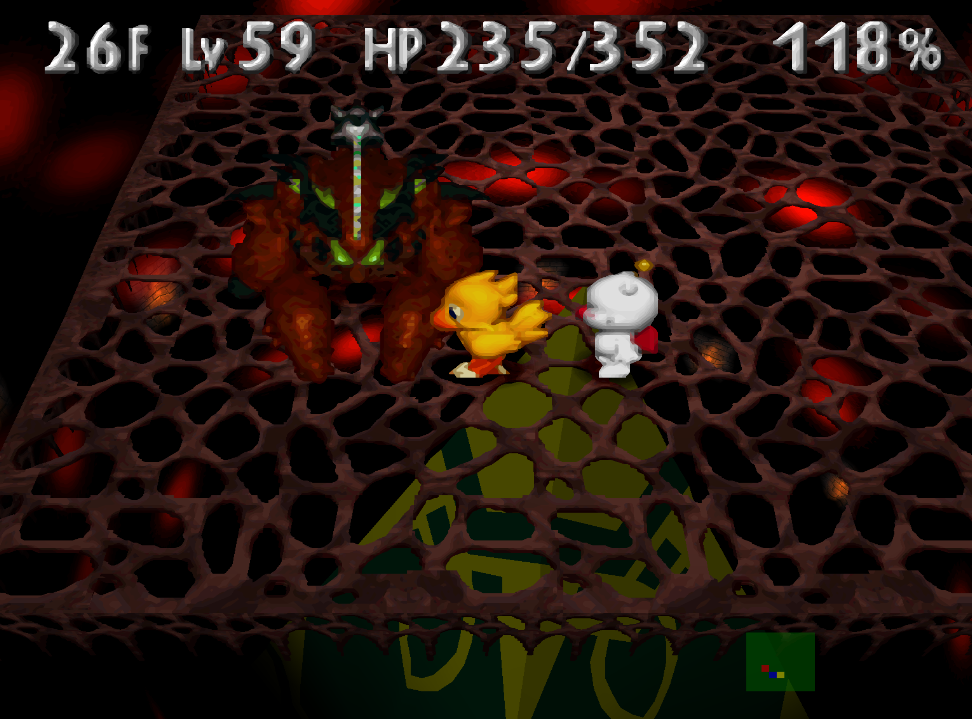
Depending on how prepared you are the final boss will either be easy or challenging... You can't Drain the boss to recover HP so there's that, the best way to recover health during this fight is by using the Unicorn Summoning Stone. I was able to cheese this entire fight with about 8 Summoning Stones, one of them was Unicorn. I also had a few MegaSpell books that I used too. The Holy spell did almost 400 damage to the boss each time I used it.
There are two phases to this boss fight, during the first phase he has about 2200 HP in total, he'll heal and buff up for phase 2. During the second phase he'll have 4000 HP in total... So save your strongest nukes for round 2 if you need to!
Like I have said previously in the guide, every boss in this game is easy with the right amount of preparation. I had an extra 40+ Spell Books that I never used and a solid 10 Drain Books I saved just for this fight (which weren't even effective on the boss). All in all I probably grinded dungeons for 4hrs or more collecting books that I didn't even need to use.
You'll have a few scenes after beating this boss after which the credits will roll. You'll talk to Chip briefly at the end (pictured below) who will tell you about the Bonus Dungeons and a second ending.
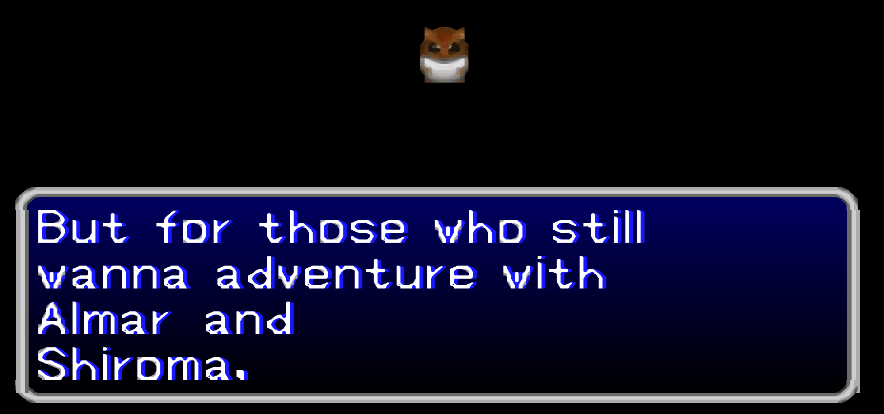
Basically, you can do every dungeon again if you'd like and beat all of the bosses over again. Each time you enter a dungeon you'll start over from level 1 with no items.. it's actually pretty challenging because you can't rely on repetition to stock up like I have been recommending you do. This guide won't cover the bonus dungeon part of the game because all the dungeons are randomly generated and not much can be said about it to help you. All of the dungeon exploring tips I gave above.