Adventurer From Another World - Cauthess Rest Area

First Available: Chapter 4
Other Requirements: Complete "The Hexatheon's Blessing: Touch the Runestone"
Location: Cauthess Rest Area
Rewards: 2,000 EXP & Unique Attire, Items and Summon
The Adventurer From Another World quest was added in during patch 1.27 in December 2018 and is a collaboration quest between FF XIV and FFXV. This quest much like Close Encounter of the Terra Kind appear as purple in your quest log.
For this quest you'll have to approach the lady being sat on by a giant Chocobo in the Warehouse at the Cauthess Rest Area to update the quest. When you try to hand the Chocobo your regular old Gysahl Greens he'll refuse and the lady he's sitting on will inform you that he is a rather picky eater.
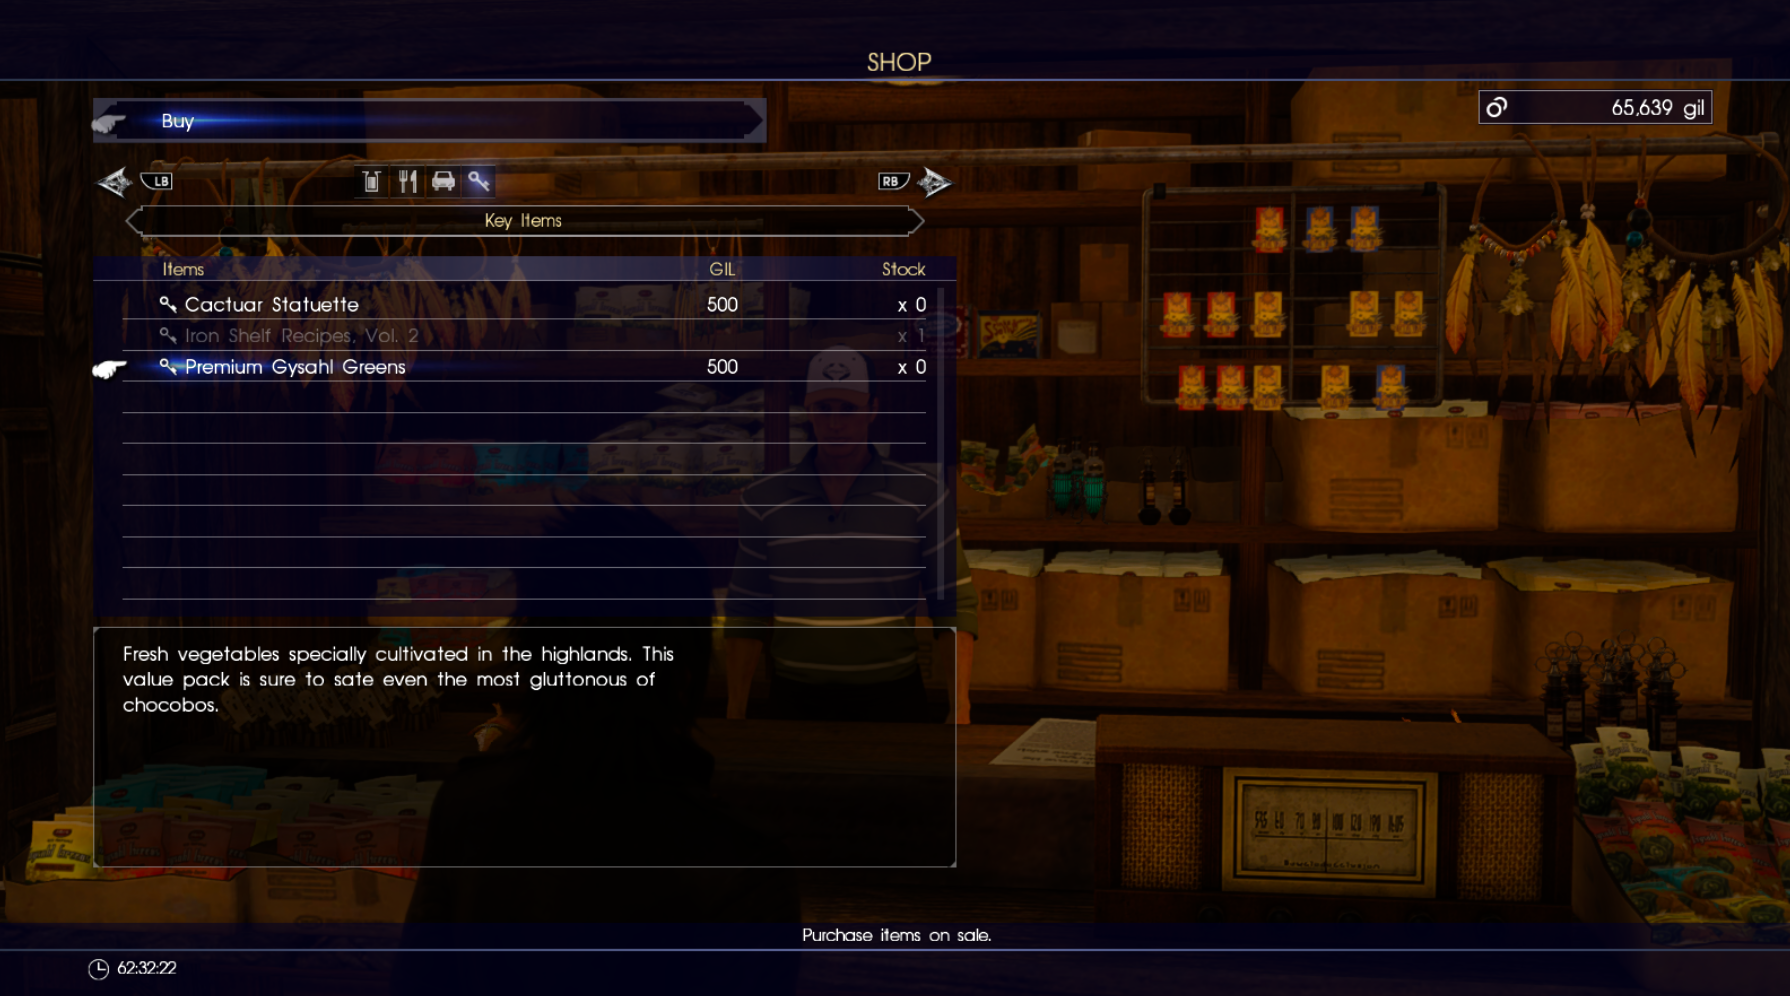
The quest will update and send you to Wiz's Chocobo Post to purchase Premium Gysahl Greens from the shop here. Once you purchase them the quest will update yet again, sending you back to the lady trapped under the Fat Chocobo.
You'll have another scene after returning to the warehouse with the Fat Chocobo that will update your quest as well. Our next stop is Perpetouss Keep to the southwest of our current location. Tip: If you've never searched the warehouse that the Fat Chocobo is in for treasures - do so before leaving! There are quite a few scattered throughout the area.
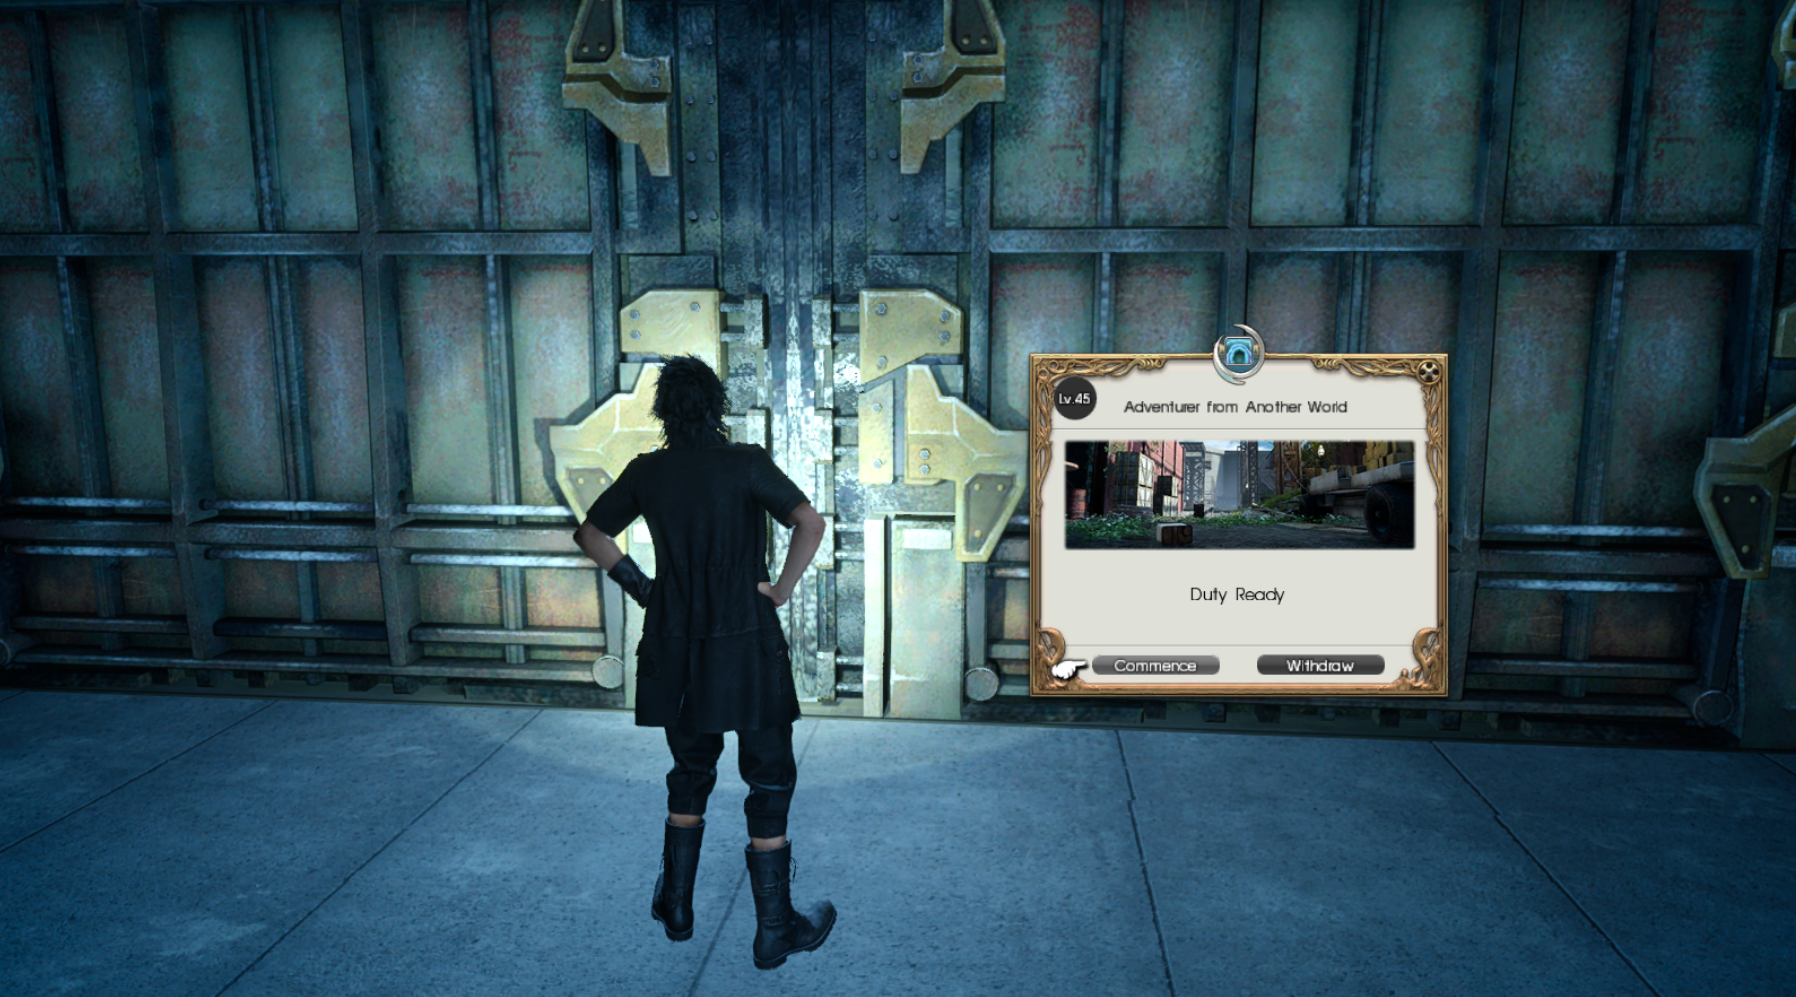
Use the Regalia to travel quickly to the next quest marker or a Chocobo. When you arrive at the entrance to Perpetouss Keep you'll be greeted with a screen similar to what you see in Final Fantasy XIV, as shown in the screen shot below. Y'jhimei will give you a run down of the quest before you enter the Fortress and if it's currently night time you'll be given the option to wait until morning before entering (since this quest can only be done during the day).
Inside of the Fortress the quest is rather straight forward. For the first part of it each location you have to go to is marked precisely on your mini map and map. I'd recommend doing a little bit of exploring while you're here since there are many treasures scattered throughout for you to find.
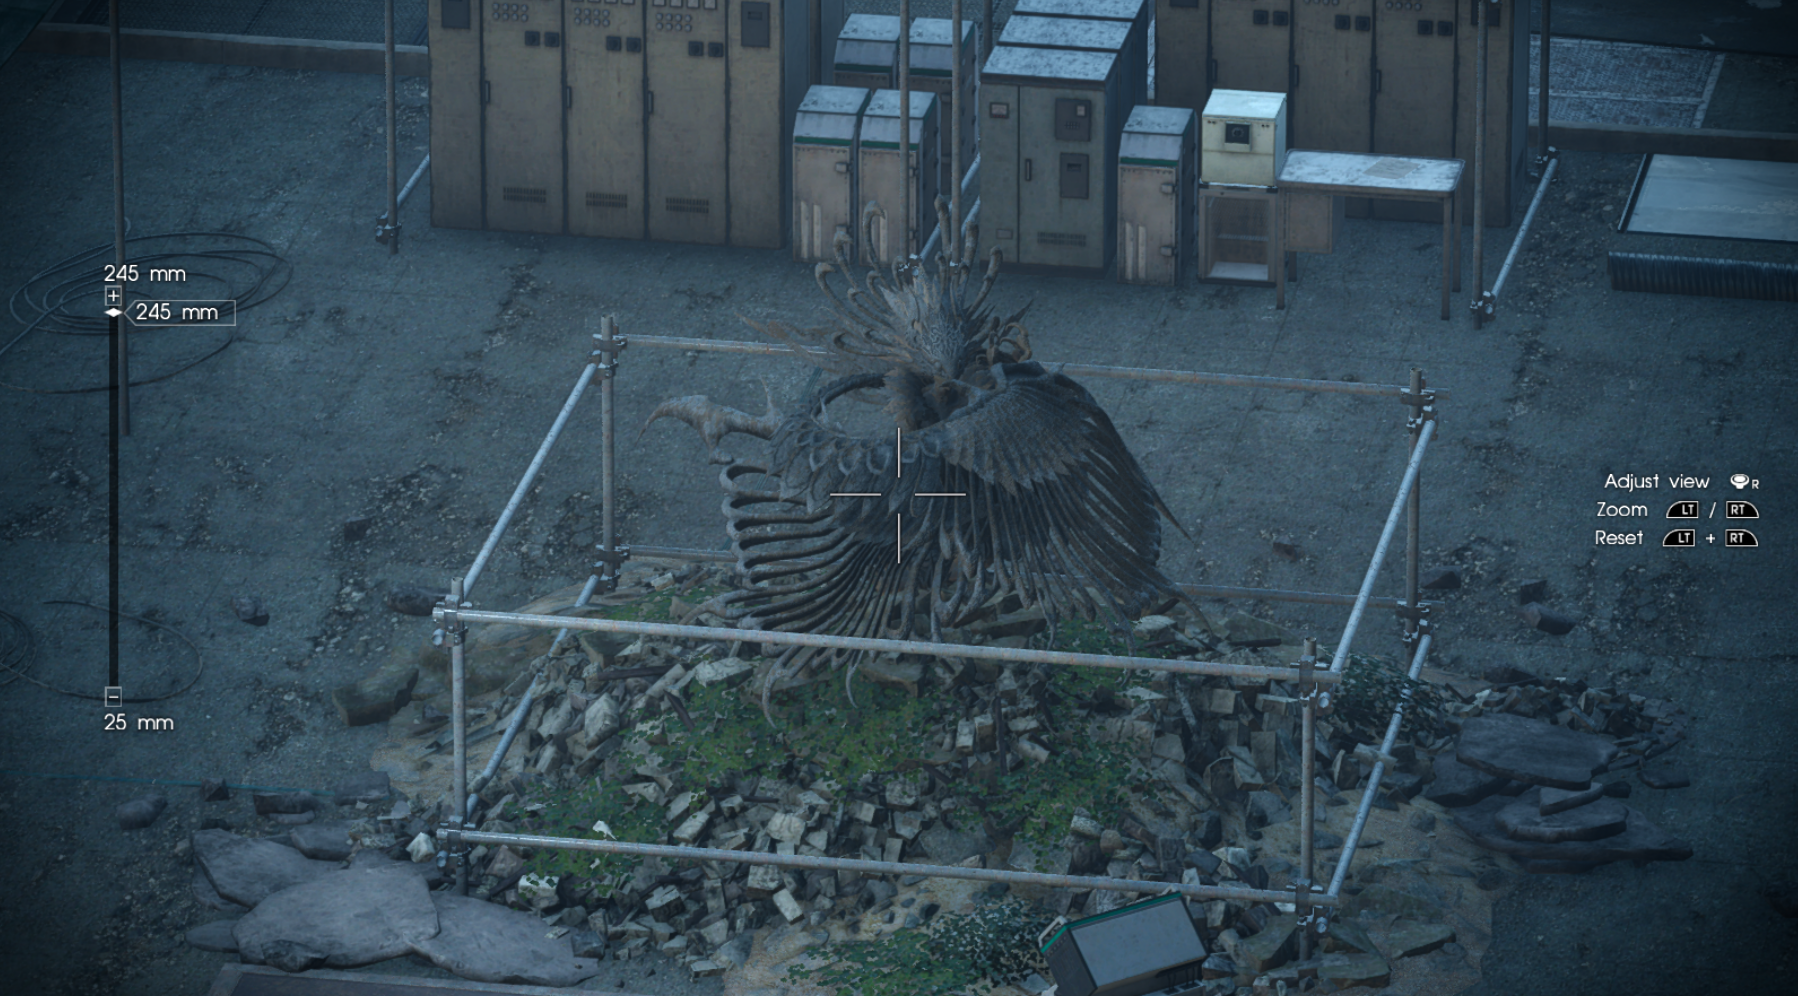
When you reach Y'jhimei she'll give you a pair of Binoculars and tell you to look at three different locations, the suspicious statue, teleporter and the summoning ritual in the center of the Fortress. Use my screen shots below if you need help locating any of these three things, I have provided additional guidance below with each screen shot as well.
Look to the left and down from where Y'jhimei is to find the statue.
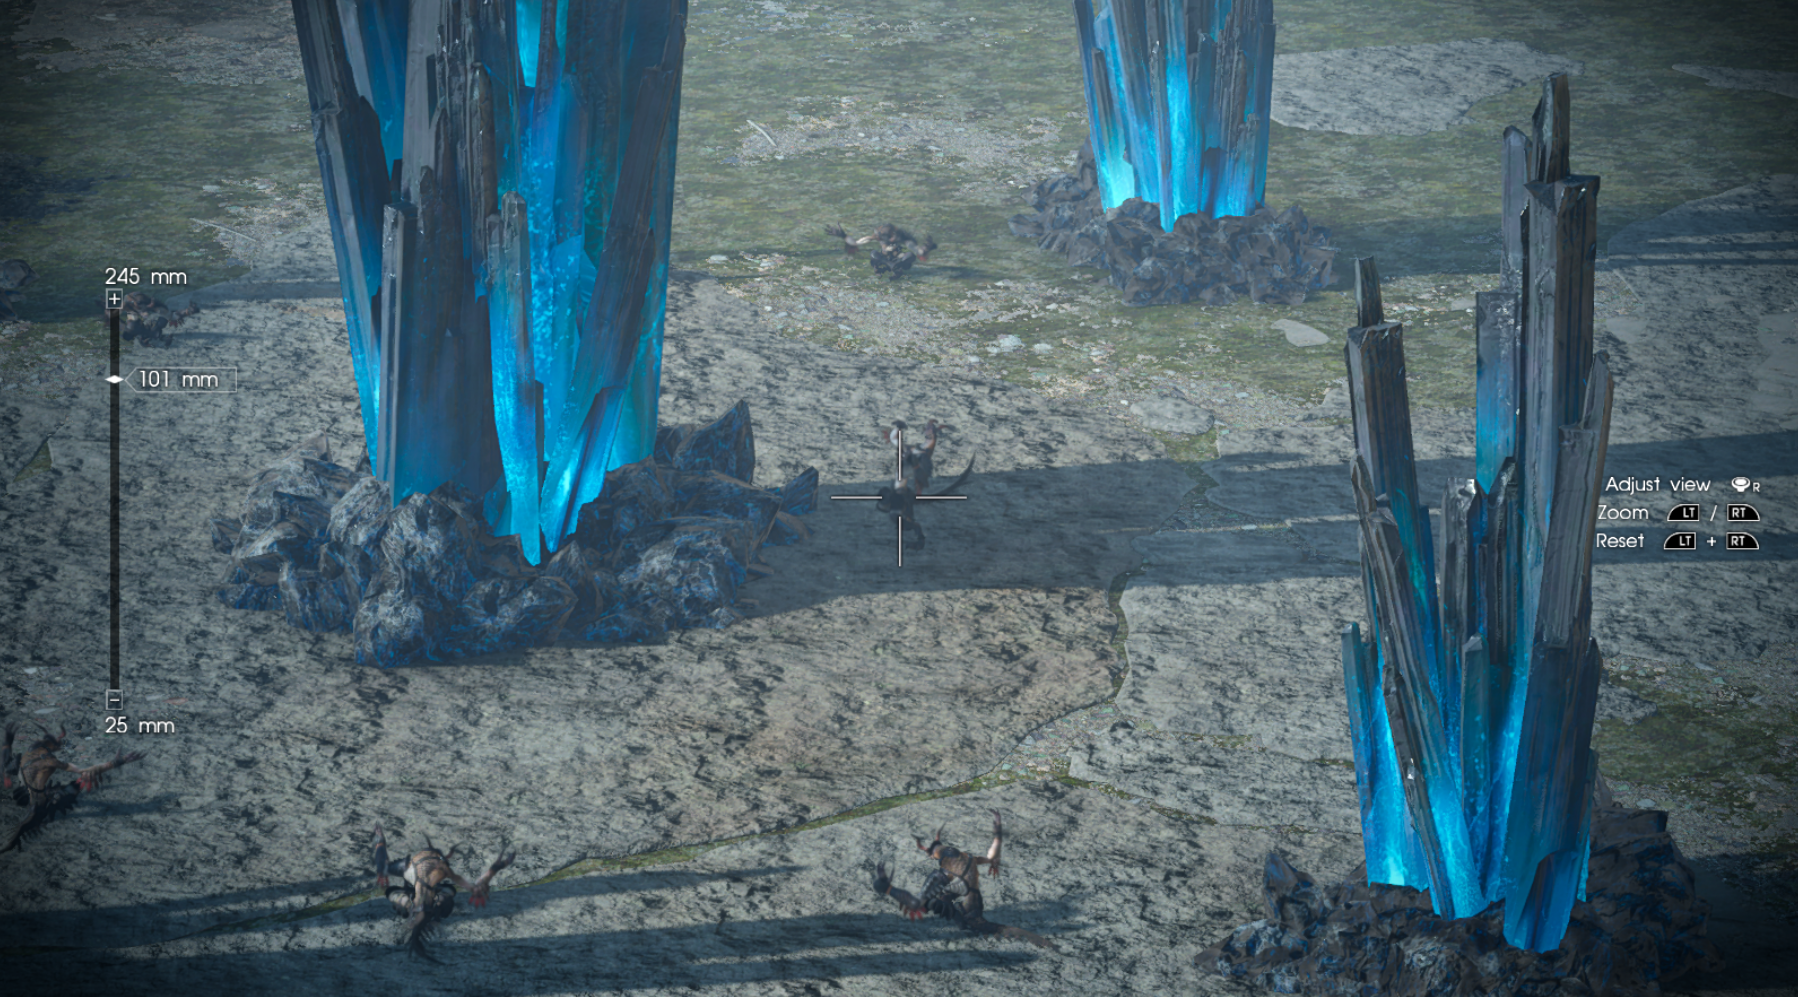
Look at the Ixal on the right hand side of the central crystal for this update.
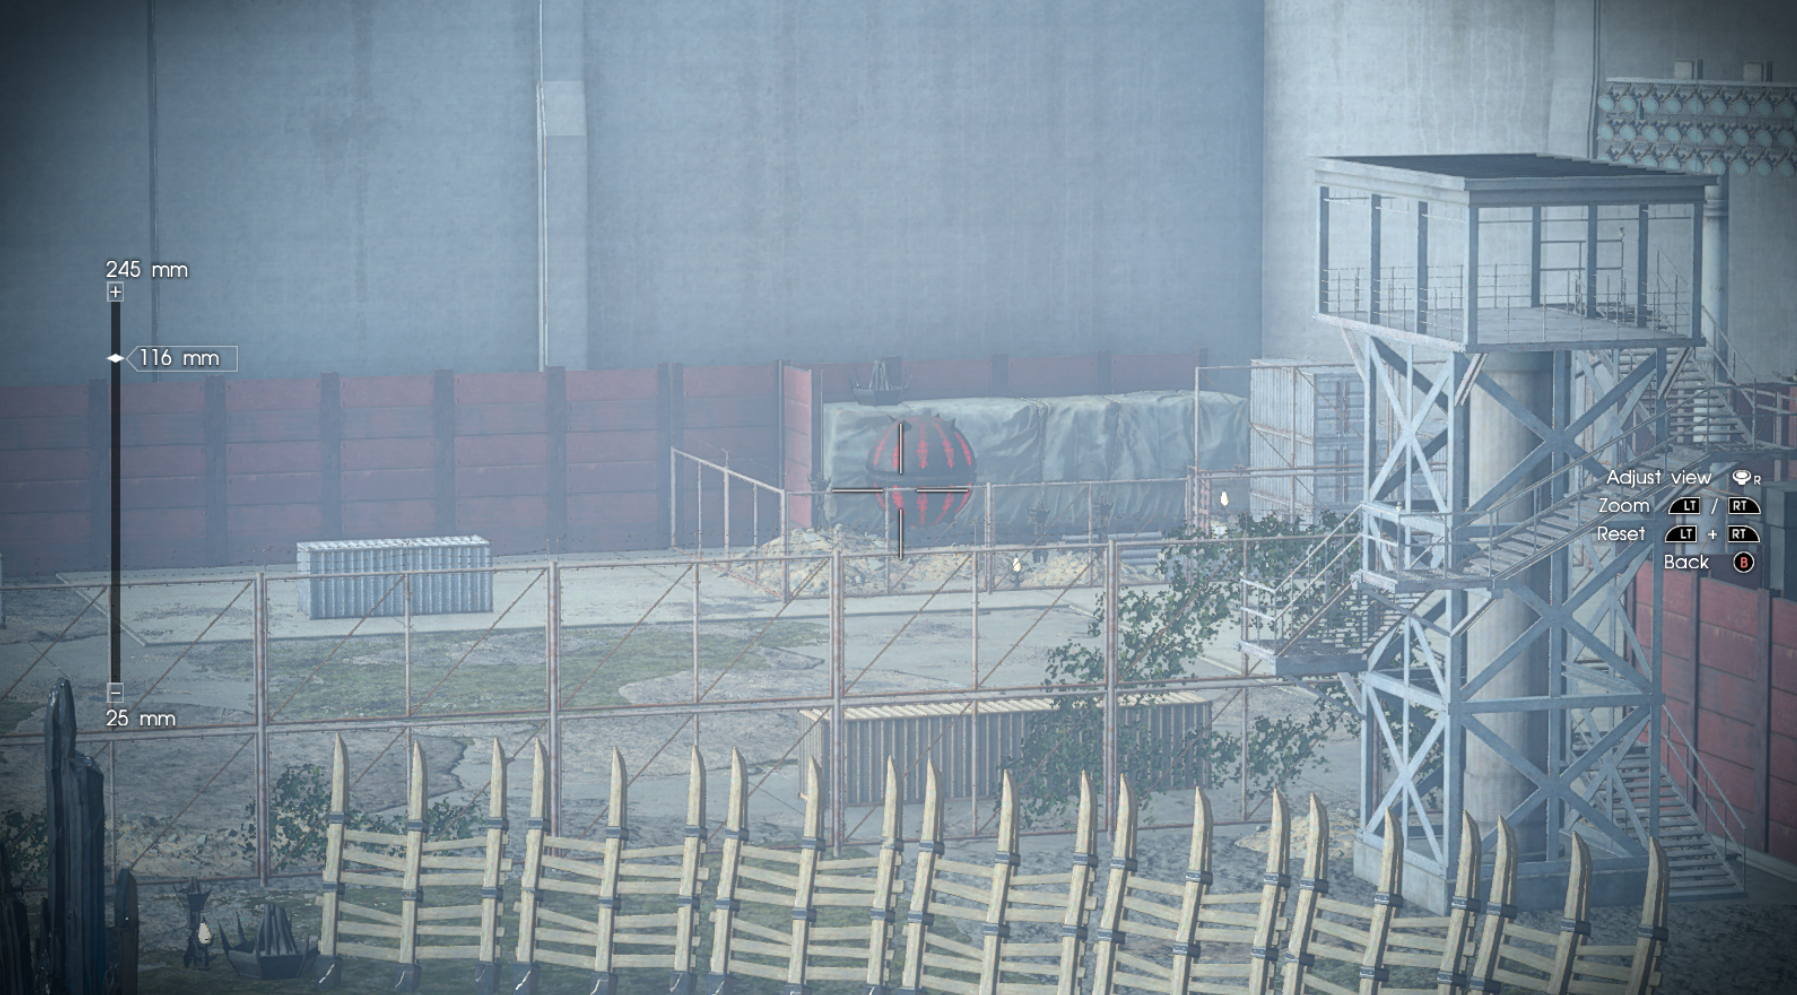
Look in the back-right of the compound to find the Teleporter shown above.
Once you've scouted all three locations you'll regroup with your team and decide to investigate them! Y'jhimei will help you out with the rest of the quest, she is a White Mage and will occasionally toss you and your group heals. The next few parts of the quest are pretty straight forward, follow the quest markers around the entire Fortress and defeat all of the enemies that are thrown at you.
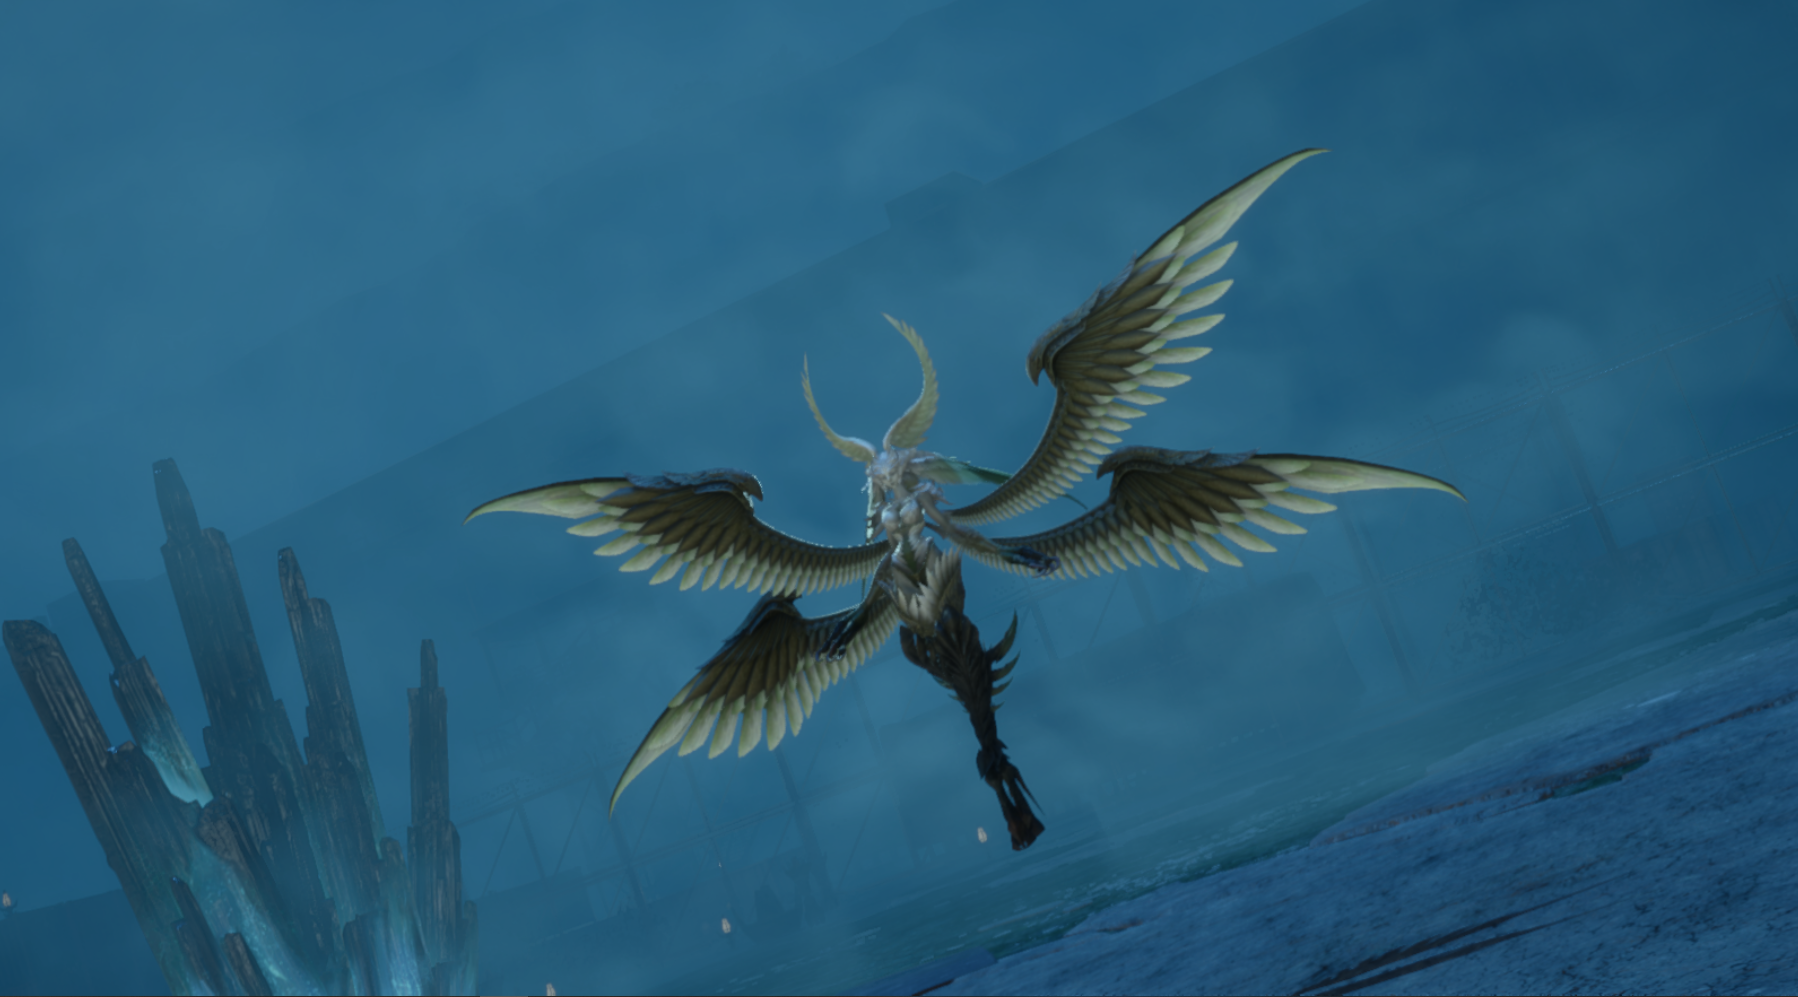
Don't forget to search every area for treasures! There is a ton of loot for you to find scattered throughout this entire area - most of which is consumables. When you finally reach the center of the Fortress you'll begin the final part of the quest and the boss battle of the area - Garuda!
For this boss battle you don't actually need to defeat Garuda - I am actually not even sure you can right now. All you have to do is survive long enough for Garuda to destroy all four of the crystals in the Fortress to "win" the encounter. Technically after all four crystals are destroyed the fight will continue, but you can win instantly at any time by holding down the Summon button and Summoning a "God" of your own!