
Final Fantasy 1 Walkthrough - Chapter 7
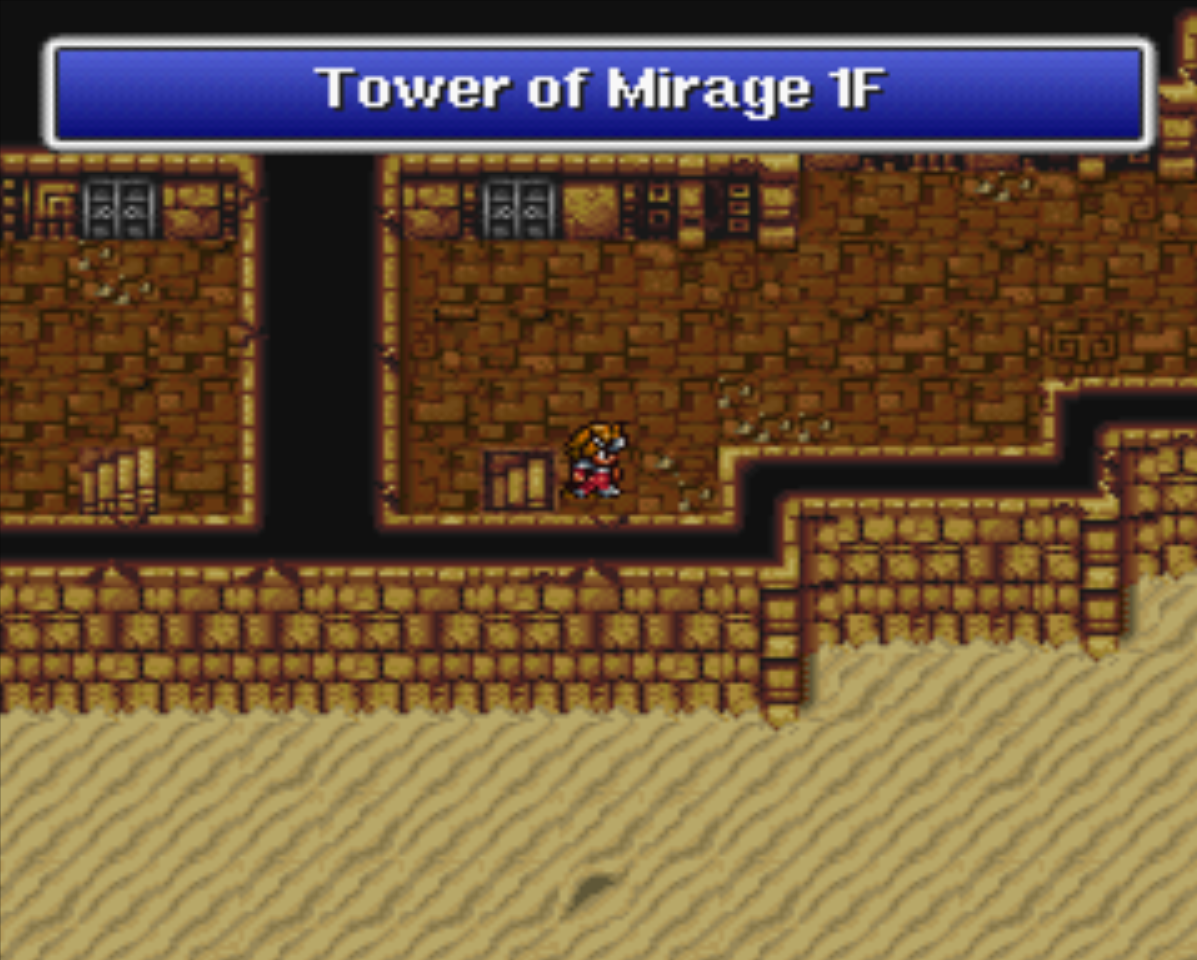
Before you come to this dungeon, make sure you prepare yourself by purchasing at least 20 Gold Needles, 40 Antidotes and one or two Cottages to save us some trips to town in the future. Navigating to the top of this tower is a piece of cake, 1F to the second floor all you have to do is run a few feet to get there.
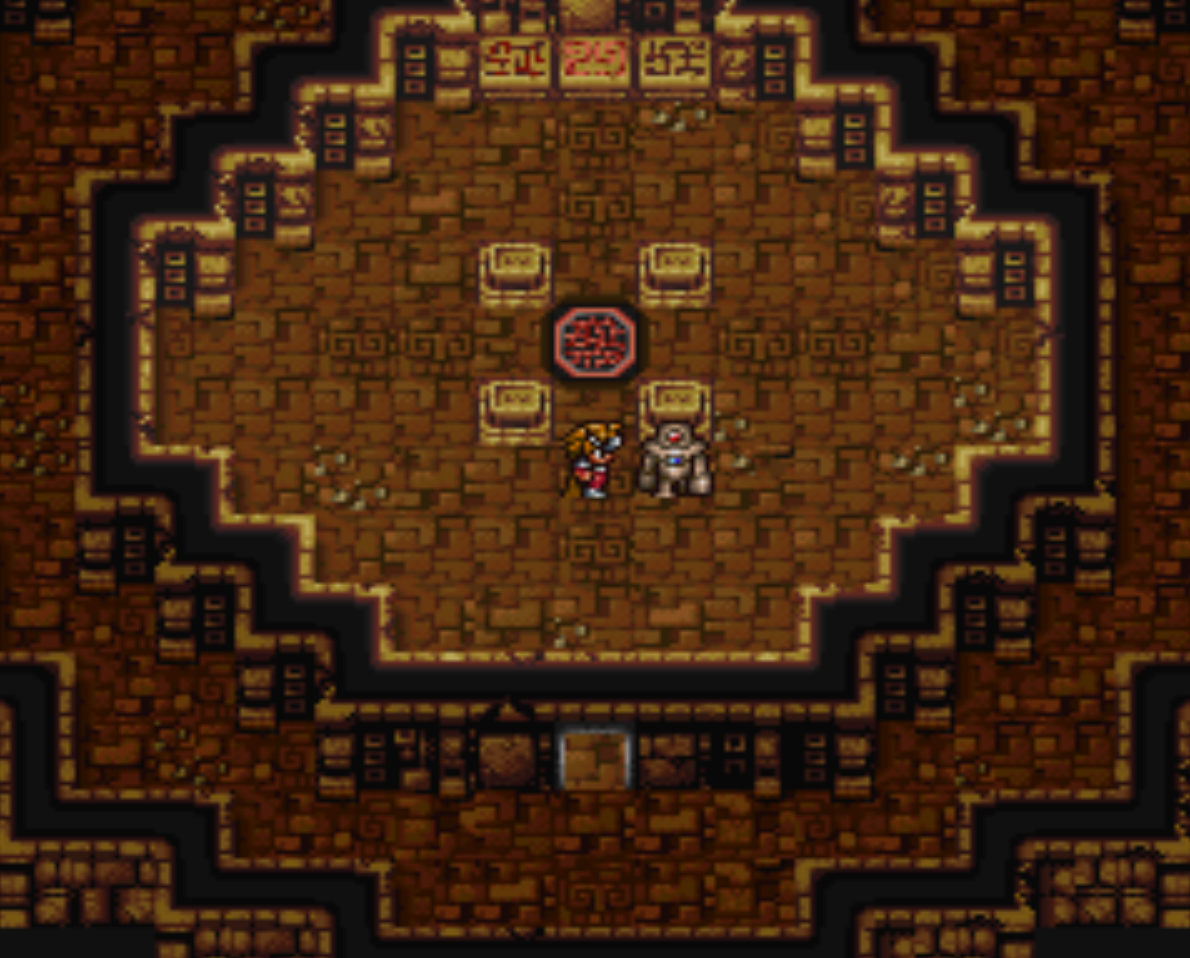
2F to the Teleport Pad is a little less straight forward but still not that difficult. You only have to go out of your way if you want the Treasure Chests that are in the central portion of the tower on each floor. As per usual it's recommended you go into the dungeon and grab all the loot then leave and rest up only to return and finish the dungeon the second time.
Tower of Mirage Treasure Chests 1F: Healing Helm, Vorpal Sword, Aegis Shield, Tent and 24960 Gil
Tower of Mirage Treasure Chests 2F: Thor's Hammer, Cottage, Dragon Mail, Sunblade, 58,985 Gil
On the third floor of the Tower of Mirage you'll find the Teleport Pad which can only be accessed if you have the Warp Cube which I told you to get earlier in Chapter 6. Assuming you have the Warp Cube, step on the Teleporter to be taken to the Flying Fortress.
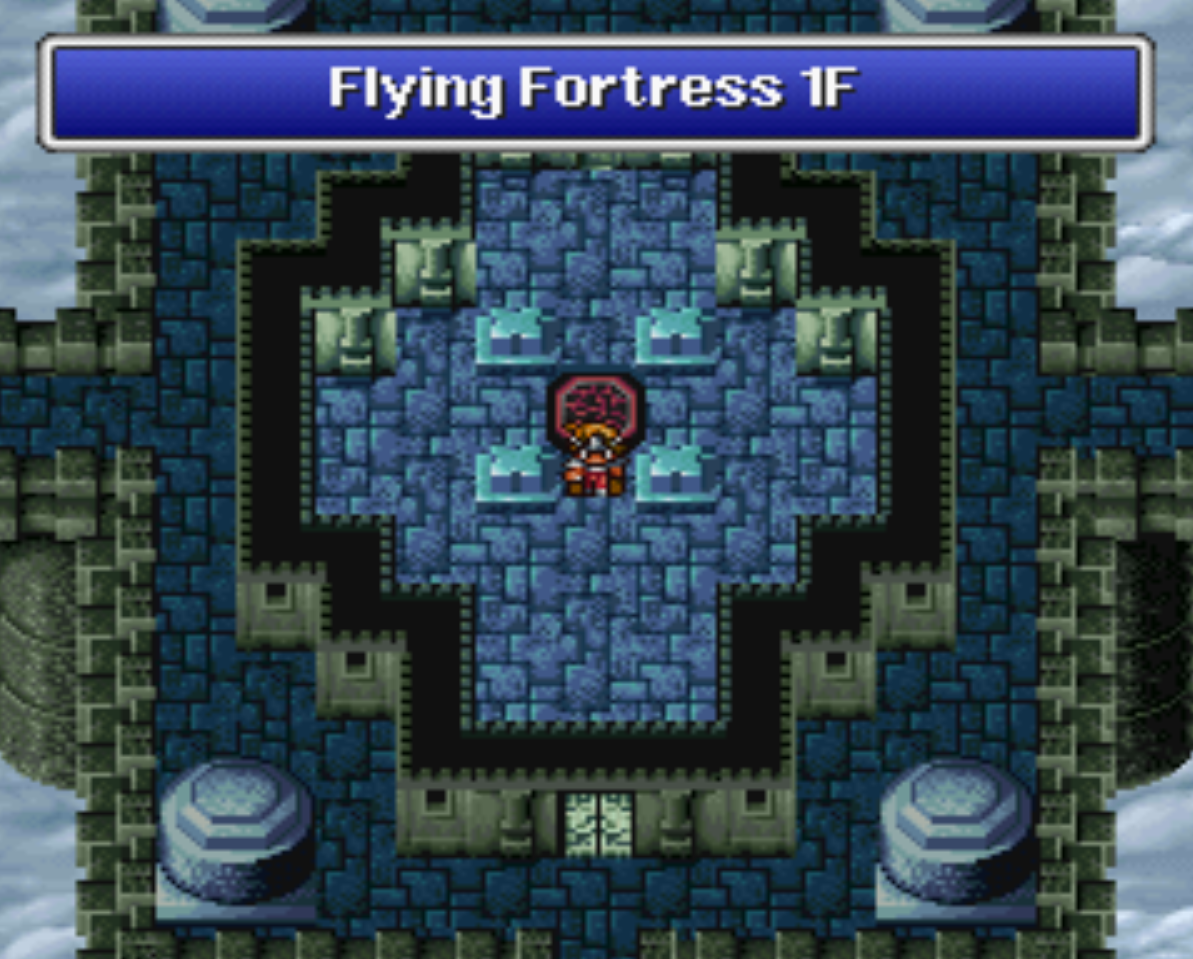
The Flying Fortress is the second to last dungeon in the game. It's also the dungeon with the hardest enemy in the entire game, Warmech. But he only spawns on the same floor as Tiamat so all in all not too much to worry about. For the first floor of the Flying Fortress, go North to proceed to Floor 2. Every other direction you'll find Treasure Chests.
Flying Fortress 1F Treasure Chests: Venom Blade, Potion, 21950 Gil, Protect Ring, Healing Helm, 11900 Gil
Second floor in The Flying Fortress is split into 8 different paths. The southern most path takes you to floor 3 while the northern most path will take you back to floor 1. Every other direction has Treasure Chests. Of course, I recommend going each direction and grabbing every Treasure Chest you can.
On the second floor the most important item for you to grab is the Adamantite which is a little crystal in the southwestern room. It's used to craft the second best sword in the game when you give it to the Smith in Mt. Duergar.
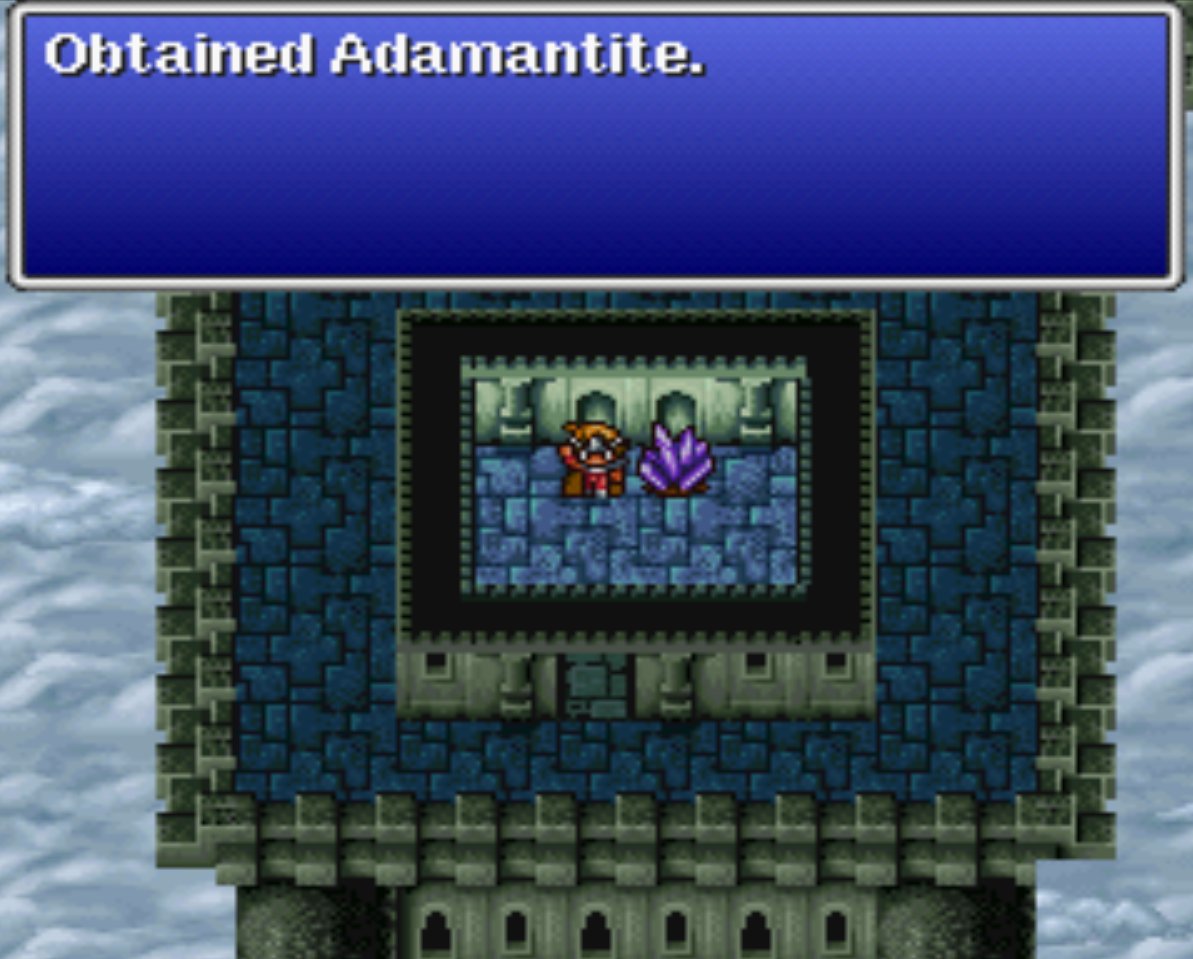
Flying Fortress 2F Treasure Chests: Diamond Gloves, Diamond Shield, Ribbon, Black Robe, White Robe, Cottage, Mythril Helm, Adamantite*
Flying Fortress 3F Treasure Chests: Protect Ring, Potion, 14450 Gil, Gold Needle, Sasuke, 7550 Gil, Gold Needle, Shirt, 24035 Gil and Protect Cloak
As for the Flying Fortress 4F, things can get a bit confusing since the area goes on and on without many clues as to where you are. There's a really good map on Gamefaq which you can find by following the link; incase they ever take that picture down or if you don't feel like clicking on it... From the Flying Fortress 4F portal, you go down twice and to the right twice. In other words, the portal to the Flying Fortress 5F is southeast from where you the Flying Fortress 3F portal is at.
Once you arrive on the Flying Fortress 5F, Tiamat is just ahead. Much like every other boss battle you'll want to cast any available buffs you have on your team. For Tiamat I recommend NulBolt since he uses Bolt to damage your entire party as well as Shld2 since his melee attacks can be pretty hard hitting. Tiamat is pretty resistant to Magical attacks so I'd recommend having your Black Mage use Haste/Steel on whomever they can rather than attack. All in all, Tiamat isn't too difficult.

After beating Tiamat, collect the Wind Crystal and leave the dungeon via the portal. As aforementioned it's time to head to Mt. Duergar which is where we'll have the Adamantite forged into the Excalibur. The smith that you need to talk to is in the northern portion of Mt. Duergar. If you forget where Mt. Duergar is, it's just a tad east of Melmond.
Once you've gotten the Excalibur in hand it's time to head to the final dungeon of the game, which is actually a place we've already been! Remember one of our very first dungeons, Temple of Chaos? That's where we're heading! Inside of this dungeon, where we fought the first boss Garland you'll be able to use the power of all four crystals and go back in time.
The dungeon you find yourself in is a giant dungeon with multiple floors and a few puzzles for you to figure out. There's some, but not much, treasure in this dungeon and my guide below covers all of it.
Temple of Chaos 1F Staircase down to 2F: In the southeastern most point of the room.
Temple of Chaos 2F Staircase down to 3F: Staircase is immediately to the right of where you come up.
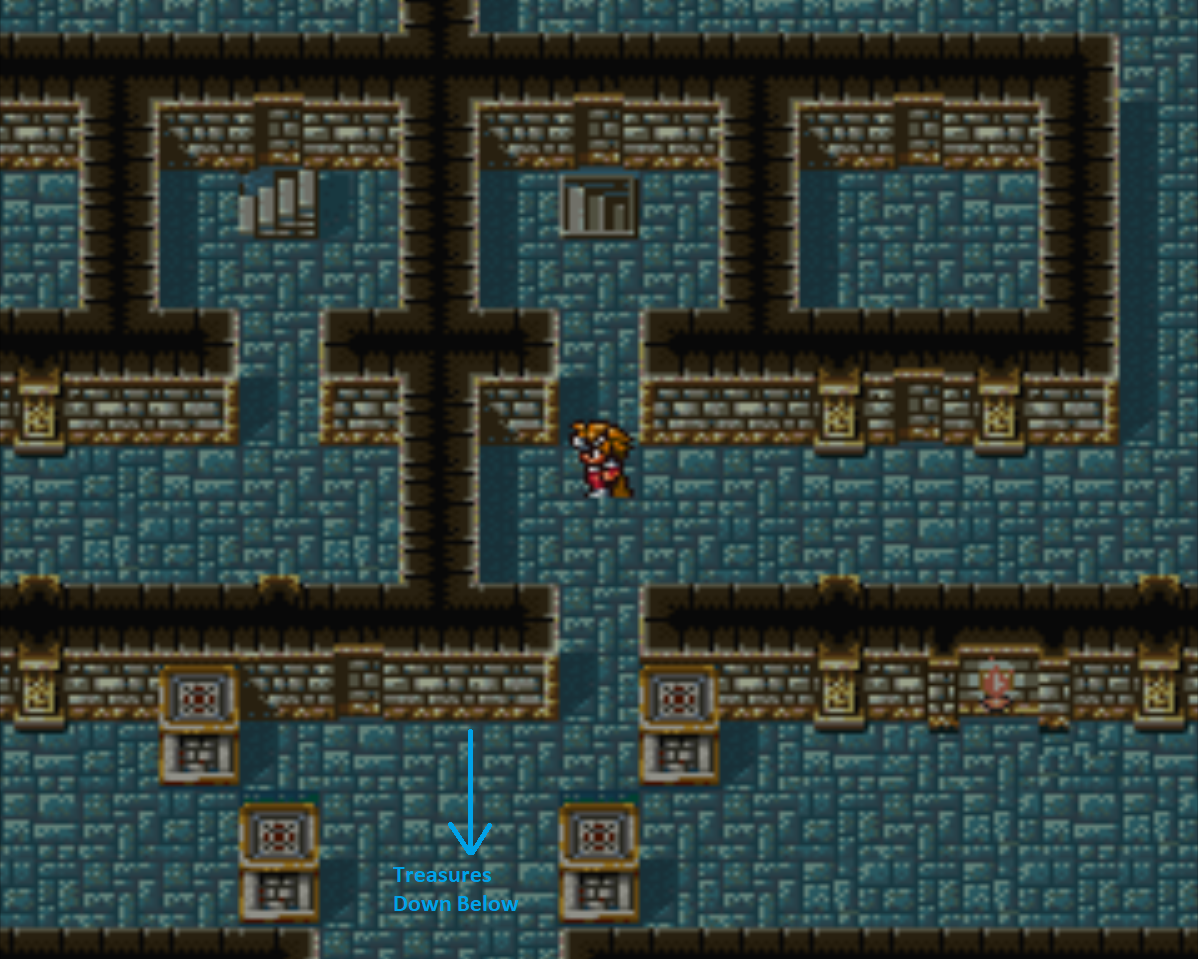
Temple of Chaos 3F Ladder up to 2F: In the southern most central portion of the area there'll be a door leading to a room.
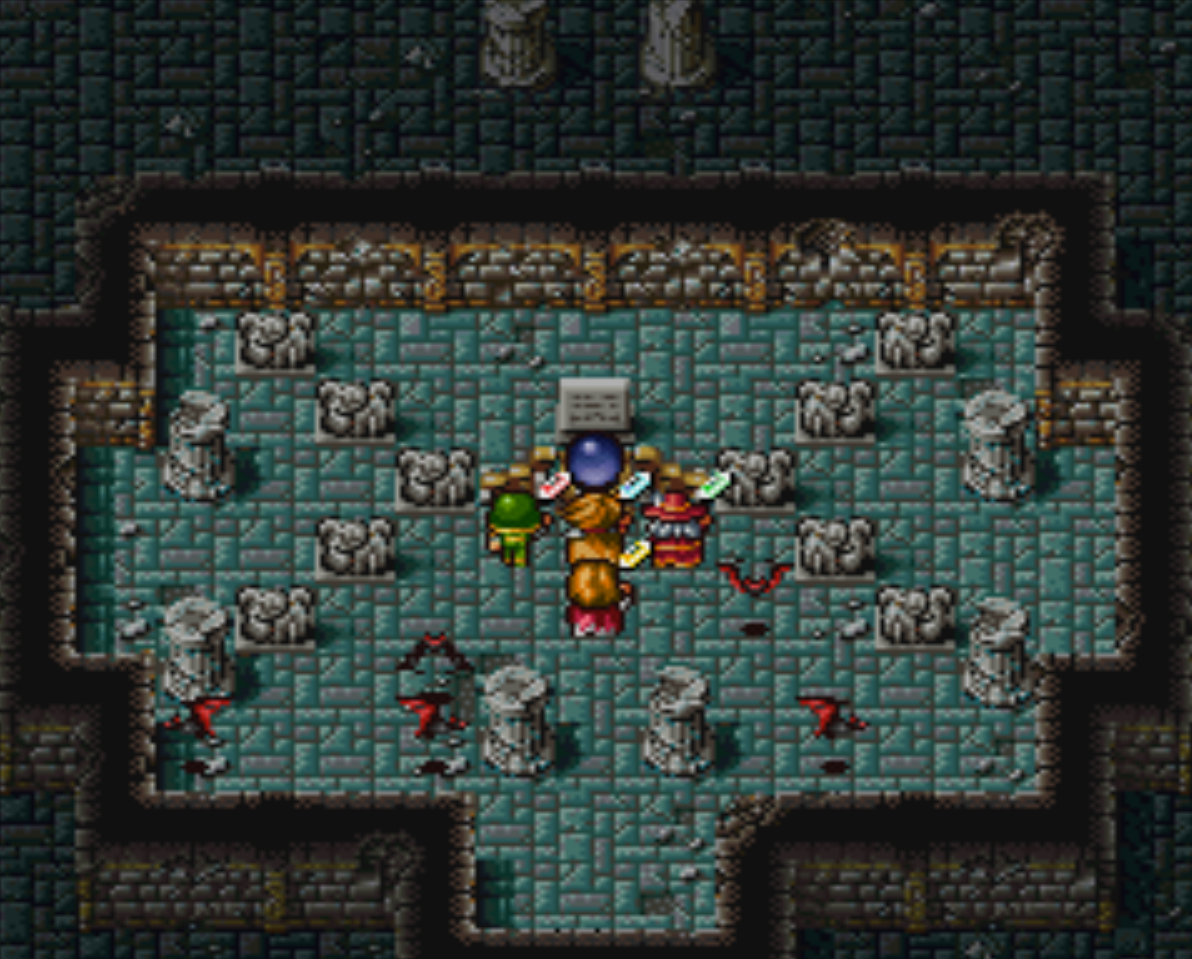
Inside of that room on the third floor you'll find two Treasure Chests with about 110,000 Gil and a stone tablet similar to what we saw in Terra Cave. Except this time we don't use the Earth Rod on it, we're going to use the Lute which we got way earlier in the game. This location is shown in the screen shot below.
After taking the ladder down you'll find yourself in the room on the 2F we passed earlier that was between the two staircases. We're going to be heading back up to 1F next so directions may be confusing; keep this in mind!
Temple of Chaos 2F Staircase down to 1F: Staircase is in the northwestern portion of this area.
Temple of Chaos 1F Staircase down to B1: West; linear path
Temple of Chaos B1 Staircase down to B2: Linear path but you have to go North, East then back South to find the staircase.
Temple of Chaos B1 Boss fight at Staircase down to B2 Lich (Weak to Fire & Dia)
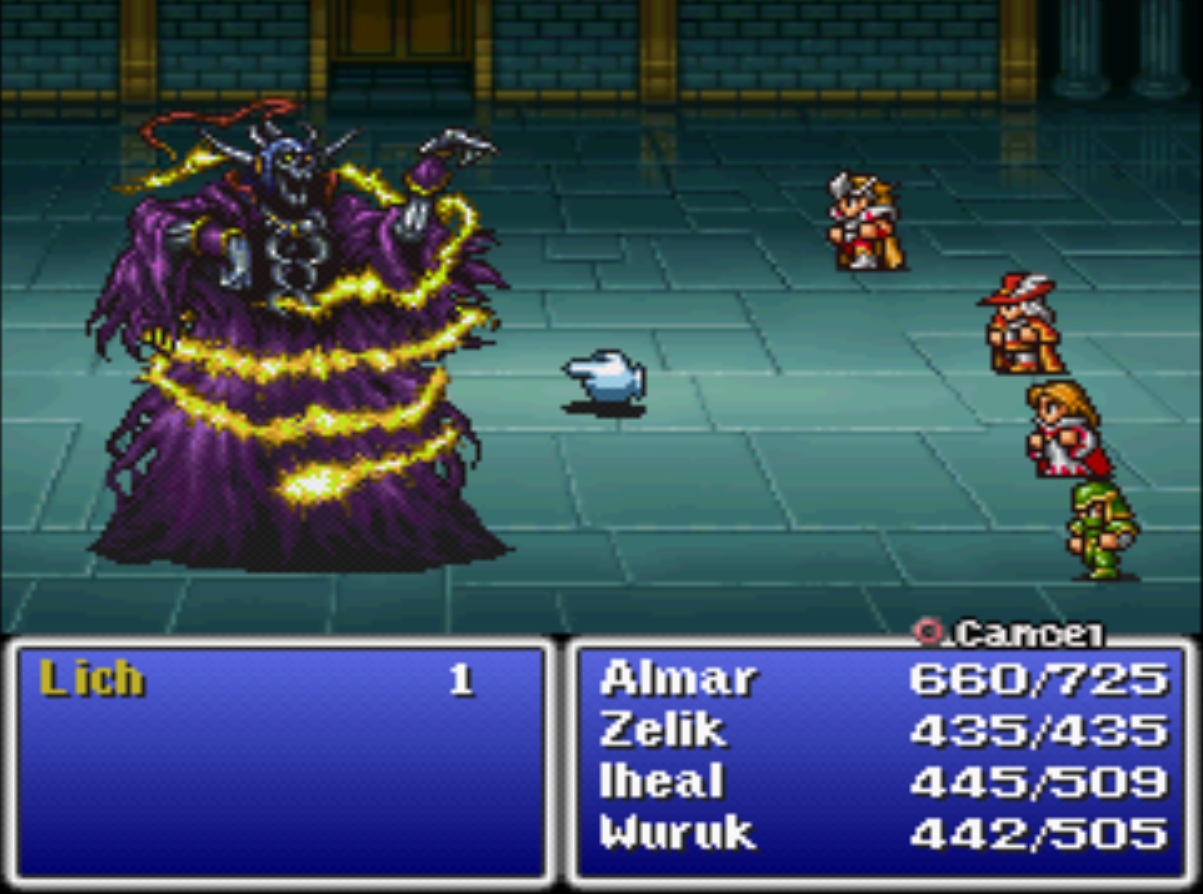
Don't worry about how much MP you use while fighting the Lich, so long as you save enough MP for 1 Warp2 spell on your White Wizard. We're going to do this dungeon in waves since it's too darn long to tackle all at once. After you defeat the Lich take the staircase down.
You can see the Staircase down to the next floor right when you get to this one but you'll need to take a really convoluted way there. Go north, east then south to find your way here. Also before you head up the Staircase, which is guarded by another boss, there's Treasure Chests to the south.
Temple of Chaos B2 Treasure Chests: Protect Cloak, Sasuke and Protect Ring, 26,000 Gil
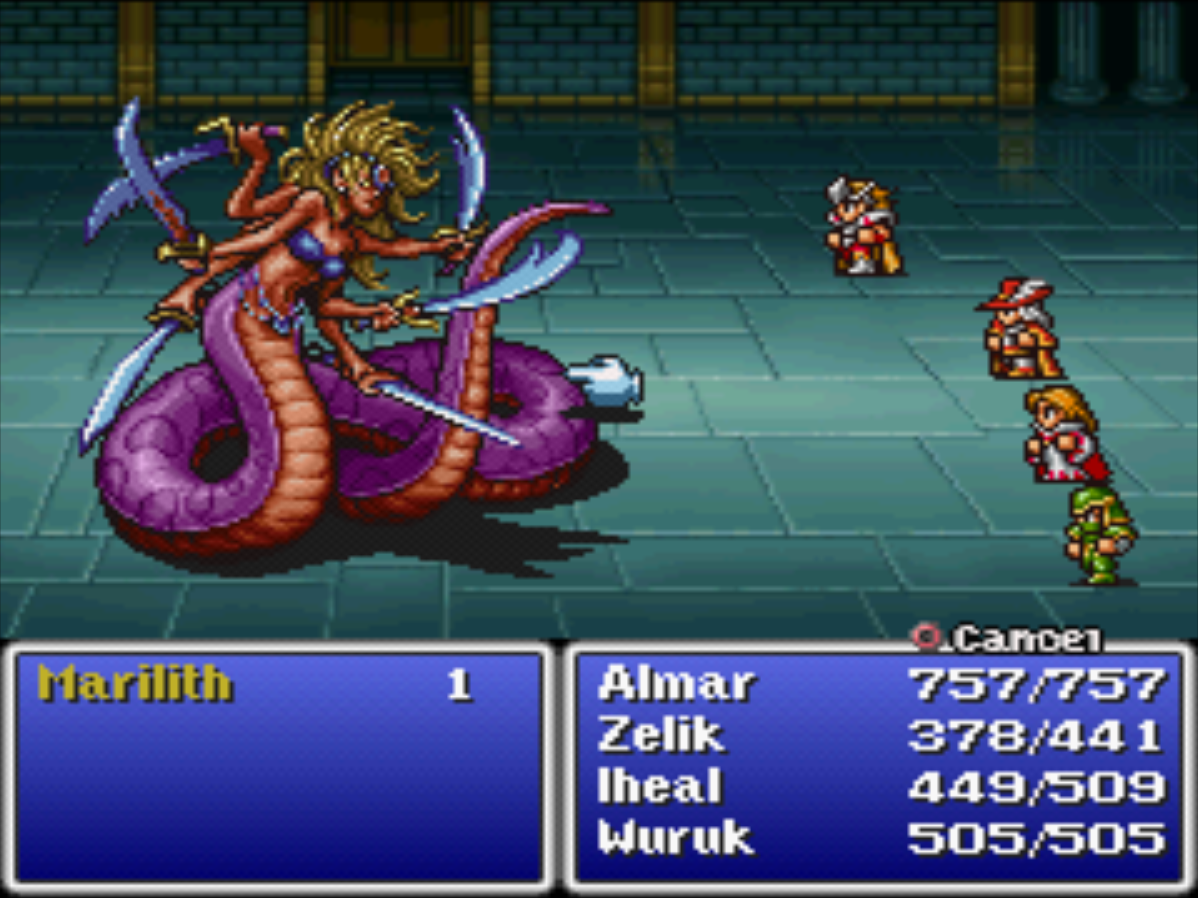
Marilith is just like she was before in Mt Gulg. She's weak to Melee damage first and foremost, Stun, Sleep and Darkness abilities next but almost all other magic is ineffective against her. Use Shld2 and NulFire on your party and let her have it with your melee attacks. She went down in a few attacks for me since I have some high damage dealing melee characters.
After Marilith is defeated, take the stairs down and you'll want to head to the southeast corner of this area to find the next staircase down... and another boss - Kraken!
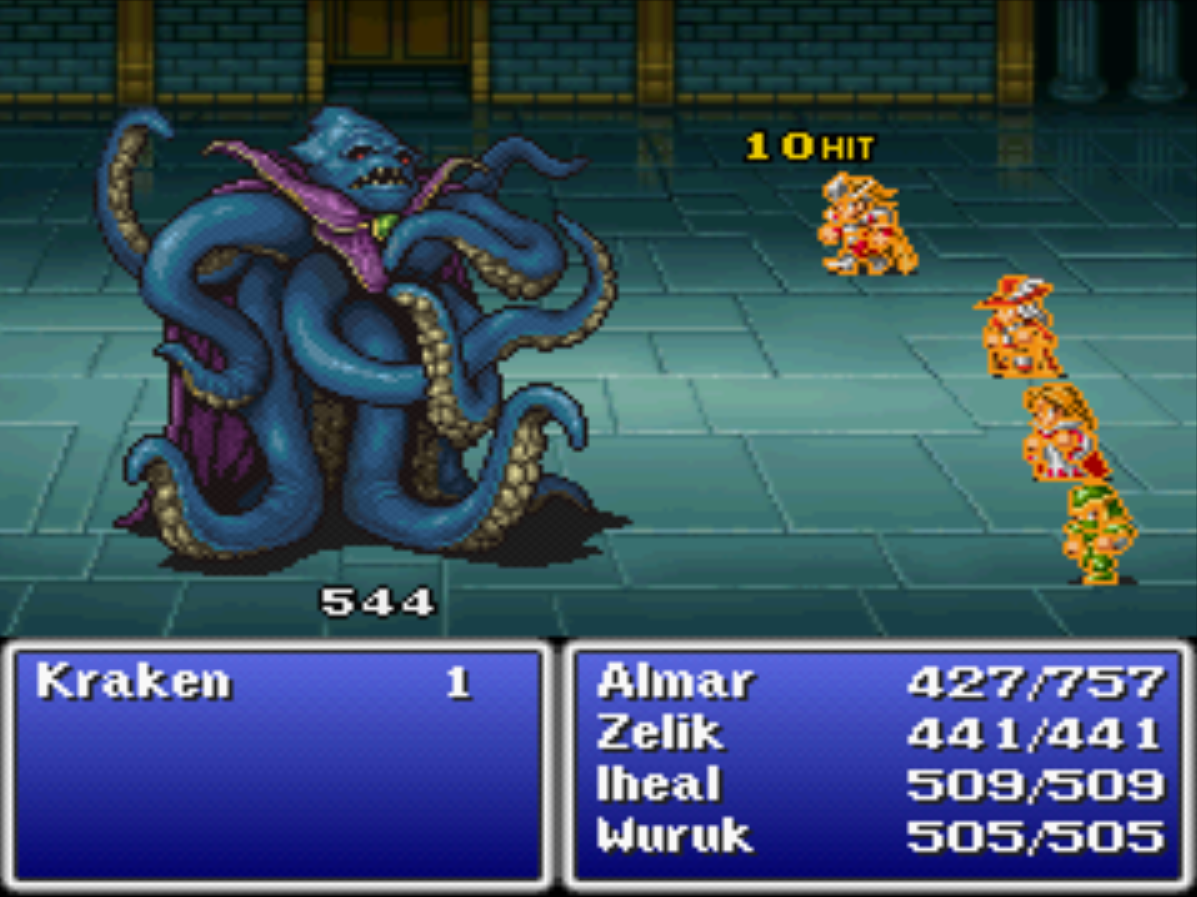
Kraken is pretty easy, much like he was when you got the Water Crystal. Cast Shld2 on your party once (saving MP for the next fights) and wail away on the Kraken with your strongest Melee attacks. He'll go down easily in a few turns.
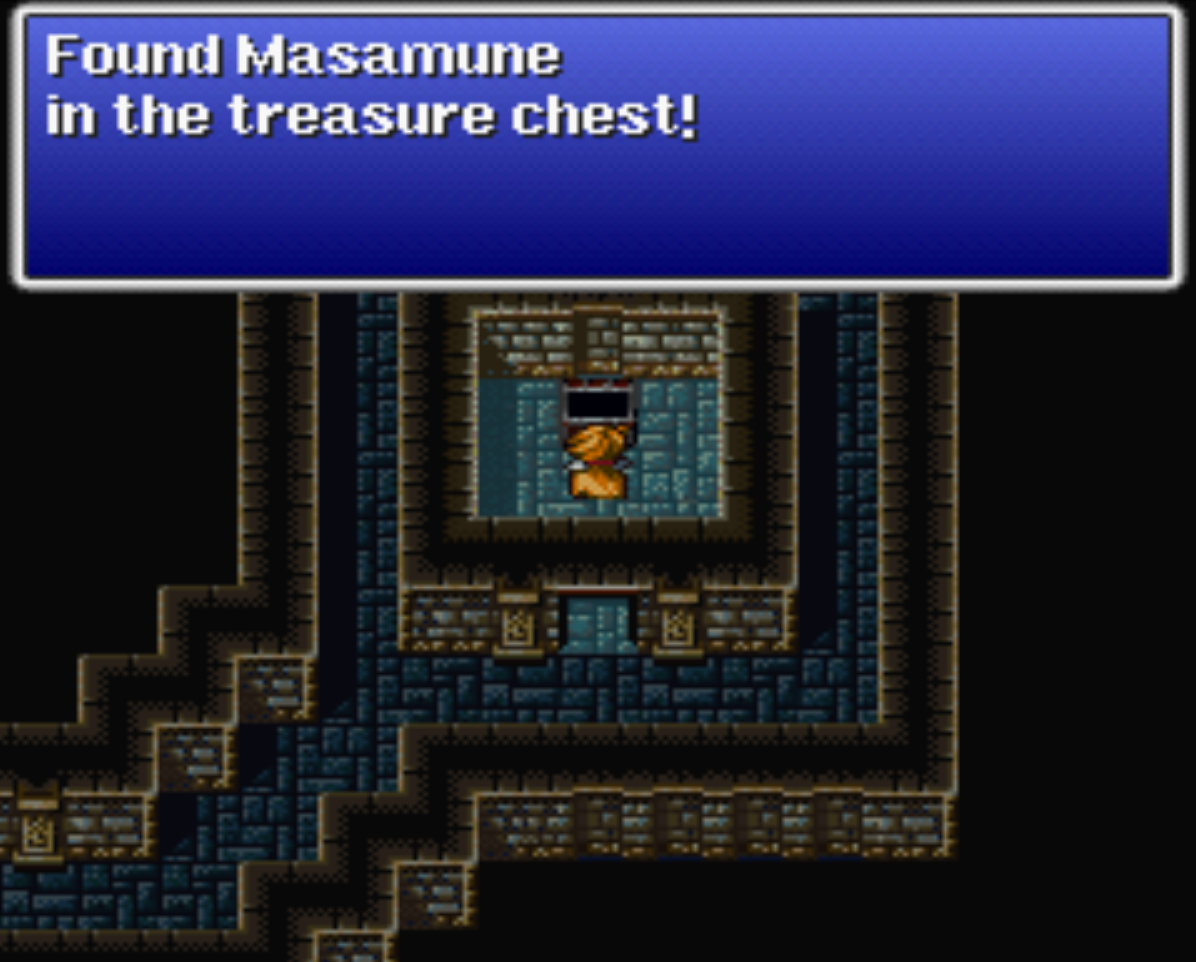
Take the stairs down and on this floor travel to the southeastern portion of the area to find the best 1h sword in the game, Masamune. At this point in time it's recommended that you Warp out of the dungeon, rest up, equip the Masamune and then return to the dungeon to complete it.
You'll need to battle every boss that we fought on the way to the Masamune again which if you want to avoid that, I recommend you just continue on to the end boss. He's really not all that difficult if you're at least level 32 on your team and save some high level spells MP for him.
Whatever your choice is, continue onto the next part of my guide to learn more about the final boss and how to defeat him. The next page in this guide also gives you a quick list of how to navigate each floor on the Temple of Chaos instead of going into a lot of detail like on this page. Check it out!
Continue to Final Fantasy 1 Walkthrough - Chapter 8 (Temple of Chaos final boss)
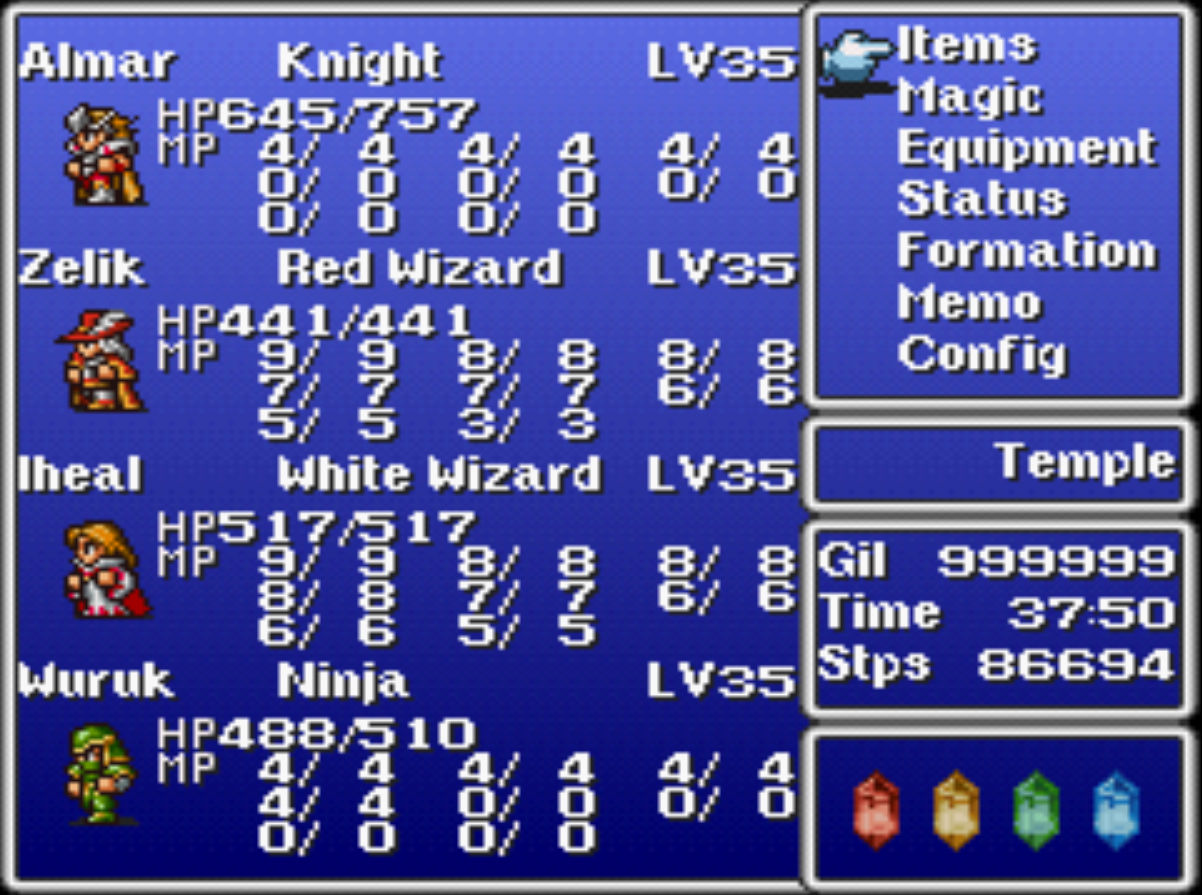
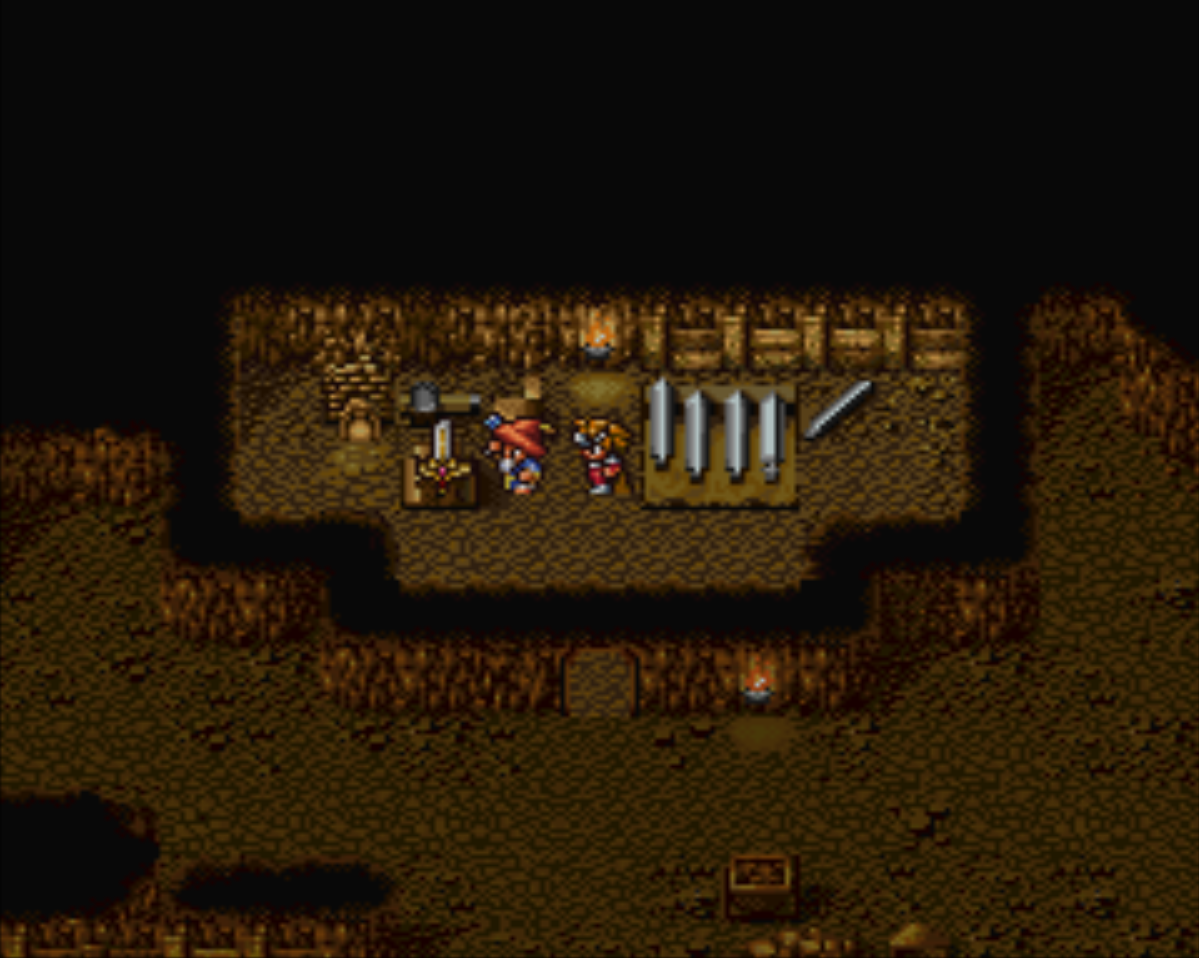
My party end of Chapter 7.