
Final Fantasy 1 Walkthrough - Chapter 2
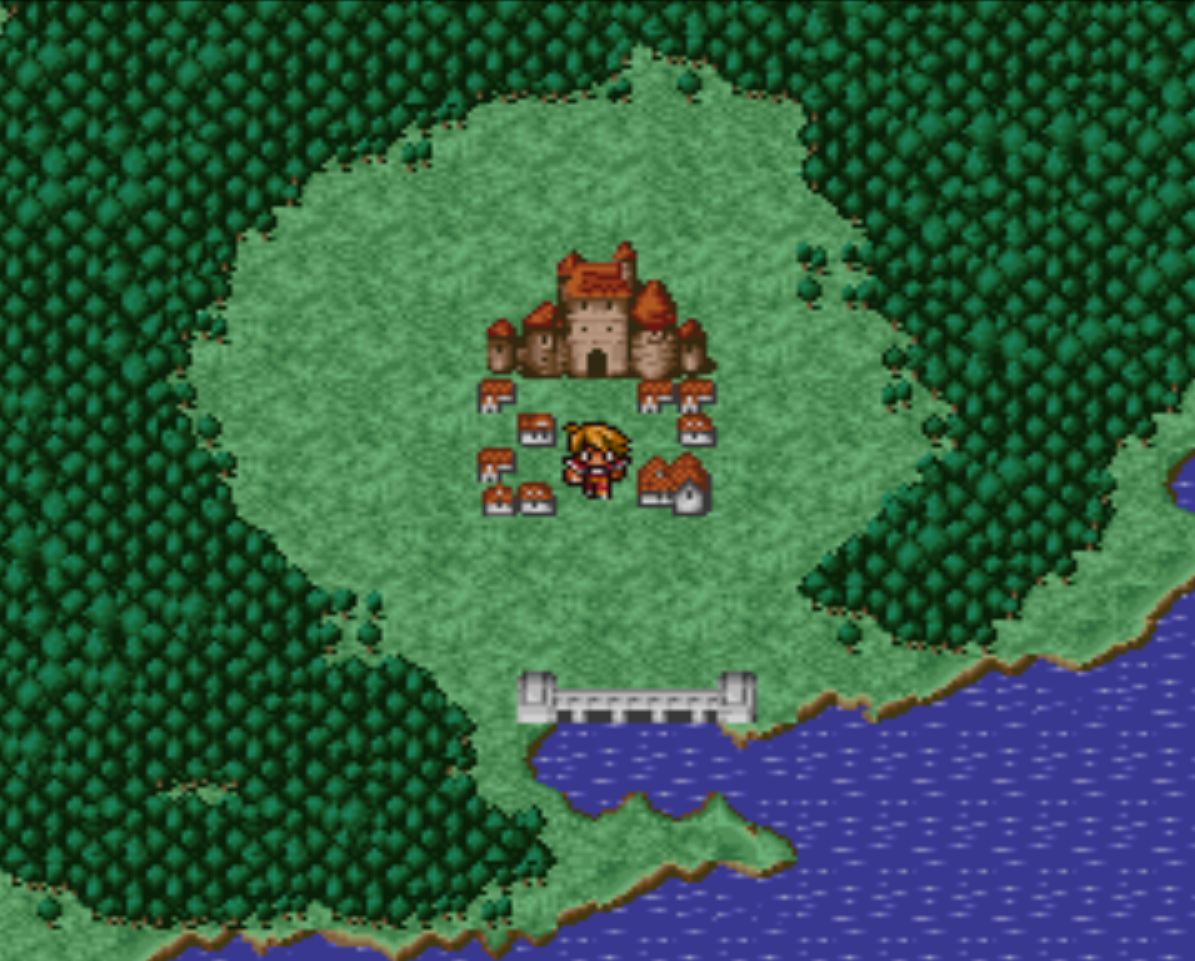
The chapter starts when you arrive in Elfheim. If you forget how to get here I recommend you go back to Final Fantasy 1 Walkthrough - Chapter 1. That goes into more details on where this town is and how to get here. Once you're in this town you'll want to stock up on all of the available Armor, Weapons and Spells.
This town sells both Level 3 and Level 4 spells so you'll have to be stingy with what you buy your first time here. Grind outside of town until you can at the very least afford the White Magic spells for your White Mage. I'd recommend grinding until your entire team is Level 8 at least before heading out to the Marsh Cave. You could handle it at level 7 but it'll be really tough and you'll be risking a Game Over if you get unlucky.
If you don't have much Gil, here's the few things that I strongly recommend you buy the very moment you arrive in this town.
White Magic: Cure2, Heal
Black Magic: Bolt2, Fire2, Ice2 and Haste
Weapons: Mythril Sword (Unless you bought Battle Axe or Broadsword in Pravoca)
Armor: Splurge as much Gil as you can here, high Defense will be important moving forward - especially for your White Mage.
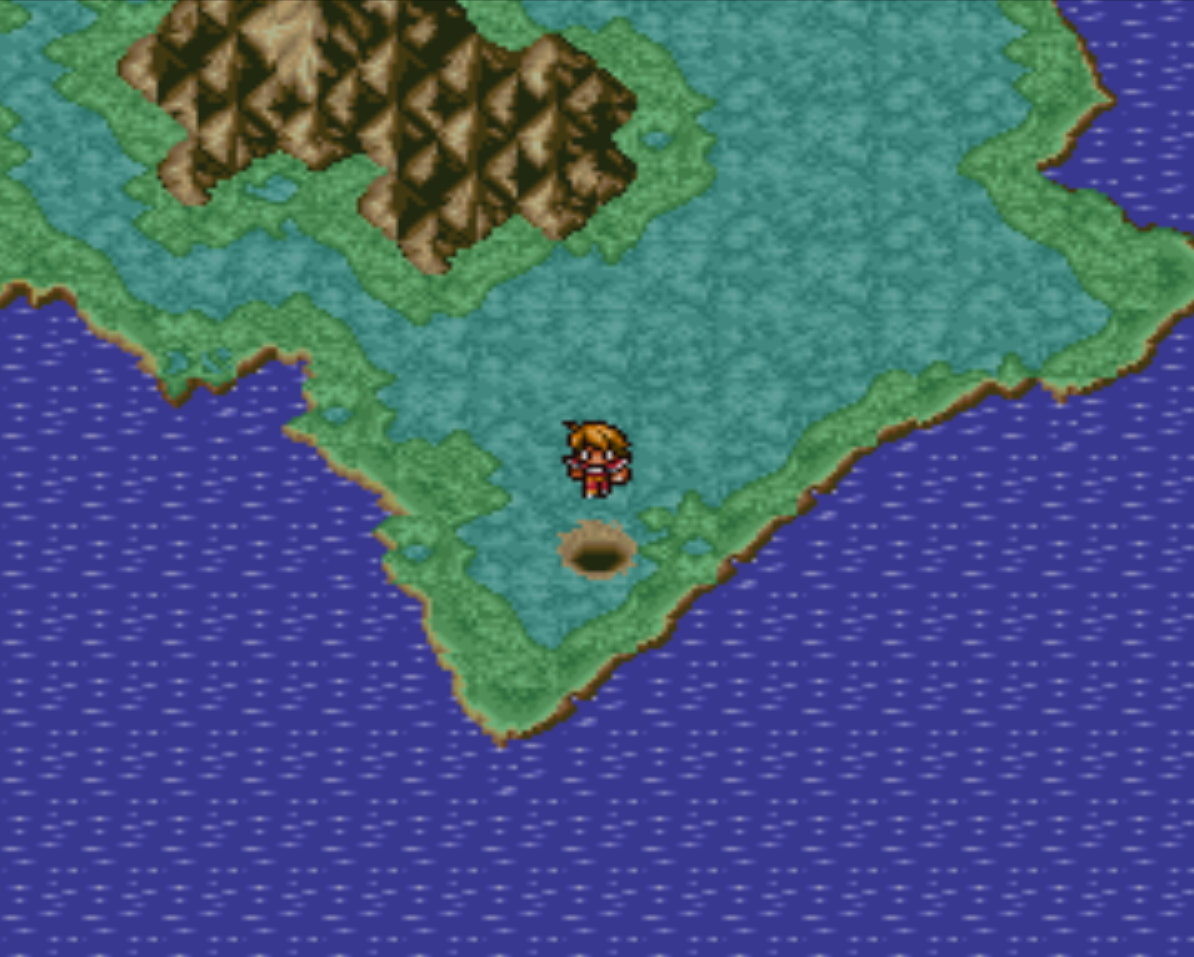
After you're finished in town leave and head west until you hit the ocean and then south until you reach the Marsh Cave. If you're having trouble finding it, use my screen shot below for guidance. It's basically a little hole in the overworld.
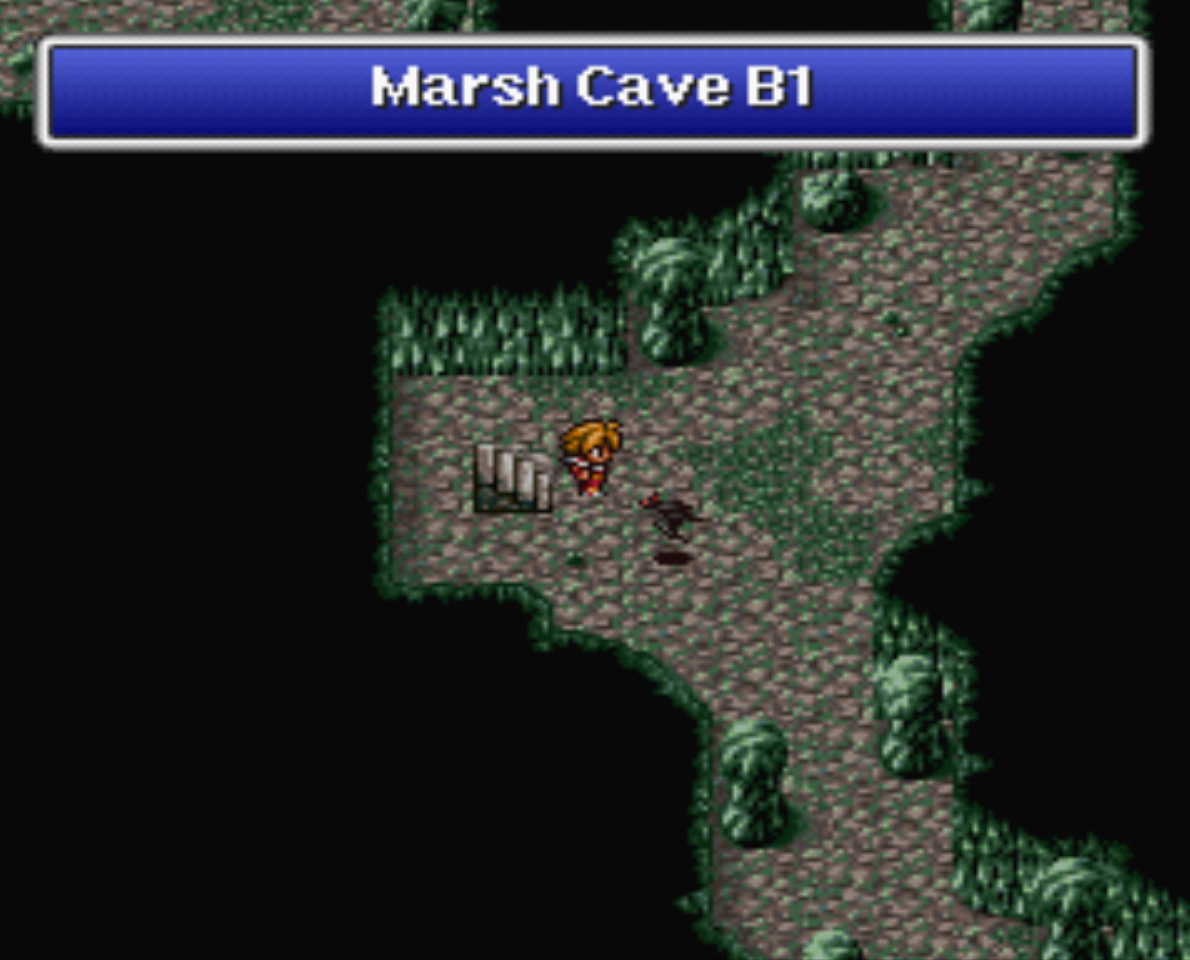
Out of all the dungeons you've done before - this one will be by far the hardest. As aforementioned I recommend at the very least Level 8 before you come to this dungeon. I also recommend you come well stocked on Antidotes and Potions because you're going to be healing and curing your party a whole butt load. If you find this dungeon too hard - grind to Level 10 and then come back here. You'll plow right on through it at that point!
If you want all the treasures in Marsh Cave, when you first enter take the northern route. There's two chests up north, one with Gil and one with a Dagger. The southern route is the one you'll want to take to complete the dungeon.
Northern Path Treasure Chests: 620 Gil and Dagger
Southern Path Treasure Chests: Broadsword, 680 Gil, Steel Plate, Cottage, Copper Armlet, 295 Gil, 385 Gil
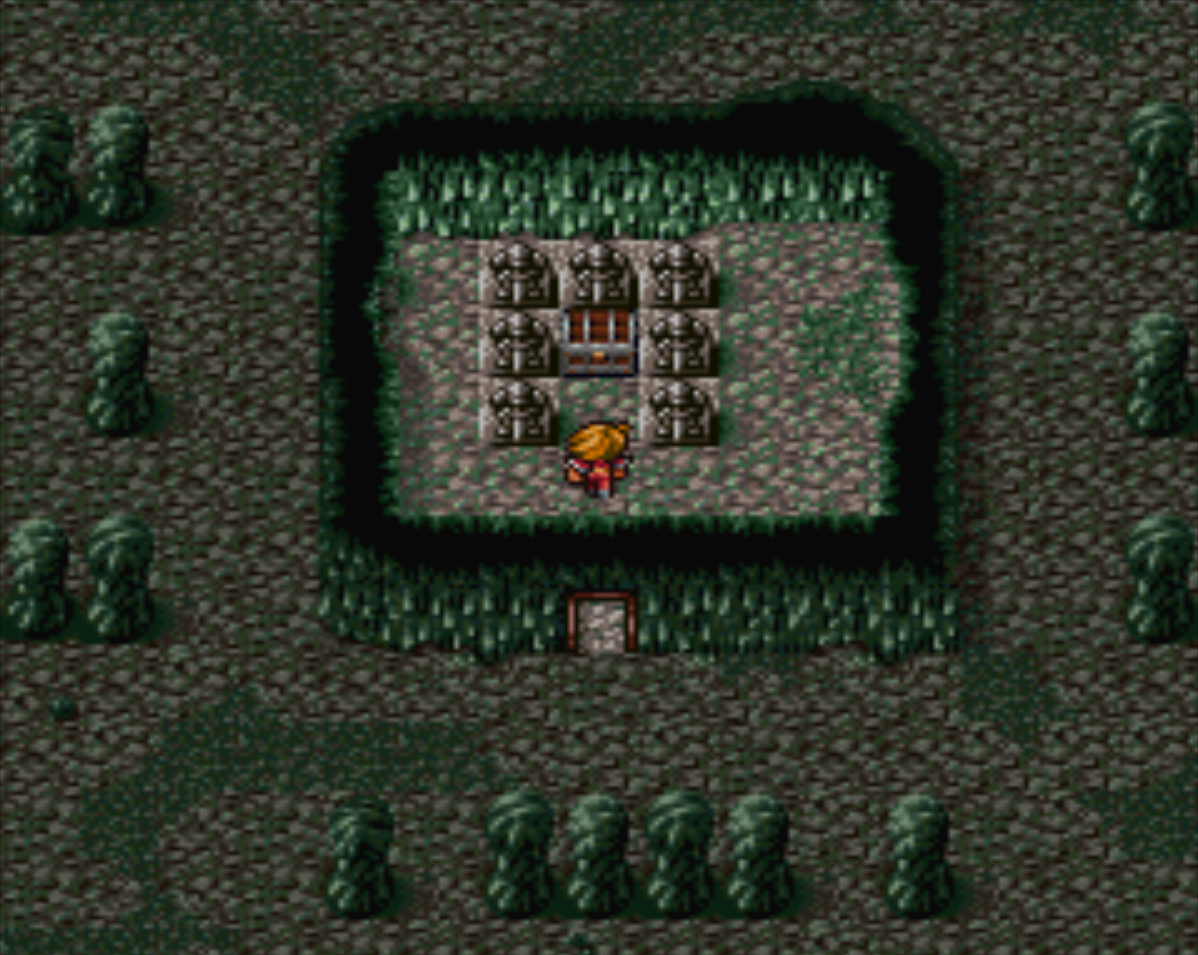
When you're ready to fight the boss of this dungeon, approach and inspect the Treasure Chest surrounded by statues on B3. When you do, two Piscodemons will attack you. Assuming that you and your team are Level 9 or Level 10 these guys should be a piece of cake for you.
After you defeat them loot the Crown from the Treasure Chest then head on back to Elfheim. Rest in Elfheim, restock on supplies and buy any new spells, armor or weapons that you can afford for your team. The next spot we're going to is Western Keep which is to the northwest of Elfheim. It's not a town, it's another dungeon.
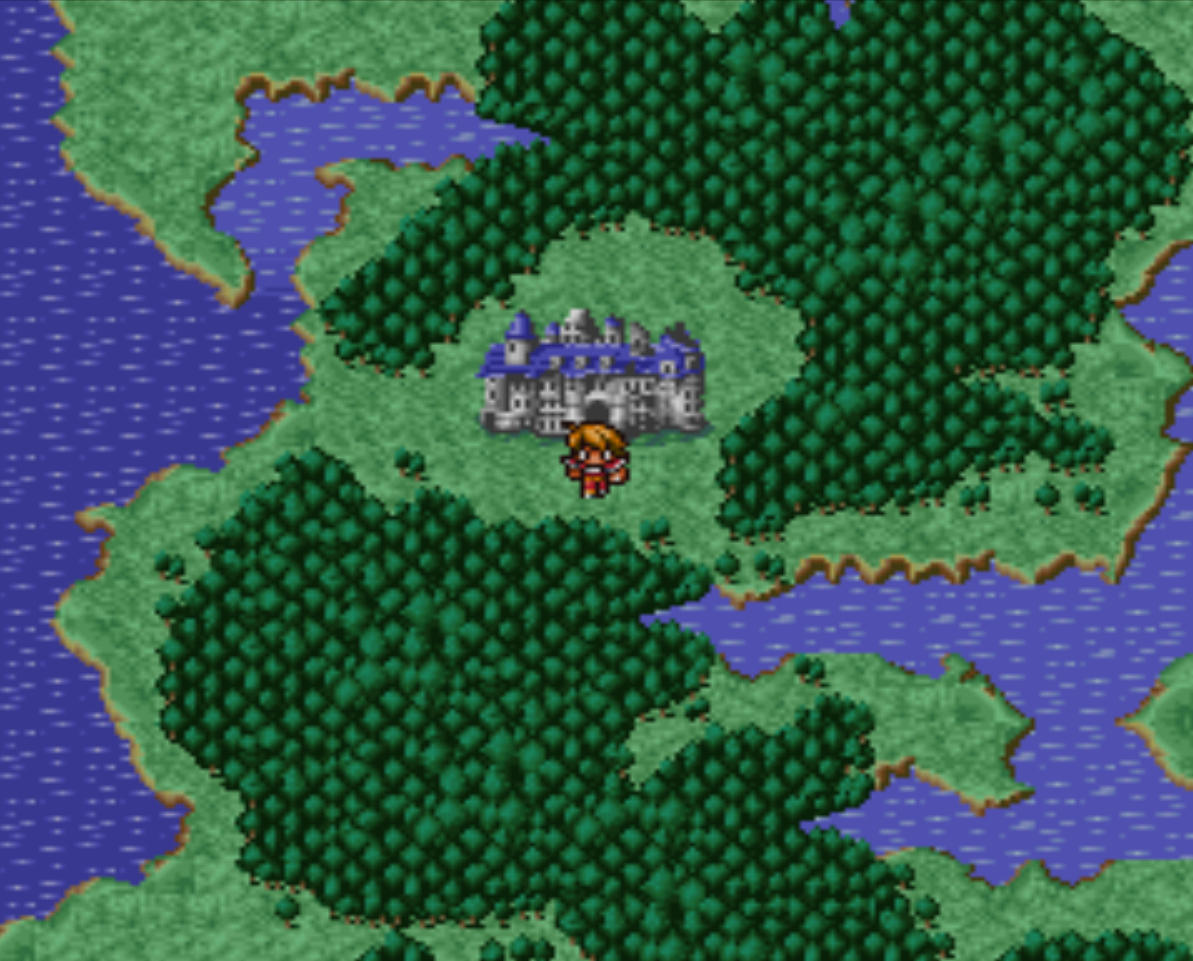
From Elfheim travel west again, like you're going to Marsh Cave, but instead of going south go north. You'll eventually find yourself at Western Keep, shown in my screen shot below. Inside this dungeon you'll want to approach Astos and talk to him, this will begin a boss battle.
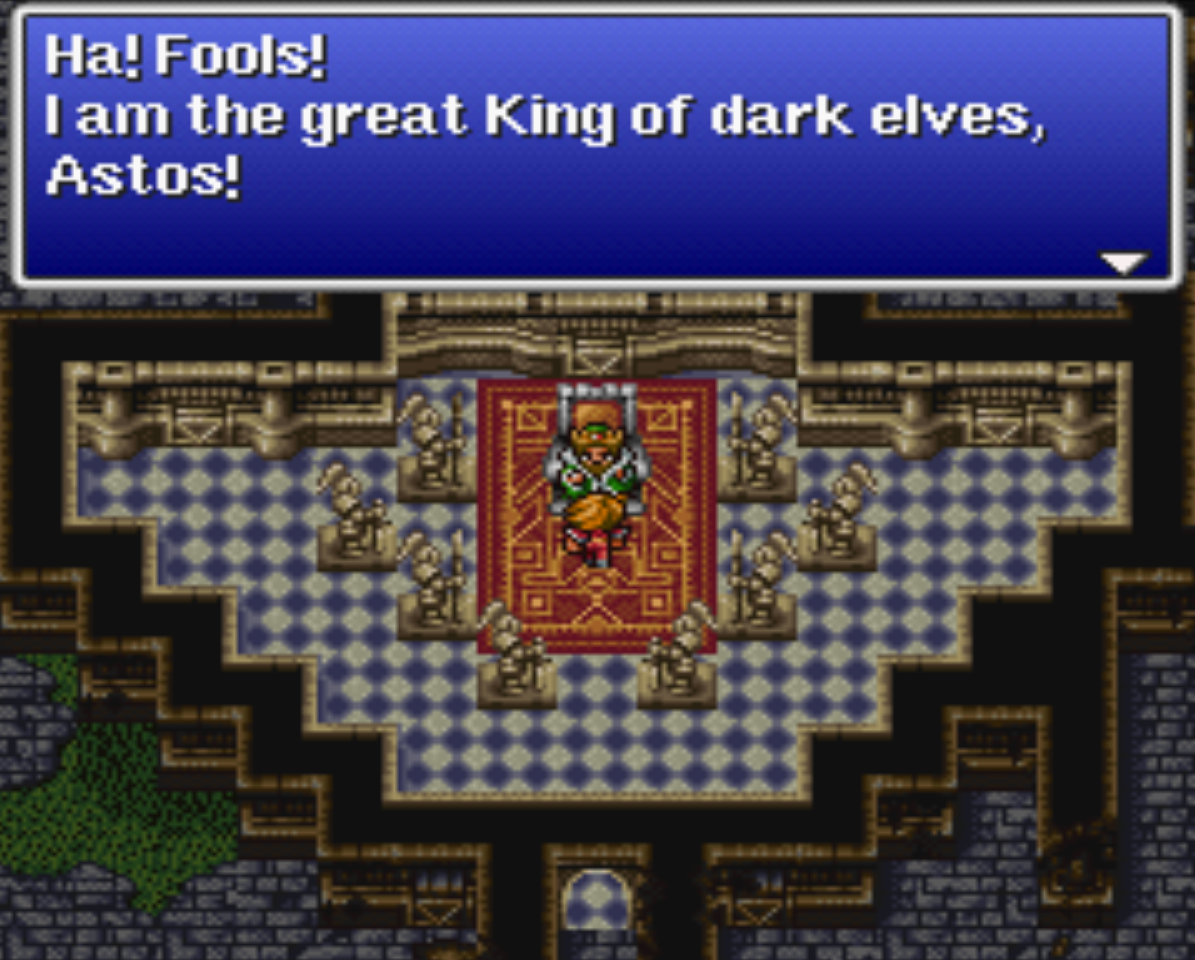
Astos has about 170 health and has an attack which can instantly kill a member of your party called Reaper. Along with Reaper, Astos comes equipped with multiple powerful spells that will hit your entire party for over 100 damage each! It's important you keep everyone well healed during this fight since Astos can wipe your party in two turns if he wants to.
Sometimes you can get extremely unlucky in this fight and have Astos Reaper your White Mage on the first turn or use a magic spell twice in a row and wipe your party. This fight is more about being lucky than having a high level party. That's why it's recommended you save before the fight.
You'll receive the Crystal Eye as a reward for defeating Astos. This item should ring a bell if you've been following the guide until now. If it doesn't... Hint hint, it's the same item that Matoya was looking for in Matoya's Cave.
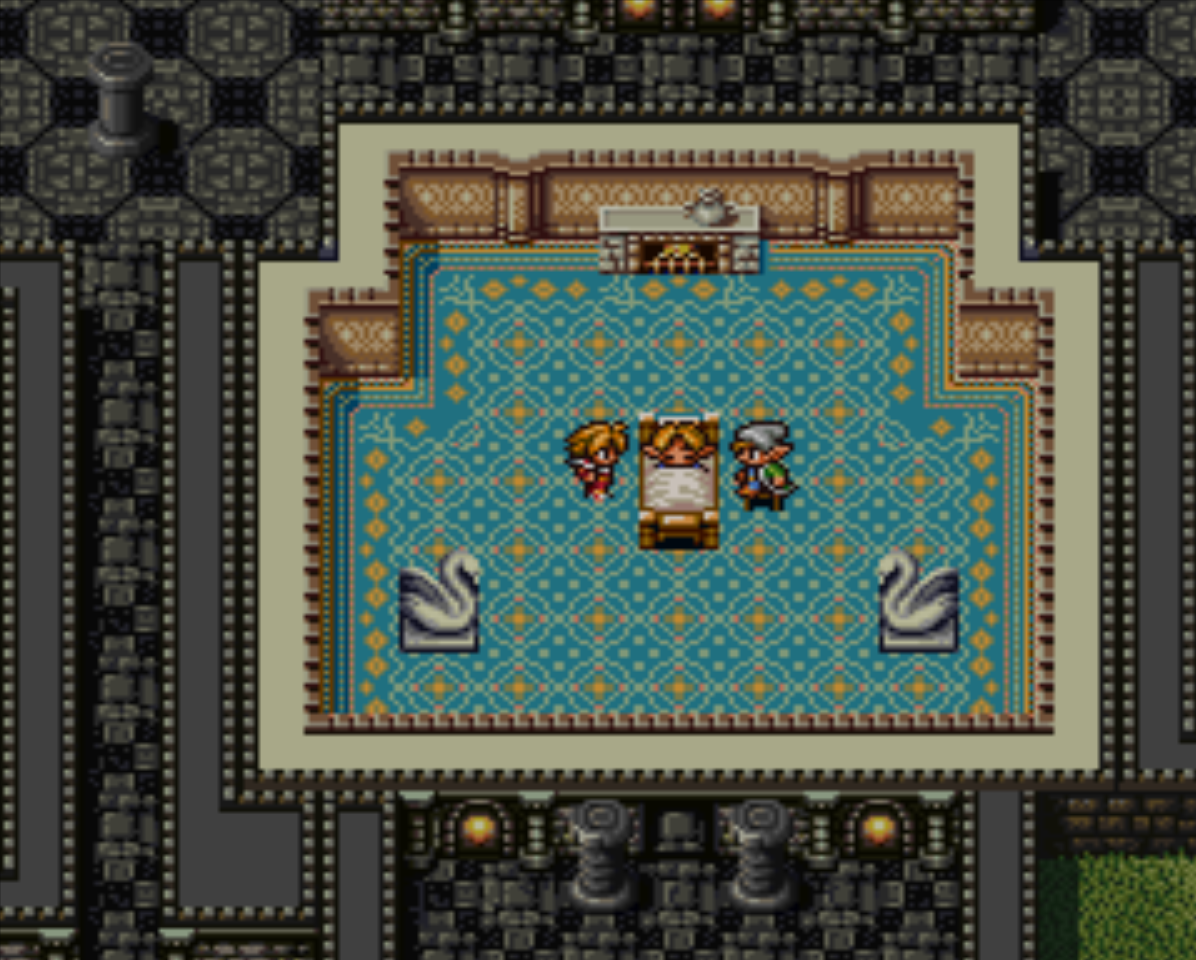
If you forget where Matoya's Cave is, use Chapter 1 of my Guide <Insert Link>. Give her the Crystal Eye and she'll give you a Jolt Tonic which can be used to wake up the sleeping prince in Elfheim's Castle. Return to Elfheim and use the Crystal Eye on the Prince to awaken him. As a reward he'll give you the Mystic Key!
Now you have two choices, you can run around to every dungeon/area we've been to already and use the Mystic Key (highly recommended you do, you get a ton of loot that will save you a lot of Gil) or you can skip ahead to the next town which is Mt. Duergar. If this is your choice then head to Cornelia and use the Mystic Key inside the castle to find Nitro Powder. Once you have Nitro Powder in hand skip ahead to the next part of the guide.
Doors to open with the Mystic Key
1) Elven Castle Treasure Chests: Mythril Hammer, Bronze Gloves and 730 Gil
2) Cornelia Castle Treasure Chests: Crosier, Saber, Mythril Knife, Steel Plate, Iron Shield and Nitro Powder
3) Temple of Chaos Treasure Chests: Rune Blade, Werebane, Gold Needle
4) Western Keep Treasure Chests: Falchion, Power Staff and Steel Gloves
5) Marsh Cave Treasure Chests: Mythril Knife, 1020 Gil and Silver Armlet
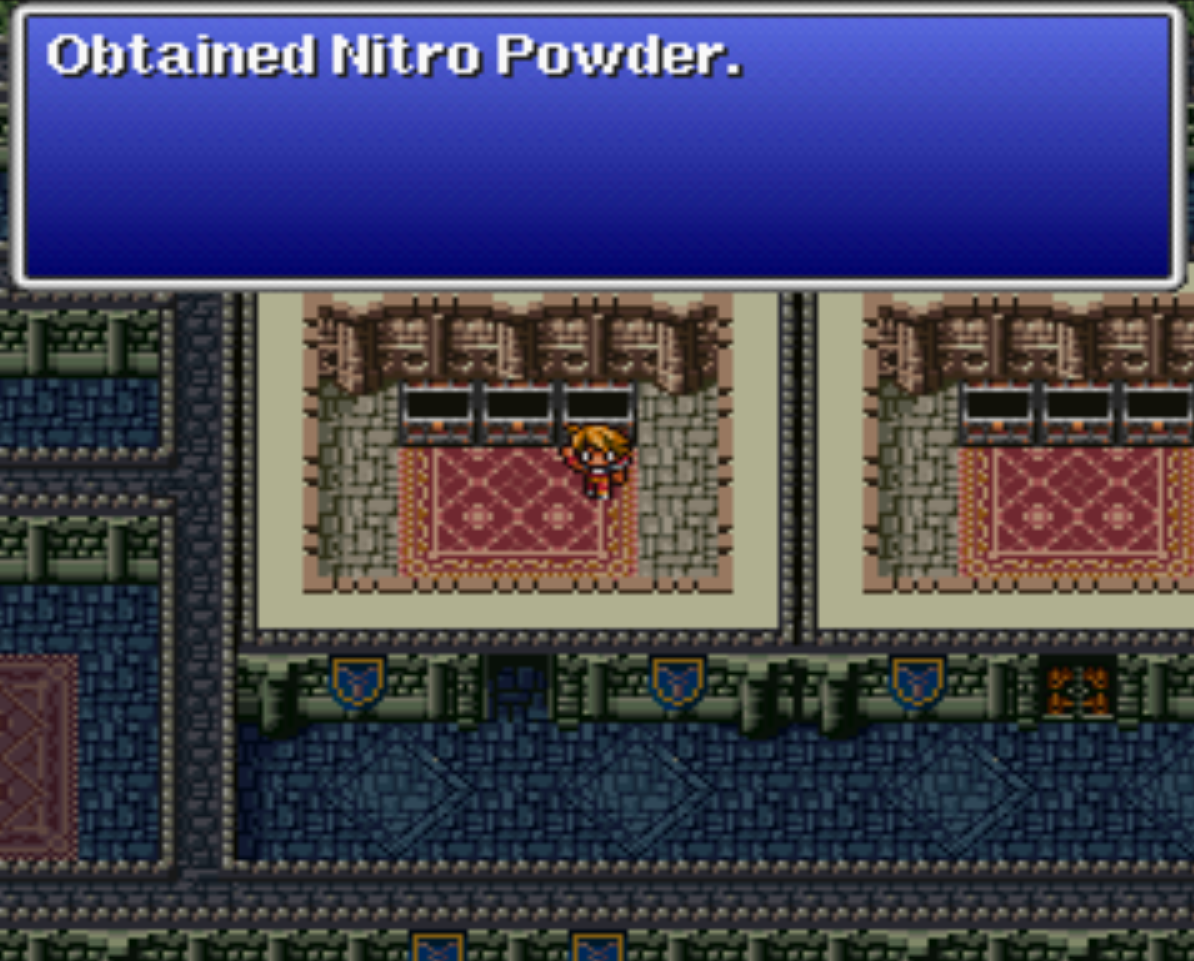
For both Elven Castle and Cornelia Castle you'll want to hug the right outside wall of the castle and follow it around north to find the secret rooms with the Treasure Chests. The Nitro Powder in Cornelia is the most important item for you to grab before moving forward to the next town/dungeon.
Temple of Chaos you'll find the Mystic Doors on the right hand side of the dungeon. Both at the southern and northern ends there'll be Treasure Chests. Be warned that the rooms with the chests in them contain higher level enemies than the rest of the dungeon!
Marsh Cave every Treasure Chest is on B3 of the dungeon. Much like Temple of Chaos before it, the rooms with these chests have very powerful enemies. You will typically run into Piscodemons, the boss that we fought in this dungeon when we were last here.... Sometimes you'll encounter four or five of them per battle and it's very difficult to run from them! Bring lots of Potions before you come down here!
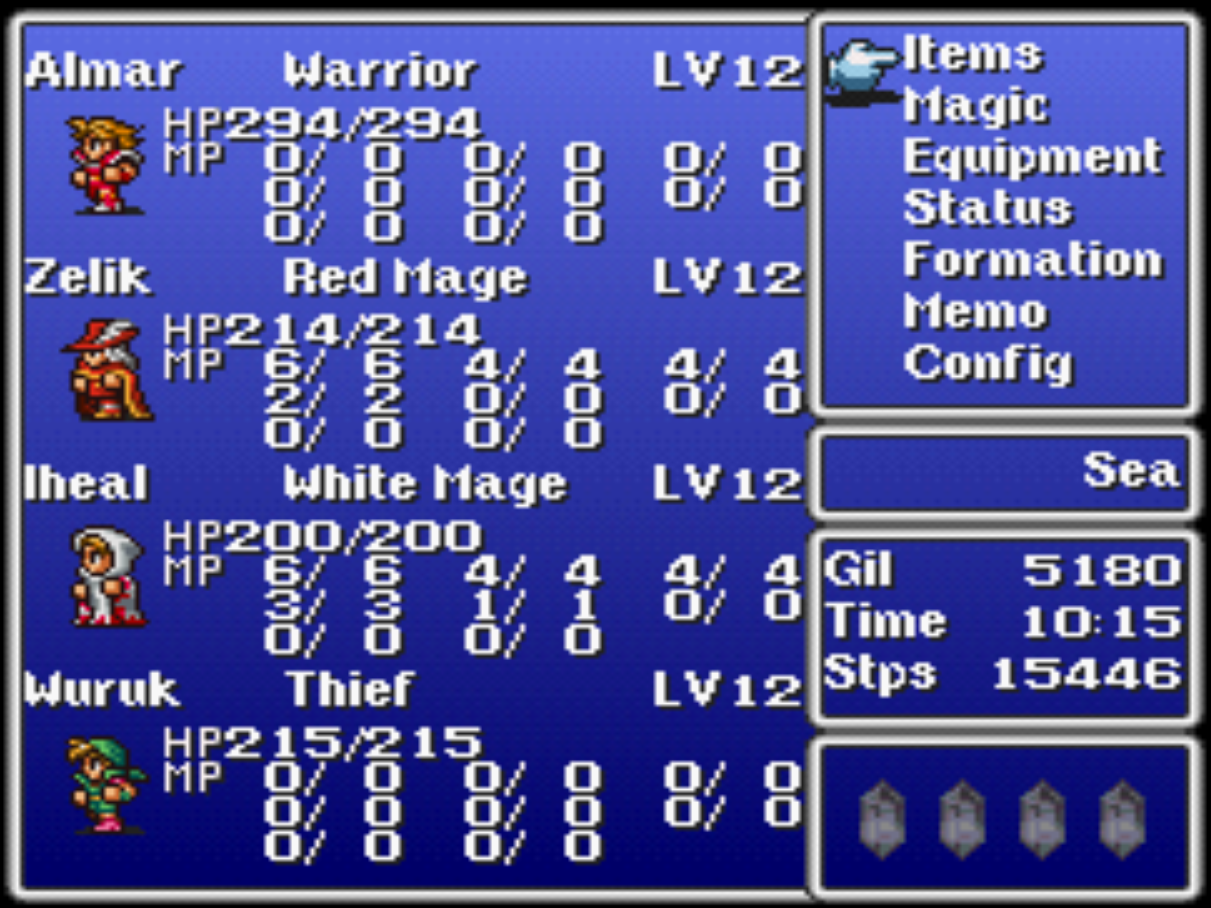
My party at the end of Chapter 2.