
Lanayru Province Piece of Heart Locations & Guide
There are two pieces of heart for you to obtain in the Hyrule Field portion of Lanayru Province. The first of which requires the Spinner item and is found in the mountain pass to the far northwest of the province. In order for you to reach this piece of heart you'll need to time your jumps just right with the Spinner and bounce back and forth between the walls of the mountain pass.
The second piece of heart requires the Ball and Chain dungeon item and is much more difficult to obtain. You'll need to complete multiple block puzzles in order to reach this piece of heart.
Lanayru Province - First Piece of Heart
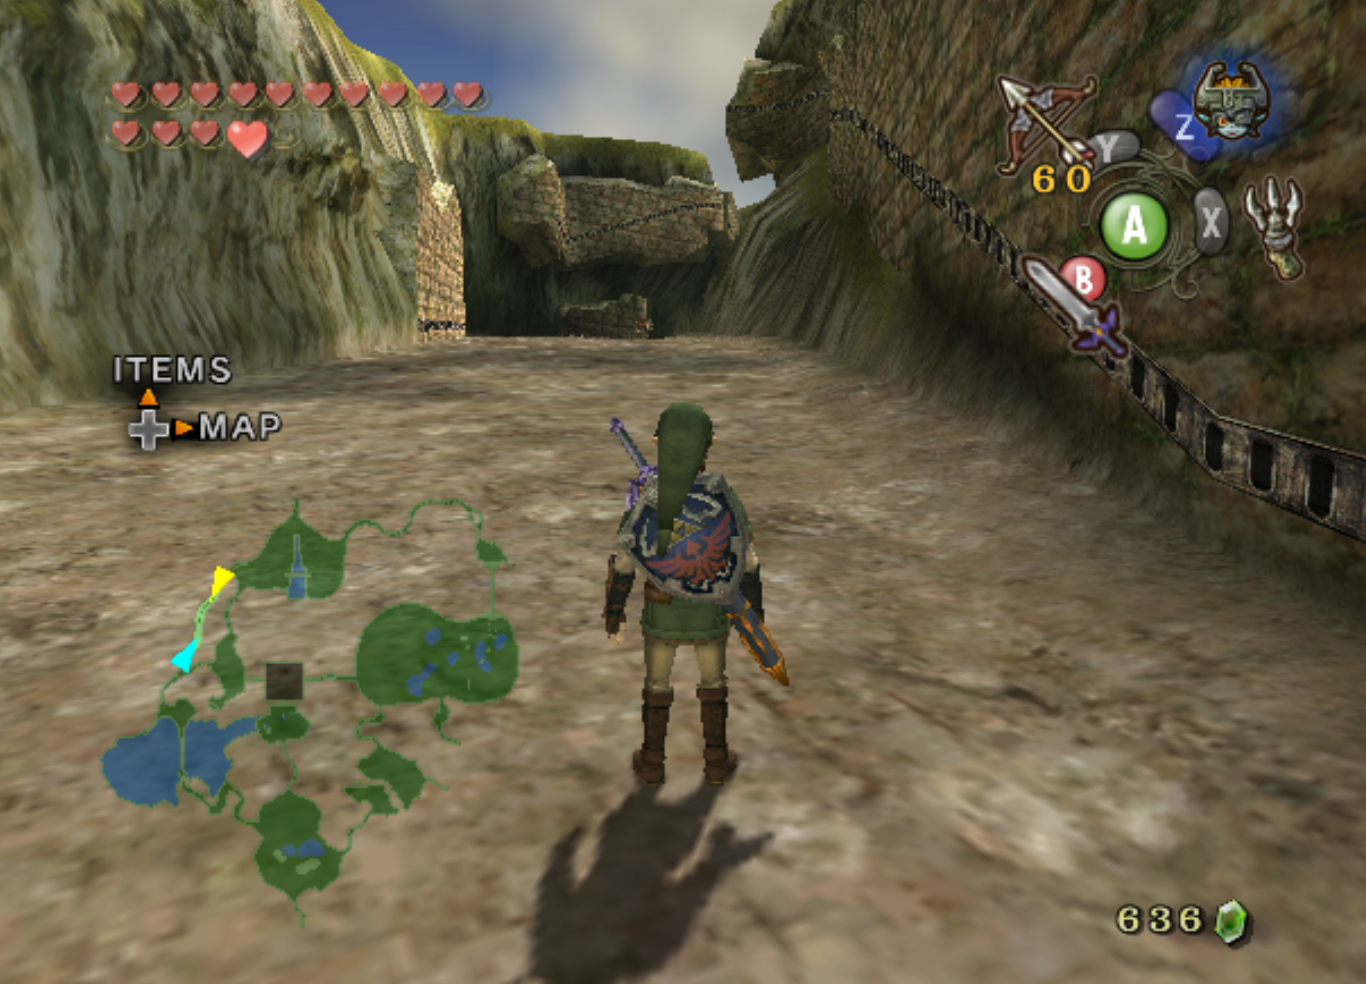
The first piece of heart for you to find in the Lanayru Province will require the Spinner item which comes from Arbiter's Grounds. You'll also need to blast the rocks blocking the northern pass connecting the Great Bridge of Hylia to the northern Hyrule Field.
You'll notice some rails along the wall in this pass - use the Spinner and start at the same place you see my standing on the map. From here all you need to do follow the first rail up to the top of the pass and let it dump you onto the next one. Then you'll be hopping back and forth between rails until you reach the chest at the end.
Lanayru Province - Second Piece of Heart
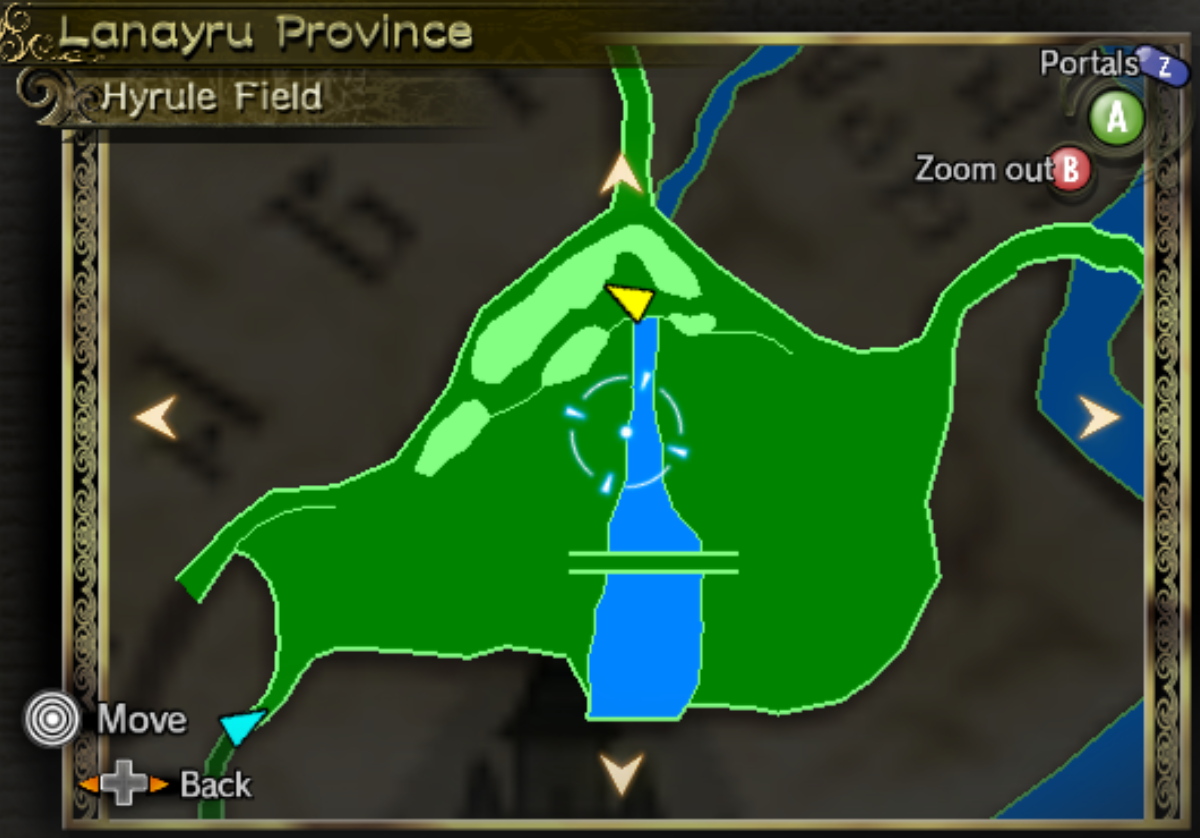
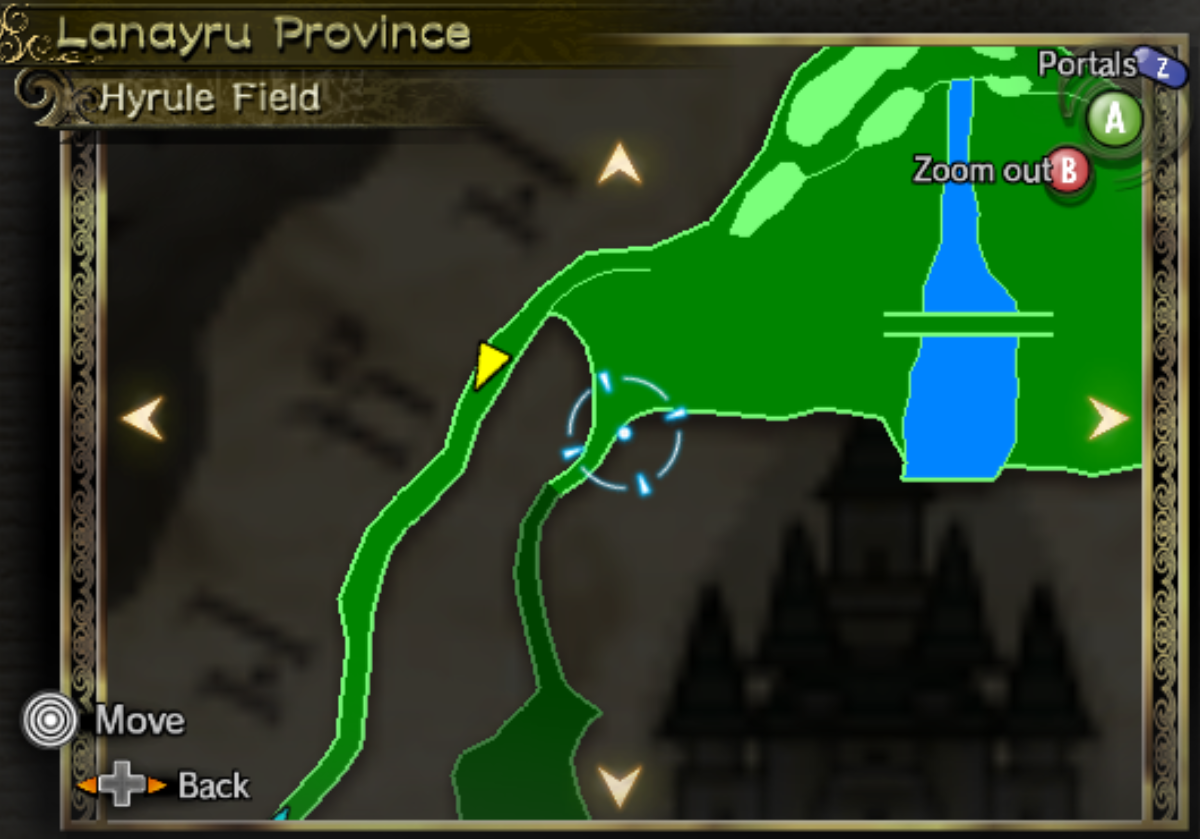
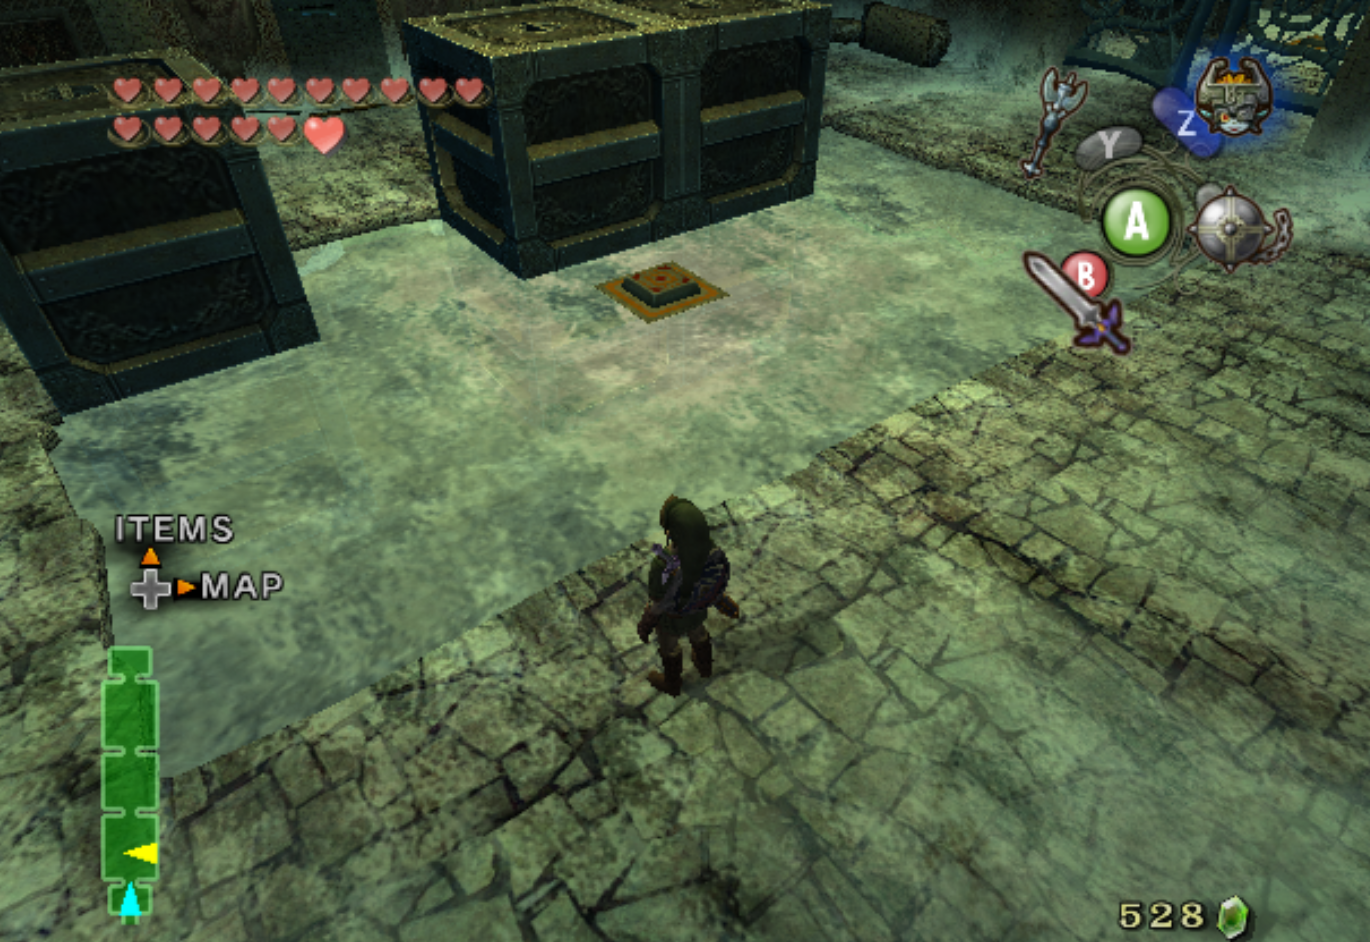
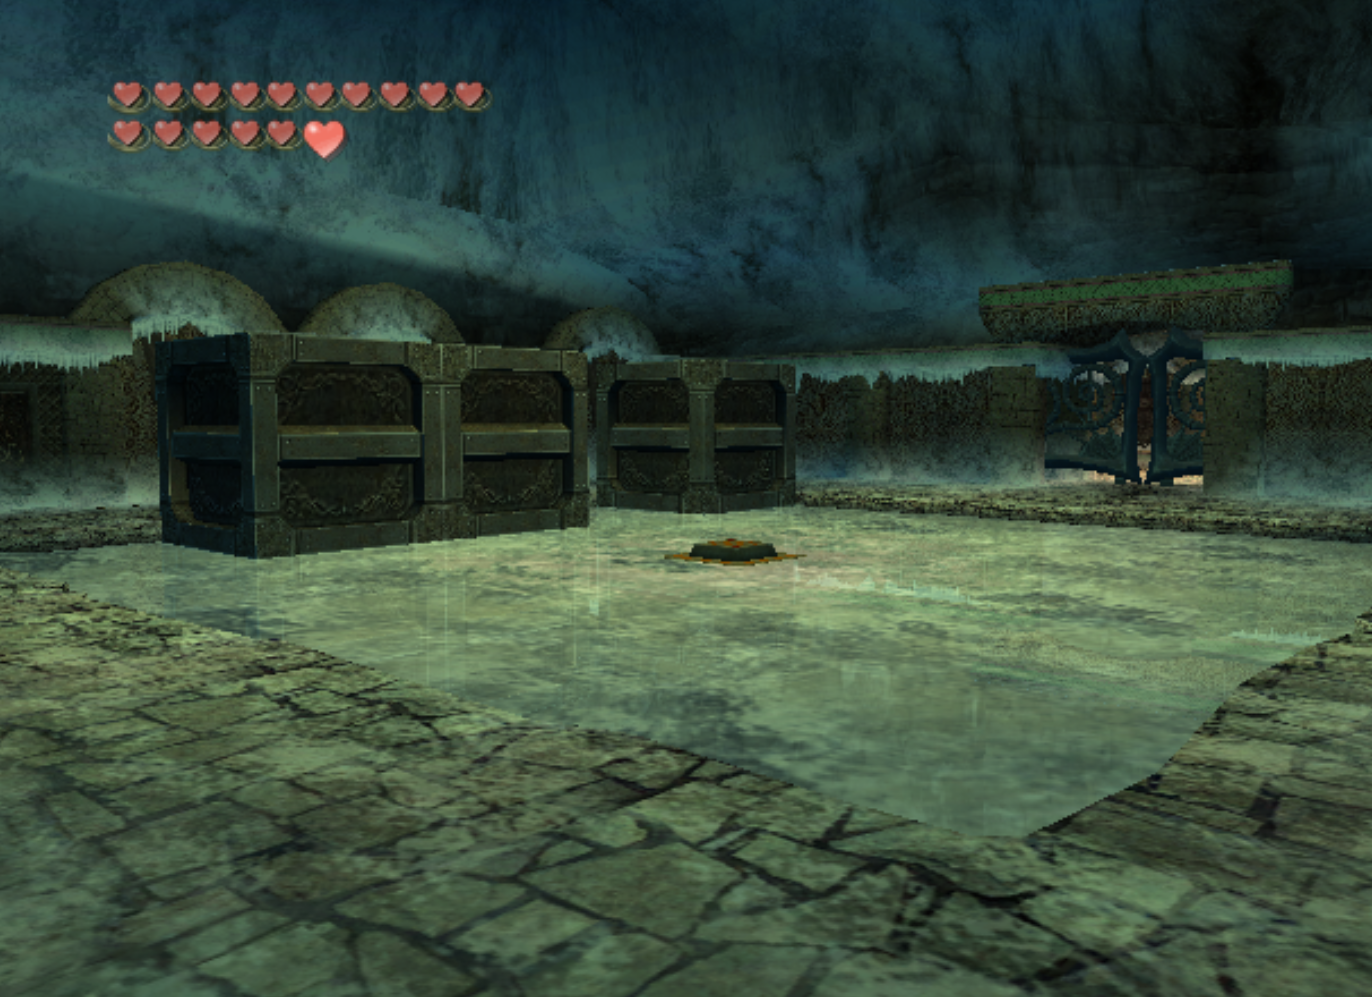
This piece of heart requires that you first obtain the Ball and Chain dungeon item from Snowpeak Ruins. Once you have that in hand you'll want to travel to the portion of Hyrule Field just north of Castle Town, the same location shown in the screen shot above on my map.
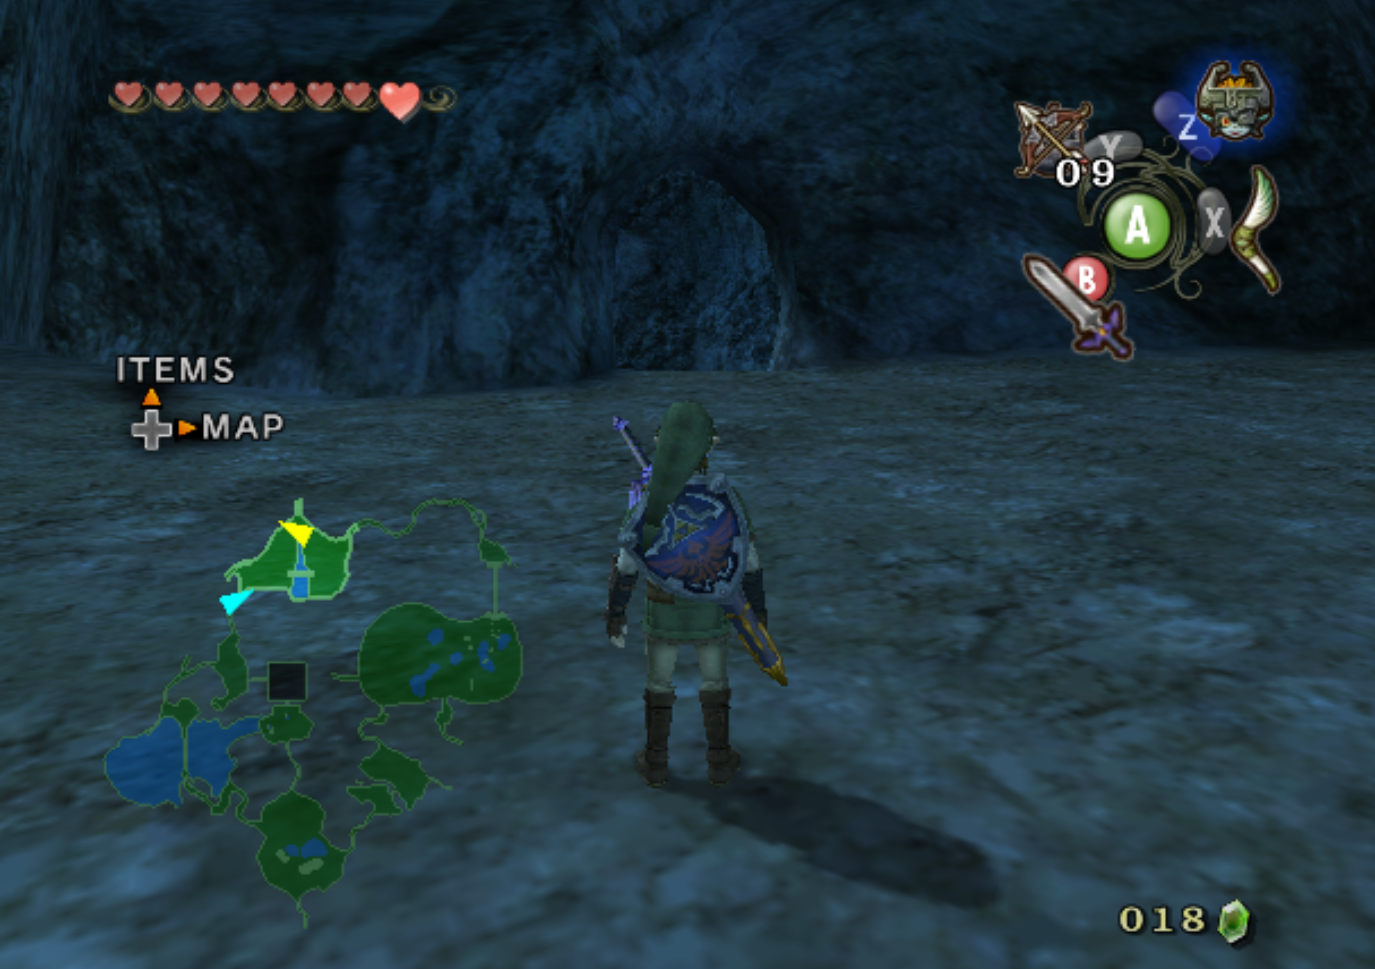
You may remember this location from earlier in the game as well if you already collected the Female Golden Stag Beetle since she is found just above the entrance to this cave. There's a boulder you need to destroy with some bombs which will grant you access to a cave with an ice barrier blocking the way. This is what we need the Ball and Chain for.
After you take out the ice barrier you'll find yourself in a room with a block puzzle. In fact, there's 3 rooms and each have block puzzles! I'm going to break down this puzzle for you room by room
Room 1 Puzzle

Our first goal is to line all 3 of the blocks up parallel to the switch, as shown in my screen shot. Once you get your blocks into the same pattern as mine you'll be a few pushes away from solving the puzzle. When your blocks are lined up like mine are, all 3 together you'll want to push the block that's now in the corner out and around the other blocks until it's in the same spot as my screen shot below:
The next two parts are fairly simple. Now we want to push the middle block (the one parallel to the switch) across the switch to the other side. If the rest of the puzzle isn't obvious to you yet, the block we most recently pushed into the corner needs to be pushed up to where the block we just pushed across the switch used to be.

Then you'll want to push the block we just moved overtop the switch.
Room 1 List format
1. Line all the blocks up on one of the longer sides of the room.
2. Push the block in the corner around the room to the corner on the opposite side it used to be on.
3. Push the middle block across the switch.
4. Push the the block we moved in 2; to where the block in 3 originally was.
5. Push the block onto the switch.
Room 2 Puzzle
The first thing we need to accomplish is getting all three of the blocks in this room onto the side of the room with the indentation. If you are confused by what I mean take a look at the screen shot above. After you organize the blocks like this solving the puzzle becomes much easier.
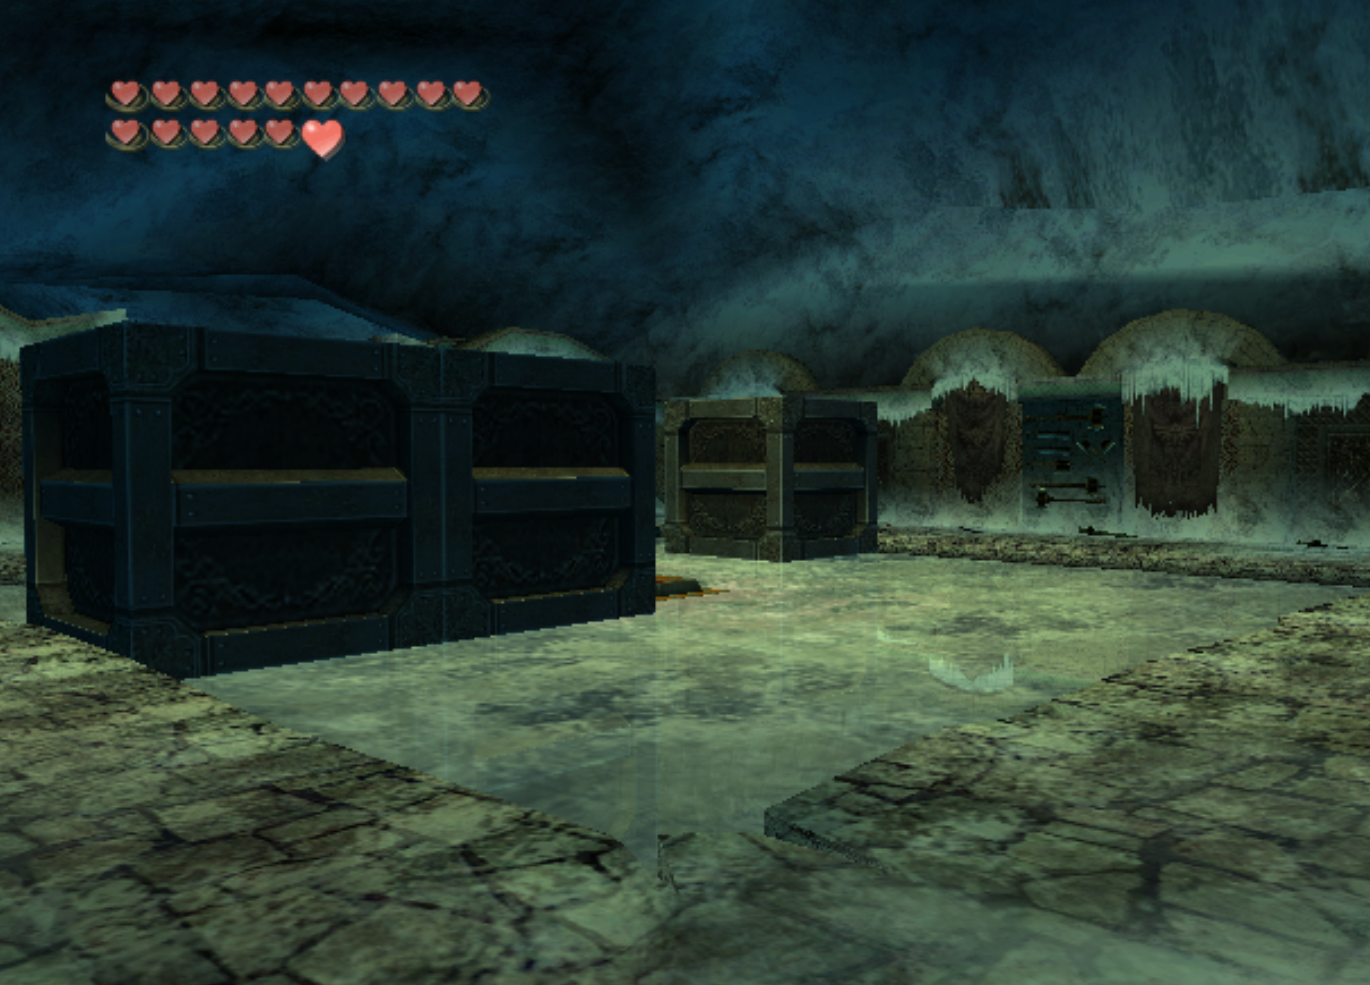
Ok so this puzzle looks a whole lot harder than it actually is and the same logic we used to solve the other puzzle comes into play here. To start we'll want to push the block in the center across the course. This means the next block that we push across will land on the switch.
Push either the top or bottom block into the area where the central block was and then shoot it across the ice overtop the switch. Your room should now look similar to my screen shot below.
The next few steps we're going to follow use the very same trick we just pulled off. The first box we pushed across the ice - the one that got in the way of the last box we pushed and let it stop over top the switch; we're going to want to move that back around to where it was in Part 1.
Confused? Here's another screen shot to help you organize your blocks:
Essentially what you want to do is put the blocks the same way we had them in Part 1, just with the one currently on the switch left out for obvious reasons. Once your boxes look like mine do in the screen shot above the final few pushes begin.
The block that's next to the switch push across the ice. Then push the block that's parallel with the box currently on the switch up to the same location where we just pushed a box from. Then the next and last thing to do will be - push the block we just pushed across the ice back across the ice and it'll land on the switch.
If you're confused by what I am saying - I have these steps mentioned again in a list format below. Alternatively, it's hard to write guides for puzzles like these when step by step directions are involved. If you're having trouble, try to follow the logic of the puzzle rather than the step by step instructions.
Each of these puzzles has us moving one or two blocks that act as a barrier allowing us to land one of the blocks on the switch. Puzzle 3 is no different.
Room 2 List Format
1. Line all 3 blocks up on the side of the room with the indentation
2. Push the center block across the ice and use it as a blockade for the next block we push across.
3. With the first switch now pressed; take the first block we pushed in #2 back around to where we lined all the blocks up at in #1
4. The box that's next to the switch you'll want to push across the ice to the other side of the room.
5. Move the last box up to the same location we just pushed the box from in #4
6. Push the box from #4 back across the room and it'll be stopped by the box we pushed into place during #5; hitting the switch and opening the door.
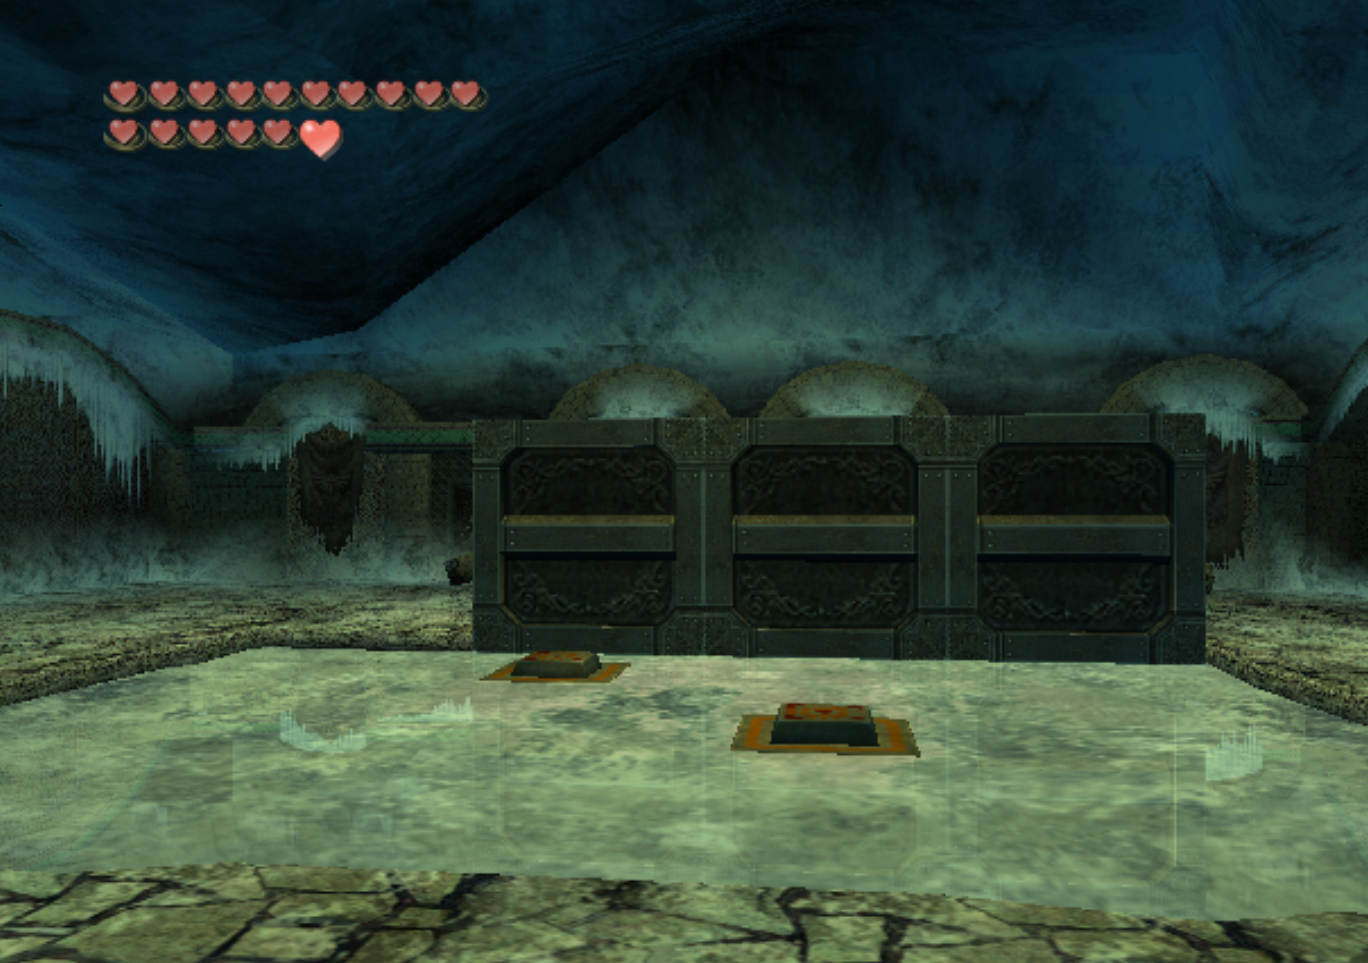
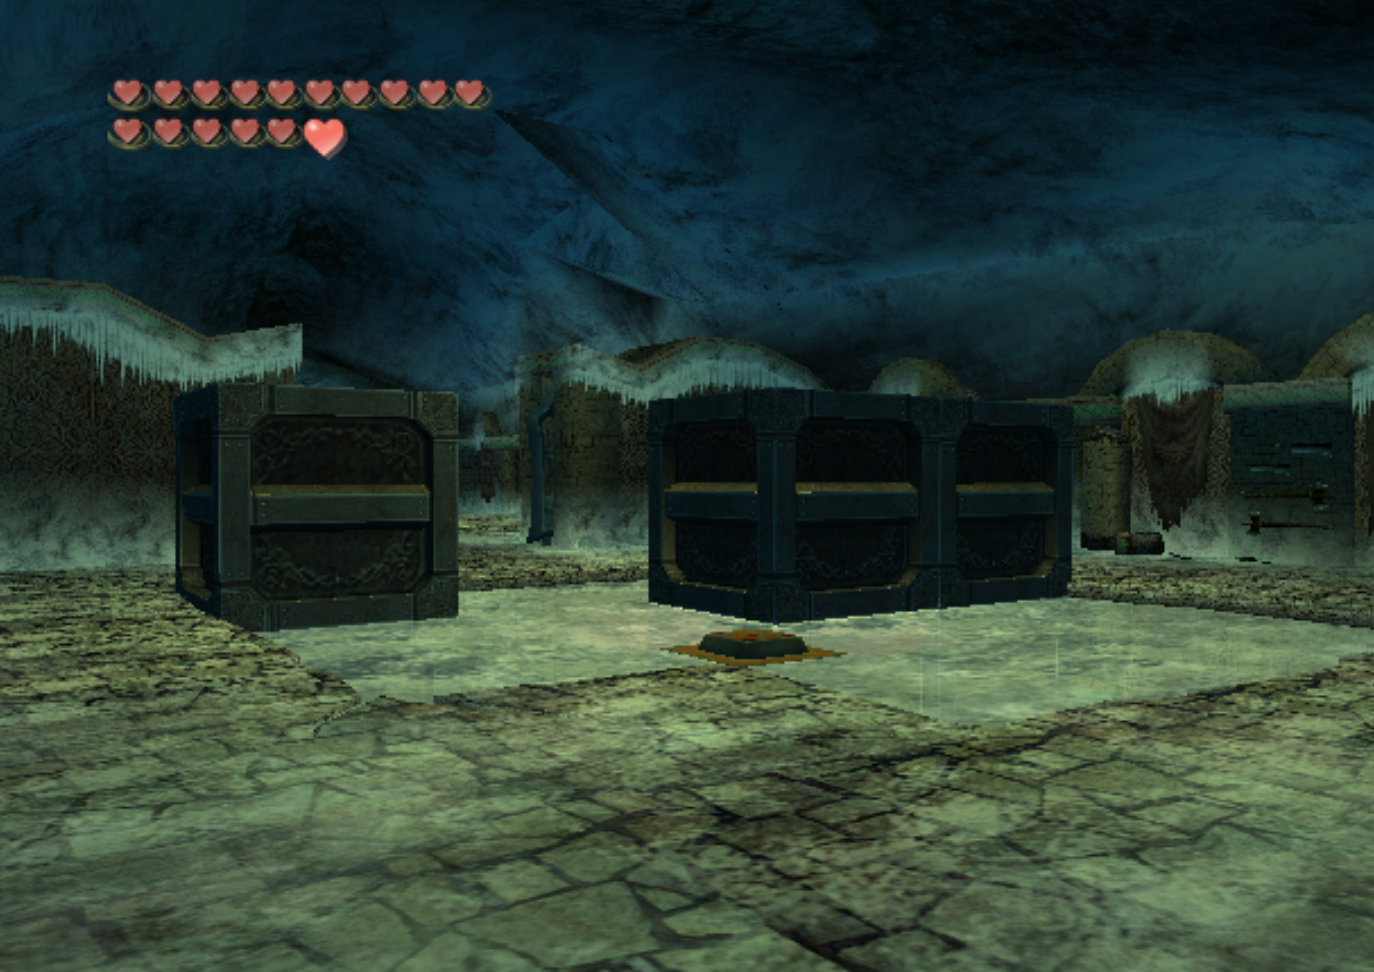
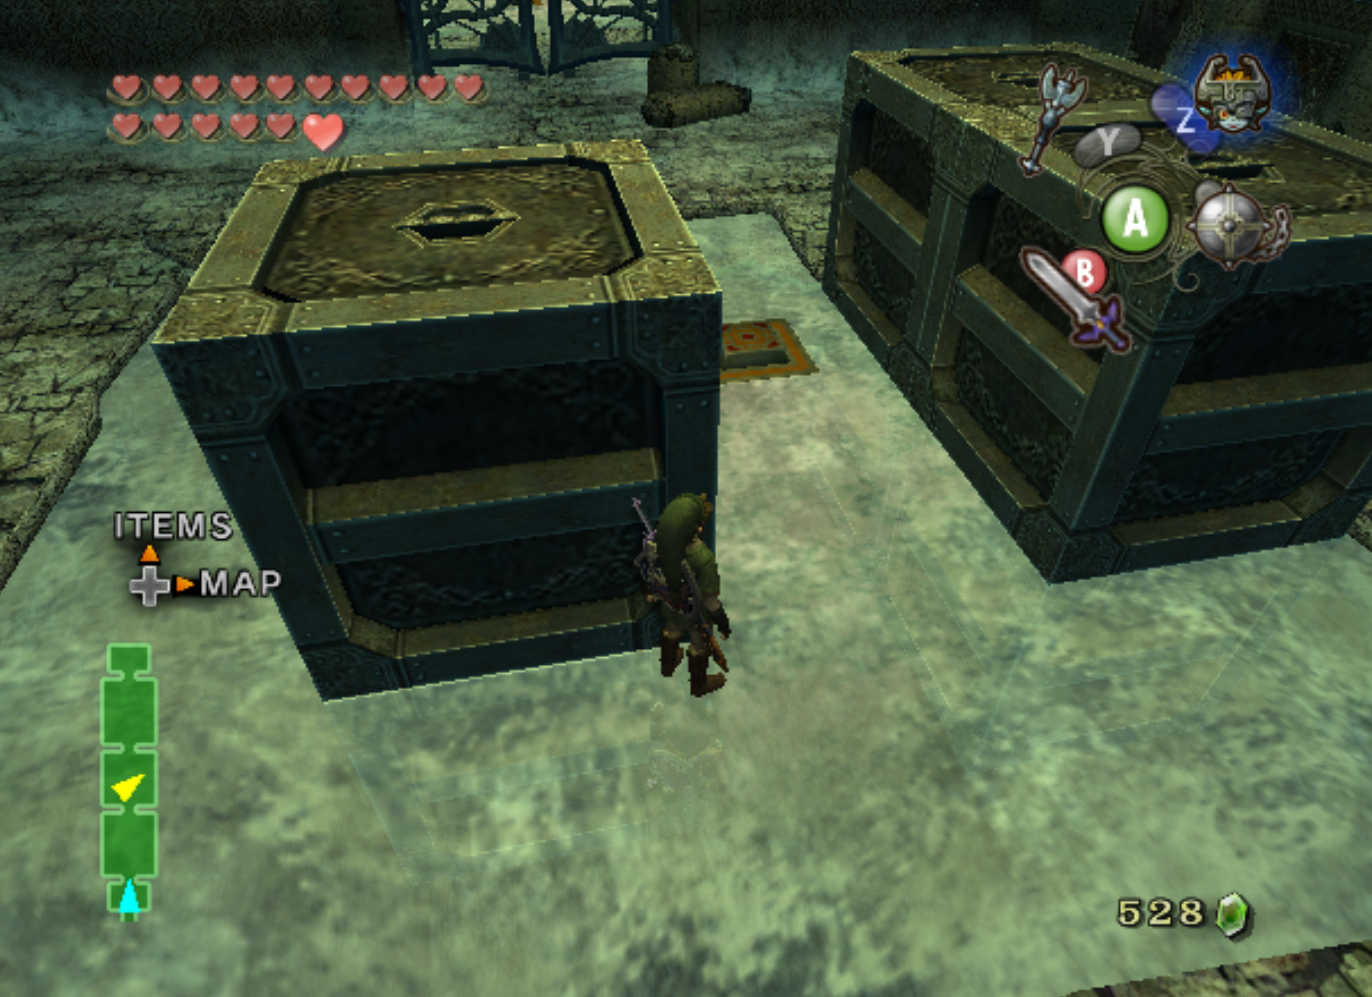
Room 3 Puzzle

This block puzzle is the easiest of the bunch. First thing you want to do, much like the previous two puzzles is line all three blocks up as shown in my screen shot. Before I get started with the process I would like to point out something that'll help out a lot. The block you see in the center of will never move from where it is now. The rest of the puzzle is solved by moving the other two blocks.
To get started take the block that's in the corner and push it around the ice until it reaches the bottom corner but on the same side of the ice; as shown in my screen shot below.
Once you've done that - the puzzle is pretty much solved. All that's left is to push the block next to the block we don't move across the ice and across the switch. Then we push the block in the corner up to the block that doesn't move and then push it across the ice just like we did the other box.
See the pattern here? If you don't let me explain... First, let's make sure your room looks like this:
If it does the next thing we need to do is take the box furthest from the switch (the first one we pushed across the ice) and push it around the ice so it ends up next to the box that doesn't move again. Then what we want to do is push it across the ice and it'll land on the switch.
Room 3 List format
1. Line all three of the boxes up adjacent to one another like the previous two puzzles
2. Push the box in the corner around the ice until it's at the opposite corner on the same side
3. Push the block that was on the bottom of the 3 adjacent blocks across the ice and across the switch
4. The block we just pushed to the corner, push it up to the "box that doesn't move"
5. Push the block across the switch and overtop the ice. If you've done everything right it should collide with the first box you pushed across.
6. Take the first box you pushed across the ice and push it back around the ice so it's next to the "box that doesn't move"
7. Push this box over top the switch.
That's all there is to this puzzle, finishing all three rooms will net you the piece of heart in the chest at the end.