
DemiKids: Light Version Walkthrough - Chapter 3
To begin this chapter we need to return to the Peril Forest which is just south of Center Town. The fastest way here is to use a demon's Teleport skill or use an Angel Wing item to instantly travel to Center Town and from there you'll exit to the south. Follow the path through the Peril Forest and you'll reach a new desert map.
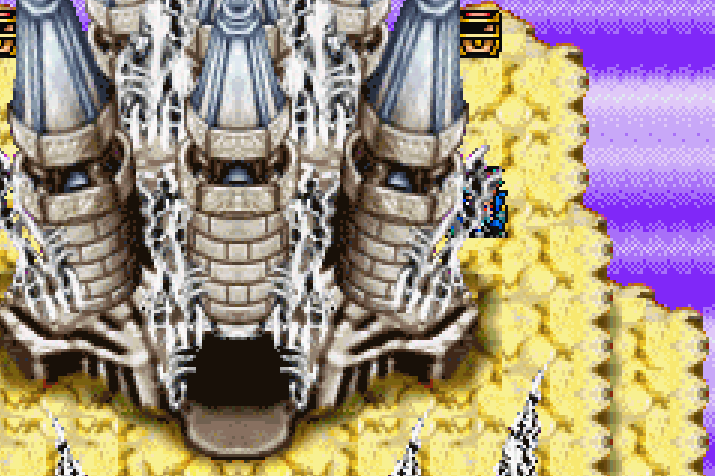
In this desert the main mechanic you'll have to deal with is conveyor belts. Look closely at the dirt and you can see it moving in a direction, once you step on it you'll be carried in that direction until it ends. One path will lead you to the next map and the other paths will lead you to the treasures. When you're almost at the end of the desert maps you'll find a mound of dirt that Rand can "climb up", he'll find a Wing Relic. I really don't understand why he is climbing up them though and not digging them up... If he was climbing them, why do they vanish when you're done? Where is he going?
When you reach Nobleville the first thing you should do is hit up that item shop and purchase a DemSand Map. This shop also carries a RES Chip and a Speed Chip which are pretty good pieces for the Demiloc and Kingloc. Nobleville has a unique Demon Lab where you can fuse Skill Relics into demons to grant them the skill. If you'd like to do this with some of your skill relics feel free to do so, you should do a little research to see which ones are the best before you commit to fusing them onto your best demons!
Search the houses that aren't shops for items (inspect everything and you will find stuff) and exit to the south when you're done here. Now that you have a map you can see that we're in Dune Desert, the map south of Nobleville. We need to travel through this map to Howling, then to Light Path and then finally to Light Temple.
Howling is actually a town, which makes the journey much nicer since we can heal up when we get there. It has a real Demon Lab too which lets us fuse demons together again, if you find random encounters to be too troublesome for these next few areas you can make your team more powerful here before moving on.
Much like before, you'll also want to search the unmarked buildings in Howling for bonus loot. Shops don't usually have anything, but the unmarked houses will. Leave Howling via the southern exit and continue through the Light Path to Light Temple. Towards the end of the Light Path you'll find another mound of dirt that Rand can climb, it has a Wing Relic inside.
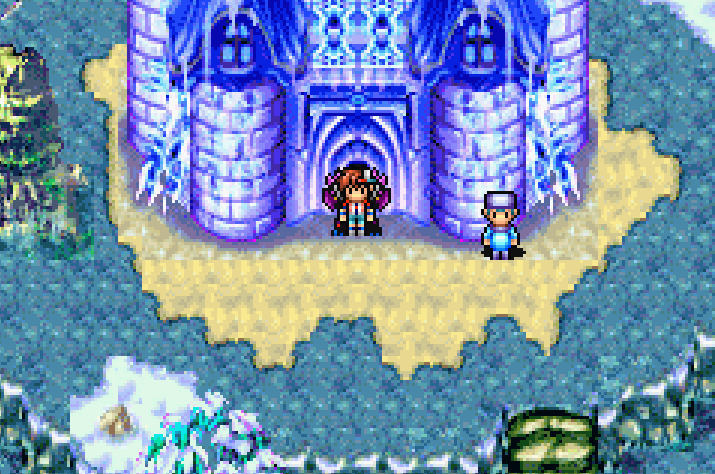
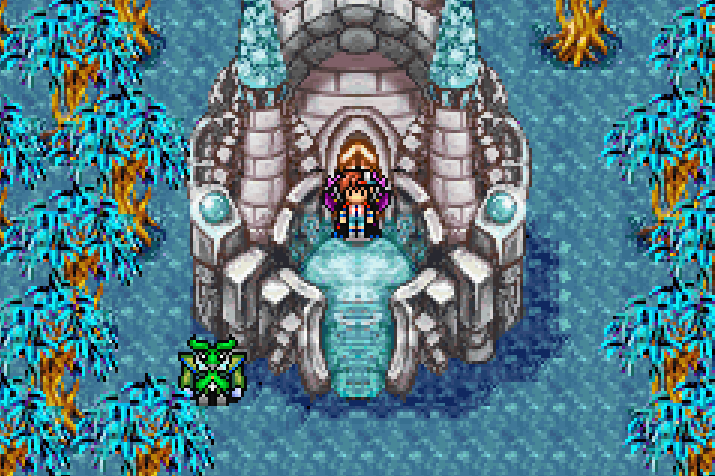
Outside of the Light Temple you'll want to search the left and right hand sides of it before you enter, you'll find two chests - one has a Seryu Soul and the other has a Holy Symbol. You can see the chests near the entrance in the picture below.
Light Temple should look familiar once you enter it, we've been here once before. Loot all of the treasures in the first large room and then go into the northern most room. We watched a scene in this room earlier and looted one chest, the other was locked. Now you'll want to loot the other chest that used to be locked. Inside you'll find a letter from Lord Light and the Testament item we need. When the scene is finished you will be attacked by a demon named Bifronz.
Defeat Bifronz and when you try to leave the room Rand will begin his final transformation. Much like before you will be given two options and each will evolve him into something different. Of course my recommendation is going to be use a save state and see what they both are before you choose the best one for you - but you do you.
Exit Light Temple and use an Angel Wing at your earliest convience, we need to travel back to the Dark Palace and talk with Lucifer. That means we need to travel to Center Town and from there go north to the Dark Palace. Talk with Lucifer and he'll tell you to go to where Light and Dark first met. Use Teleport and travel to Hueyville, we need to go north of this town to return to Time's Edge. You'll go through the portal to your elementary school and then through the adjacent portal to Time's Edge.
In Time's Edge you'll want to speak with Shin, he's standing in the middle of the green star. He'll tell you to visit Hydraville, from there we have to go south and then west to Jude Plains. To get to Hydraville you'll want to exit Time Tower (keep traveling south until you come out onto the "overworld") and use an Angel Wing or a demon's Teleport skill.
Just south of Hydraville is Duvegs Trail and west of that is Jude Plains. There is a new town called Avalon which you can reach by traveling west through Jude Plains, if you want to stop here now you can. It's just a normal town though and we can't go any further west right now.
Our destination to advance the story is actually Elysium to the north. To reach Elysium we'll first need to travel through Mount Falos; so basically go north in the Jude Plains to Mount Falos then continue north through that to Elysium. Just before you reach Elysium there will be another mound of dirt you can climb up with Rand, you'll find another Wing Relic.
Elysium Castle
To advance the story you will want to enter into the large castle in the northern portion of Elysium (pictured above). Go up as far as you can inside of that building and you'll have a scene with Akira as well as Lord Light and Lord Dark. When the scene is finished you'll want to do whatever town stuff you need to do then head back to Avalon. If you can, Teleport there to make it faster.
I recommend you buy some Mana Sundae, Revive Gem and Energy Cube from the item shop in Avalon before leaving. We're very close to the end of the game now and having these items for the final dungeon may make the difference between winning and losing. Search the well in Avalon for some Attack Gum and the unmarked buildings for any other goodies, exit to the west when you're done.
West of Avalon is a place called Rainy Woods, we'll need to travel through this map to get to our next story map. Midway through the Rainy Woods you'll encounter a demon by the name of Mad Hat (pictured below). Speak with Mad Hat and choose a hand when he prompts you, you'll always choose the wrong hand but that's ok because once you beat the demons he summons he'll join you.

Mad Hat is found in the Rainy Woods
You will exit the first Rainy Woods map to the southwest and the second Rainy Woods Map you'll exit in the northwest. Once you make it through Rainy Woods you'll find yourself in Tyrnanog which is pretty much part 1 of the final dungeon. To progress through Tyrnanog all you have to do is head up the stairs. Finding the stairs is pretty easy, if you want the optional loot on each floor then you'll have to go out of your way to get them.
When you go up the first set of stairs you'll encounter Ozemos who will challenge you to a fight, beat him and continue east to find another set of stairs. Getting near this set of stairs will trigger a scene with Akira, you'll be thrown into the penultimate boss battle when it's over so make sure you're prepared. After defeating your boss backtrack to the previous room and loot the chest for a Wizard Ring.
After getting the chest return to the room where you beat the boss and enter the teleporter in the northern part. This will take you to a whole new map, to your right you'll find a chest with a TimeRift Map inside of it. From our current location follow the linear path north until you reach the final boss at the end.
The final boss fight of this game isn't too difficult, it has a lot of HP but it doesn't hit very hard. My best piece of advice is to use items to restore your HP/MP after you get closer to the boss. Use them sooner rather than later because when you get close to the final area it will automatically begin the scene and then the fight.
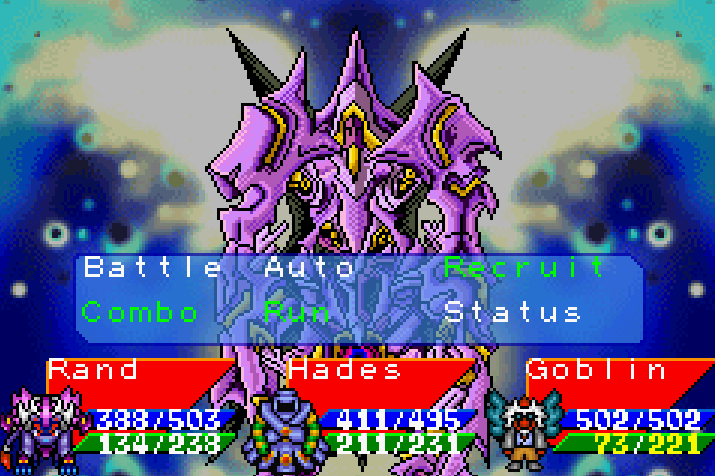
The final boss of this game is Quazir
For pretty much this entire game my strategy for bosses is to pick battle the first round and use a group heal and autto attack on the other two demons. I did the same exact thing for this final boss, I ran out of MP on at least two of my demons because of how many rounds the fight took but it was over with little to no effort.
The alternative method for defeating this boss is to blow him up with your strongest Skills and Magic attacks. I'll let you do what works best for you. Once defeated you'll have a final scene during which you'll be asked a question that has 3 possible answers. Below are what each answer will lead to:
More Adventure: When the credits are finished you will regain control of your character in front of the Old Tower. This is a dungeon that will let you fill your Demonary and experience more content in the game.
Rest & Recuperation: After the credits you will restart your game in the last location you saved.
Rebirth: You go back in time to just after beating Gargoyle. You'll retain your demons, demonary status, items, level and Macca.
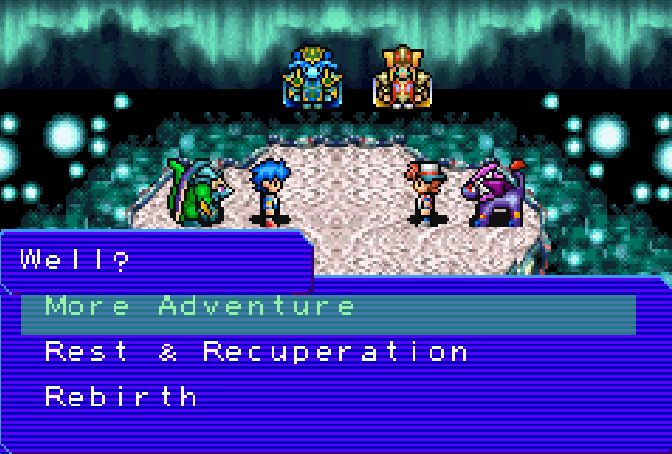
The main story of the game ends here but there is one bonus dungeon that you can do if you select More Adventure - so that's what the rest of this guide will cover.
Old Tower
The rest of the guide is going to cover what happens when you choose More Adventure during the ending scene. You will regain control of your character just outside of the Old Tower dungeon (pictured above). Head inside and grab the OldTower Map item from the first chest you see, this will let us view the map of the dungeon.
Before we go too far into this dungeon, you will likely need to rest up and heal your demons from the previous boss fight. Exit the area with the Old Tower to the south and you will come out in Time's Edge. From here you can visit any location you'd like to rest up and heal.
Old Tower 1F & 2F: These two floors share a puzzle, there are arrows on the ground, teleportation tiles, holes and stairs that allow you to travel back and forth between the two floors. What you're looking for is a red door on the 2nd floor that will lead you to the first boss of this dungeon, Gilgamis. In my experience finding the red door isn't too hard, there are multiple ways here. Getting all of the treasures is the hard part!
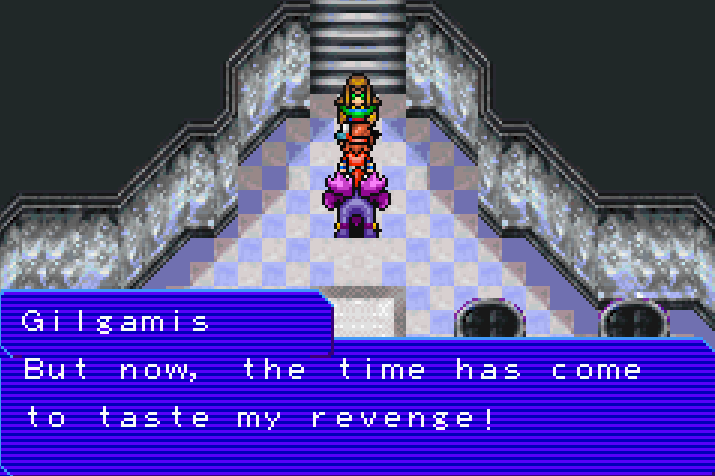
Gilgamis is the demon protecting the stairs to the third floor
When you beat Gilgamis he will join your party, he's a level 52 demon which is quite a bit more powerful than the ones we can recruit. The same thing will happen when you beat the next bosses in this tower as well!
Old Tower 3F: Some staircases have moving textures on them and you can only take them one way, kind of like a conveyor belt. You will find ledges throughout this floor too and you'll have to go through the reddish looking doorways to move from ledge to ledge. To find the doorway that leads you to the next boss keep going up at every opportunity.
The next boss of this dungeon is named Dredalus and you'll meet him inbetween the 3F and 4F. Beat Dredalus and Summon him from the Vinecenter so that we can put him into our active party immediately. He is a level 54 King-class demon which means he'll need to go into the Kingloc.
Old Tower 4F & 5F: Teleportation tiles are back in style for this floor! You'll also find arrows on the floor and water-conveyor belts. In order to reach the stairs in the middle of this floor you'll need to follow the puzzle as it leads you to the northeastern portion of the room. Then you'll be able to run underneathe the water conveyor belts and various platforms to reach the stairs in the middle. Follow these up to the next floor/boss - Shiva!
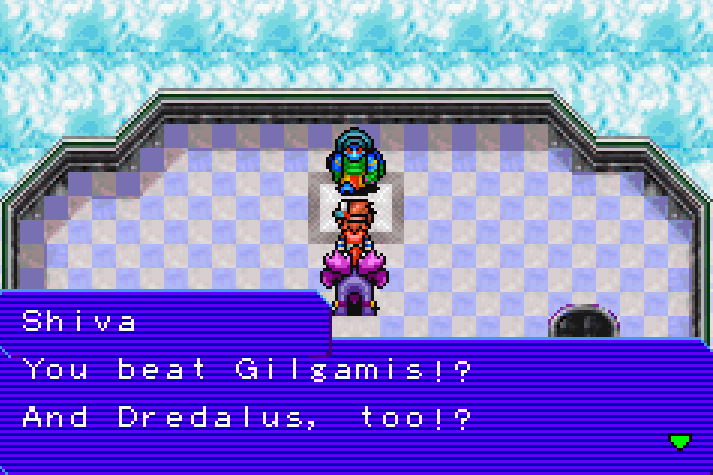
Shiva is the final boss of the Old Tower and she is only marginally more difficult than the previous two. Much like the previous two once beaten she will join you. That's all there is to this final dungeon, if you'd like to finish your Demonary or run around and collect all of the optional loot that's totally up to you. This is where my guide ends though since we're done with the game.
Return to DemiKids: Light Version Walkthrough (Chapter 2)