DemiKids: Dark Version Walkthrough - Chapter 3
In the previous chapter we visited Myorl Town and left town going east. We're now in a map called the Dark Path - if you're new to this guide I recommend that you use the R button to ride Gale around the map. Doing this will allow you to move faster, jump across small gaps and also destroy boulders that you find. All of these things will get you access to more areas where you can find more goodies.
When you're ready to continue with the story travel southeast through this zone until you hit a wall then turn north and follow that path up until you reach the next map, Dark Temple. Outside of the Dark Temple you'll find two chests, one to the right and one to the left. The left one contains a Holy Symbol and the right one has a Suzak Soul.
The Dark Palace dungeon is quite linear, our destination is all the way straight north - remember that second chest we saw in the past but couldn't open? That's what we need this time around. On your way to this chest in the north you should explore the east/west in each room for many bonus treasure chests.
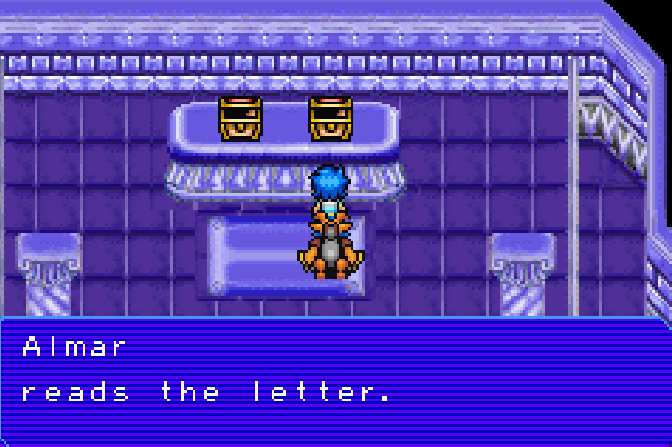
Grab the letter from the Dark Palace to continue with the story
Once you open the chest and watch the short scene you'll be ambushed by another Imperius demon, this one is named Bifronz. Defeat Bifronz and exit the Dark Palace, as you're going down the stairs to leave Gale will alert you that he is evolving yet again! Much like before you will be given two options and depending on what you choose Gale will evolve into something different.
After choosing your evolution for Gale it's time to return to Center Town and travel north to the other Dark Palace. Inside of this Dark Palace you'll want to talk with Lucifer again and he'll tell you what you must do next. We need to travel to a place called Elysium which is found to the west of Hydraville.
Exit the Dark Palace and use an Angel Wing (or Teleport spell) to travel to Ice Temple. From here you'll want to enter portal to travel to Time's Edge. Travel south through Time's Edge and Time Tower until you reach the Tower Area which is outside. Here you can use another Angel Wing to travel to Hydraville.
Leave Hydraville via the southern exit to find Duvegs Trail. Our destination is the exit in the western portion of this map, the first time we came through here it was blocked off but now it's open. This exit leads to the Jude Plains which is a new map for us with new demons and a couple of goodies if you explore.
You can exit Jude Plains in the northwestern portion of the map, this will lead you to Mount Falos which you'll follow the linear route north until you reach Elysium. The only thing we need to do in Elysium is enter the large temple in the northern portion of the area and watch the scene with Jin inside. If you're having trouble finding the temple use the screenshot below, that's what you're looking for.
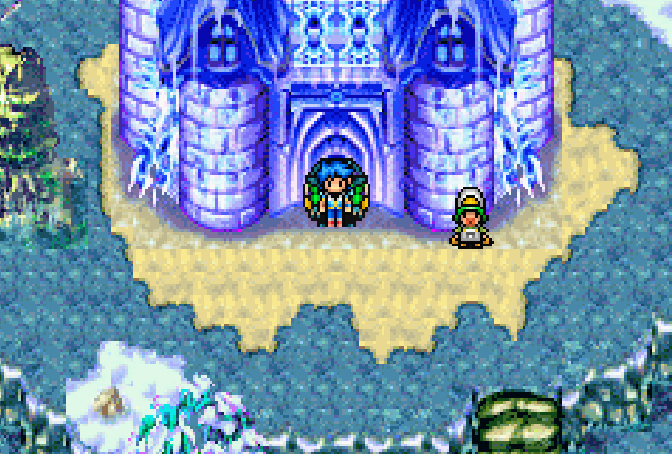
You'll find the large temple in northern Elysium
After watching the scene with Jin inside of the Elysium Temple you'll want to exit the town and return to Jude Plains in the south. This time you'll want to exit Jude Plains to the southwest, this will lead us to a new town called Avalon. We're getting close to the end of the game so it may be a good idea to stock up on items like Revive Gems, Energy Cubes and Mana Sundaes. I strongly recommend you buy at least 10 of each from the shop in this town.
When you're done in Avalon exit out of the western portion of town and speak with the green demon that you see. Offer to help and you will be thrown into a battle against two demons. Beat them and you'll get Morrigan to join your party. Morrigan is a level 45 king demon and is quite powerful for this level range.
The area we're in right now is called the Rainy Woods and there are a couple of goodies to find throughout. On the first Rainy Woods map you'll want to travel to the southwestern corner which is where our exit is. For the second Rainy Woods map you will want to go to the northwestern corner, this exit will take you to Tyrnanog which is our destination.
Tyrnanog is the final dungeon (sorta) of this game. You'll find tons of optional treasure on the first floor, when you're ready to advance to the second floor take the stairs up. On the second floor you'll find a boss waiting for you by the name of Grimlee. Defeat her and continue east
Tip: If you're struggling with the random encounters or bosses I recommend you spend some time recruiting demons and fuse them all into Gale. Making Gale as powerful as possible will make the game much easier. I also recommend recruiting demons from this dungeon and fusing them together until you make something more powerful. This will make the battles you face much easier.
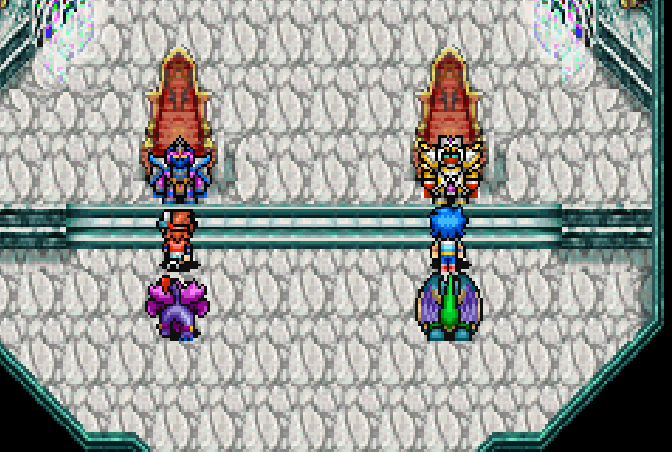
After having defeated Grimlee travel east down the hallway and watch the scene as you're about to go up the stairs. Jin will join you and the two of you will defeat Imperius together! When the scene is over you'll automatically be thrown into the battle against the boss.
Once he's been beaten Imperius will flee through a portal in the northern portion of the room, follow him. After going through the portal grab the chest to the east which contains a TimeRift Map, this will let us see the area around us. Thankfully this area is extremely linear so all you need to do is travel directly north until you trigger another scene.
Seipher is the final boss that's summoned for you to fight. The fight is kind of easy, just keep attacking and the boss will constantly change forms, eventually he'll die. If you struggle my advice is to have one of your demons cast group heals every round and whenever they get low on MP use an item on them to restore it.
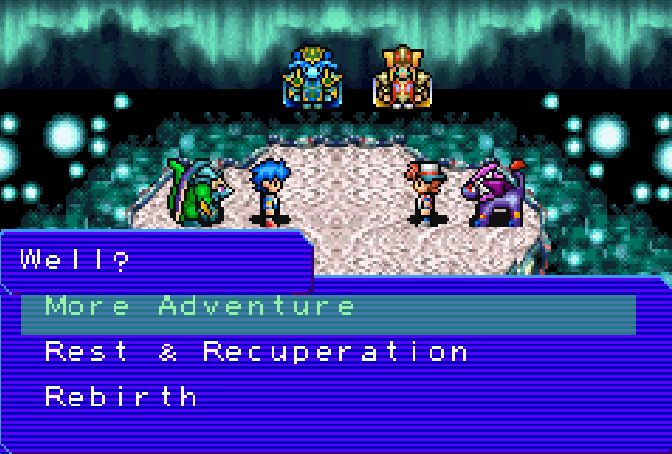
When the fight is over there will be another long scene during which you will be asked a question. There will be three choices, all of which are shown in my screenshot below.
More Adventure: When the credits are finished you will regain control of your character in front of the Deep Hole. This is a dungeon that will let you fill your Demonary and experience more content in the game.
Rest & Recuperation: After the credits you will restart your game in the last location you saved.
Rebirth: You go back in time to just after beating Gargoyle. You'll retain your demons, demonary status, items, level and Macca.
Deep Hole
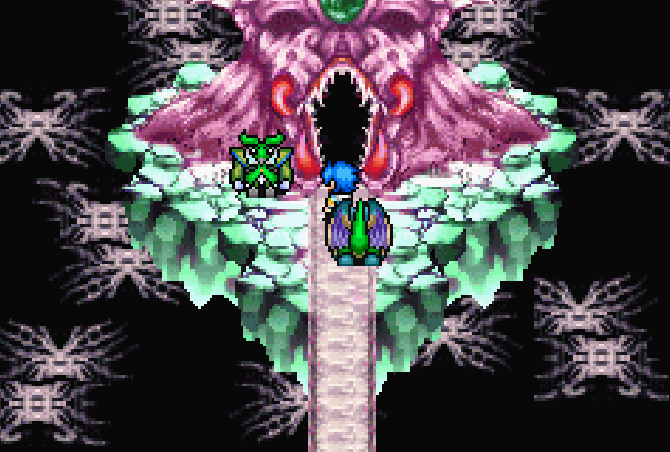
The rest of the guide is going to cover what happens when you choose More Adventure during the ending scene. You will regain control of your character just outside of the Deep Hole dungeon (pictured above). Head inside and grab the Deep Map item from the first chest you see, this will let us view the map of the dungeon.
Before we go too far into this dungeon, you will likely need to rest up and heal your demons from the previous boss fight. You can exit this area to the south and you'll find yourself in the Dark Palace (the same location as Lucifer). Travel back to Central Town, heal up and then come back here.
Now as for the dungeon itself, there will be treasure chests scattered all over most floors that you can collect - all of these are optional (of course). My goal with the rest of this guide is to navigate you through the dungeon rather than try and navigate you to all of the treasures.
Deep Hole Floor #1: This is one of the more difficult floors since navigation is not straight forward. I recommend you check out my Demi Kids: Dark Version Deep Hole (Level 1) Walkthrough to see how I navigate this floor from start to finish. For stuff like this explaining it in video format is so much easier than text.
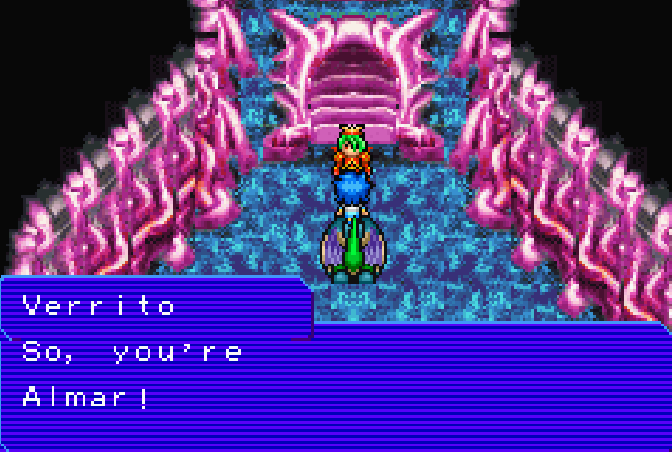
Deep Hole Floor #2: Easy floor, very straight forward. Our exit to the third floor is in the southeast portion of the area. Before we can reach the third floor though we'll have to deal with the first boss of this dungeon, Verrito.
Verrito is a pretty easy fight and once you eliminate her she will join your party. I strongly recommend you put Verrito in your active party immediately since she is way more powerful than the other demons you can recruit or fuse at this time. We'll fight a few more bosses in this dungeon and each time they will join you - I will recommend the same thing for all of them, make sure you use each new boss in your battle party.
Deep Hole Floor #3: The third floor of this dungeon is difficult to navigate since we're dealing with the annoying teleporter pads again. I think the best advice I can give you in text is when you go across the tan bridges on this floor - that means you're going the right way. For those of you still having trouble with navigation here I recommend my video: How to Reach Floor #4 in the Deep Hole.
Much like the previous floor, when you complete the third one you'll find another boss, this one is named Phegor. Again, much like before once you beat Phegor you'll want to put him into your battle party. Both Phegor and Verrito are King demons so you'll have to put both into the Kingloc, this also means you can only use one of them during battle.
Deep Hole Floor #4 & #5: Unlike the previous floors, the fourth and fifth ones are a combo puzzle. The teleportation pads you find are mostly here for you to reset the puzzle once you find treasures; they will return you to the entrance of this floor when you step on them. You can use them to travel to different parts of the puzzle too but they will often be dead ends. Pay attention to the floor you travel across too in these areas as it will deal damage each step you take.
You will find a doorway in the southern portion of Deep Hole Floor #4 and in the southern portion of Deep Hole Floor #5. As for the doorway on Deep Hole Floor #4, you'll want to inspect the northern wall to speak with a hidden demon named Starhair (pictured below).
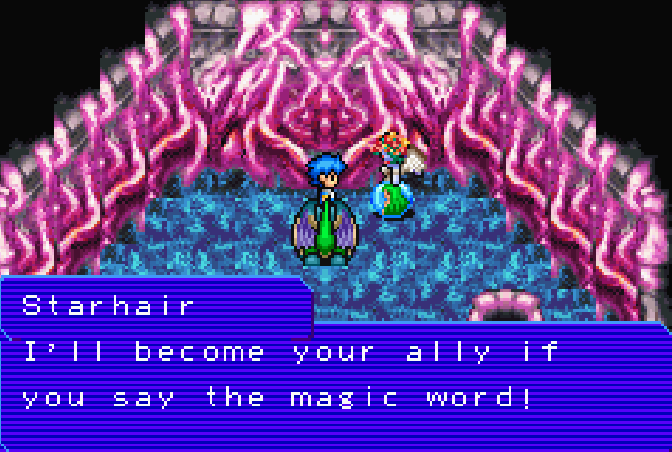
Tell Starhair Tensei to have her join your party
Starhair will ask you for the secret password - if you get it right she will join your party. The password for Starhair is Tensei. Much like the previous two demons we recruited Starhair is a King class demon which means you can only use her in the Kingloc. That's kinda lame but the upside is that she comes with healing skills which make her a good inactive party member.
If you manage to find Starhair that means you're already really close to the door on the floor below us. Exit the room with Starhair and go northeast to find stairs down. Follow the linear path from these stairs to the south, go under the few bridges and you'll find the next door that leads us to stairs down to the final level.
Deep Hole Floor #6: At first this floor seems very confusing but it's actually quite linear. You will start by going left and following the linear route to the teleportation pad. Each time you take a teleportation pad it will port you to the opposite side of the room, you'll do another linear part and then be ported to the opposite end again. Rinse and repeat this as you work your way through the room and eventually you'll reach the door at the bottom.
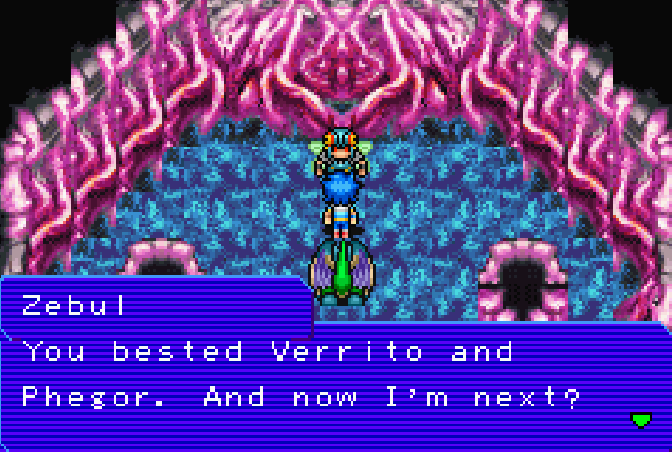
The final boss of this dungeon is named Zebul (pictured below) and much like the previous bosses once you beat this guy he will join your party.
Once you've bested Zebul you'll be done with this dungeon. Sadly nothing appears once Zebul is dead to teleport us back to the entrance... so that's on your to navigate your way out. You can continue to explore and grab all of the treasures available if you'd like or whatever else you'd like to do. Now that we've cleared this dungeon we're officially done with the game. Congrats!
Return to DemiKids: Dark Version Walkthrough (Chapter 2)

