Golden Sun: The Lost Age - Walkthrough Chapter 7
Follow Moapa to the north again for another scene, during this one you'll get an explanation of Trial Road and how it all works. If you've played the first Golden Sun game then you probably did Colosso already which means you'll already be somewhat familiar with how this event works.
Our goal is to reach the top before the other team, if you diddle dally and take too long you'll have to give up more items to reach the top which will put you at a more serious disadvantage. At the start you will be given the option of two routes, you can choose the left route or the right one. I strongly recommend you choose the left route since that is the easier of the two.
Before doing Trial Road go up the ladder to the left and circle back south to get the Hard Nut from the chest.
Tip: I recommend you put Armor into each chest since you need your weapons to deal damage to Moapa. Assuming that you reach every chest first - you should be able to give up one piece of armor per character which isn't too significant of a handicap for you.
***Important Note***
The order of rooms for this event will change depending on the name given to Felix at the start of the game. For me, all of the rooms were in reverse order (I did room #4 first and room #1 last; I also had one room from right side in my left side and vice versa). If you gave Felix his true name (Felix) then your order of rooms will be the same as shown in the guide below - and basically all other guides online for this game. For those of you like me who used a custom name, you'll have to match up your puzzle with the appropriate picture below to know the strategy.
***Important Note***
Trial Road - Left Route
I wanted to put another note here, even for me with the different sides getting mixed together - the left route was still significantly easier for me.
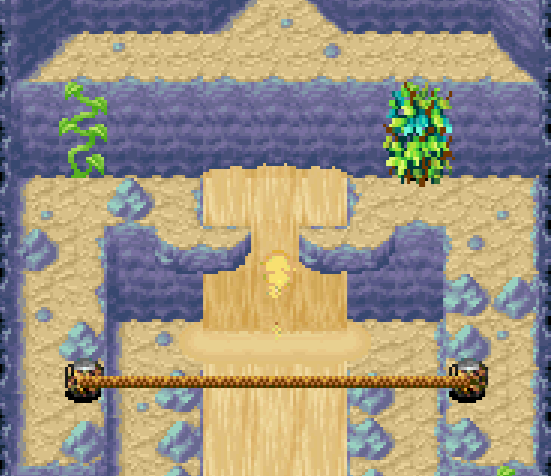
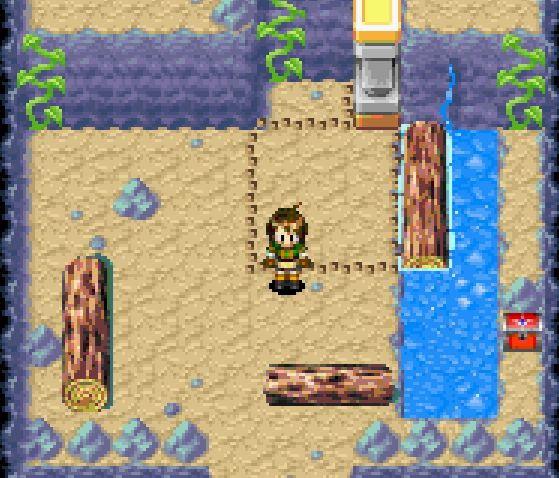
1. Push the small log up
2. Push the large log to the left
3. Use Move Psynergy on the pillar and push it north one tile
4. Push the small log up again
5. Push the other large log to the left.
6. Push the small log down to get it out of your way
7. Move the pillar to the top right so that it's positioned against the wall
8. Get behind the big log and push it over to the left so that we can jump across to the vines

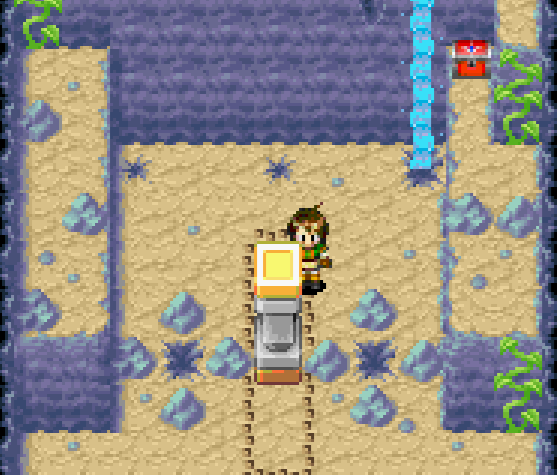
Trial Road - Right Route


If you're the first one to make it to the top then Moapa will arrive immediately after you, otherwise he'll be waiting there. You'll have to battle him along with the two people that did the trial with him, once you win you'll be given the Hover Jade item as a reward.
When the scene is finished you'll regain control of Felix inside of the Inn. Now that we have access to Moapa's building in town we can easily get the next Djinni, Aroma. Check out my Djinni Locations (Part 4) for more information on how to capture this Djinni.
Our next destination is the Jupiter Lighthouse - finally. This place is reached by entering the south continent from the center right river. Sail through the river to reach Atteka Inlet and from there you'll want to walk to the World Map and travel north. If you got the Djinni earlier in the game from Contigo then you already have been through this route. If not you may want to do that now! Just like before, Djinni Locations (Part 4) for more info.
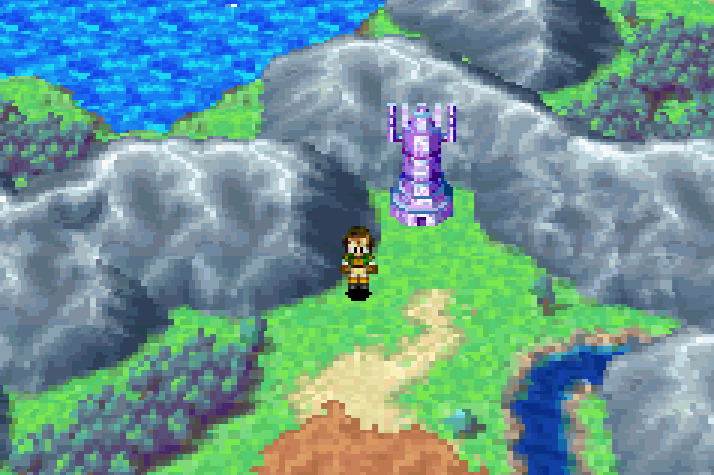
The Jupiter Lighthouse is found far to the north of Contigo, a picture of what you're looking for is shown below.
The Jupiter Lighthouse
If you've played the first Golden Sun game you should be familiar with these lighthouses and what they are. Each lighthouse is multiple floors and every one has many different puzzles. You're in for a long and arduous journey ahead. Don't worry though as I will cover each puzzle with this guide and help you conquer the challenges of the lighthouse!
When you first arrive head inside and explore a bit, you'll eventually come to a dead end with a cyclone teleporter. Before taking the teleporter grab the Mint in the bottom right of the area (near the entrance of the lighthouse). After collecting that use Cyclone near the teleporter to be carried inside of the dungeon. When you arrive go south at the fork and use cyclone on the plants to uncover a Mad Plant. Defeating it will get you another Mint, nice two permanent boosts!
Continue through the dungeon until you get to the room shown below. Use Hover while standing on the purple dot and walk over to the nearby platform.
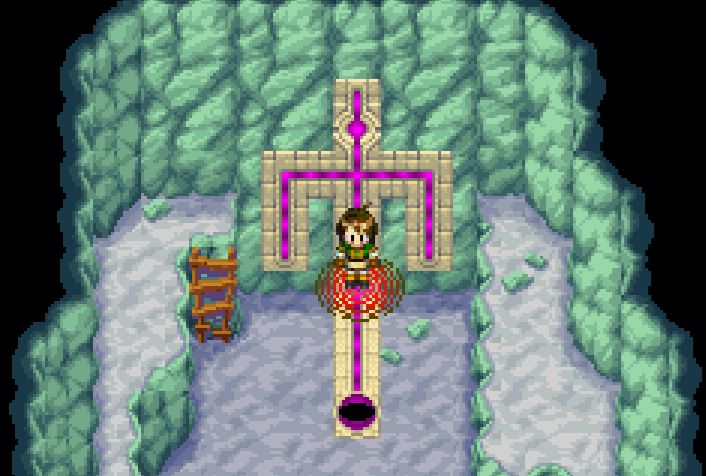
Use Hover while standing on the purple part
South of where you land you'll find a purple circle on the ground which you can use Cyclone on; this will transport you back inside of the lighthouse. Push the pillar into its position to open up the front doors, now we have a shortcut for later. When you're ready for more puzzles head inside of the lighthouse and continue until you find the log/pillar puzzle. That puzzle we'll cover on the next page.
Continue to Golden Sun: The Lost Age - Walkthrough Chapter 8
Return to Golden Sun: The Lost Age - Walkthrough Chapter 6

