Halo Reach (Mission 7) Exodus Walkthrough
Video Walkthrough: (Mission 7) Exodus Walkthrough
Datapad Locations: Datapad #6 Location and Datapad #15 Location
Exodus begins with us sneaking through a city, badly injured from the fall that we'd never survive if this wasn't a video game. My favorite is how we can fall like 1/100th the distance while playing the game and die but not during a cutscene. Anyway, at the start of this mission if you're interested in getting an Achievement in the MCC you should make a quick stop at the stuffed bear. For more information check out my No Picnic Achievement Guide Youtube Video.
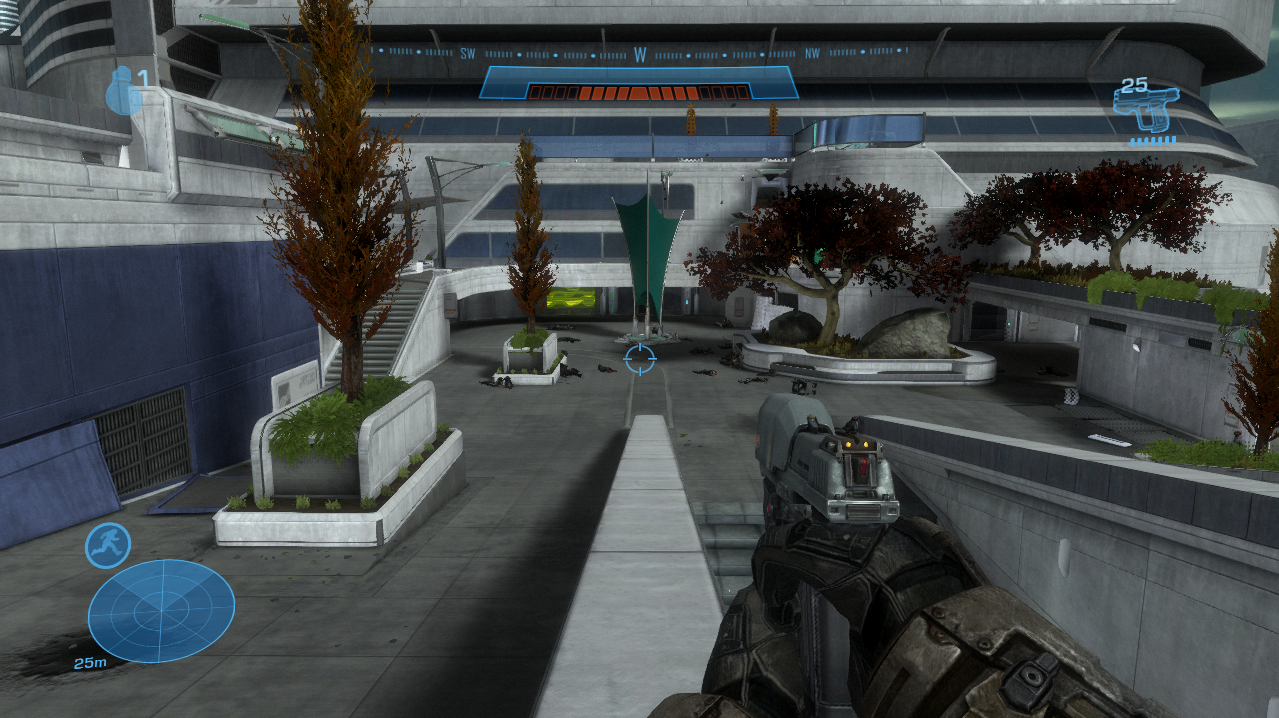
After the bear you'll have some Skirmishers to deal with followed by some tight hallways with a bunch of Grunt suicide squads. The Grunt suicide squads are extremely deadly because the hallways are so tight that you often don't see the grunts until they're right ontop of you. Once you make it through the suicide squad hallways you'll come to an outside area with Brutes attacking civilians (pictured below).
In this area you have to save the civilians from the Brutes while being careful not to accidentally shoot the civilians and kill them. There will be a couple of Brutes you have to kill and they'll be too preoccupied with killing civilians to fight back. If you're interested in another Achievement you can get the Humble Beginnings of Wiljax Brantley Achievement from looking at an advertisement board in the same location where you save these civilians. Follow the link for more details.
The next area will be a giant lobby with a bunch of civilians waiting around near an elevator. You will need to clear all of the Covenant in this room then press the elevator's call button (it will be marked on your HUD when it's time to press it). Civilians will come over to the elevator and wait for it once you press the button. For this next part of the mission you're tasked with protecting the civilians as the elevator comes to you.
When the elevator arrives you'll want to board it and press the button inside to activate it. You'll ride it up to a new part of the level - commonly known as the jetpack portion. There will be a nearby weapon rack after disembarking from the elevator with some DMRs on it (I highly recommend you take one). Our destination is to the north across a half-destroyed metal walkway.
Head across the walkway and some Marines will escort you into a nearby room with multiple Jetpack Armor Abilities. Grab one of these because we're going to need it for the next part of the mission and use it to jump across the hodgepodge of destroyed metal walkways that litter this area.
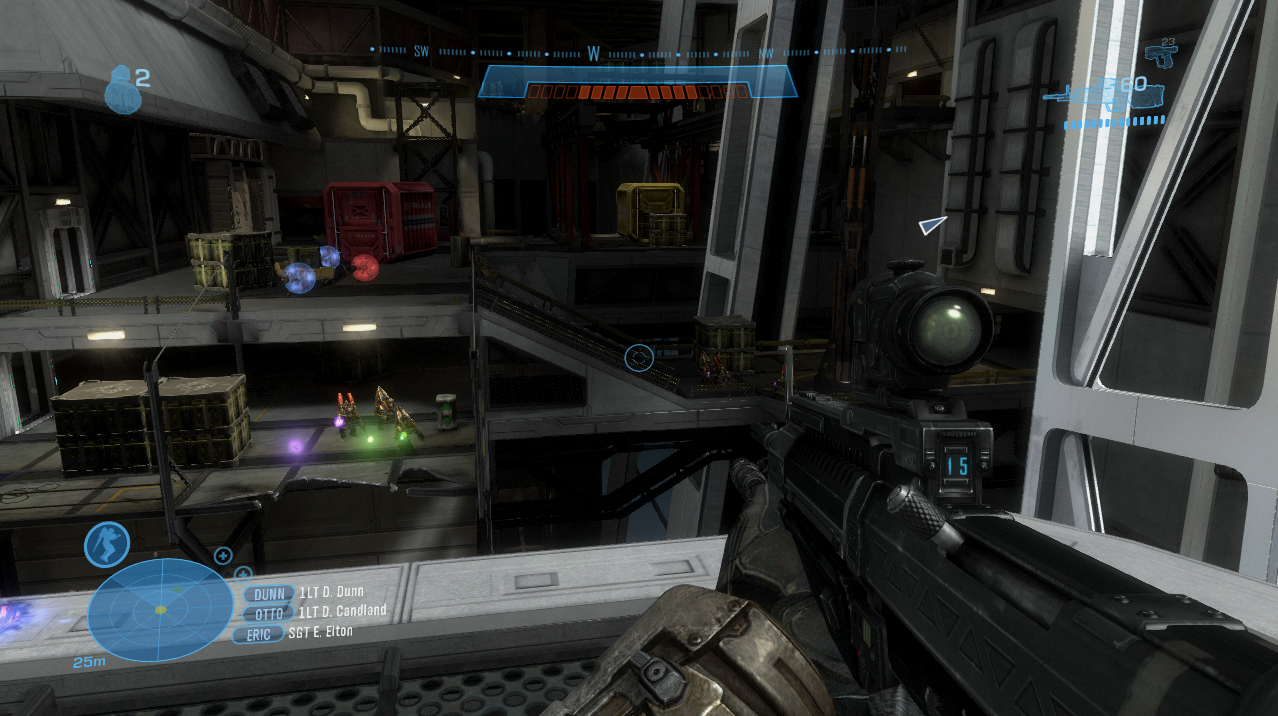
Our destination is a small tower on the other side of the area which we'll use as a vantage point to pick off a couple dozen Covenant in the western part of this area. A picture of the tower I am talking about is shown below.
From this tower you will have a perfect vantage point of the entire western half of this area. There will be probably 3 dozen Covenant you need to eliminate before you make the area safe; killing all of these Covenant is optional but trying to make it across this area without killing them is nearly impossible. Another added benefit of clearing out all of the Covenant is a marker will be added to your HUD pointing you to where you need to go.
If you're interested in getting Datapad #6 you'll find it in this portion of the mission; you can get this Datapad on all difficulties. Check out my Datapad #6 Location Youtube Video for the exact location and how to reach it. The next Datapad is found in the very next outside portion that we come to - where the Falcon picks us up. For more information about that one and how to get it check out my Datapad #15 Location Youtube Video.
Your HUD marker will lead you up some stairs and into another lobby - this area is the one place I found pretty confusing for this mission. Use your jetpack to fly up a couple of floors in this lobby and look for some writing on the wall that says New Alexandria Concourse. It's a couple floors up and on the south side, it's pretty easy to find once you know what you're looking for.
Note: If you want better weapons or ammo at any point - explore the area. There are weapon racks and weapons lying on the ground in many different places, finding a DMR or a Sniper Rifle won't be too difficult if you look around.
When you step into the next outside area you'll get a HUD marker for a large tower in the southeast, this is our next objective. If you want you can jetpack over to the tower and skip most of the Covenant or you can go the long way up the stairs circling around until you get there.
Going inside the main entrance of the tower gets you a new objective, secure the landing pad. For this you need to clear out all of the Covenant in the area and blow up both of the Covenant turrets that are on the landing pad. A Falcon will arrive shortly after you do this to pick you up and take you to another area.
As you're riding the Falcon there will be dozens of different targets you can shoot at - all of it is optional. This area you're flying through is actually part of the Did You Major In Marine Bio? Achievement, if you're interested in getting that Achievement follow the link provided to be taken to my video about it. Getting it will require a lot of backtracking and isn't part of the actual mission.
The Falcon you're riding in will take you to a large battle arena which is actually the Beachhead Firefight Map. It's a very large area that's packed with dozens of Covenant enemies, funny enough you actually do not need to kill any of them here to complete the mission. All you need to do is arm two missile batteries in the area, once both are armed the mission will be completed.
Both of these locations will be marked on your HUD when you get close to them - one is in the smaller northern compound in the area and the other one is in the large building in the east. If you'd like to see both of the locations I recommend you watch my Exodus Walkthrough Youtube Video; I start the video during this part of the mission so you don't have to fast forward. As aforementioned, once you hit the second button the level will be complete.
Continue to Mission 8: New Alexandria
Return to Mission 6: Long Night of Solace


