
Halo Reach (Mission 5) Tip of the Spear Walkthrough
Video Walkthrough: (Mission 5) Tip of the Spear Walkthrough
Datapad Locations: Datapad #4 Location and Datapad #13 Location
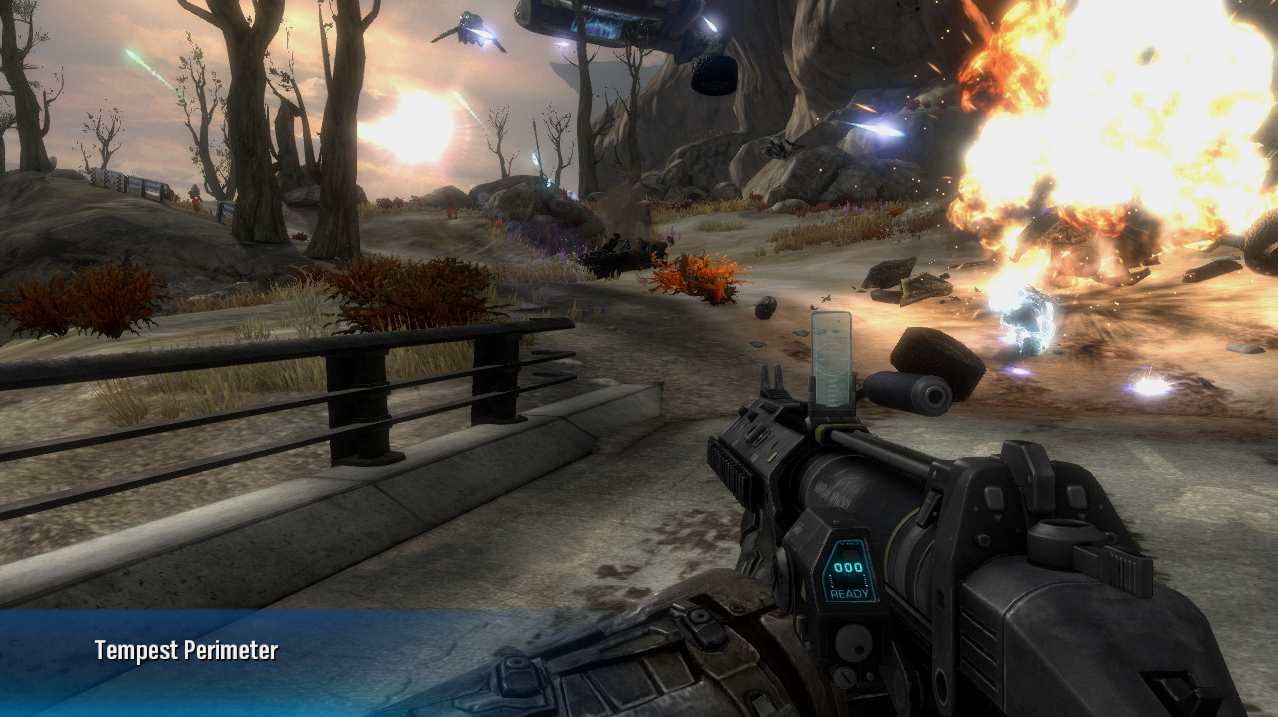
Tip of the Spear starts with a bang, quite literally! You begin this mission immediately after your Warthog is destroyed while crossing a gap. Unlike the previous missions you start this one with a UNSC grenade launcher. This weapon can be a bit difficult to use for first timers who don't know how it works; my advice is to try and use ricochets to kill your targets. Shoot it at the ground in front of the target and bounce it towards the enemy instead of directly at the enemy.
Once you clear out the Covenant in the area you'll get a Missile Warthog airdrop for you and Kat. Your main objective will also be updated, we're now tasked with destroying a nearby AA gun. The AA gun is infested with Covenant so I recommend you drive in circles around it a few times as you clear out the various Covenant protecting it.
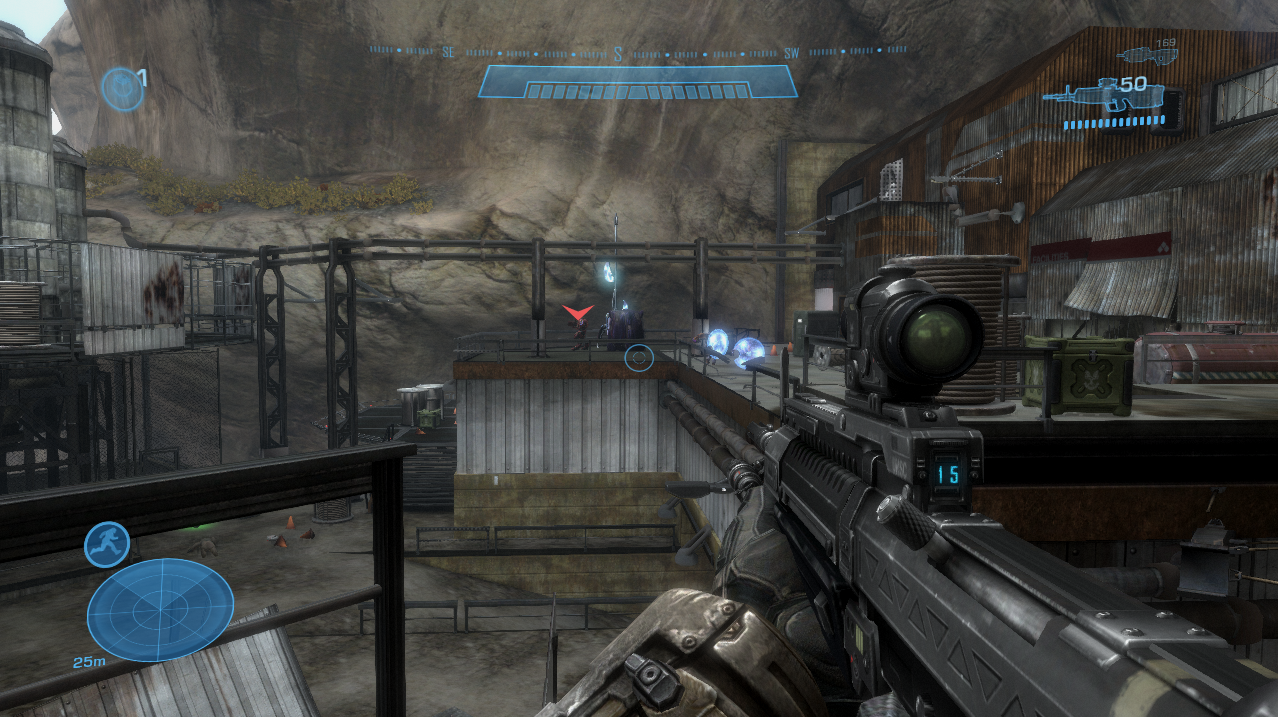
Inside of the AA gun you'll find a small circular room on the first floor that looks sort of like a reactor core (pictured below). Shoot at the shield protecting the reactor core then unload as many shots inside of it as it takes to cause some explosions and start beeping.

Destroy the power core (pictured above) to take out the AA Gun
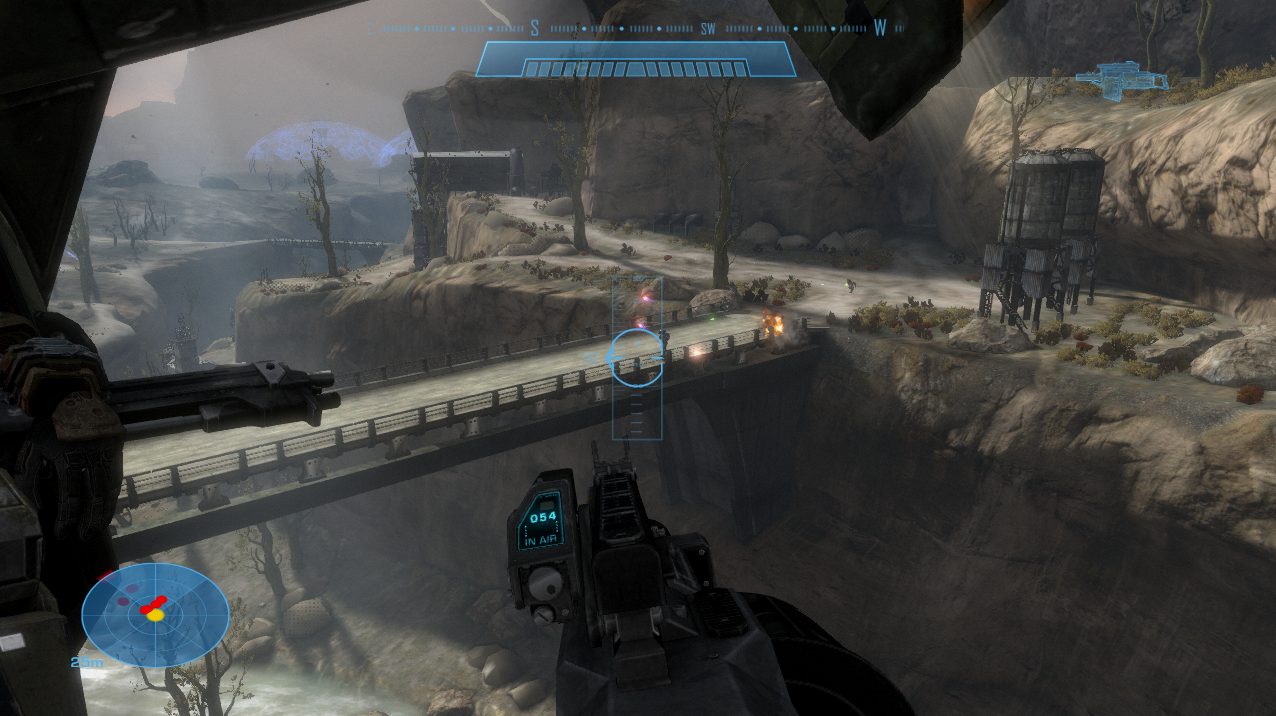
Exit the AA gun and get back inside your Warthog. Take the southwestern path out of this area and you'll drive under a broken bridge with a Wraith and some other Covenant guarding it above. You'll need to wait until a Pelican comes by and places a new bridge overtop the broken one before you're able to cross. Eliminating the Covenant in this location is completely optional.
Once the bridge has been placed for you continue along the road until you come to a large mining facility. There will be some Marines on the bridge shooting at Covenant who are protecting the facility; I recommend parking the Warthog here for a bit and clearing out the Covenant before heading in.
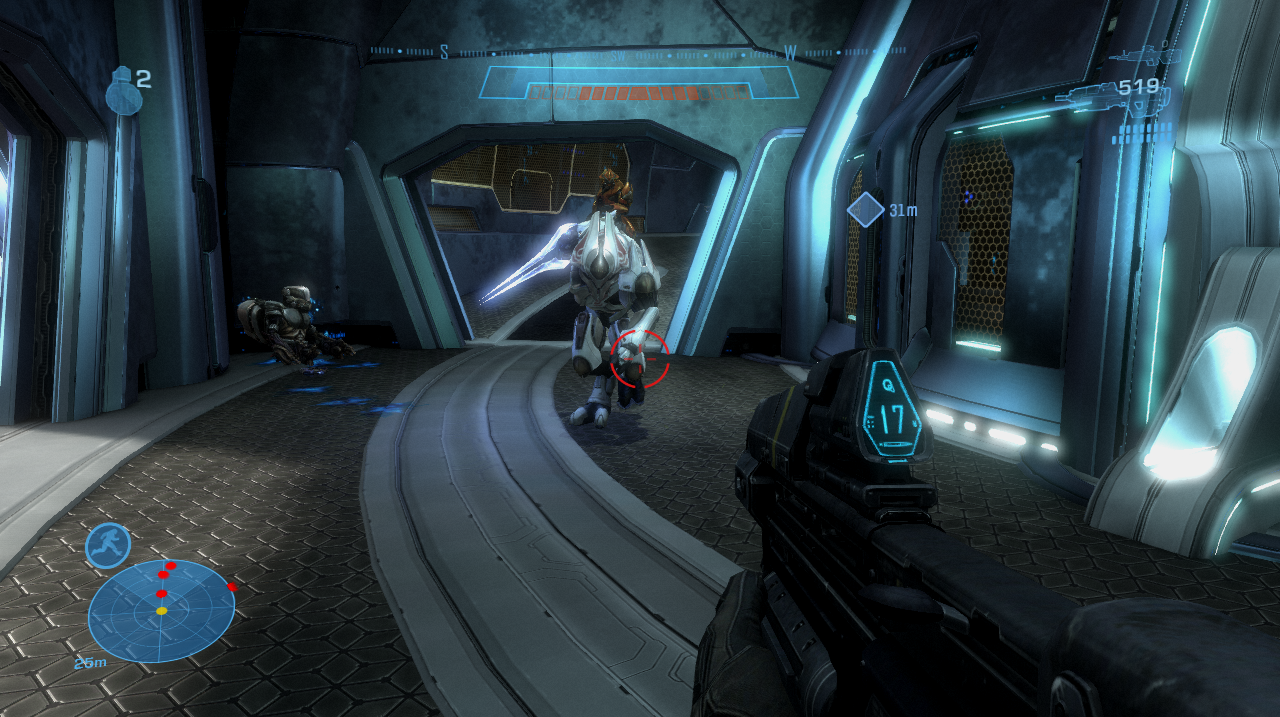
Inside the facility you will find a bunch more Covenant to take out including a Zealot in red armor which you're told about over the radio. This Zealot will get a red arrow above him when you find him in the courtyard of the mining facility, I have included a picture of exactly what you're looking for below.
Killing this Zealot before he flees will get you an Achievement called Your Heresy Will Stay Your Feet; it's completely optional to do this so don't worry if you miss him. Nearby where you killed (or didn't kill) this Zealot you'll find a hole in the floor that lets you drop down into what appears to be a garage. Outside of this garage will be a pair of Ghosts and a Revenant which is the vehicle I would recommend you take.
If you are interested in getting the Datapads on this mission both are found in this part of the mission. The first one, Datapad #4 is available on all difficulties and you can find it in the garage room before the vehicles. Check out my Datapad #4 Location Youtube Video for more information. Datapad #13 is the one you can only get on Legendary, for more information about this one check out my Datapad #13 Location Youtube Video.
The next step for us in this mission is going to involve taking out another AA gun. Using the Revenant will help a lot which is why I recommend you use that vehicle instead of a Ghost. The AA gun will be heavily protected by multiple Wraiths, Hunters, dozens of Covenant and even extremely annoying Drones.
Just like last time all we need to do is get inside of the AA gun and destroy the power core in the center. This will cause it to overload and explode which completes our mission objective. Next you'll be asked to protect the landing zone for some Falcons that are coming your way. Hold out until they arrive then jump in to continue with the mission.
For this part of the mission you need to destroy the various Covenant along the route before they destroy you. On higher difficulties they mess you up pretty quick so make sure you're fast in taking them all out. After a few waves of Covenant your Falcon will crash land in one of the best multiplayer maps in Halo Reach.
If you're interested there is a Jetpack armor upgrade nearby where you crash. You do not need it to reach the tower but it is helpful in navigating some of the terrain in the area. This is a giant battle arena with a large tower in the middle. Our goal is to get inside of the tower and ride it to the top where you'll need to kill all of the Covenant and hit a button.
There are gravity lifts in the center portion of the tower and around it that will take you to the top. Guarding the tower will be a bunch of Covenant (including turrets) so you'll have to slowly work your way inside. Waiting for you at the top will be a couple of Elites, including an Elite carrying an Energy Sword. There are a few ways to deal with this guy but my favorite is probably a well placed grenade or a fully charged Plasma Pistol shot followed up with a head shot.
Watch out for the Sword Elite in the tower!
After killing the Elites you will get one final objective, press a button in the tower to turn off the shields. This will conclude the mission with a cutscene.
Continue to Mission 6: Long Night of Solace
Return to Mission 4: Nightfall