
Halo Reach (Mission 4) Nightfall Walkthrough
Video Walkthrough: (Mission 4) Nightfall Walkthrough
Datapad Locations: Datapad #3 Location and Datapad #12 Location
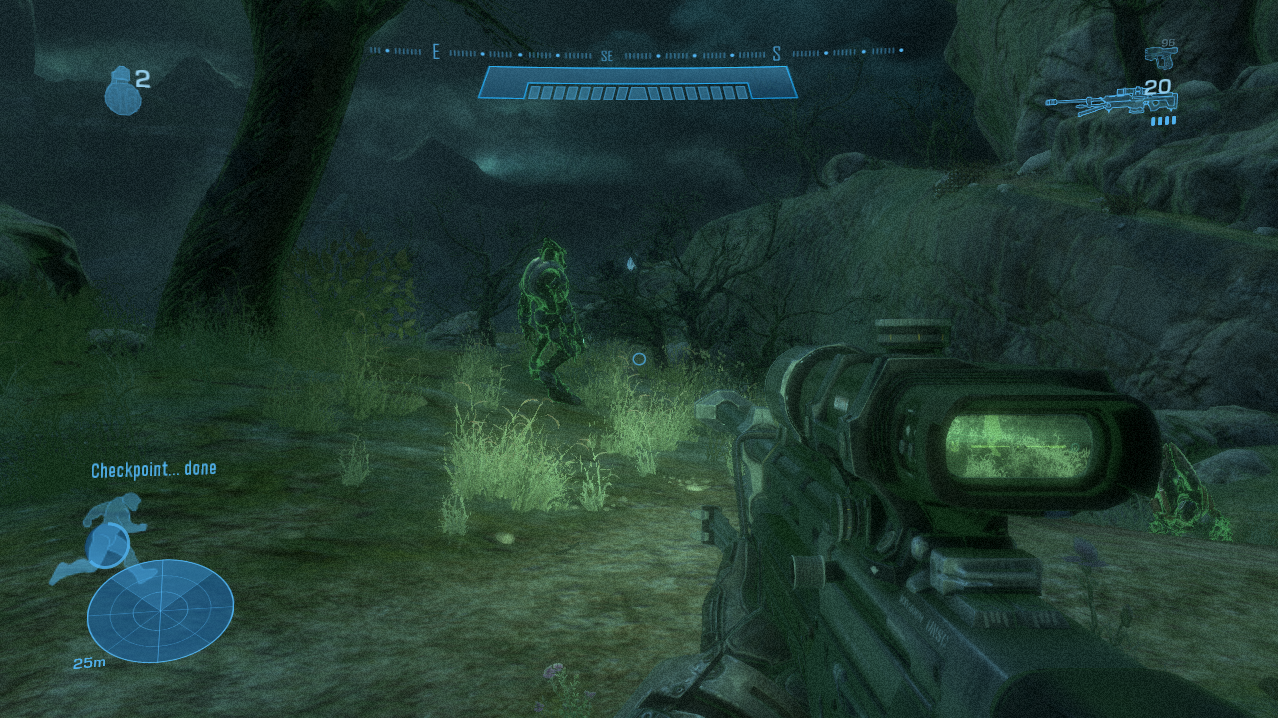
Nightfall begins in a dark area (so use your night vision) and Noble Six is equipped with a Sniper Rifle that has 24 bullets ready to go. If you're interested in getting Datapad #3 on this mission you can find it right at the start - check out my Datapad #3 Location Youtube Video for more information.
Aside from the Datapad, the first half of this mission is very linear and heavily scripted. You will follow your linear path that leads you to a large compound that's infested with Covenant forces. It's up to you if you want to defeat all of them - I recommend you do as it makes figuring out where to go a lot easier.
My advice for this part of the mission and any time you have the Sniper Rifle in PvE is to save your bullets for Elites/Brutes. Use your Pistol to take out Grunts, Jackals and Skirmishers (if possible) and save the sniper ammo for enemies with shields or a lot of HP. Alternatively, you can trade the Pistol for a DMR or Needle Rifle and use that instead which is even better.
In the back of this compound there will be a building that is built kind of inside of the mountain (pictured below). This building has an entrance on both sides, the side we're on now and the side we want to go to. Head through this building to find another compound with some more Covenant.
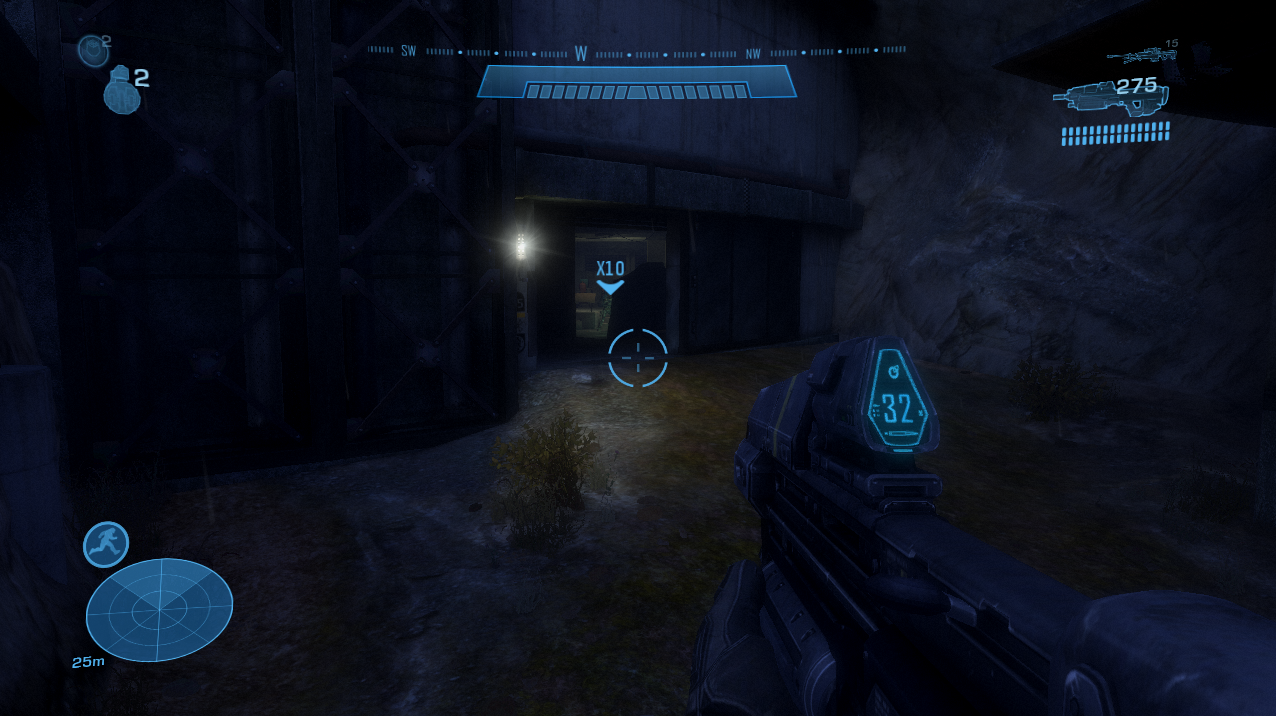
Go through this doorway to reach another section of the compound
Once enough Covenant are dead and you can safely proceed you'll want to continue down the southeastern path which has more Covenant to deal with. This path will lead you to a monster that you only see in this mission during this part, the Guta. It's up to you if you want to let the Guta and Covenant fight until one is dead or intervene and start blasting. All in all the Guta isn't too hard to deal with but they can be quick and strong - so letting them take some damage before you run in isn't a bad idea.
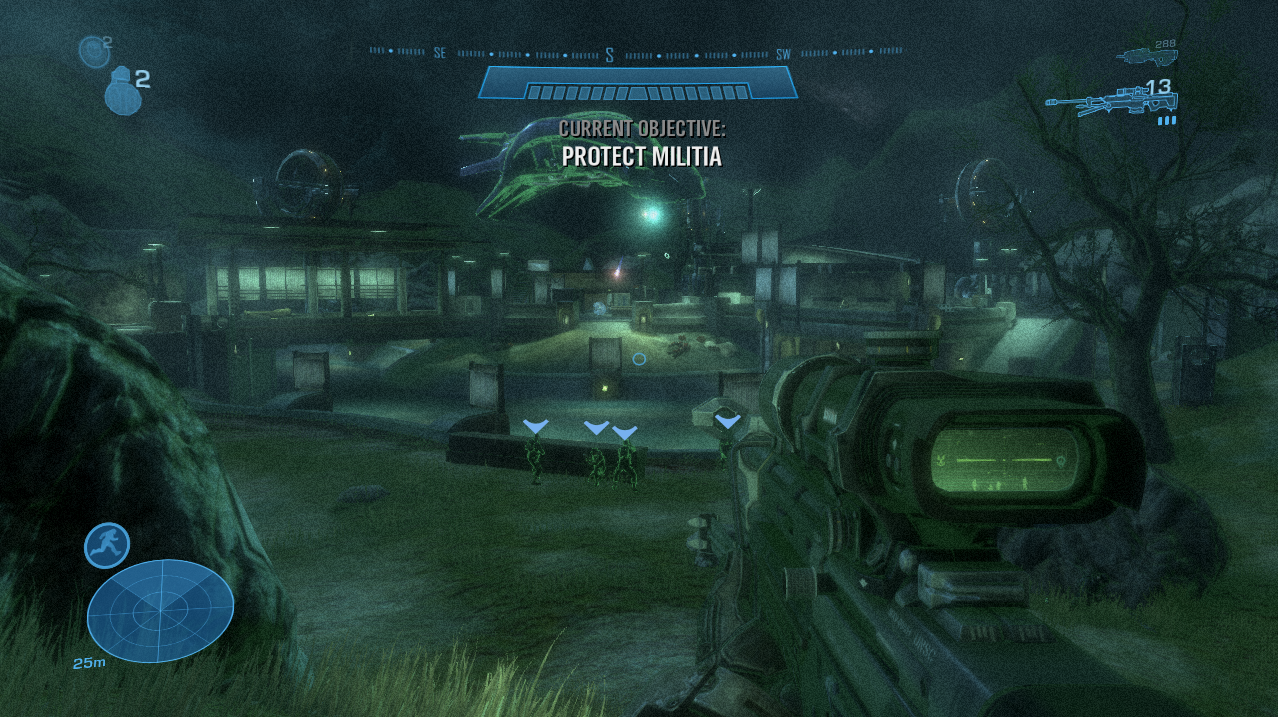
After the Guta encounter you will come across another large compound that you may recognize as the Waterfront Firefight Map. Here you'll find a group of civilians fighting off Covenant and you'll be told to stop by and lend assistance. This part is 100% optional - you do not have to help the civilians at all and there is no penalty for just leaving them here.
Ultimately the choice is yours but I normally skip this part and leave all of the civilians to die. The only useful thing here in terms of weapons is to help them clear out the first wave of Covenant then grab your power weapon(s) from their supplies during the scene and continue on your way.
To proceed with the rest of the mission go down the eastern path to our next location. If you're interested in getting the Legendary Datapad on this mission you can get it from this canyon - fair warning though as it can require some really precise and difficult crouch jumps. For more information about how to get this Datapad without the crouch jumping check out my Datapad #12 Location Youtube Video.
Following the canyon will lead you to a new area with a large Covenant pylon and a butt ton of enemies. You'll first be tasked with clearing out the entire area - that means both the pylon and the surrounding compound. Once all Covenant are dead your teammate will place a charge on the pylon and you'll have to defend the charge against a few waves of Covenant.
Much like the previous mission my advice to you is to search the walls/surrounding area if you run out of ammo or need a Health Pack. There are tons of weapons and ammo lying around incase you get low. After eliminating all of the Covenant and protecting the pylon from the waves of Covenant you'll need to follow Jun to the door southeast of our position.
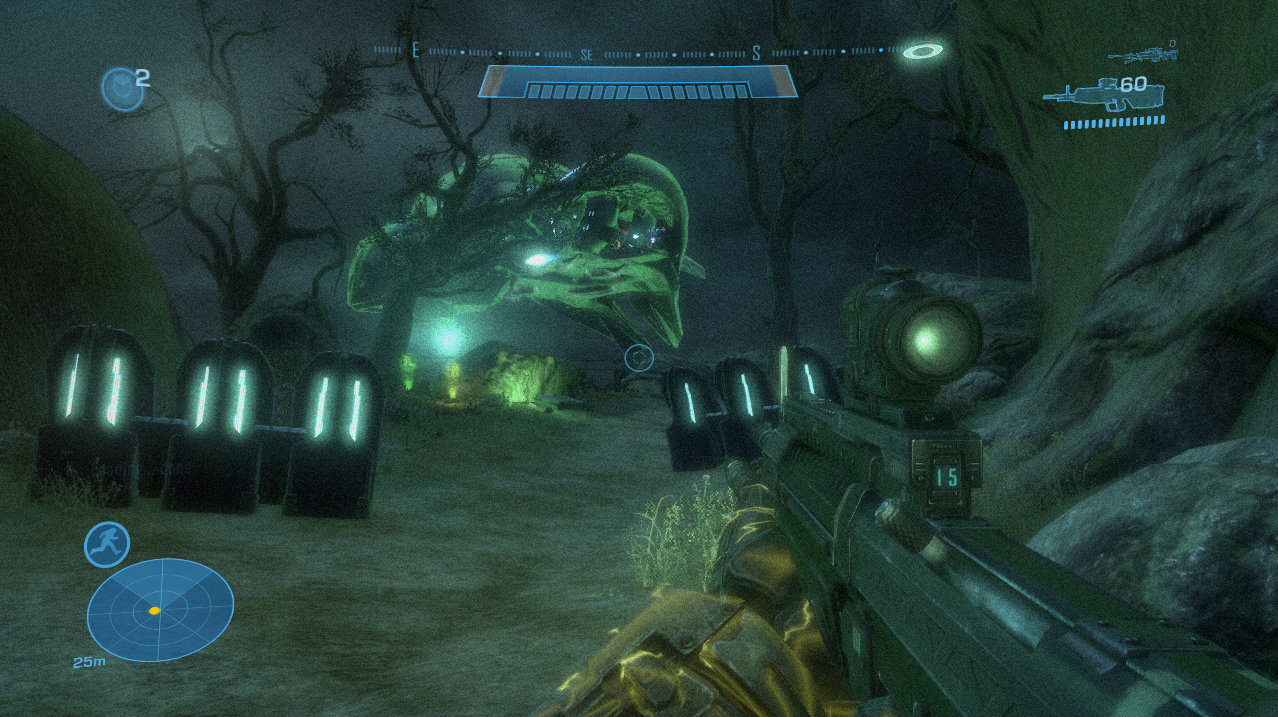
Jun will open the door for you and there will be a Phantom waiting on the other side for you (pictured below). All that's left of this mission is a linear path and a bunch of Covenant. You don't even have to kill the Covenant between you and the end of the level but they'll probably kill you if you try running through them all.
To complete this level follow the path you're on now and you will eventually find an area that is marked by a bunch of red flares; the flares will lead you to a small ledge with a rock ceiling overhanging it. Approaching this area will conclude the mission.
Continue to Mission 5: Tip of the Spear
Return to Mission 3: ONI Sword Base