
Halo Reach (Mission 10) The Pillar of Autumn Walkthrough

Video Walkthrough: (Mission 10) The Pillar of Autumn Walkthrough
Datapad Locations: Datapad #9 Location and Datapad #18 Location
The Pillar of Autumn is the final mission of Halo Reach and it begins with you and Emile being dropped off nearby the Pillar of Autumn. Anyone who has played Halo 1 probably recognizes the name (and you may have also guessed that it is indeed Cortana that Noble Six is delivering to Keyes).
Proceed down the linear path and clear out the Covenant in your way; cross the bridge to reach a building with a pair of Mongooses parked outside of it. Grab one Mongoose and buckle up because it's going to be a wild ride to reach our next destination! For this next part of the mission you're going to be driving through a giant battle arena with two Scarabs and multiple Drop Pods being deployed (pictured below).
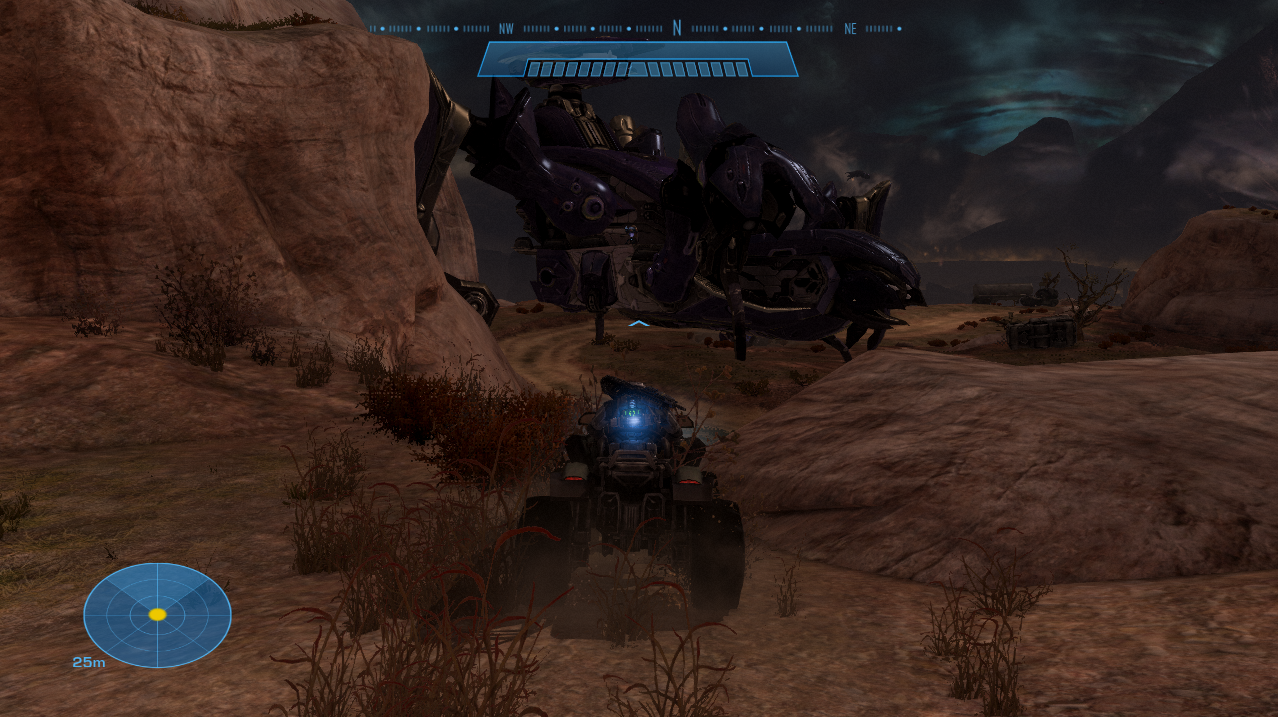
Do not stop for any of this! Stopping will be a giant waste of your time and will likely get you killed since we don't have the weapons needed for the Scarabs... Truthfully I am not even sure if you can kill them. Continue along the road until you reach an area with a bridge that's been blown out - jump the gap with your Mongoose then disembark to continue on foot.
After jumping the gap search the weapon supply locker in the building near where you land for a DMR. Use your new DMR to take out all of the Covenant in the area on the other side of this building. There will be a couple dozen Covenant and a Wraith that you have to deal with. Clearing out these Covenant is optional, normally I kill just enough to make it through alive.
Continue northeast along the linear route back into some canyons where you'll get a final cutscene with Carter. After this cutscene you'll continue into some canyons where you'll have to deal with Drones and Skirmishers. This area is extremely annoying on harder difficulties and my advice is to wait until the Drones stop flying around to start shooting. It's like dealing with a fly in your Kitchen - you don't swat at them while they're in the air!
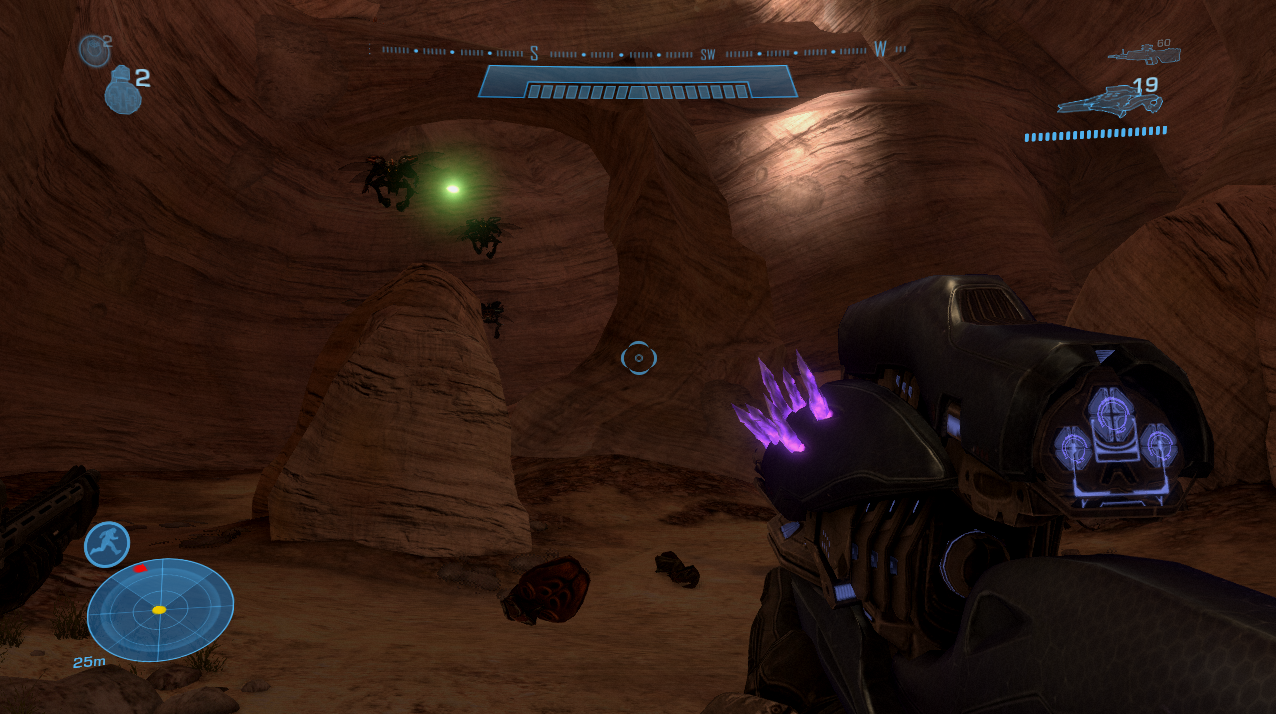
If you're running low on ammo for your DMR there is some you can find in the canyons with the Drones - keep your eyes open. Skirmishers also drop Needle Rifles which are essentially the Covenant version of a DMR with the added bonus of making the target explode if you hit them with enough. Keep this weapon in mind if you're a DMR fan.
On the other side of the canyon you will come to a gigantic battle arena (which is actually a PvP multiplayer map). There will be dozens of Covenant engaged with Marines and it's up to you how many Covenant you want to kill in this area before proceeding. If you run out of ammo or need any health search the buildings for weapon racks and Health Packs.
You don't need to kill any of the Covenant in this area to proceed with the mission! This is very important for those of you interested in saving time. If you're interested in seeing how to get through this battle arena to the next one I recommend you watch my The Pillar of Autumn Walkthrough Youtube Video. I start the video at this exact part of the mission so you don't have to fast forward.
At the end of this battle arena you will find a doorway that leads into a narrow hallway. This is where you need to go to proceed with the mission - once you enter this hallway too the door behind you will close.
Datapads: Both of the Datapads on this mission are found in this general area, Datapad #9 is found in the hallway that connects this giant battle arena to the next part of the level. Datapad #18 is found within this giant mining facility battle arena. For more information about Datapad #9 check my Datapad #9 Location Youtube Video and for Datapad #18 check out my Datapad #18 Location Youtube Video.
The next few parts of this mission are all indoors and quite linear. Clear out all of the Covenant in your way and continue through the various areas until you come to a smaller battle arena with two Hunters (pictured below). In order to proceed past this part you will need to kill both of these Hunters; when they die the nearby door will open.
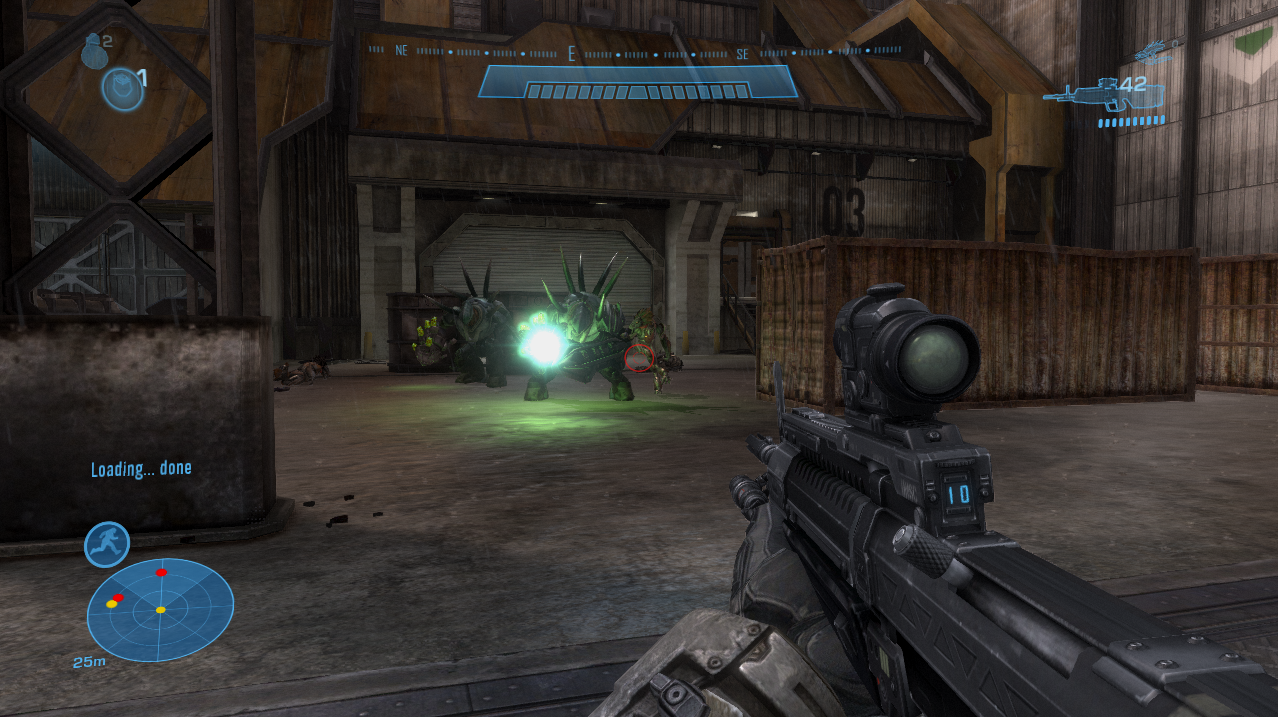
Defeat these two Hunters to unlock the nearby door
After the two Hunters you'll have a few more indoor battle arenas with a bunch of Covenant to fight. Clear everything in your way and proceed through the linear hallways and rooms until you come to another outside portion with the mass driver artillery gun. Those of you who have played Reach's Firefight may recognize this area since it's the Holdout Firefight Map.
The first thing you need to do in this area is "holdout" against all of the Covenant forces - get it? Yea, I am sure that's why they named the map Holdout... A couple dozen Covenant will be delivered to this location and you'll have to kill all of them. Once that event is over Keyes will arrive in a Pelican and you'll give him Cortana when you approach the Pelican.
During the cutscene with Keyes things will go wrong with Emile inside the Mass Driver Cannon which will result in Noble Six staying behind. Even though I didn't really like Emile's character I gotta give him credit for going out like a total boss, "I AM READY, ARE YOU?" is just great.
When you regain control of Noble Six head up the stairs and into the building that Covenant are pouring out of. Our destination is the Mass Driver Cannon above us; there will be a lot of Covenant between us and the cannon but the route is linear otherwise. To operate the cannon you will need to interact with the ladder on the platform which lets you get inside of it.
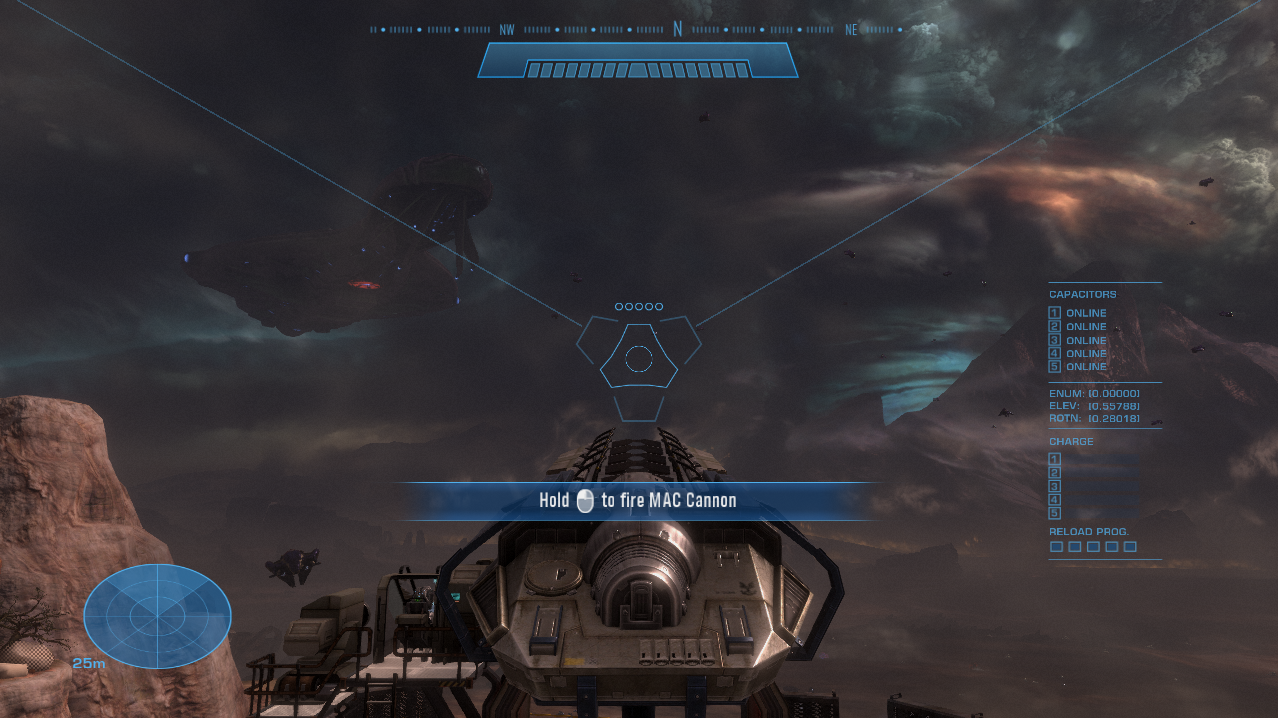
Surrounding the cannon you'll find a couple of Spartan Lasers which are best used against the Banshees. Use the Mass Driver Cannon to take out all of the Phantoms in the area until you get a radio call from Keyes to take out the giant Covenant ship above us. You'll get a little marker on your HUD of where to aim at the Covenant ship when it is time - even without the marker though it's hard to miss. Your target is essentially the giant glowing light that keeps shooting at your planet.
One hit with the Mass Driver Cannon and the ship will explode. This will trigger a cutscene after which the mission will be complete! I would call this the end of the game but technically there is one mission that comes after this one called Lone Wolf. When you die during Lone Wolf the mission will be complete and the game will be concluded.
Return to Mission 9: The Package
Return to Halo Reach Walkthrough Index