Halo 3 ODST (Mission 8) Kikowani Station Walkthrough
Video Walkthrough: Halo 3 ODST (Mission 8) Kikowani Station Walkthrough
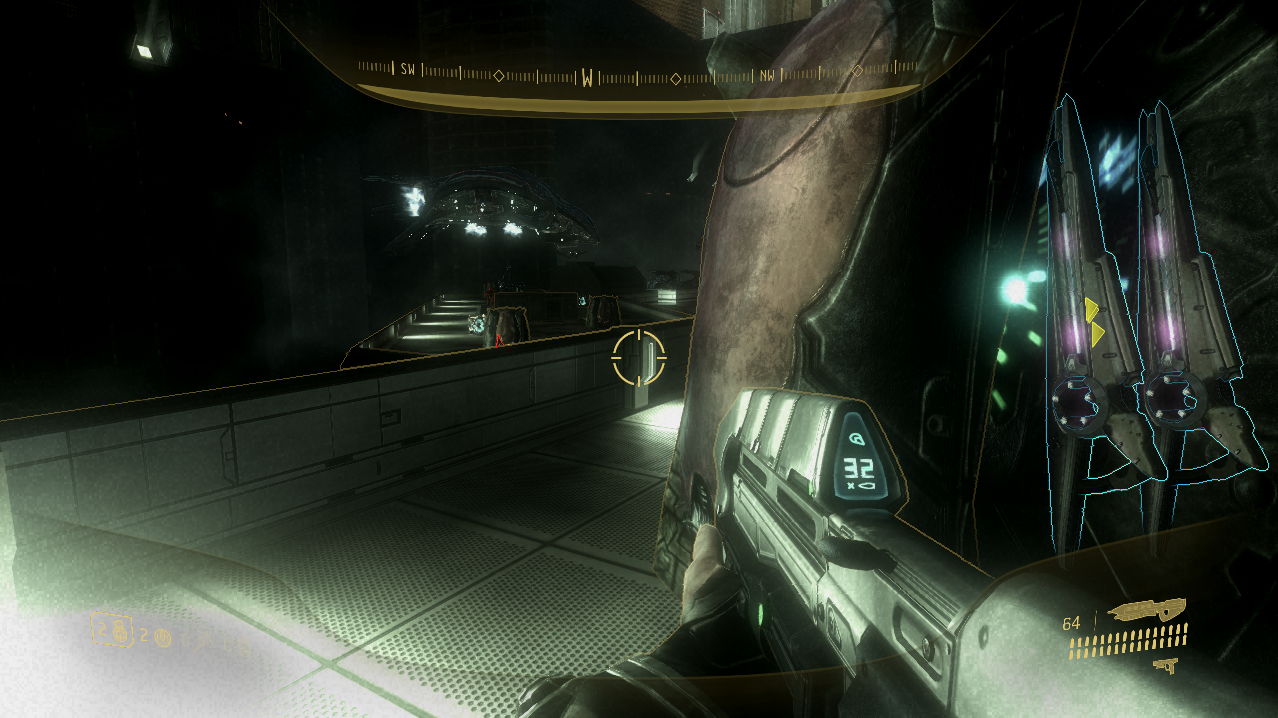
Kikowani Station is our next mission and it puts us back in control of Buck. The first thing that we are tasked with in this mission is stealing a Phantom from the Covenant. At the start of the mission I recommend you run over to the area shown in my screenshot above. Here you'll find a purple box with two Beam Rifles inside of it which you can use to take out all of the Covenant protecting the Phantom.
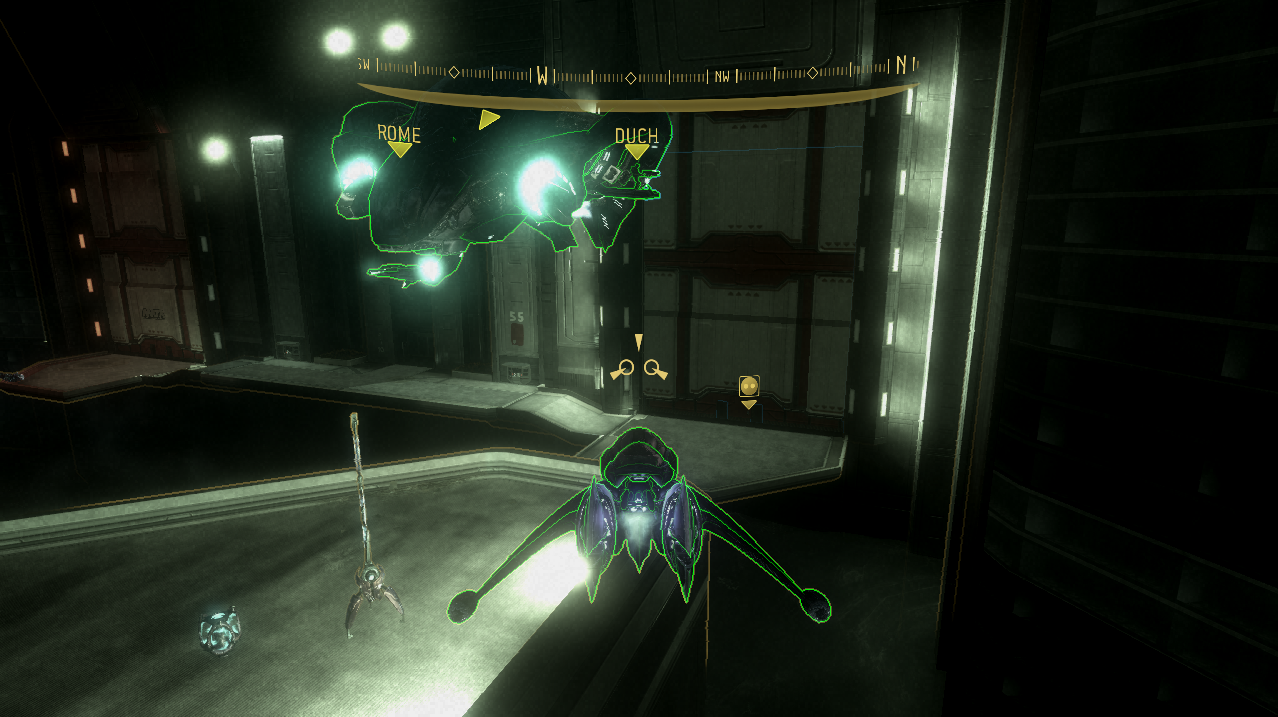
Once all the Covenant are dead head over to the Phantom that's nearby and your entire ODST team will go into the light beam which transports them into the ship. There's a platform next to the ship with four Banshees, you're going to grab one of these Banshees and follow the Phantom through this mission. You don't have to protect the Phantom but you will have to follow it and assist it as it travels through the city.
Your first task now that we're airborne is to eliminate all of the Covenant that you can see, this will trigger an event which causes our Phantom to move onto the next area. Head through the door that opens up and clear out the tunnel to proceed to another large battle arena.
In this battle arena all you really need to do is fly around for a bit shooting at Covenant until you get contacted over the radio about the door being locked. This time you need to jump out of the Banshee and unlock the door to proceed. You should get the location of the locked door added to your HUD if not hit the up arrow or up on the D-pad until it appears.
Once the door is open you'll have to clear out another tunnel and as you may imagine that leads to another battle arena. Much like before fly around in this area for a little bit shooting Covenant until you get contacted over the radio to open the door. This time the door is going to be jammed and you need to enter the tunnel on foot to open it up.
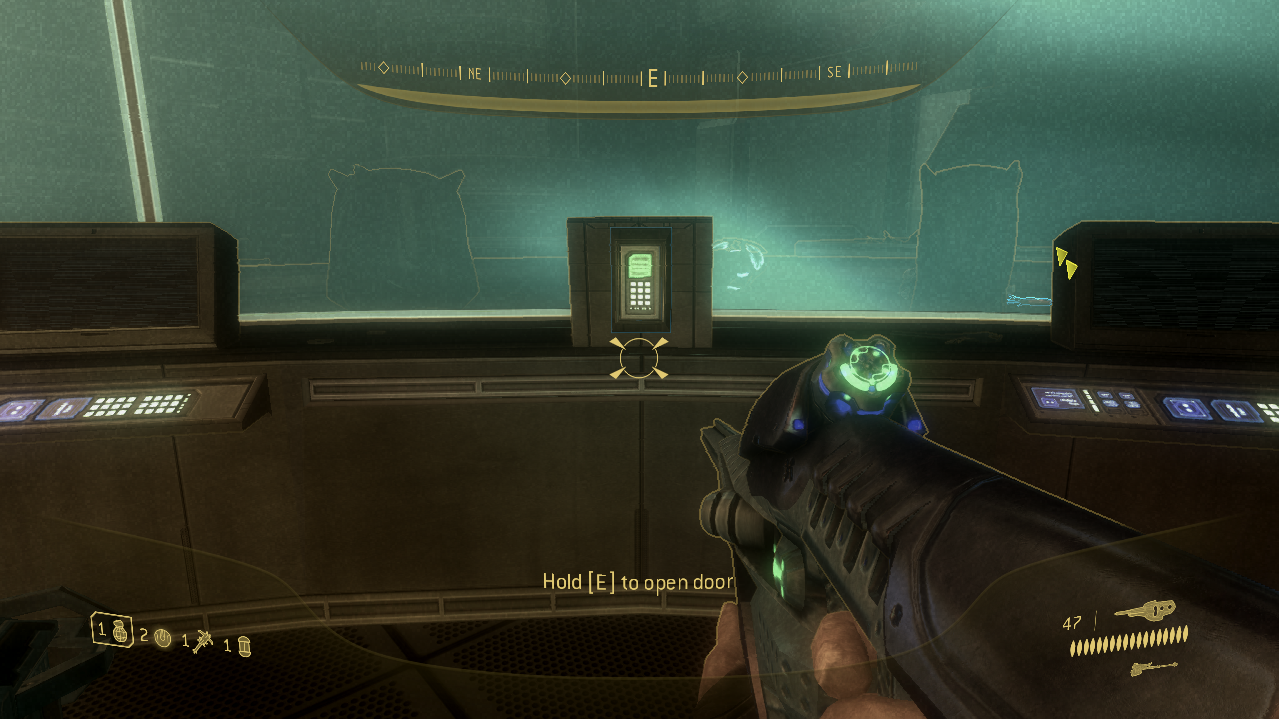
The computer we need to interact with to open this door is found in the far side of the tunnel. Clear out the Brutes and Covenant in your way then head inside of the building on the northern side of the area (pictured below) and interact with the computer terminal to open the tunnel doors.

Interact with this computer to open the door
Instead of turning around and returning to your Banshee I recommend you go through the door next to the computer terminal and grab a Banshee in the next battle arena. This will give you a fresh Banshee that hasn't taken any damage yet - which is definitely needed for the next fight.
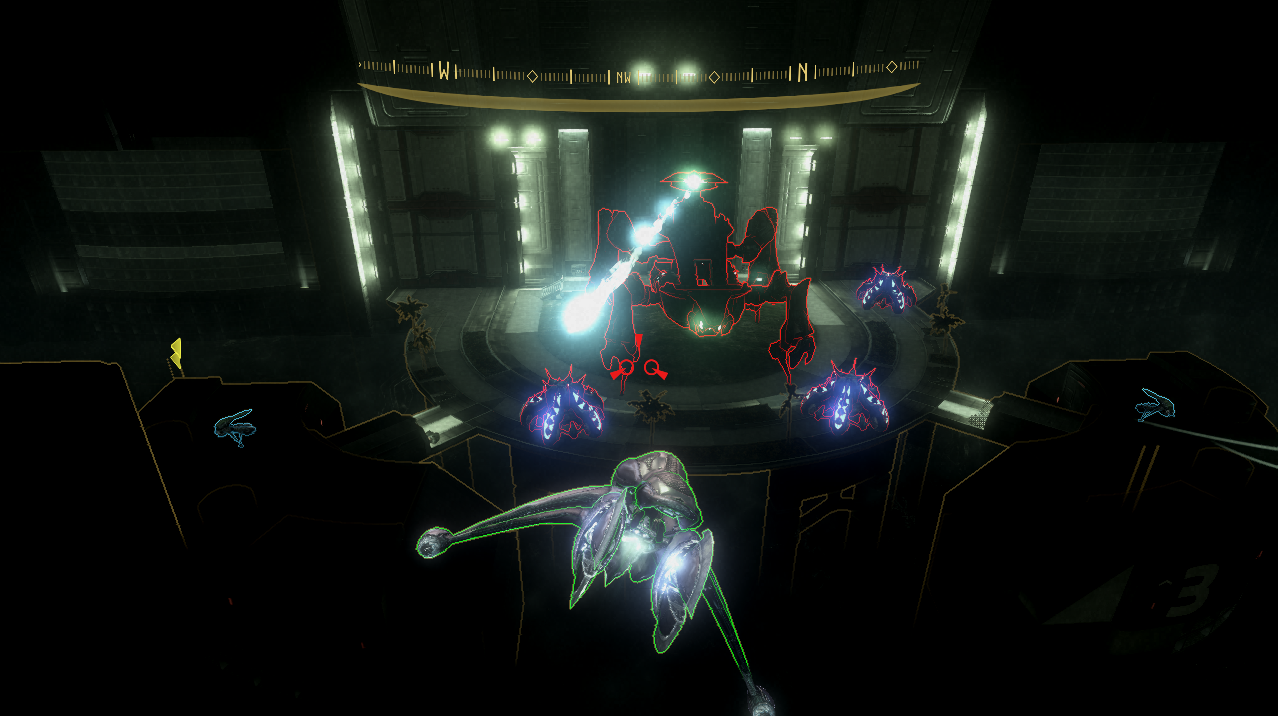
This next battle arena has a giant Scarab blocking the doors that we need to go through. You have two options, you can ignore the Scarab and open the door when you get a window of opportunity or you can destroy the Scarab and then open the door without having to dodge any Scarab beams.
My advice is to destroy the Scarab honestly, if you're playing on Normal you can probably avoid the Scarab to open the door. Heroic or Legendary though it's probably better to just destroy the Scarab and avoid unnecessary risks.
After opening the door behind the Scarab get back inside of your Banshee and fly through. Just like all of the other times you'll be inside of a tunnel; in the back of this tunnel you'll see numerous... "glowy things that explode" all over the walls, floors and ceilings. Shoot any of these glowy things to cause an explosion that results in a chain reaction.
Destroying all of these glowy things will trigger a cutscene and conclude the mission.
Continue to Data Hive (Mission 9) Walkthrough
Return to Mombasa Streets (Mission 2) Walkthrough


