
Halo 3 ODST (Mission 7) NMPD HQ Walkthrough
Video Walkthrough: Halo 3 ODST (Mission 7) NMPD HQ Walkthrough
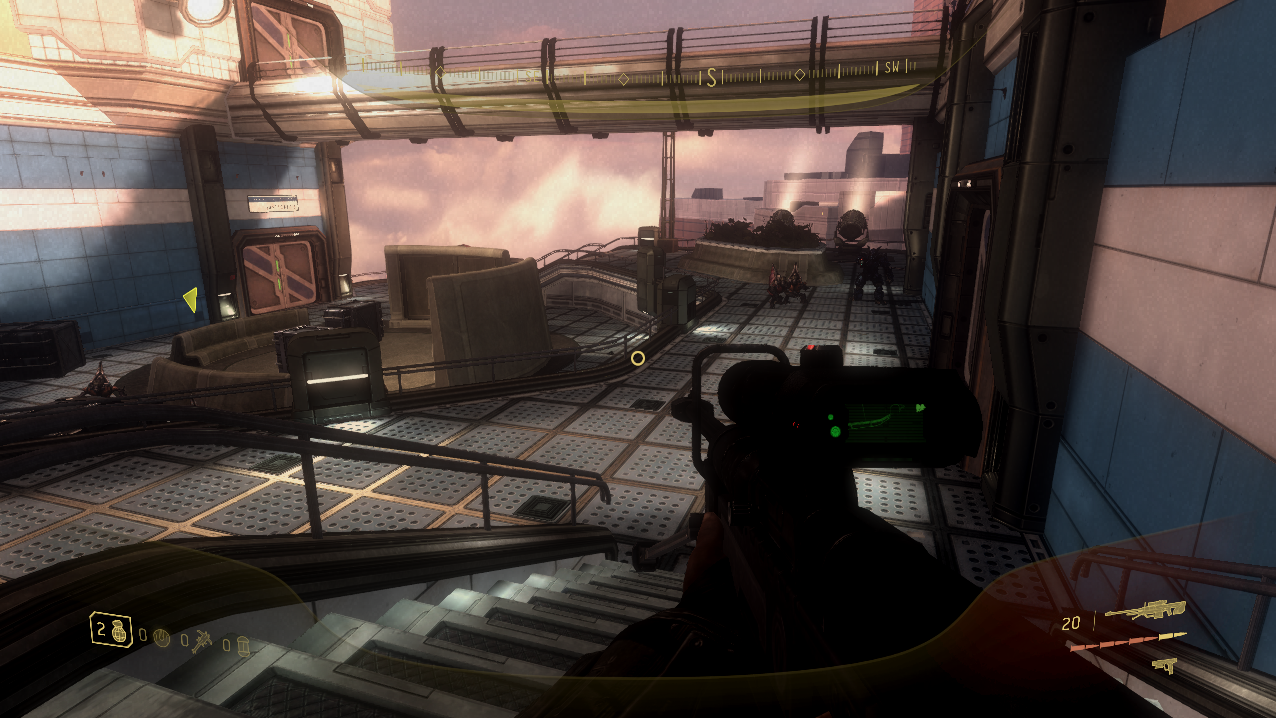
NMPD HQ is our next mission and for any of you that have played ODST's Firefight, you may recognize the area we're in as part of the Windward Firefight Map. For the first part of this mission all you have to do is clear your way through the various battle arenas taking out the Covenant as you go.
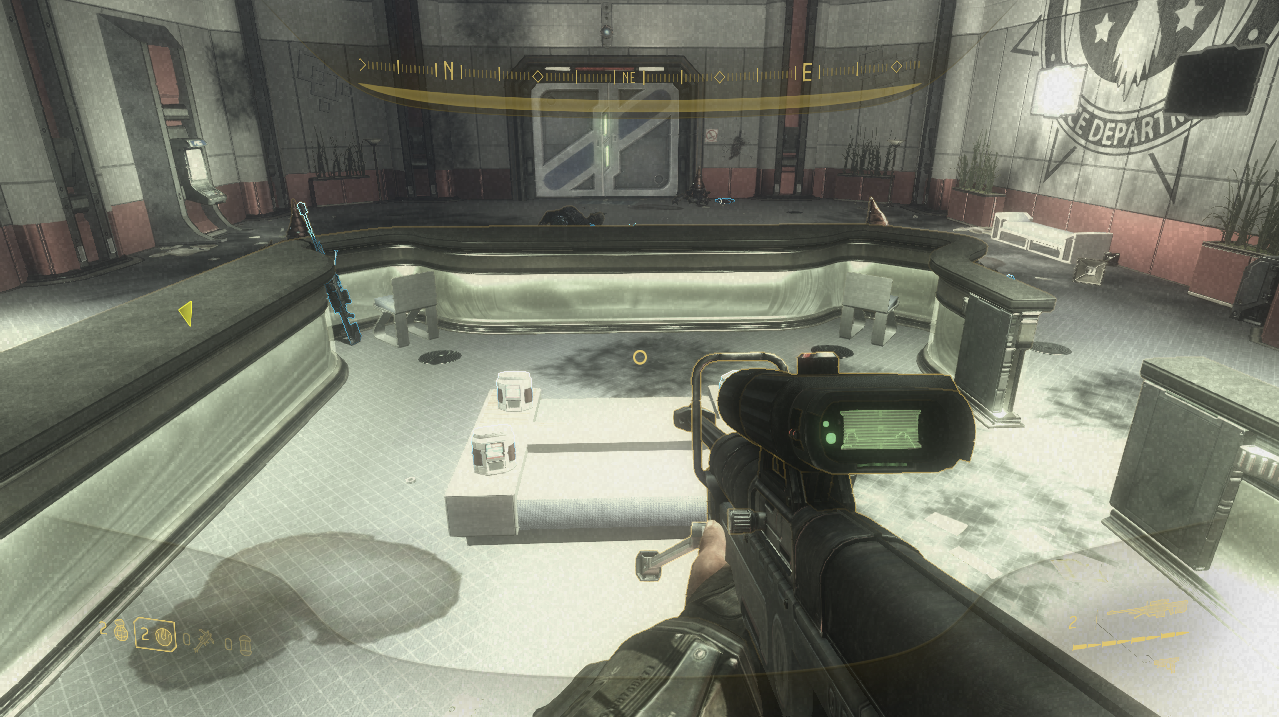
Don't worry about figuring out where to go during this part of the mission, just follow Buck and you'll be lead around the area to our destination. The first location I want to draw your attention to is an indoor room with some extra Sniper Rifle ammo, Health Packs and various other supplies you may need. I've included a screenshot of it below.
After you pass through this room there will be a few more areas that you need to move through with Buck. Again, it's all very linear and easy to figure out since you're basically just following Buck while shooting Covenant. One tip I can give you for this part is to detach one of the Plasma Turrets and carry that around with you to make quick work of the Brutes in your way.
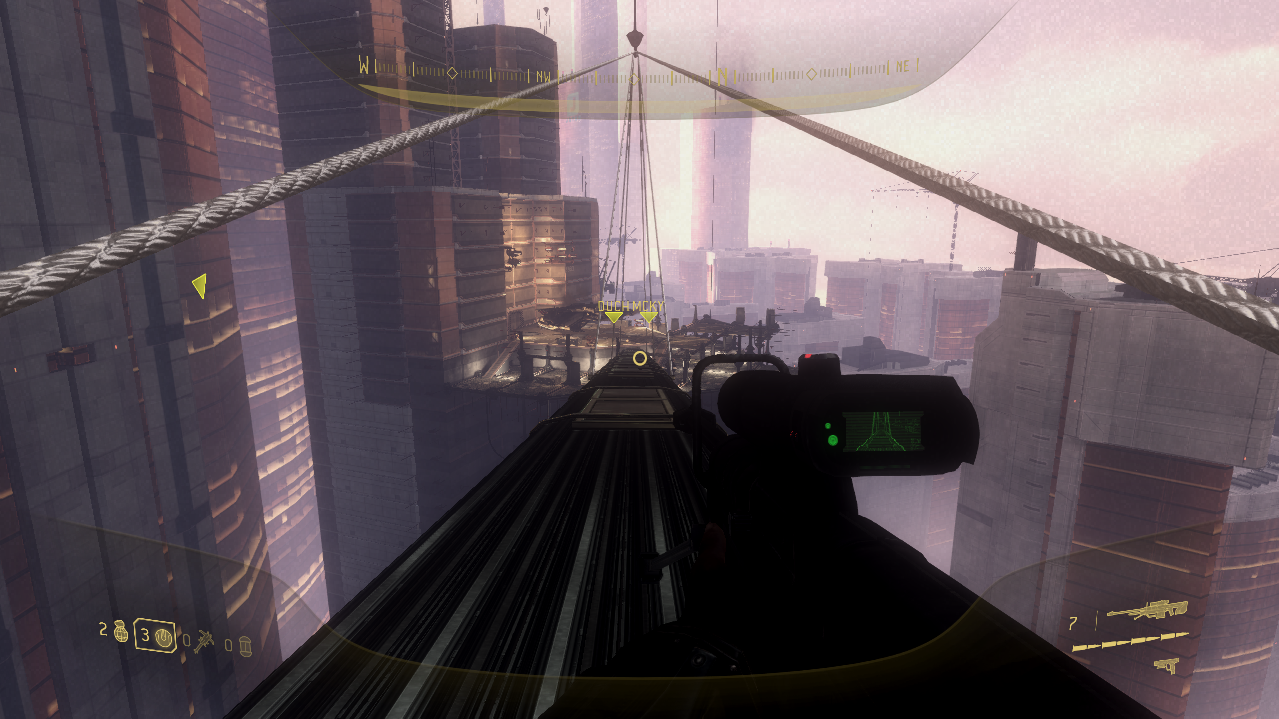
Plasma weapons deal more damage to shields than the UNSC ones; however the flip side of that is the UNSC weapons deal more damage to flesh. Keep following Buck and you'll eventually come to a helipad which has a large beam suspended in the air next to it (pictured below).
We need to jump down to this beam and follow it down until we reach the roof with the rest of our ODST squad mates. As you're traveling down the beam there will be some explosions that shake the screen and make it easy to fall off - ignore the Banshees and pay attention to where you're going and you will be fine.
This next area is going to be the final battle arena of the mission and you're going to be here for about 10 minutes defending the area. One nice thing about this is all of your ODST Squad is invulnerable which means you can have them take most of the damage as you hang back. Surrounding the crashed Pelican you can find ammo for many different UNSC weapons and multiple Missile Pod Turrets on the ground.
Weapon racks next to the crashed Pelican have Silenced SMGs and Rocket Launchers for you when you need them. For this part of the mission I strongly recommend you do not use the Rocket Launchers on the Banshees; the Missile Pod Turrets have significantly better homing capabilities so you'll want to use them on the Banshees. Use the Rocket Launchers on the Brutes that are dropped off via the Phantoms.
Survive for about 10 minutes until Buck announces over the radio that a Brute Chieftain has arrived. This will trigger a cutscene after which the mission will conclude.
Continue to Kikowani Station (Mission 8) Walkthrough
Return to Mombasa Streets (Mission 2) Walkthrough