
Halo 2 (Mission 15) The Great Journey Walkthrough
Video Walkthrough: Halo 2 (Mission 15) The Great Journey Walkthrough
Skull Location: Black Eye Skull Location
Terminal Location: The Great Journey Terminal Location
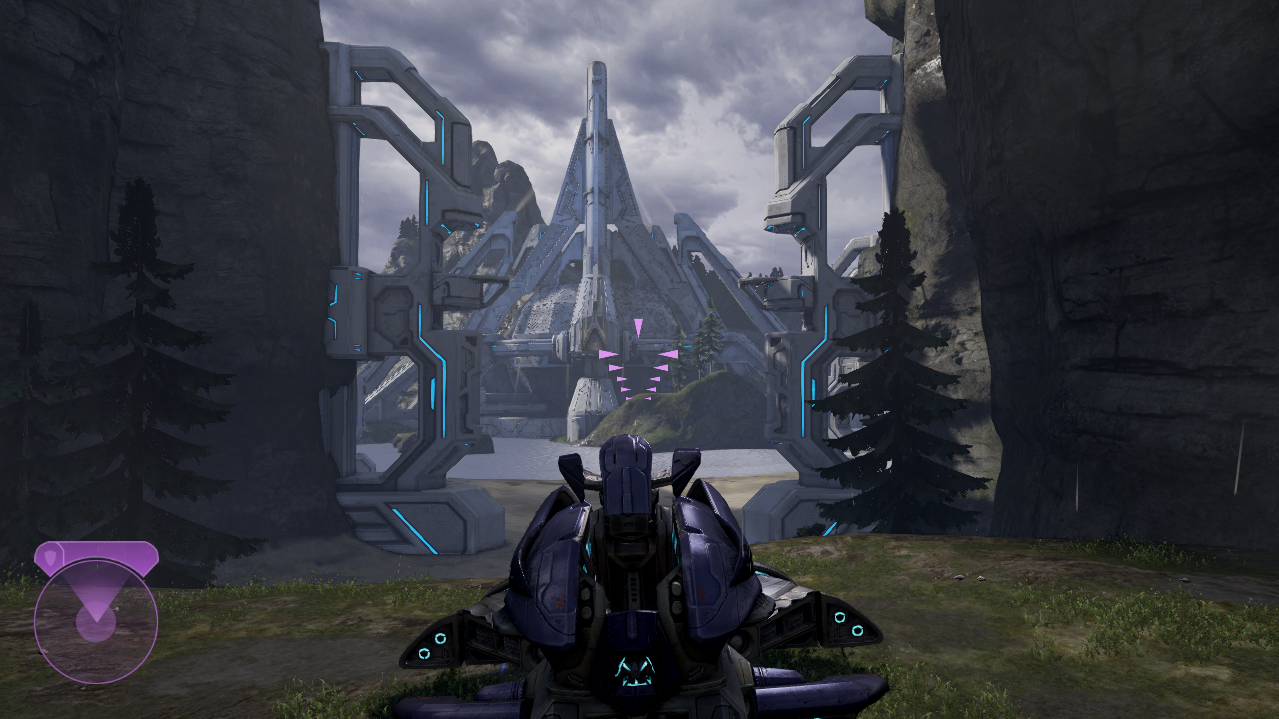
You begin The Great Journey, the final mission of Halo 2, as The Arbiter. This was a big deal back in the day because you didn't even finish the game as Master Chief, the main character. Anyway, the first part of this mission has you in a Wraith dealing with about a dozen different enemies in vehicles. Follow the linear route to reach a large Covenant structure which will have some Wraiths and Brutes outside of it.
Take out all of the enemies then go inside of the building. You'll get some allies (including Hunters) that join you in the building and fight with you through the next few rooms. All of the upcoming areas are very linear battle arenas - figuring out where to go isn't the hard part, dealing with the enemies is.
Note: The Didact Toy is the Toy that you can get on this mission. Getting it requires you to go out of your way by a large margin and it also requires you to do some setup at the start of the mission. Check out my The Didact Toy Youtube Video for more information about this.
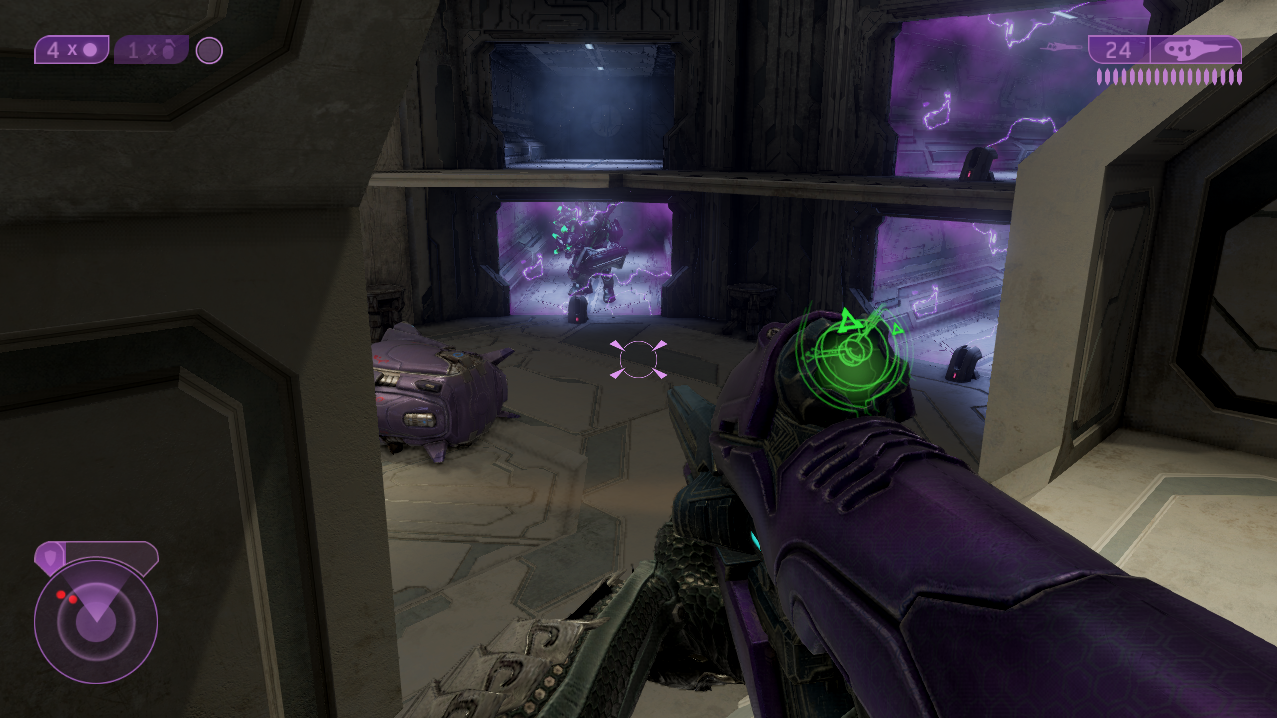
After clearing a few rooms and hallways you will come across a prison (pictured below). You can make the fight in this area significantly easier by shooting the power supplies for the shields that are holding the Covenant captive. When you free these Covenant they'll join the fight and help you. There is a sword Elite you can free as well as some Hunters; more Brutes will charge into the room once you free some allies but the Hunters can deal with them pretty easily.
If you're interested in getting the Terminal on this mission you can find it in one of these prison cells as well. Check out my The Great Journey Terminal Location Youtube Video for details of exactly where it can be found. Any surviving allies that you freed will charge through the door once the Brutes are dead and will continue to the next area (as you should too). You'll eventually come to an outside area with a large Scarab and a bunch of Covenant that you'll have to kill in order to trigger a cutscene.
When the cutscene is over some Elites will drop off a Banshee for you which you'll need for the next part of this mission. This next part is one long scripted event - you need to fly the Banshee around and take out all of the Covenant Wraiths on the ground so that the Scarab can proceed through the canyon. You need to kill all of the Wraiths on this part of the mission, missing one of them will result in the Scarab sitting in place waiting for you to clear the way.
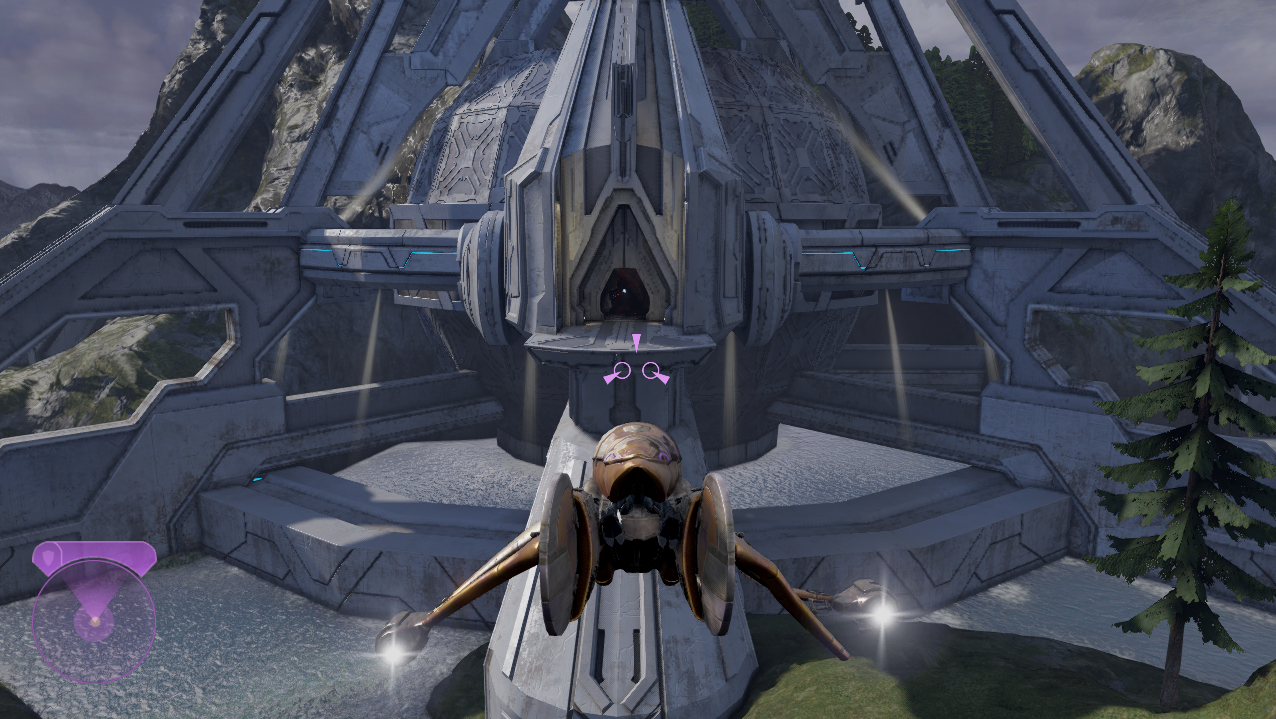
Eventually you will reach the beach and the Scarab will need you to protect it from all of the Banshees flying around in the air. Once you clear out all of the enemies the Scarab will blast a giant hole in the door of the building in the distance (pictured below). You will need to fly the Banshee over to this door, disembark and go inside to proceed with the mission.
There will be a large room filled with Brutes that you'll have to deal with once you're inside. If you're having trouble with this pack of enemies I recommend using the hole in the floor to hide from them long enough to deploy your Active Camo. You can also use this hole to recharge your shields since enemies don't seem to ever follow you down here. After they're dead go through the next hallway to trigger a cutscene.
All that's left of this mission is a boss fight against Tartarus. When you regain control of your character there will be a group of Brutes in front of you that you need to take out - then you'll have to jump to the nearby platform where Tartarus is. He's a pretty easy boss once you get used to how he moves around and how the platform you're on works.
Use the grav lift in the middle of the platform to move between the floors and use the terrain nearby to make Tartarus take longer to get to you. Remember, NPCs always have to run around objects that block their path - whereas we can jump over them!
So, for this fight you will want to use a Covenant Carbine which you can find on every level of this platform. You also do not want to shoot Tartarus when his shield is active; you can tell if his shield is active because he'll have the blue glow/smoke trail around him (pictured below).
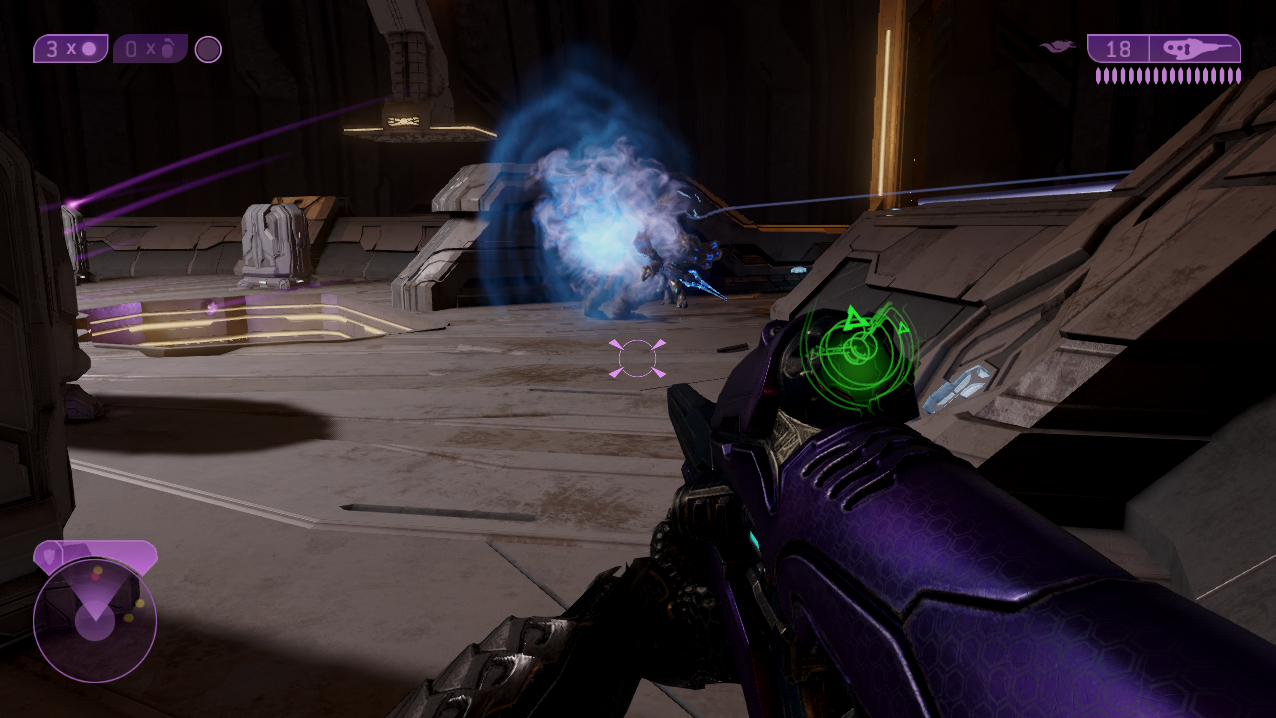
Tartarus has invulnerability shields active in this picture
When his shield is active you will need to wait for Sergeant Johnson to hit him 3 times with a Beam Rifle to make it go down. Pay attention to the sound of the Beam Rifle shots and you should be able to see the streak the shots leave in the air too. Once Tartarus' shield is down unload on him with your weapon aiming for his head.
It will take awhile because Tartarus has a ton of HP but you'll eventually whittle him down and kill him. Congrats you've now completed Halo 2!
Continue to Halo 2 Walkthrough Index
Return to Mission 14: Uprising Walkthrough