
Halo 2 (Mission 13) Uprising Walkthrough
Video Walkthrough: Halo 2 (Mission 13) Uprising Walkthrough
Skull Location: Ghost Skull Location
Terminal Location: Uprising Terminal Location
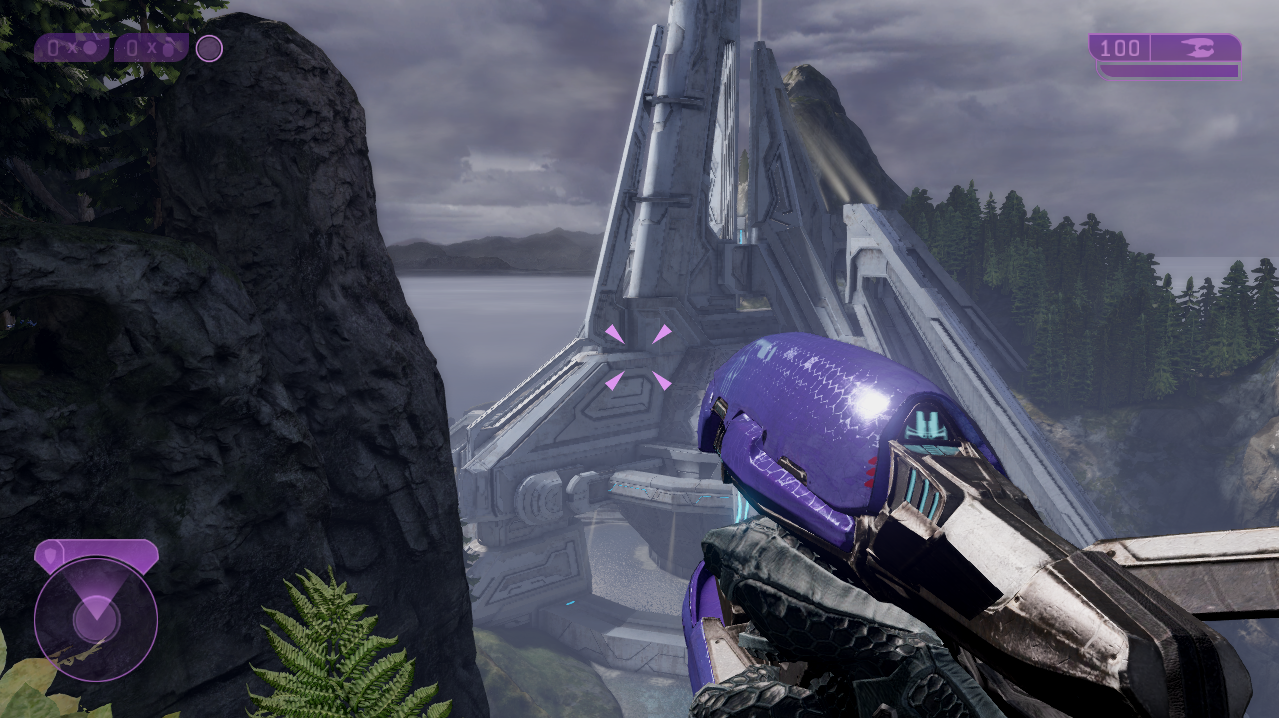
Uprising puts you back in control of The Arbiter, you begin this mission on a grassy cliff side surrounded by a bunch of Brute enemies. I recommend you grab the nearby Energy Sword and make use of your Active Camo during this part to take out all of the Brutes in your way. Follow the linear path into the building nearby where you'll meet up with some friendly Covenant forces.
If you're interested in getting the Cowardly Grunt Achievement you'll find the Grunt needed at the start of this mission in one of the first rooms you go through. For more information about this check out my Cowardly Grunt Youtube Video; that video has the location and other important info for finding this guy.
Our destination is a doorway on the second floor of this huge room - it's on the opposite end from where we entered. When you get near it a bunch of Brutes and Drones will pour out and attack, kill them then head on through. The next few areas are going to be mindless killing because the way forward is obvious, there's just a lot of enemies to deal with.
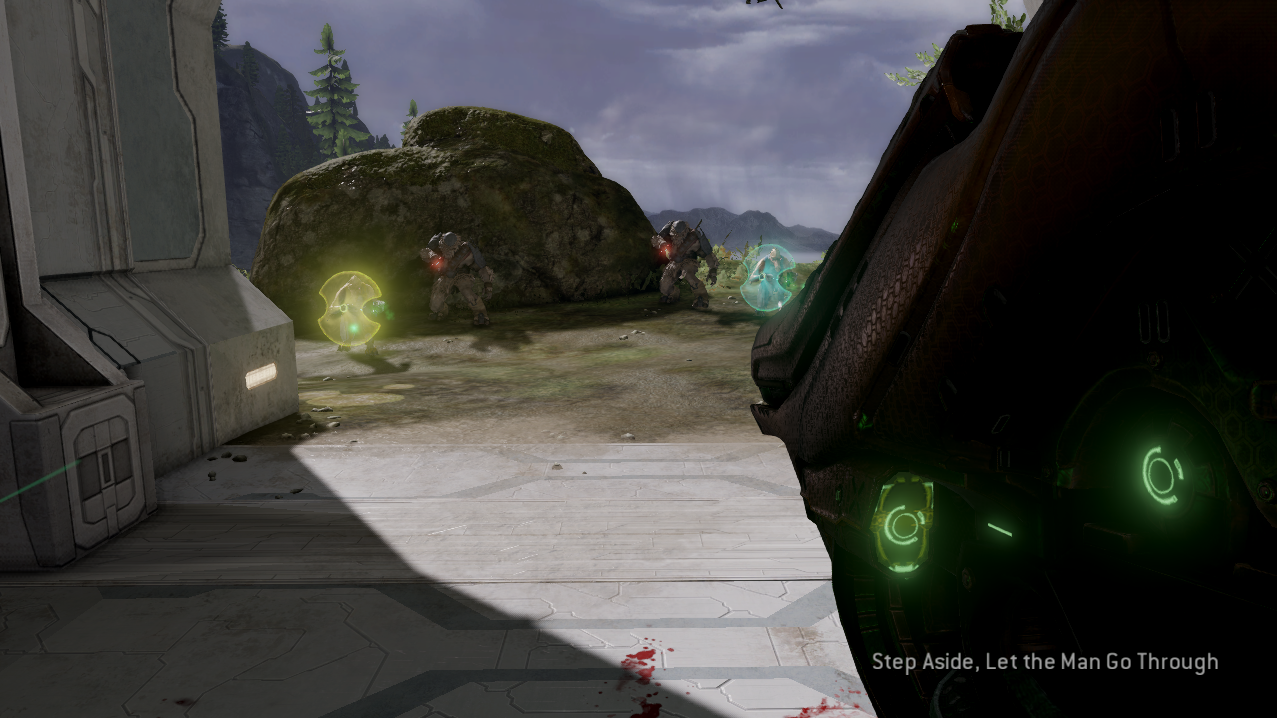
You will eventually come to an area with a door that triggers a cinematic moment that says "Step Aside, Let the Man Go Through" (Pictured below). There will be a pack of tough enemies on the other side of this door as well as in the small area ahead. I recommend you grab a Fuel Rod Cannon for these fights then hijack a vehicle for the next part.
The next few areas of this level are going to be vehicle battle arenas - essentially it is one battle arena after another will narrow sections connecting them. You can skip everything if you want and dash to the end, but what's the fun in that? If you're interested in getting an Achievement you can find the Librarian Toy in this part of the mission, check out my Librarian Toy Location Youtube Video for more information.
At the end of all these battle arenas you'll find a large waterfall and a building in the canyon beneath it. You will have to do a whole bunch of fighting in this area, there will be some Wraiths and tons of Brutes that you have to deal with - but the route forward is very linear. The Terminal on this mission is found in this area too, if you're interested in getting that. For the exact location check out my Uprising Terminal Location Youtube Video.
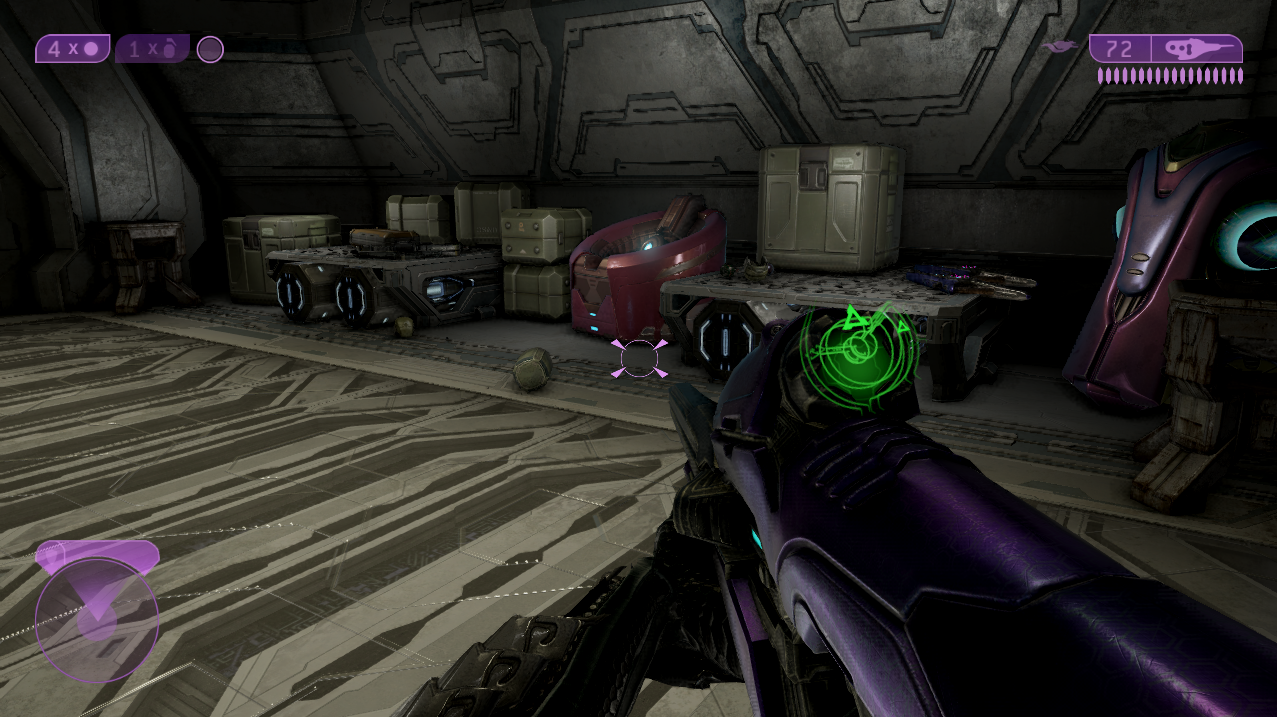
Once you clear out the first battle arena head inside across the land bridge to find a bunch of tables with weapons ontop of them (pictured below). Stock up on whatever weapon you want then head outside again to deal with the second battle arena. Follow the linear route to a tunnel in the wall, when you approach it Brutes will spill out both on foot and with vehicles. Deal with them and proceed through the tunnel to trigger a cutscene and complete the mission.
Choose your boomstick from the assortment above.
Continue to Mission 14: High Charity Walkthrough
Return to Mission 12: Gravemind Walkthrough