
Halo CE (Mission 2) Halo Walkthrough
Video Walkthrough: Halo CE Mission 2 Walkthrough
Skull Location: Mythic Skull Location & Boom Skull Location
Terminal Location: Halo Terminal Location
The second mission of Halo is kind of a tutorial on vehicles and how to use them. You start this mission inside of your crashed escape pod; all of the marines that came down with you are dead... Most likely from Master Chief bouncing around the inside of the escape pod like a ping pong ball because he refused to sit down and strap in.
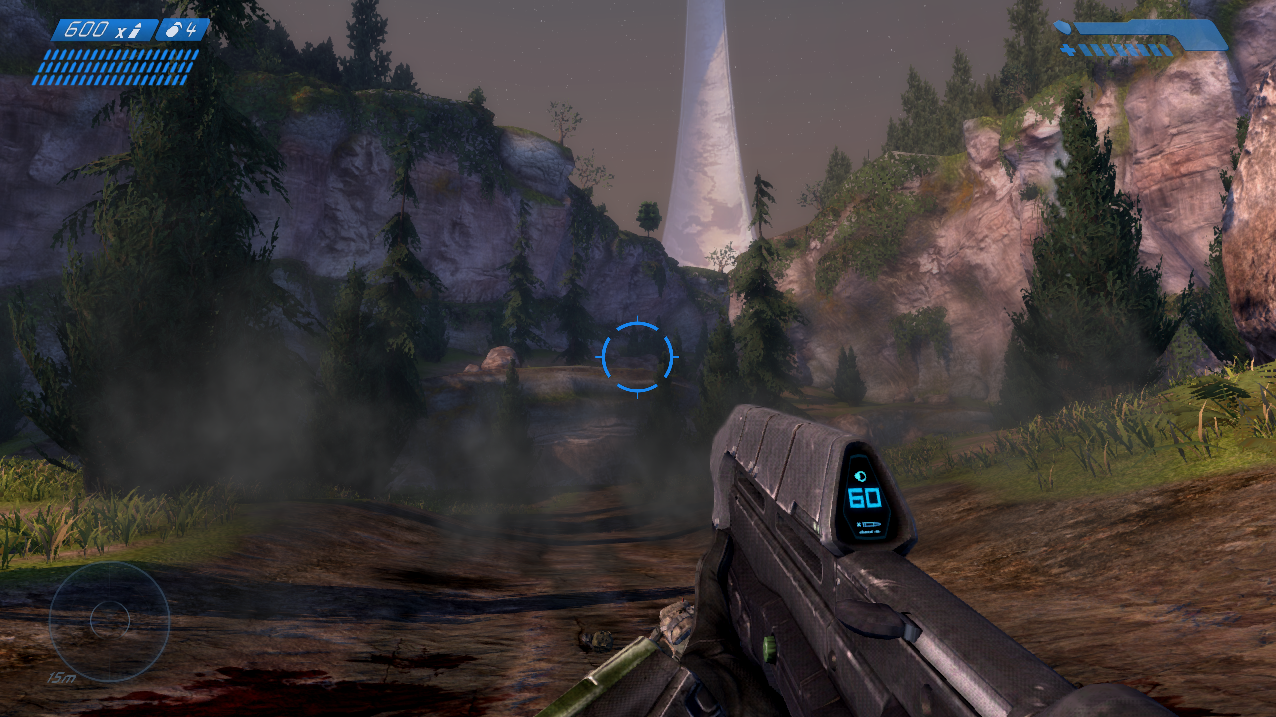
Before advancing into the level if you want to get the Mythic Skull it's available now at the start of this level. For more information check out my Mythic Skull Youtube Video; that video shows you the exact location of the skull. When you're ready to continue with the mission follow the linear route up the hill and into the mountain area.
Defeat all of the Covenant that you encounter as you go through this area and you will eventually arrive at a structure with some Marines fighting Covenant. You'll be tasked with defending this structure against a couple of Drop Ships filled with Covenant. If you're playing on Legendary difficulty this is where the game takes a sharp turn for the extremely hard!
Once you defeat all of the Covenant a Warthog will be dropped off for you which we'll want to board. At this point in time there is another skull that is available to you too, this one is called the Boom Skull. For the location of this skull check out my Boom Skull Location Youtube Video.
Drive the Warthog down into the nearby canyon and through the large underground structure. While you're driving through this structure keep an eye out for the Terminal, it's tucked away in a corner of this area. For the exact location of this Terminal check out my Halo CE Mission 2 Terminal Location Youtube Video.
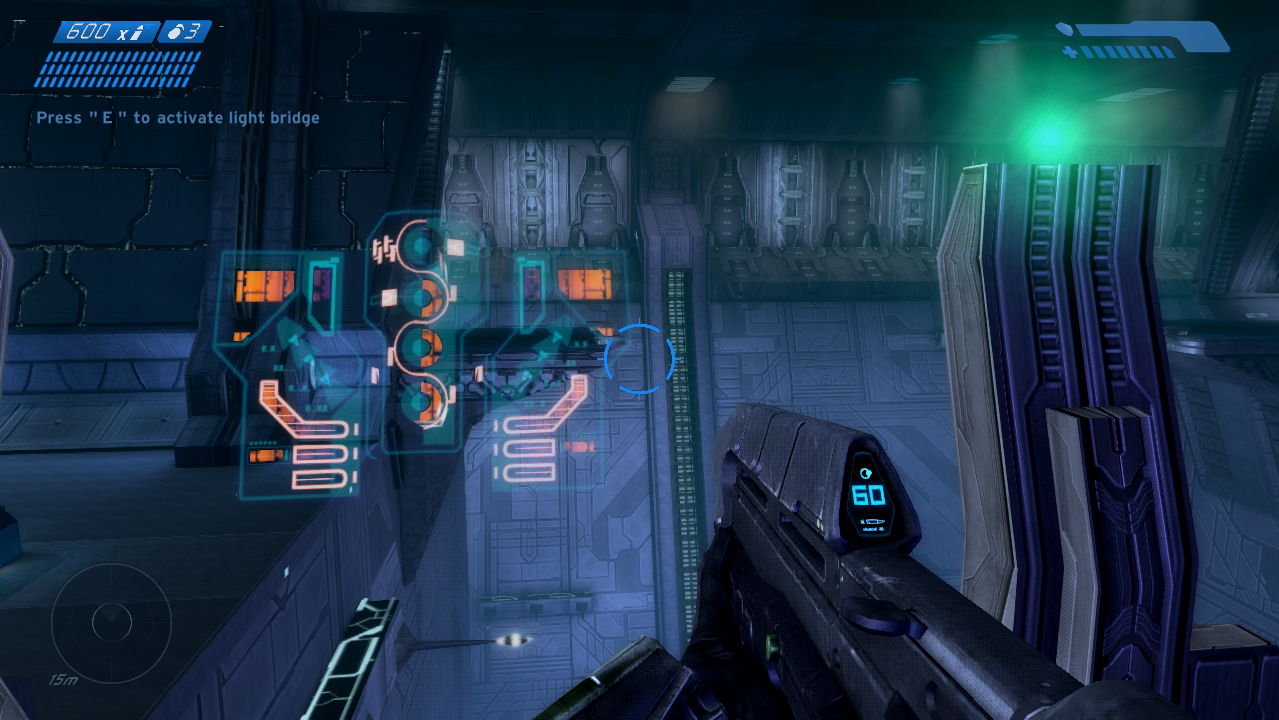
After the Terminal there will be an easy jump and a bit more tunnel before you come out to a large room. Keep to the right when you enter this room and you will find a small hallway that leads up to a ledge with a switch. Pressing this switch will cause a bridge to appear in the middle of this room which you can then cross to get to the other side.
Note: If you're having a hard time finding this bridge switch check out my Halo CE 2nd Mission Bridge Control Panel Location Youtube Video.
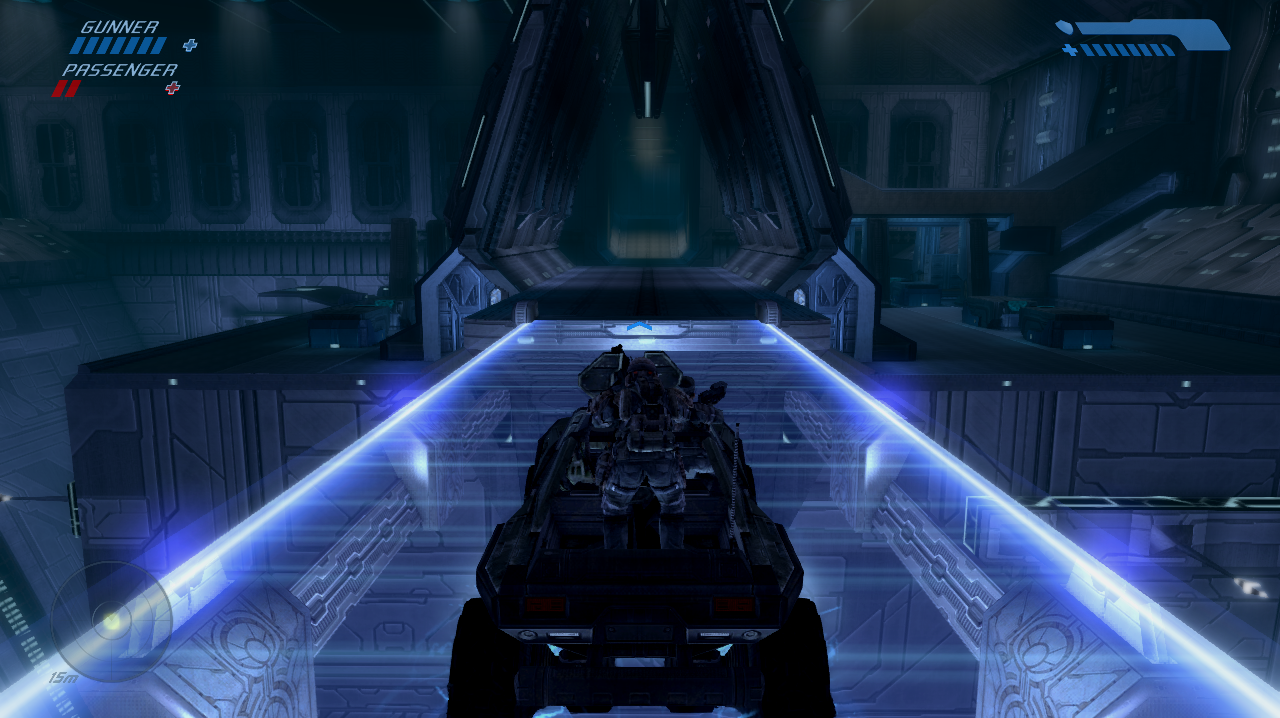
There will be a little bit more tunnel you have to drive through once you cross the bridge, after which you'll come out to another wide open lush area. You can do the second half of this mission in whatever order you please - it's all the same regardless. How it works is there are 3 groups of Marines for you to save in different areas throughout the canyons.
You need to drive around the canyons and find each group of Marines and protect them from some Covenant waves until an evac comes for them. If you're having trouble finding any of the Marine groups keep an eye out for the lights outside of certain canyon entrances. Two groups of Marines can be found near installation structures and the last group will be hiding in an area with a bunch of large boulders.
After saving the third group of Marines you'll board the same evac that they do and the level will be completed.
Continue to (Mission 3) Truth and Reconciliation Walkthrough
Return to (Mission 1) Pillar of Autumn Walkthrough