
Halo Reach (MCC) Firefight Guide - Unearthed
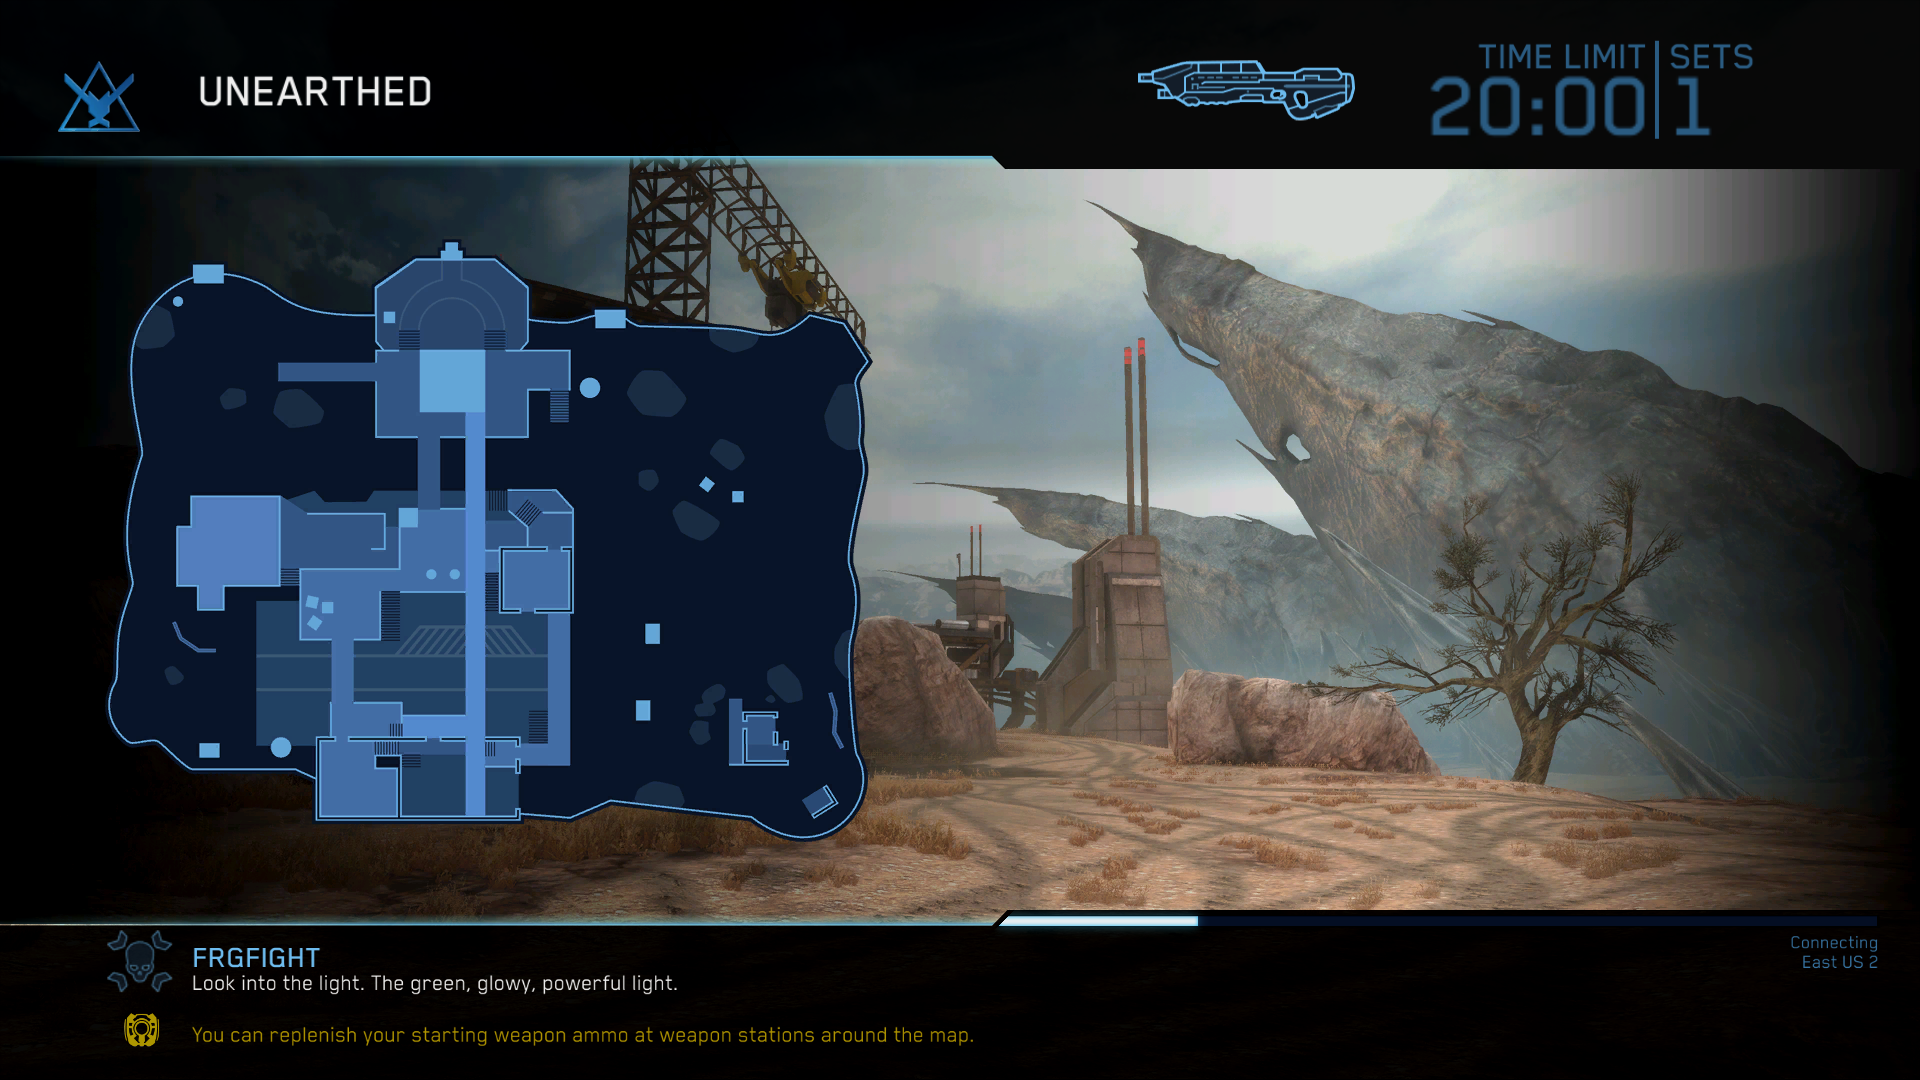
Unearthed is yet another of the many great Firefight maps in Halo Reach. When playing this map you will almost always spawn in the Mining Facility in the central portion of the map. All the Covenant waves will spawn in the surrounding areas and work their way into the Mining Facility to attack you.
The ammo supply chest as well as a Rocket Launcher Warthog can be found as spawns inside of the Mining Facility's main building. Health Packs can be found spaced out throughout the entire Mining Facility, keep an eye on the various pillars and walls throughout the area.
In my experience there are a few good strategies for this map when playing on normal Firefight. The first I will talk about is the turtle method where everyone stays inside of the mining facility compound and seldom leaves. For this strategy you pick off as many enemies as you can from a distance and wait for the rest to come to you.
Another strategy that works is a half and half method. Have half your team patrol the surrounding areas for enemies and half stay within the walls of the compound. You can make this strategy even more effective by having two people operate the Rocket Launcher Warthog that's found within the base.
For the most part there isn't much that can take out the Warthog if you have a good driver. Wraith tanks and other vehicles will be the biggest issues for the Warthog but you should also watch out for the annoying Fuel Rod Grunts too. Fuel Rod Grunts aren't that big of an issue unless you become complacent like me and stop being cautious around them. Normally you see a Grunt and presume it isn't a threat to you - but the Fuel Rod ones are.
When it comes to the more arcade style game modes the strategy changes a bit because risk is largely taken out of the equation by Overshields and unlimited lives. Instead of having to be cautious and careful people can be as reckless as they want. Also, instead of working as a team every man for himself is incentivized because getting lots of medals = more EXP for the match.
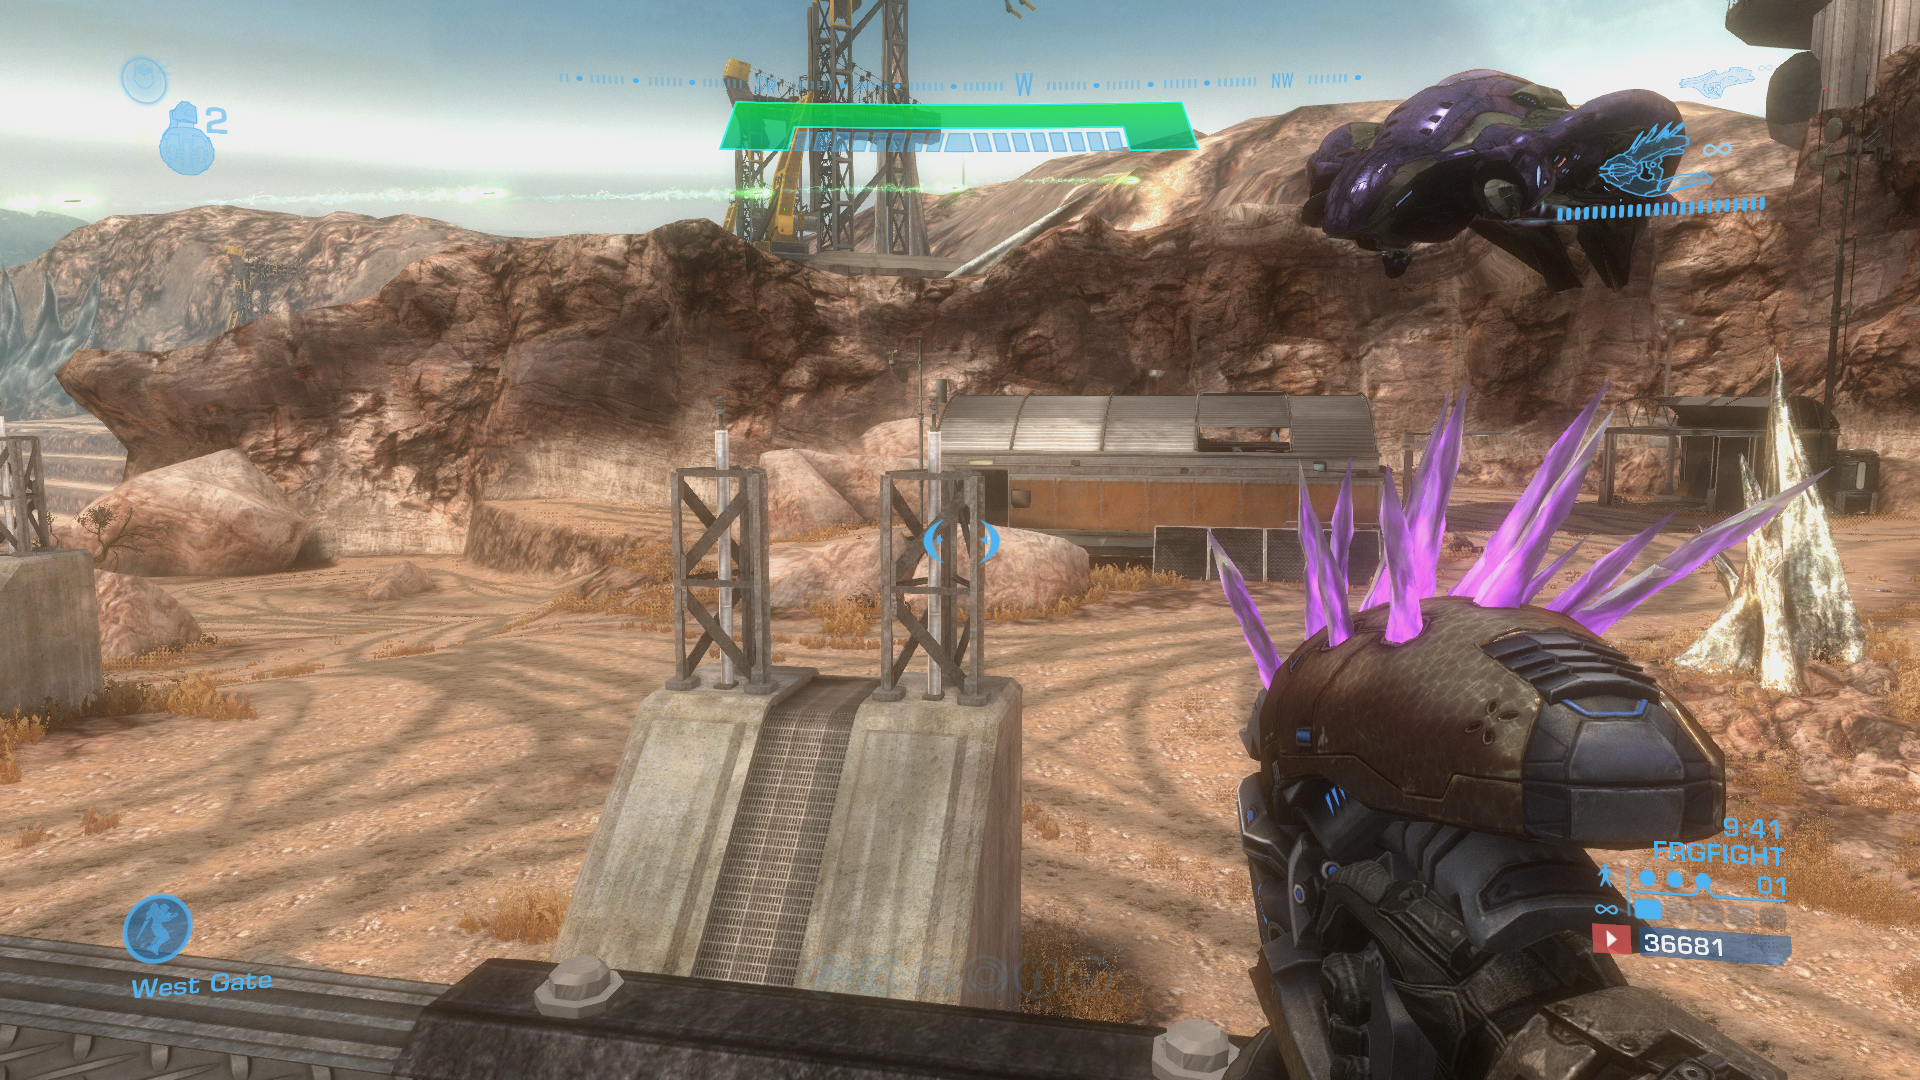
Normally the best strategy to use with the arcade style game modes is still to split your team up and have each person handle a different part of the map. My favorite part of the map to cover is the same one shown in the screenshot above, it's the field on the west side with the hangar like structure in the middle.
A lot of enemies spawn over on this side of the map - including some vehicles like Ghosts and Wraiths. When you're playing on the arcade modes you should be able to handle all of this by yourself. The only time I ever die (and I am not the best player by a long shot) is to the elites with human weapons who always kill everyone on the team when they spawn.
If you can handle the whole side by yourself that's great - when you're waiting on enemies to spawn you can kill the spill over from other sides too. Watch my videos of this map to see what I mean that I link to below. Those of you who can't handle this entire side on your own, try a different side or just allow your team to help you with the spill over.
Extra Tips & Tricks
- When you are playing Sniper, Rocket, Fiesta or any of the other arcade game modes for Firefight you should always use a Jet Pack Loadout. When using a Jet Pack and getting a killing blow you'll be rewarded the Firebird Medal which will get you more EXP overall. You only get the Firebird Medal when you are holding down the button and ascending with the Jet Pack. Letting go of the button and scoring the KB on the descend will not earn you this medal.
- During normal Firefight modes the Target Locator will have its ammo restored after each round. For this reason it's strongly recommended you do not get rid of this weapon after you use up its ammo; if you die while holding the Target Locator return to where you died and pick it up again before it's despawned at the end of the round. As far as the best time to use the Target Locator, typically towards the end of the round. Not the final set because the final set is very small but the 3rd or 4th sets are normally when I end up using it.
- A good strategy to use on this map is to take the Warthog and park it someplace secluded where enemies do not spawn then hop onto the turret. If you're playing on this map solo then this strategy is one of the best to use because you can use the terrain to funnel enemies to you then take them out with the Warthog easily.
- Want some advice on what weapons to use during Firefight and why? I have put together a Halo Reach Firefight Weapon Tier List that you may find helpful in determining what weapons you want to pick up and keep on your character.
- To easily commandeer a Wraith in Halo Reach all you need to do is take out the turret gunner and then hit the Wraith with a charged Plasma Pistol shot. A charged Plasma Pistol shot comes with an EMP effect which will immobilize the vehicle for a short amount of time. Now all you need to do is mount the Wraith and get into the turret gunner seat. This will cause the Covenant driving the Wraith to bail, allowing you to jump into the driver's seat as a result. If you'd like to see a video of this as an example check out my Halo Reach How to steal a Wraith with a Plasma Pistol Youtube Video.
Unearthed Firefight Videos
- Firefight Limited on Unearthed
- Arcadefight on Unearthed
- Sniperfight on Unearthed
- Rocketfight on Unearthed
- Fiestafight on Unearthed