
Halo Reach (MCC) Firefight Guide - Overlook
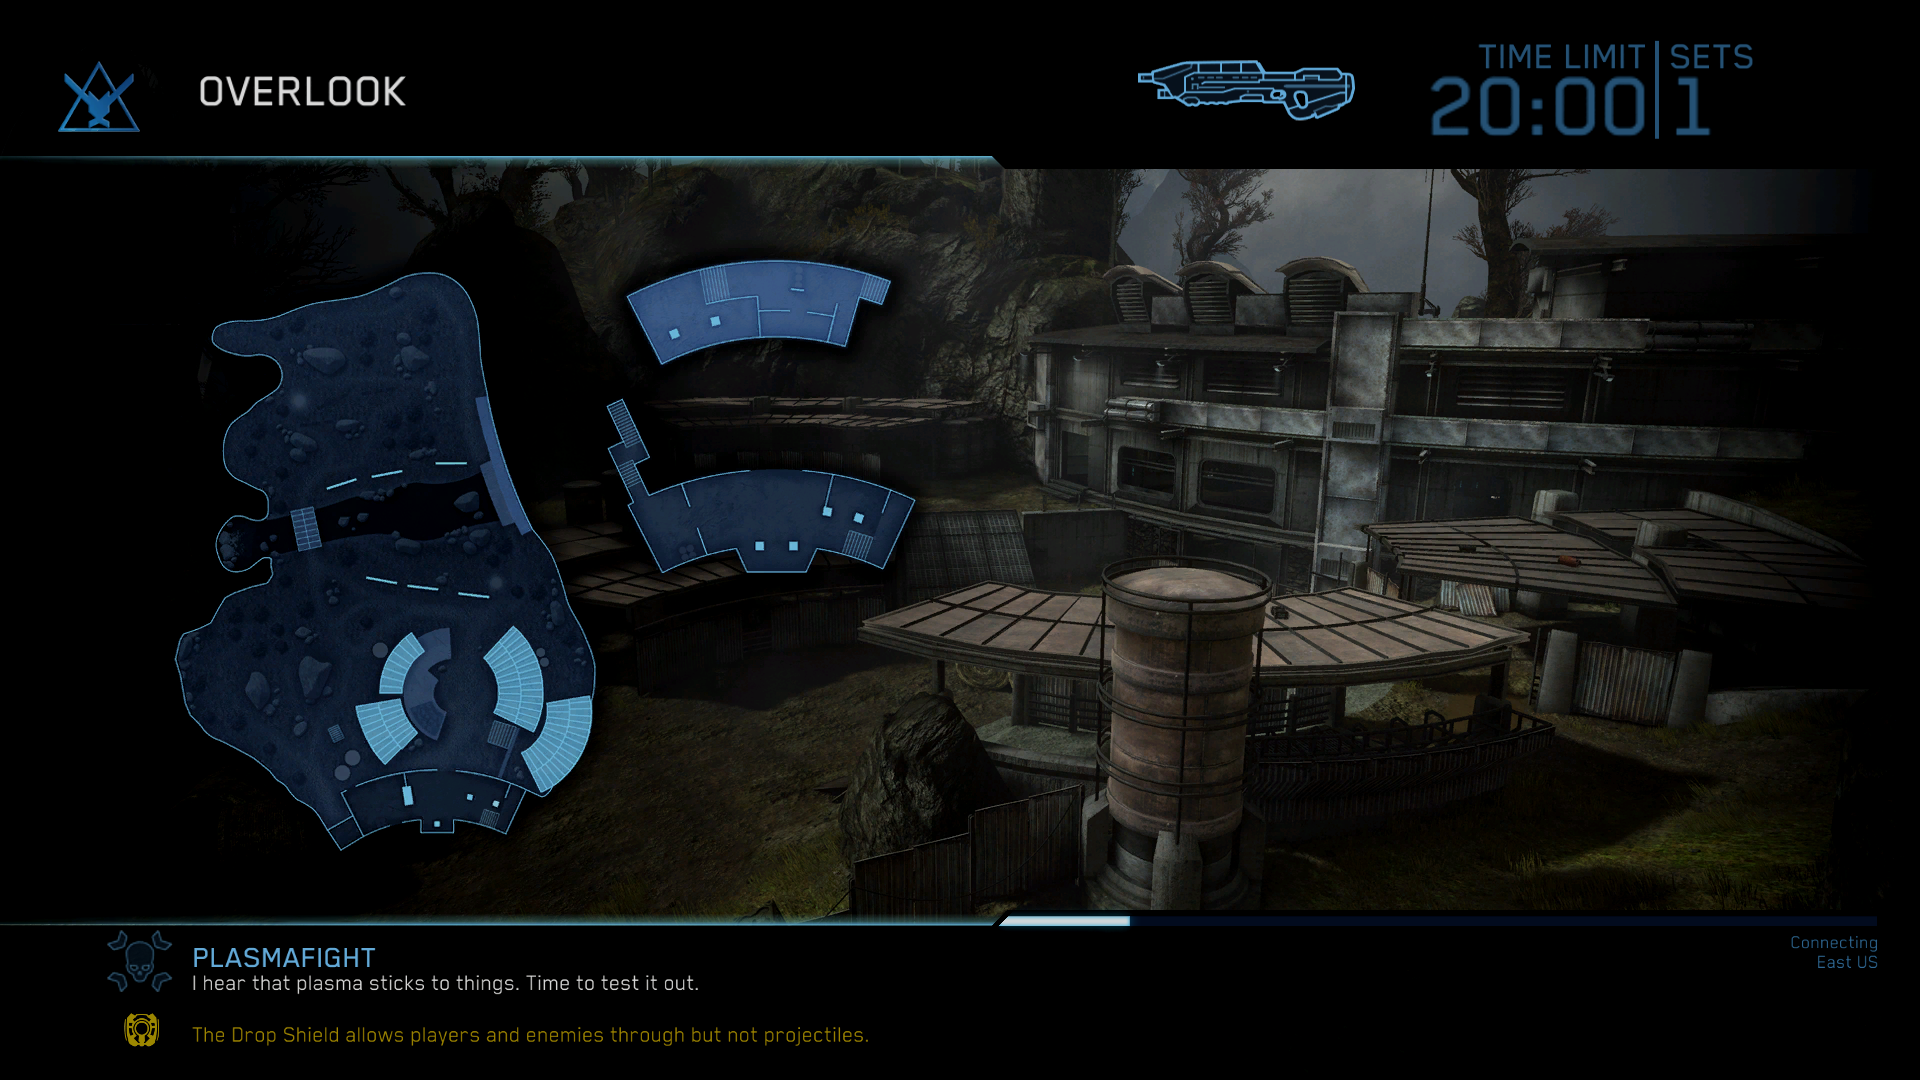
Overlook is another map from Reach's campaign and one you may recognize from the Winter Contingency mission. This map is a cut out of the mission from the first part that you encounter Covenant. It has a large farm house, a courtyard, a small river with a bridge and the surrounding fields.
When playing on this map you will almost always spawn in the large house at the southern end of the map. Inside of this building is also where you will find the ammo resupply crate during normal Firefight modes. Covenant will spawn in the areas surrounding the farm house and be dropped in via Drop Ship north of the house.
The only time this changes is during the Bonus Round, during this round Covenant are dropped directly into the courtyard of the farm house. As for advice, on regular Firefight modes I recommend you stay within the building or the courtyard area and let the enemies come to you. You should only leave the safety of this area if you have to for an objective or to deal with a Wraith.
Speaking of Wraiths, occasionally one will be dropped off nearby the farm house on the south side of the bridge. I've only seen this happen on normal Firefight game modes or in Rocketfight. All of the special modes like Generator Defense, Fiesta, Snipers etc etc I have never seen a Wraith... but I may be wrong. Maybe it has a 5-10% chance of spawning or something like that and I have only seen it on a few game modes.
Another strategy that works well is to have half your team holdup in the farm house and the other half patrol the area for enemies. Normally you'll want your best players in the yard searching for enemies with everyone else on your team hanging back in the safety of the farm house. This will thin the herd in a manner of speaking and result in less enemies making it to the farm house in the first place; this should make things less overwhelming for everyone.
Ultimately, your strategy will depend on the game mode that you're playing. On regular Firefight or any game mode where you have limited lives, you'll typically want to take a more cautious approach. It's not a good idea to be the person who wastes the whole team's lives because they're being reckless.
For the non-standard Firefight modes you'll want to throw all of the advice I just gave out the window. When it comes to playing on the more arcade oriented modes for Firefight it's every man for himself and it's all about scoring the most points instead. Depending on what game mode you're playing I can offer you two big pieces of advice.
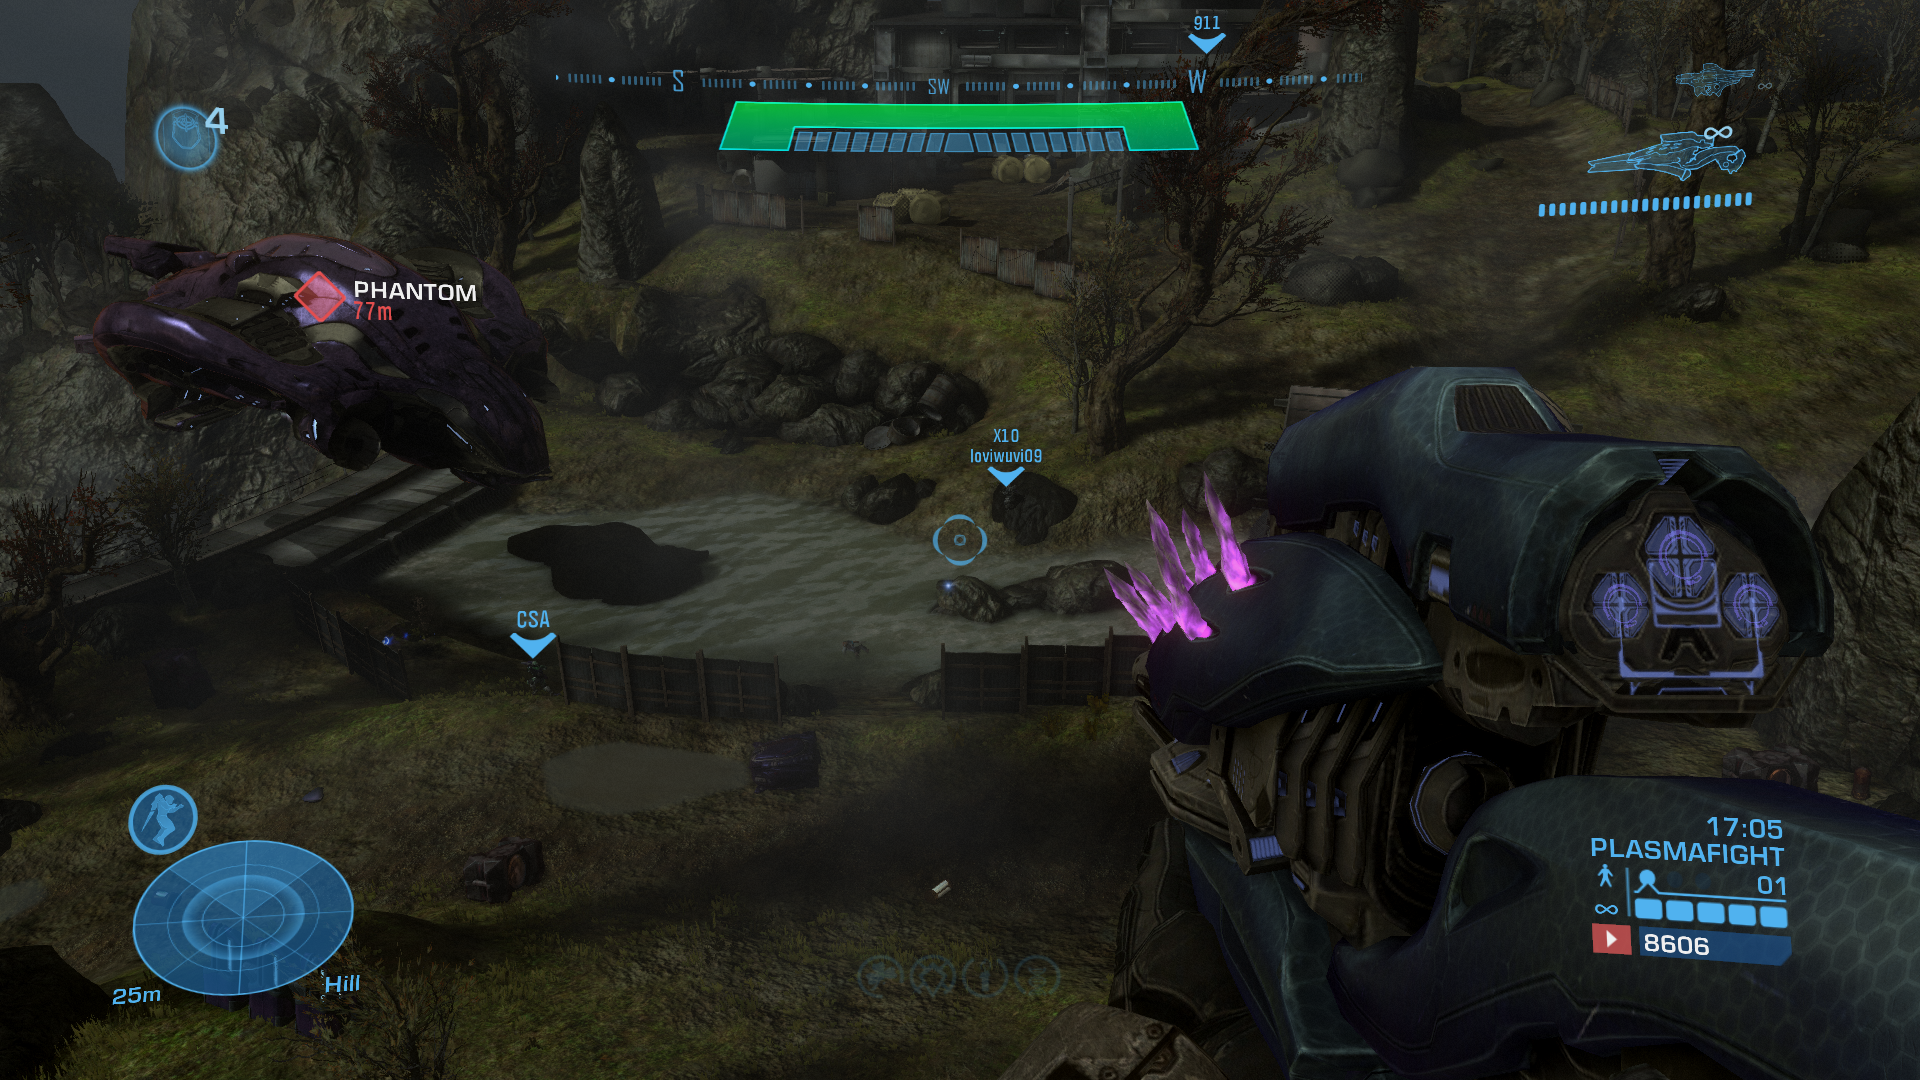
My first piece of advice is when playing with Snipers or any powerful long range weapon (like the Needler Rifle) you'll want to perch ontop of the Covenant rod in the northern farm field. I'm sitting ontop of this rod in my screenshot above, it gives you a full overview of the entire farm and almost every single enemy spawn point. The only time you have to leave this rod the entire game is during the Bonus Round.
If you're using Rockets or some other weapon then my best advice to you is to sit ontop of a rooftop in the farm house's courtyard when you're not flying around with a Jetpack. One of the roof tops has a small silo connected to it which is normally my perch spot in this game mode. Normally though when using explosives you'll want to fly around with the Jet Pack since that will get you Firebird medals which are worth more EXP.
Extra Tips & Tricks
- When you are playing Sniper, Rocket, Fiesta or any of the other arcade game modes for Firefight you should always use a Jet Pack Loadout. When using a Jet Pack and getting a killing blow you'll be rewarded the Firebird Medal which will get you more EXP overall. You only get the Firebird Medal when you are holding down the button and ascending with the Jet Pack. Letting go of the button and scoring the KB on the descend will not earn you this medal.
- During normal Firefight modes the Target Locator will have its ammo restored after each round. For this reason it's strongly recommended you do not get rid of this weapon after you use up its ammo; if you die while holding the Target Locator return to where you died and pick it up again before it's despawned at the end of the round. As far as the best time to use the Target Locator, typically towards the end of the round. Not the final set because the final set is very small but the 3rd or 4th sets are normally when I end up using it.
- Another good overlook position on this map is the roof overtop the bridge in the middle. This will give you a good vantage of both sides and almost every single Phantom drop location. It will require a Jet Pack to get up here and it's not recommended on normal Firefight because you will be too exposed.
- Want some advice on what weapons to use during Firefight and why? I have put together a Halo Reach Firefight Weapon Tier List that you may find helpful in determining what weapons you want to pick up and keep on your character.
- To easily commandeer a Wraith in Halo Reach all you need to do is take out the turret gunner and then hit the Wraith with a charged Plasma Pistol shot. A charged Plasma Pistol shot comes with an EMP effect which will immobilize the vehicle for a short amount of time. Now all you need to do is mount the Wraith and get into the turret gunner seat. This will cause the Covenant driving the Wraith to bail, allowing you to jump into the driver's seat as a result. If you'd like to see a video of this as an example check out my Halo Reach How to steal a Wraith with a Plasma Pistol Youtube Video.
Overlook Firefight Videos
- Firefight Limited on Overlook
- Rocketfight on Overlook
- Plasmafight on Overlook
- FRGFight on Overlook
- Score Attack on Overlook
- Rocket Attack on Overlook
- FRG Attack on Overlook
- Generator Defense on Overlook
- Fiestafight on Overlook
- Crash Site on Overlook
- Gruntpocalypse on Overlook