
Halo Reach (MCC) Firefight Guide - Glacier
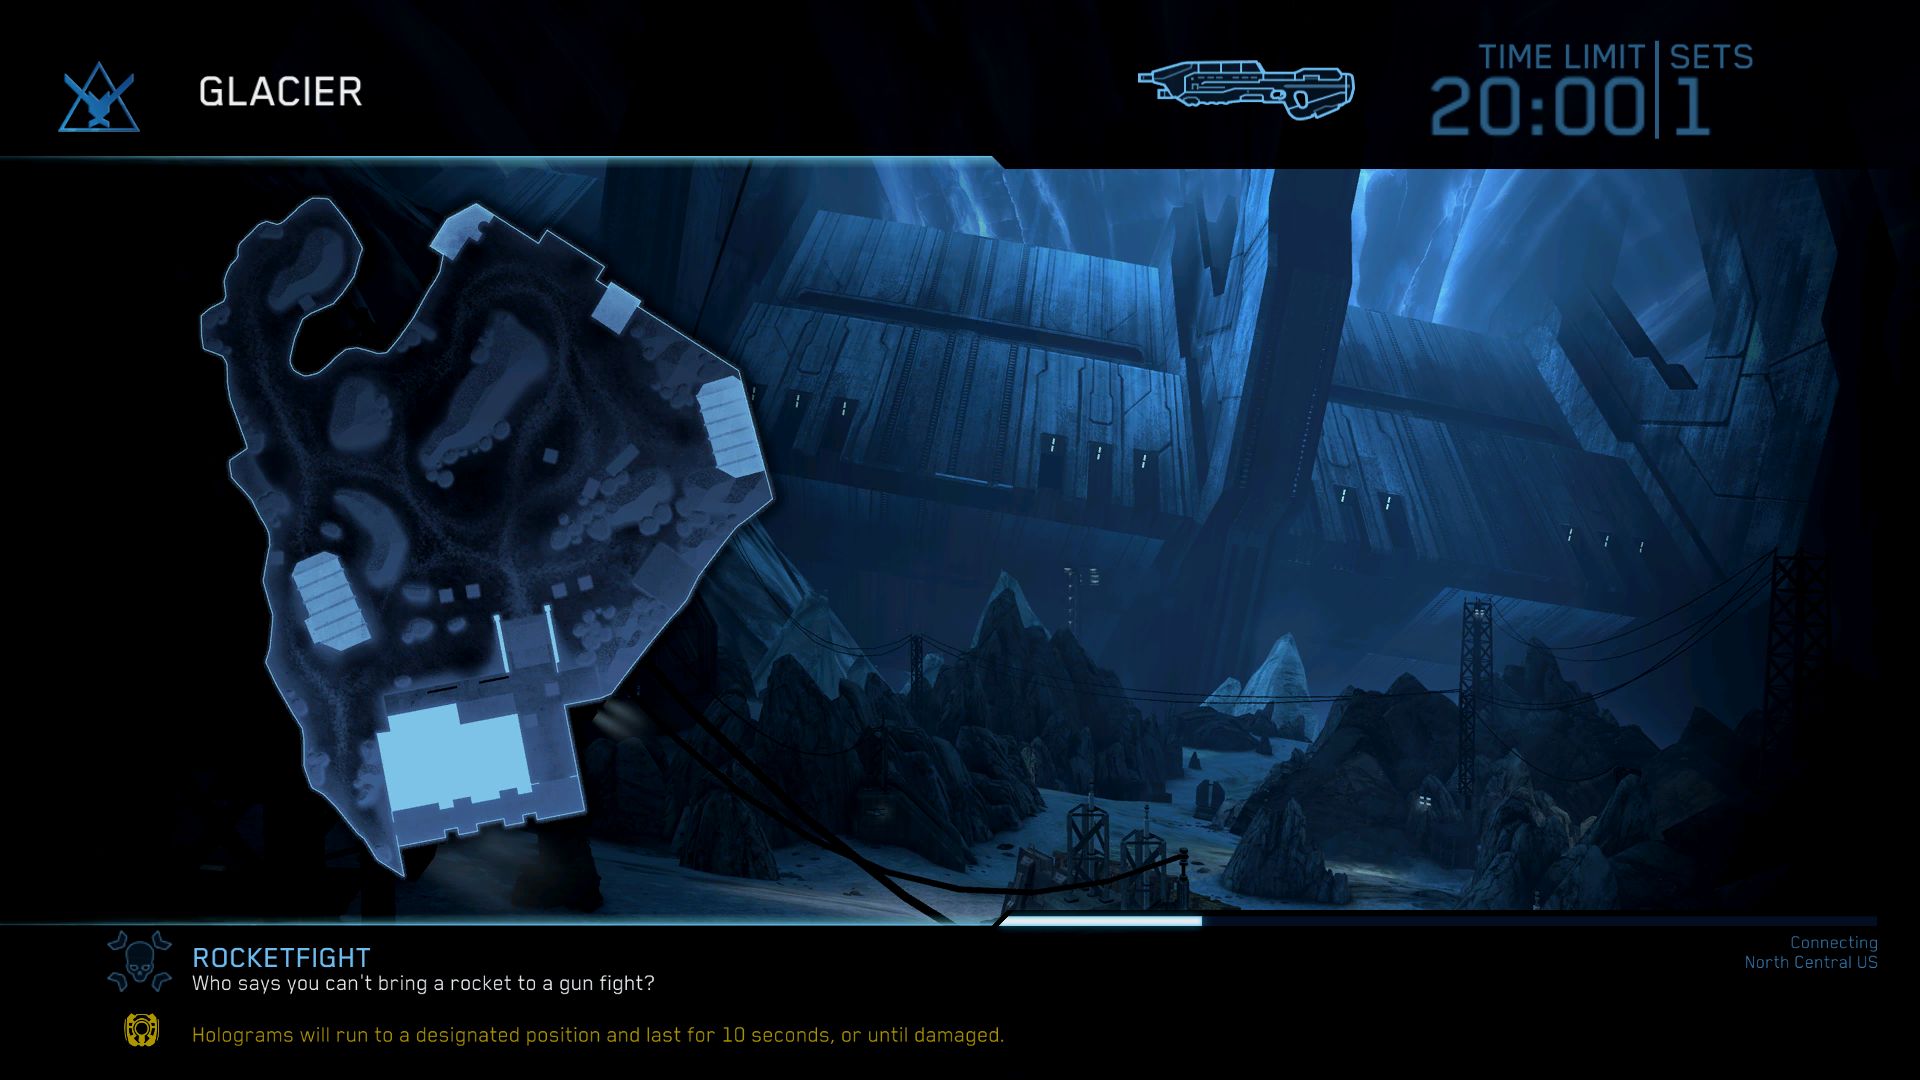
Glacier is yet another Firefight map which originates in the Reach Campaign. This map is part of The Package mission, during the mission you'll be tasked with defending Halsey's Lab from wave after wave of Covenant - which is exactly what we are doing here. Unlike the campaign though we're not going to have any turrets that help us defend the lab.
Thankfully, the layout of the Glacier map makes it a very easy one to defend even without any turrets. All of the ammo resupply crates on the map can be found near the entrance to Halsey's Lab on the south side of the map. Covenant spawn in the areas surrounding this building and will work their way up the paths toward the building just like during the campaign.
In the surrounding area around the entrance to Halsey's Lab you'll find many mounted turrets which you can either detach and carry with you or leave in place and use them when enemies get close enough. Personally I recommend leaving them in place until you get towards the end of the round then detaching them since they'll respawn anyway.
When you are playing on the normal Firefight modes you'll typically want to hang around the main building and wait for enemies to come to you. The only time you'll want to "go to them" is when Drop Ships leave you a Wraith to deal with. On this map Wraiths have been known to have pinpoint accuracy and they'll hit you from a really far distance away if you stand in one area too long.
For the alternative game modes like Fiesta, Snipers and Rockets normally what works best is for each player to pick an area and focus their attention there. There will be some overlap when you do this because not all parts of the map get spawns at the same time but it will normally work out for the majority of the map.

If your team is using the guard Halsey's Lab strategy you should keep an eye out for the hidden path that goes by the greenhouse looking building in the north. A lot of enemies that are dropped off on the northern road will come up this path and if you're not prepared they will flank your team. When playing on this map I strongly recommend the DMR weapon because you will have a lot of time to shoot at enemies as they approach your guard point.
Occasionally there will be a Phantom that drops enemies off right in front of Halsey's Lab, when this Phantom comes my advice is to dodge the turret as much as possible and pick off enemies in the distance. If that isn't working out for you then fall back into Halsey's Lab until the Phantom leaves and then come out (carefully) to start attacking again.
This Phantom is going to be the most annoying one to deal with since the turret is right up in your face and you have no where to go except inside... and while you're inside you can't attack enemies since you can't see them. So, this results in the enemies gaining a lot of ground and overwhelming you outside of Halsey's Lab.
Extra Tips & Tricks
- When you are playing Sniper, Rocket, Fiesta or any of the other arcade game modes for Firefight you should always use a Jet Pack Loadout. When using a Jet Pack and getting a killing blow you'll be rewarded the Firebird Medal which will get you more EXP overall. You only get the Firebird Medal when you are holding down the button and ascending with the Jet Pack. Letting go of the button and scoring the KB on the descend will not earn you this medal.
- During normal Firefight modes the Target Locator will have its ammo restored after each round. For this reason it's strongly recommended you do not get rid of this weapon after you use up its ammo; if you die while holding the Target Locator return to where you died and pick it up again before it's despawned at the end of the round. As far as the best time to use the Target Locator, typically towards the end of the round. Not the final set because the final set is very small but the 3rd or 4th sets are normally when I end up using it.
- To easily commandeer a Wraith in Halo Reach all you need to do is take out the turret gunner and then hit the Wraith with a charged Plasma Pistol shot. A charged Plasma Pistol shot comes with an EMP effect which will immobilize the vehicle for a short amount of time. Now all you need to do is mount the Wraith and get into the turret gunner seat. This will cause the Covenant driving the Wraith to bail, allowing you to jump into the driver's seat as a result. If you'd like to see a video of this as an example check out my Halo Reach How to steal a Wraith with a Plasma Pistol Youtube Video.
- Want some advice on what weapons to use during Firefight and why? I have put together a Halo Reach Firefight Weapon Tier List that you may find helpful in determining what weapons you want to pick up and keep on your character.
Glacier Firefight Videos
- Plasmafight on Glacier
- Generator Defense on Glacier
- Rocketfight on Glacier
- Score Attack on Glacier
- Sniperfight on Glacier
- Skirmigeddon on Glacier
- Firefight Limited on Glacier
- Fiestafight on Glacier
- Score Attack on Glacier