
Halo 3 ODST (MCC) Firefight Guide - Security Zone
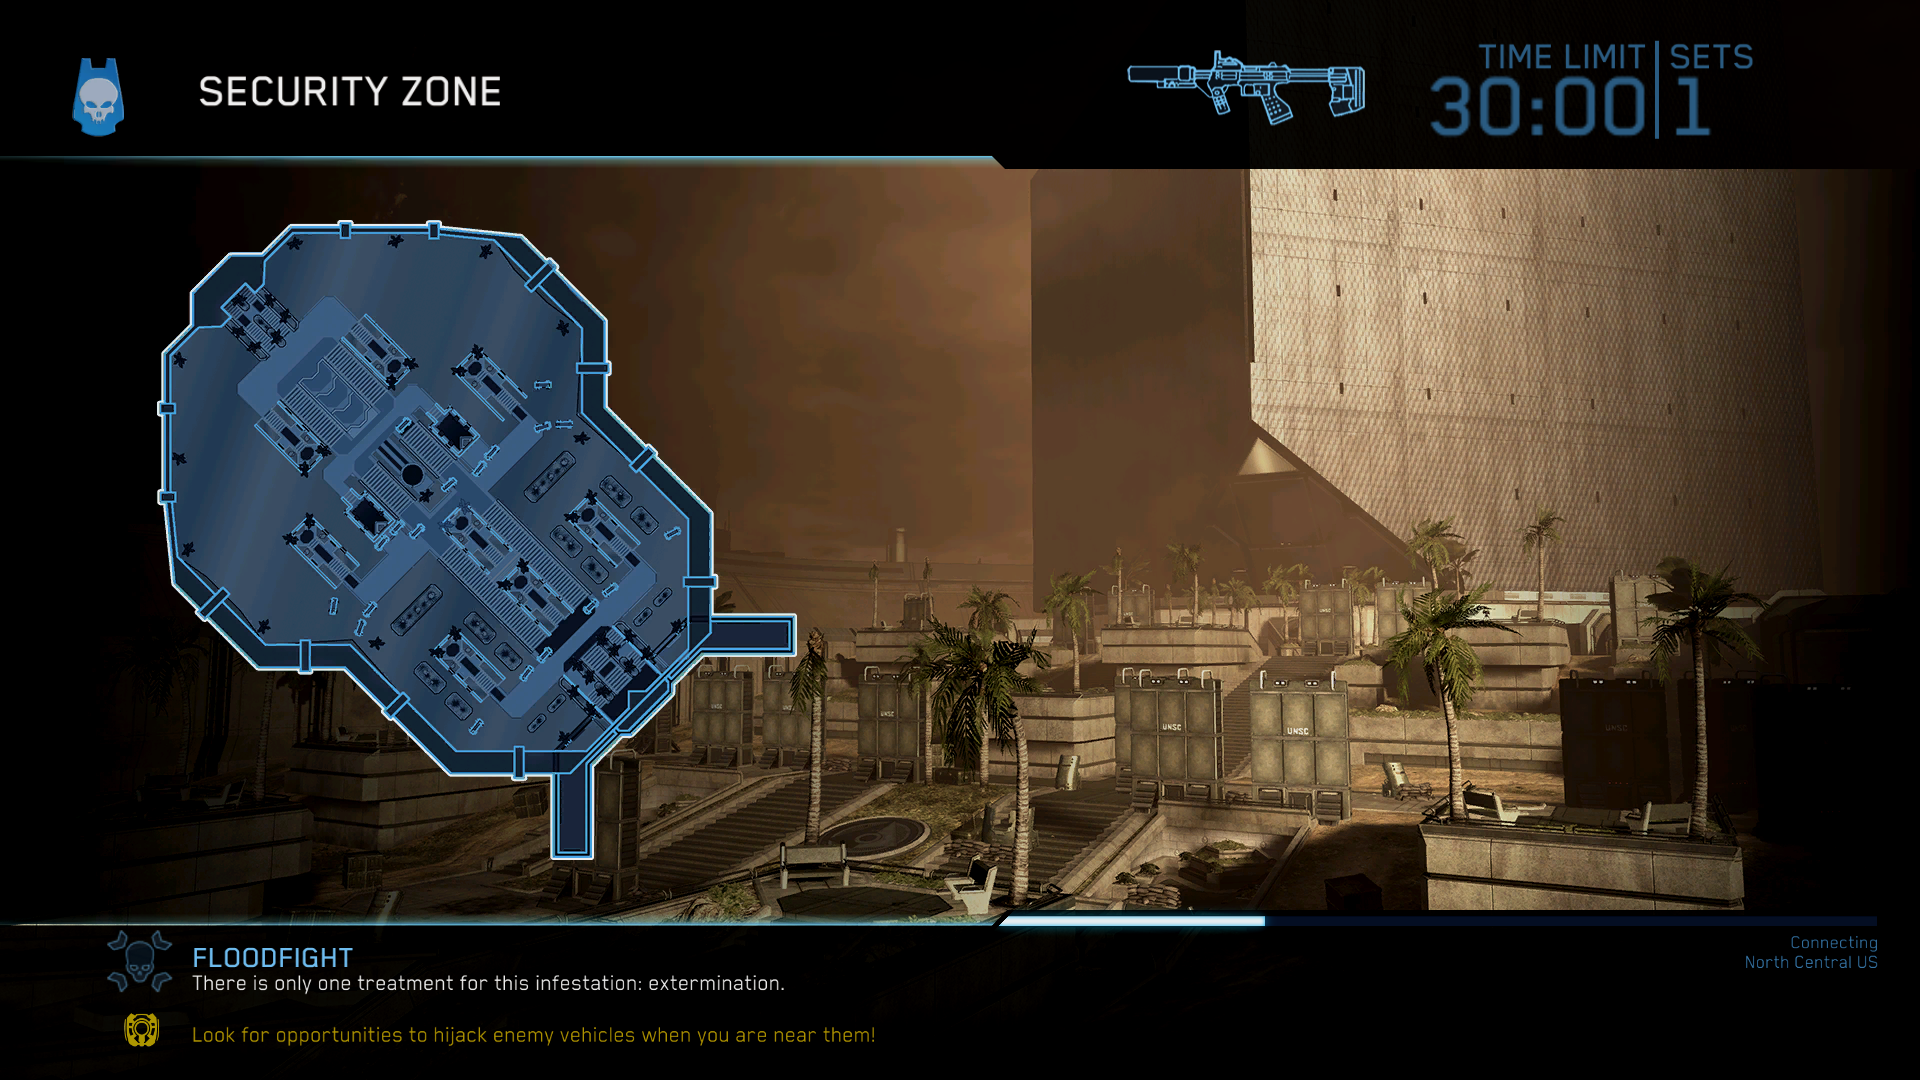
Security Zone is a Firefight map from ODST's Campaign, it's from the ONI Alpha Site mission. You spawn in the southern portion of this map inside a closed off hallway at the highest point in the area. Nearby the spawn point you'll find many different Health Packs along with a few different ammo supply racks for the Pistol and Silenced SMG weapons in the courtyard outside.
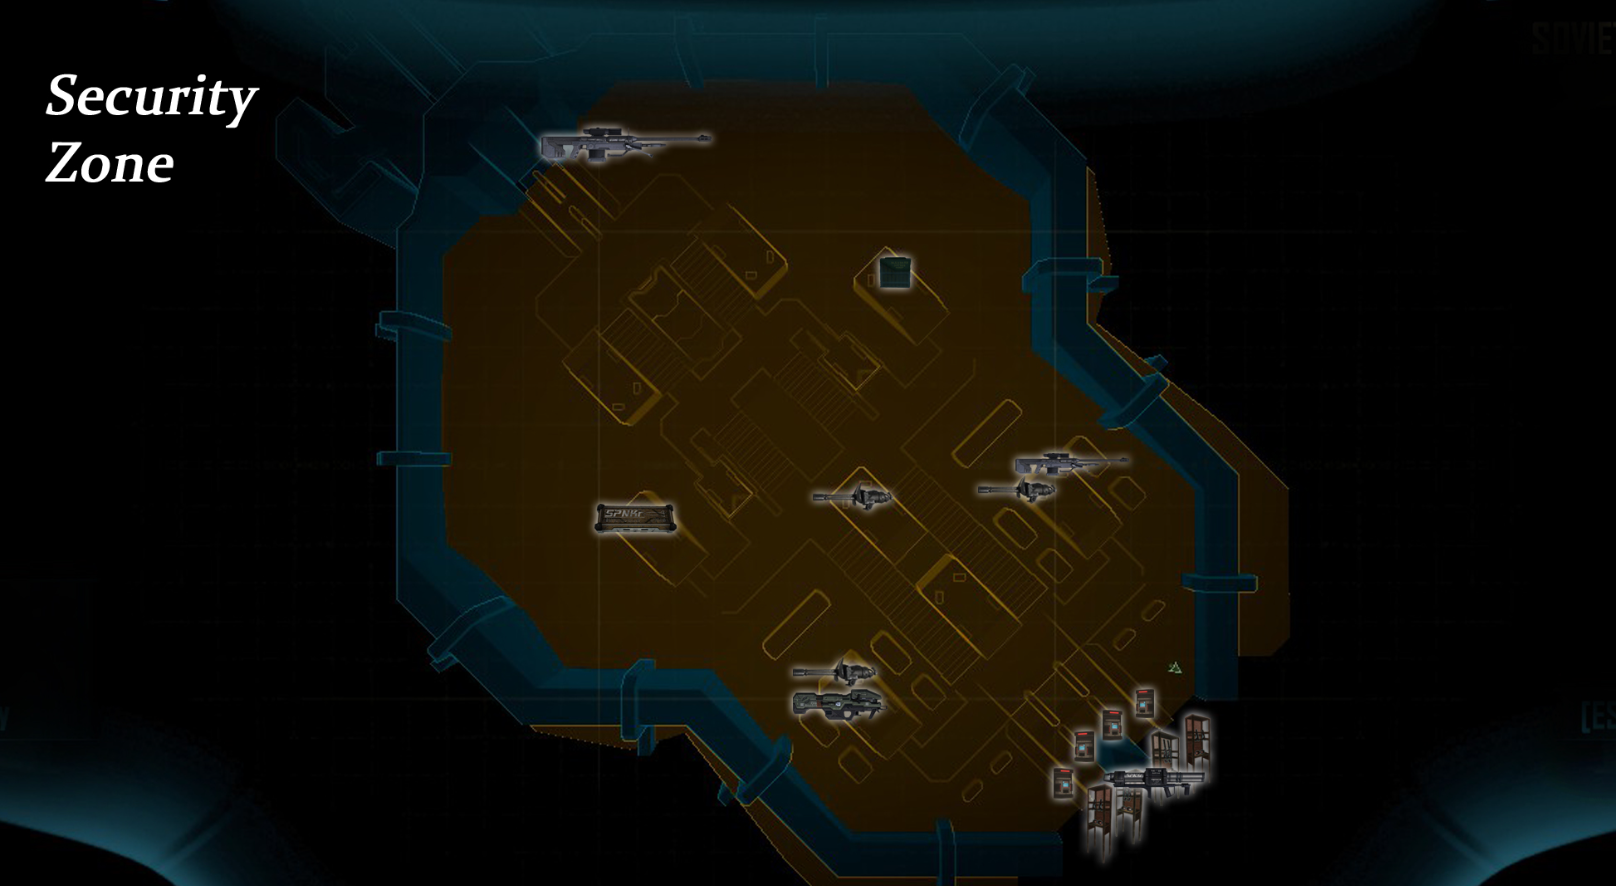
If you look between the two ammo supply racks in the courtyard you'll find an alcove of sorts which is where the Rocket Launcher spawns on this map. All of the enemies on this map spawn or are dropped off in the middle to northern portion of the map. The turret found in the middle of this map can sometimes get spawns behind it - especially on Floodfight - so keep that in mind.
The best strategy to use on this map changes depending on the game mode that you're playing. On normal Firefight you'll want to be a bit more conservative and hang around the spawn area until you get an understanding of how strong your team is and what they're capable of. Once you have a solid grasp of what your team can do you'll want to adopt a fluid strategy.
What I mean by a fluid strategy is you'll want to push out to the middle/north sometimes and fall back other times. You'll have to pay attention to when you're getting overwhelmed and when you're not and act accordingly. As for Floodfight, it's a bit more every many for themselves during this mode. You'll still want to keep your team mates safe but every one can split up and cover their own corner of the world.
Vehicles can spawn on this map as well, during normal Firefight you'll get Wraiths and during Floodflight Ghosts will spawn. The Wraiths that spawn on this map you won't be able to steal but the Ghosts that spawn you can steal and I strongly recommend you do. When you're playing Floodfight stealing a Ghost on this level should be your top priority considering how easy it is to destroy even the most annoying Flood enemies with it.
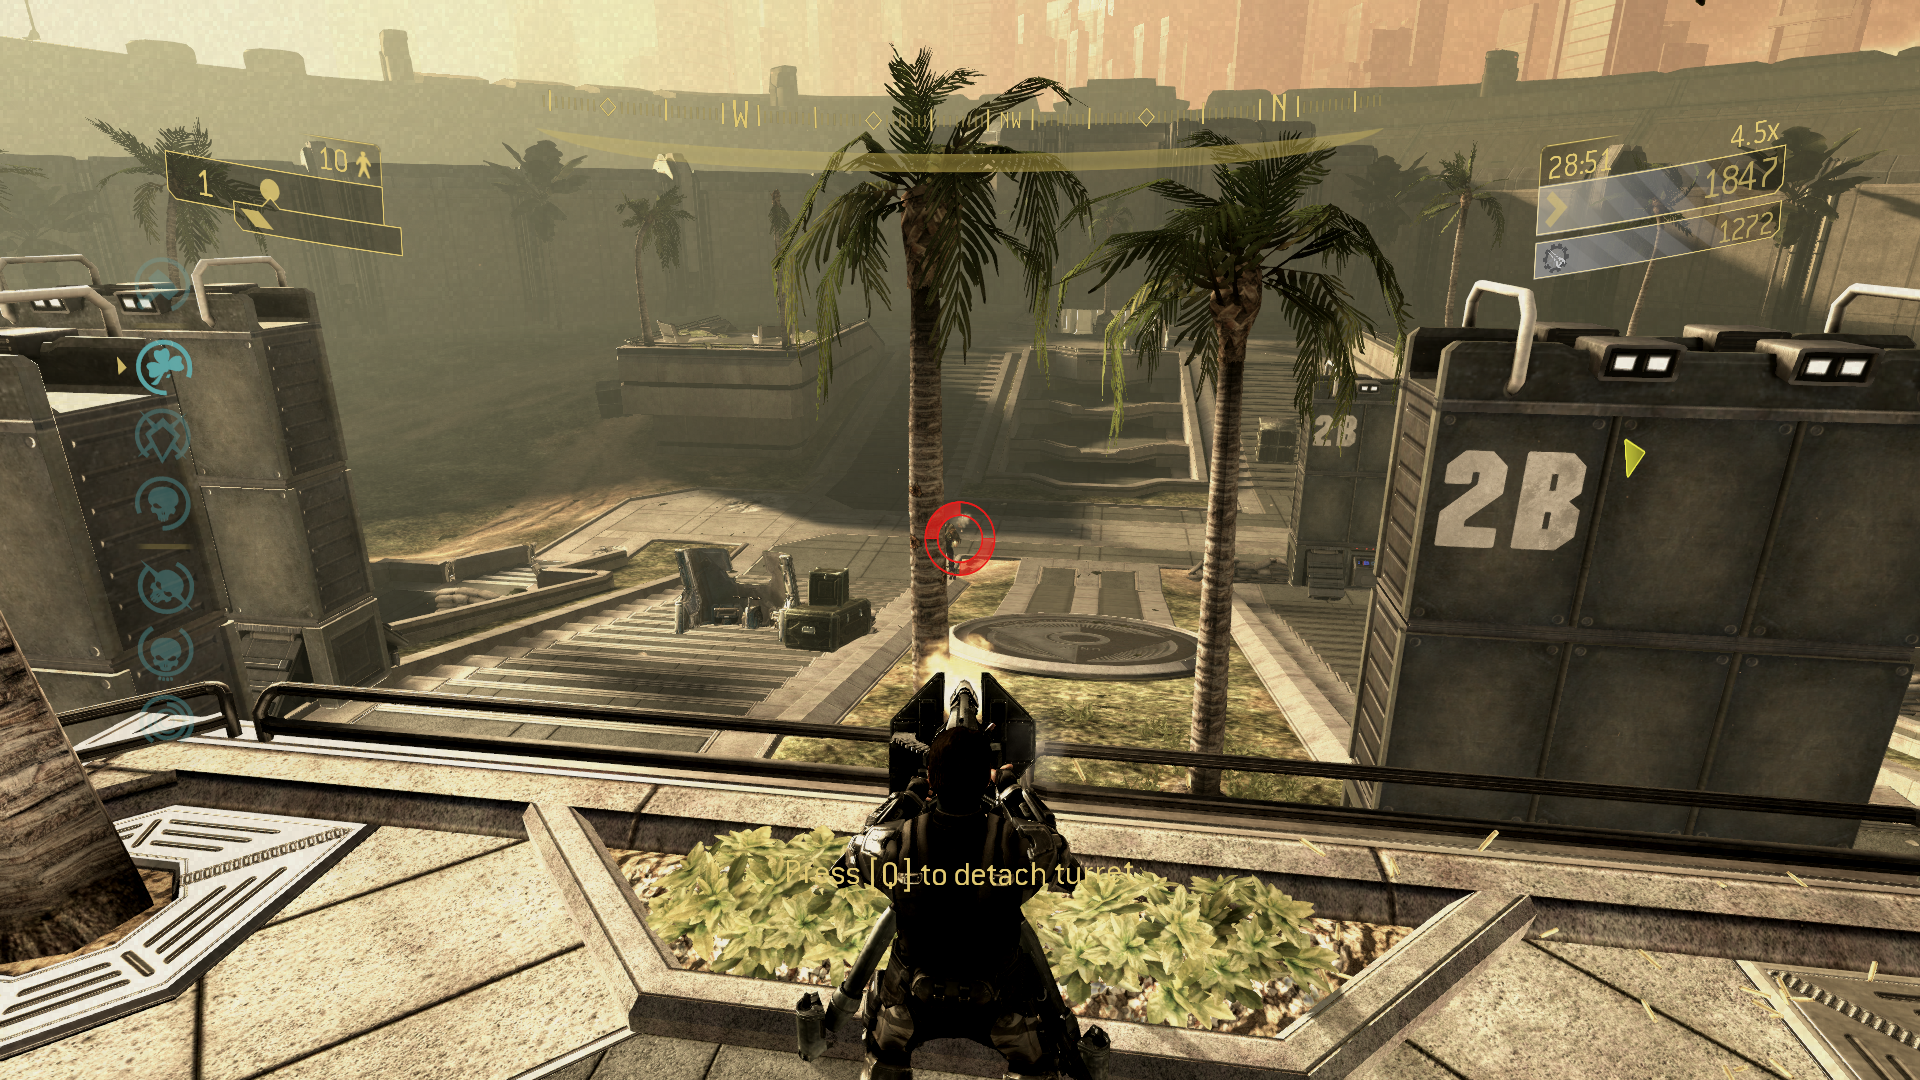
I think the only time I can recommend you spend time in the northern portion of the map is if you're going for the Sniper Rifle, ammo, or if you have a Ghost and it's during Floodfight. One of the Sniper Rifles on this map is found in the far north, like shown in the screenshot below. There is also some ammo you can find on the platforms in the north, also shown in the screenshot below.
For the most part the northern portion of this map is going to be a very deadly place. You'll be completely vulnerable to all Phantoms that come through the area and they'll blast you with their turrets as the enemies on the ground flush you out of cover. The only way you can survive in this part of the map is if you're very skilled or if you're using a Ghost.
Another tip I can give for this map is to give the friendly Marines that spawn the Spartan Laser or Rocket Launcher to make the most out of their help. Marines have unlimited ammo with the weapon they're using so you can use this to your advantage. At the start of each round a new set of Marines will spawn, they typically run out into the middle portion of the map and hang out here until something kills them.
Extra Tips & Tricks
-The Rocket Launcher on this map is found nearby where you spawn. Inbetween both spawn rooms there is a small hallway near the Silenced SMG and Pistol ammo supply, you'll find the Rocket Launcher mounted on the wall in here.
- You can find the Battle Rifle in the southwestern part of this map. If you're looking at the turret in the center of the map turn to your left and you'll find the Battle Rifle on an ammo supply shelf behind the small half wall. For the standard issue UNSC Assault Rifle look at the turret and turn to the right; you'll find the ammo supply shelf with this weapon in the same spot on the opposite side.
- On the platforms closest to the spawn location you can find two turrets that many people never use because they're in a bad position. I recommend you detach these turrets and run around with them to make use of them. Don't forget they respawn each new round too!
- When you're doing Floodfight the best strategy for you on this map is to get a Ghost as soon as possible and use that the entire time. You'll get a ton of points from Splatter Medals; when enemies spawn at the start of each set you'll have time to run them over before they start moving around. Also running over the big tanky flood is the best way of dealing with them.
- If you'd like some advice on what weapons to use during ODST's Firefight and Floodfight modes I recommend you check out my Halo 3 ODST Firefight/Floodfight Weapon Tier List. That page is filled with information about each weapon and what sorts of scenarios they excel in and why. It also compares all weapons to give you an idea of what you'll want pick up and what you'll want to leave.
- When there are invisible Brutes or invisible Flood spawning I strongly recommend you use your VISR because it'll give the enemies an outline and make them much easier to see. Even if it is light out and VISR makes it harder to see - switch it on and off as you scan an area for invisible enemies.
Security Zone Firefight Videos
- Floodfight on Security Zone
- Nadefight on Security Zone
- FRG Attack on Security Zone
- Fiestafight on Security Zone
- Sniperfight on Security Zone
- Rocketfight on Security Zone
- Splocket Attack on Security Zone
- Firefight Limited on Security Zone
- Gruntpocalypse on Security Zone