
Halo 3 ODST (MCC) Firefight Guide - Rally Point
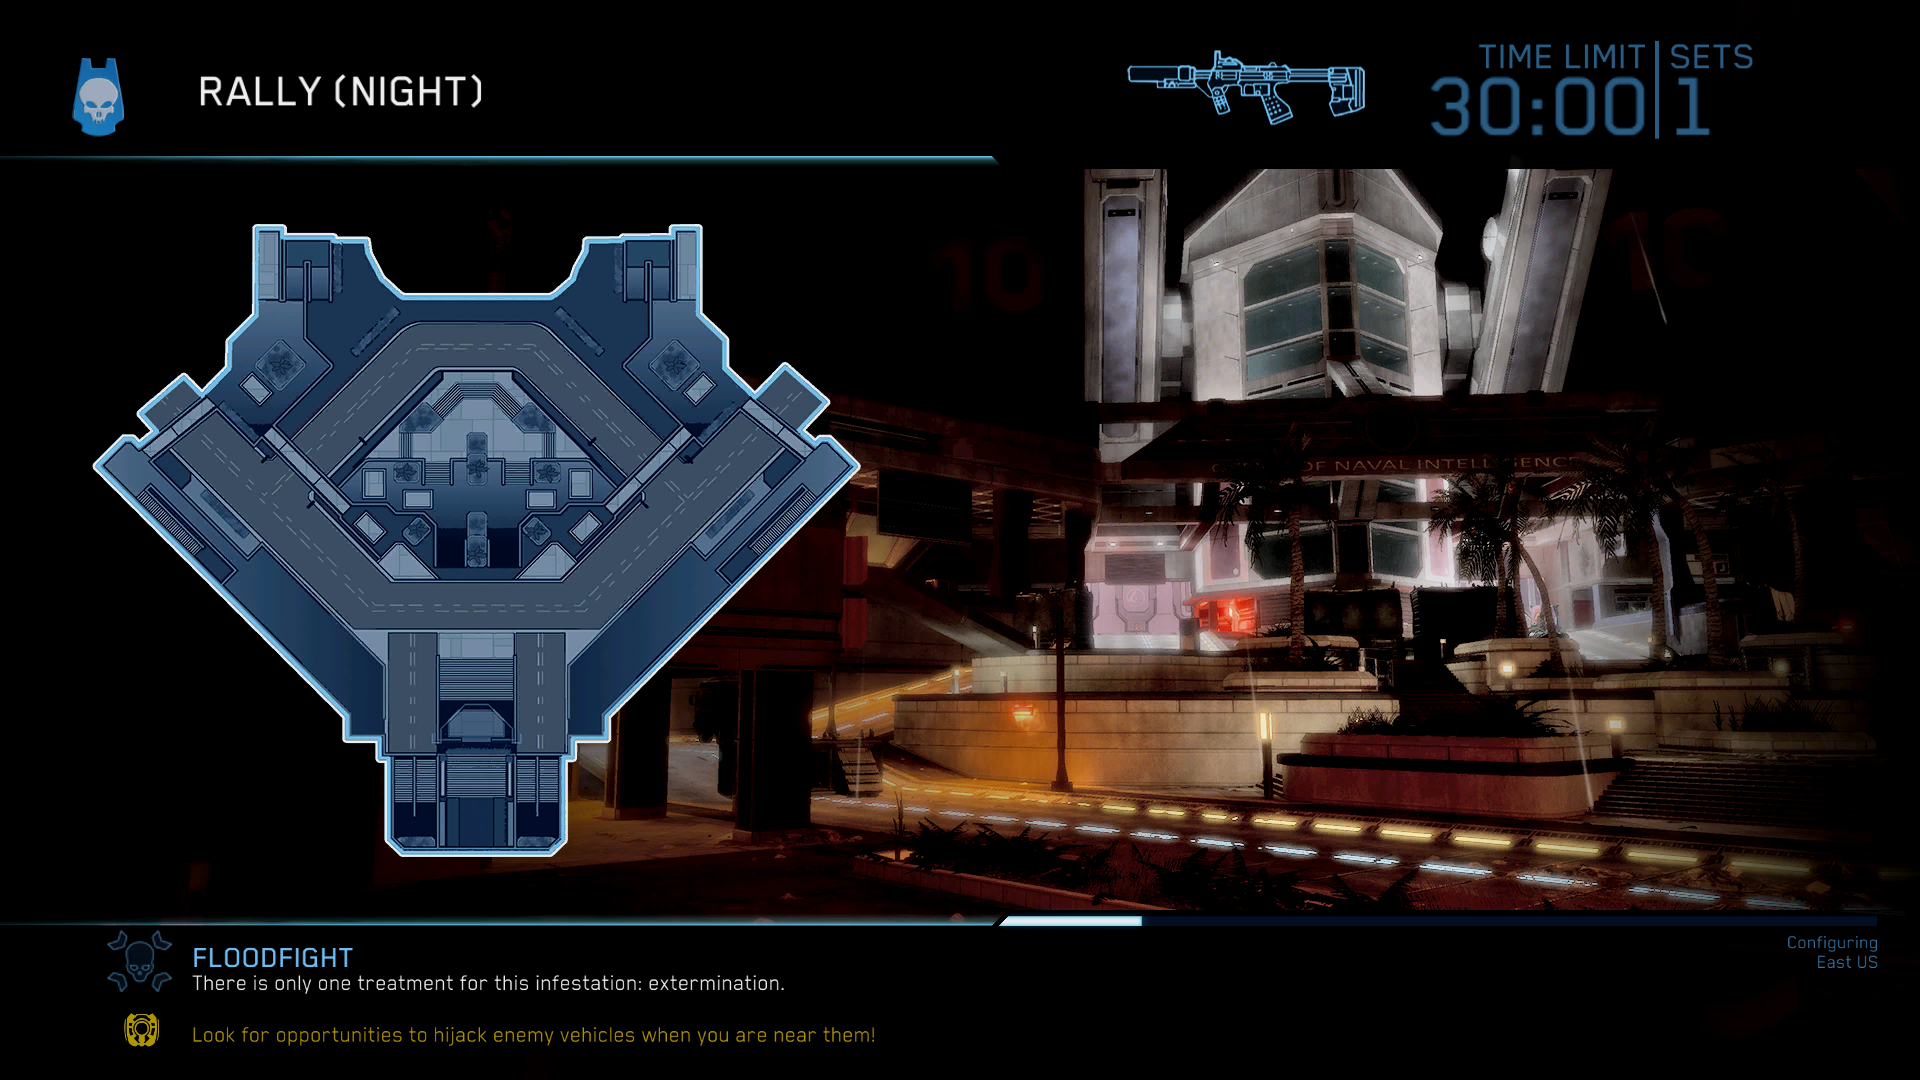
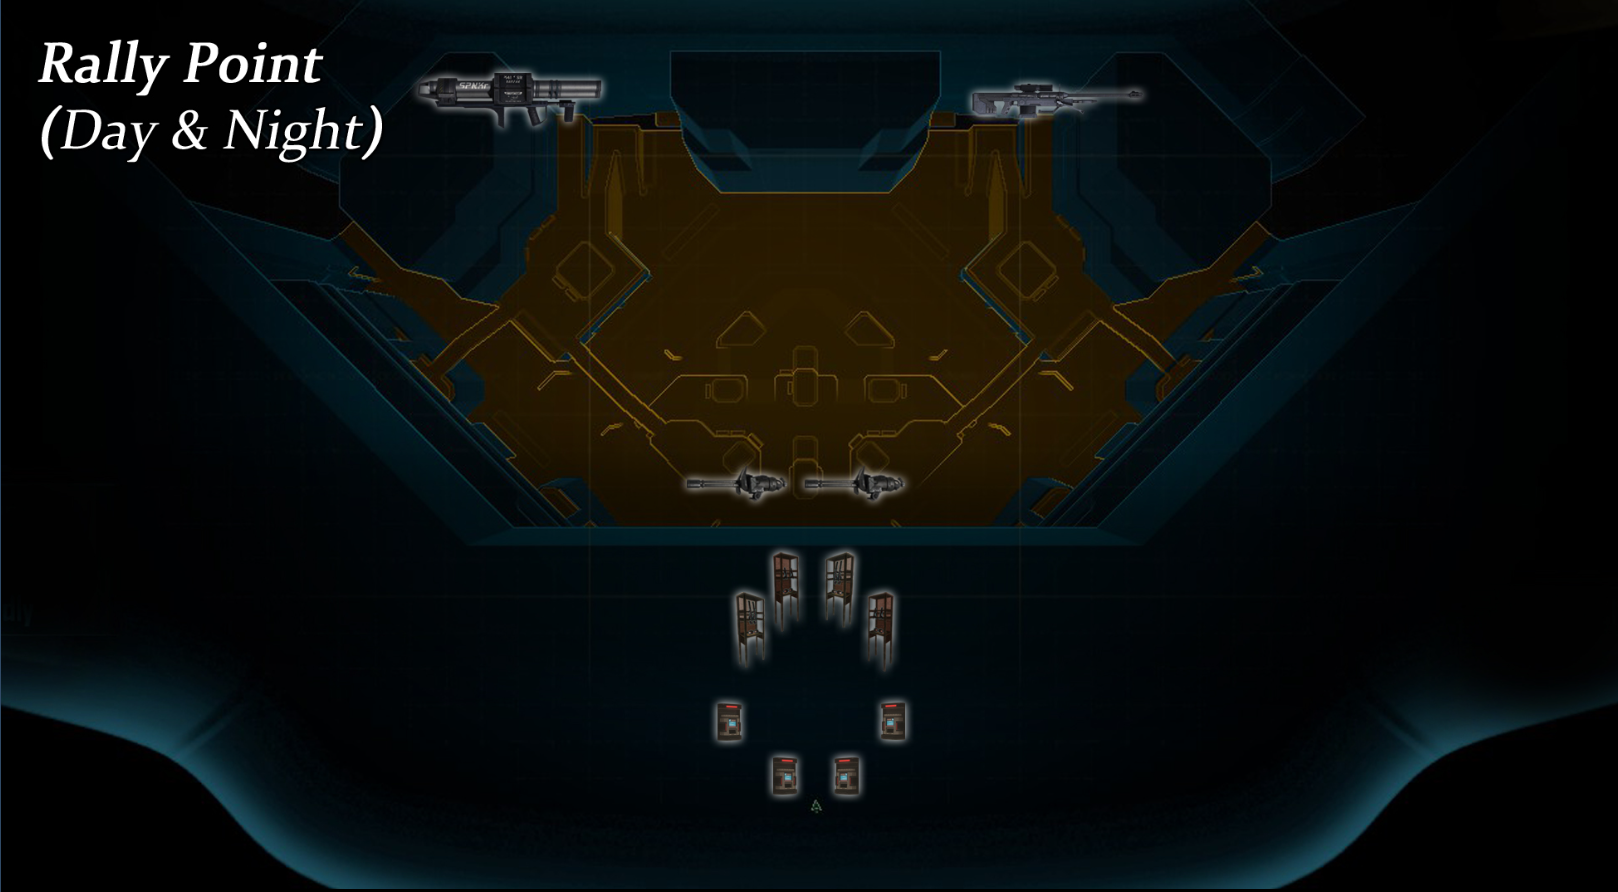
Rally Point is a Firefight map which is originally from the Campaign mission Kizingo Boulevard. Players will spawn inside of the building on the southeastern side of the map; the building is two stories and you can spawn on the first or second floor. Inside of this building you'll find ammo stations for the Silenced SMG and the Silenced Pistol. You'll also find numerous Health Pack stations in here too.
Across the map from where you spawn will be a very large door that many enemies come out of, if I had to describe it I would call it a parking garage entrance. On either side of this large central building you'll find two platforms that enemies will also spawn from. You can find the Sniper Rifle spawn on one of these platforms next to a bay door that enemies spawn from and a Rocket Launcher spawn on the opposite platform. If you'd like to see their locations on a map check one of my screenshots below.
When you're playing Floodfight you can also find a Flamethrower outside of the large central building with the garage doors. Run down the stairs leading towards this building and you'll find the Flamethrower on a platform at the bottom of the stairs. You can also find a UNSC Assault Rifle to the right of the turret on the northeastern side by the building you spawn in. There will be an ammo supply station alongside the road with this weapon.
Near the southwestern turret on the opposite side you'll find a Battle Rifle ammo supply station. Keep these locations in mind as they're very important - just remember that they're only here during Floodfight. The last thing I will mention about the default weapons on this map, the southwestern turret is in a very good location and you should leave it stationary. As for the northeastern turret, the position of this one is terrible and you should detach it when you want a turret to run around with.
There is only a single vehicle that can spawn on this map, a Wraith. I recommend you wait until the end of a set or the end of the round to take out the Wraith since you'll get swarmed by enemies otherwise. A good strategy for dealing with this vehicle is to have someone distract it from the front and let someone circle around back to jump on and destroy it.
Strategy on this map is quite simple, although it can be a map that you get overwhelmed on easily if you're not careful. As per usual the strategy is going to be half your team watches one side and half watches the other. You should all hang out near the building that you spawn in for two reasons...
#1 You don't want any enemies to get inside the spawn building and camp your spawn
#2 It is easy to switch sides if the opposite side needs help
If you have a good team then letting one or two people run around the map instead of watching one side will work just fine too. This is another strategy that I have used to great effect during Matchmaking but it really depends on your team and what they can and can't handle.
During Floodfight the strategy is more or less exactly the same as during normal Firefight. When you are playing on the more arcade oriented game modes like Fistfight, Fiestafight, FRGFight and all the other ones your strategy is going to be moreso every man for themselves. For these game modes you have an Overshield and your goal is to rack up as many points as you can, survival is optional.
My personal preference on this map is to hang around the Battle Rifle spawn area near the southwestern turret. I also roam around on this side of the map when I am the floater during the match. When camping this side of the map I feel like I get a better vantage of everything going on - especially if I go to the balcony above in the southwest.
Extra Tips & Tricks
- If you'd like some advice on what weapons to use during ODST's Firefight and Floodfight modes I recommend you check out my Halo 3 ODST Firefight/Floodfight Weapon Tier List. That page is filled with information about each weapon and what sorts of scenarios they excel in and why. It also compares all weapons to give you an idea of what you'll want pick up and what you'll want to leave.
- You can find the Flamethrower by going down the stairs towards the garage in the central part of the zone. There will be a small platform between the stairs with the Flamethrower attached to the wall here.
- During Floodfight when Sentinels come out you will want to fall back into the building. When you're playing on normal Firefight and Drones come out you'll also want to fall back into the building. A piece of advice is to detach a turret and bring it with you if you know this wave is happening.
- When there are invisible Brutes or invisible Flood spawning I strongly recommend you use your VISR because it'll give the enemies an outline and make them much easier to see. Even if it is light out and VISR makes it harder to see - switch it on and off as you scan an area for invisible enemies.
Rally Point Firefight Videos
- Floodfight on Rally (Night)
- Sniper Attack on Rally
- Bug Hunt on Rally Point
- FRG Attack on Rally Point
- Floodfight on Rally Point (Night)
- Firefight Limited on Rally Point (Night)
- Firefight Limited on Rally Point
- Score Attack on Rally Point
- Spore Attack on Rally Point (Day)