
Halo 3 ODST (MCC) Firefight Guide - Crater
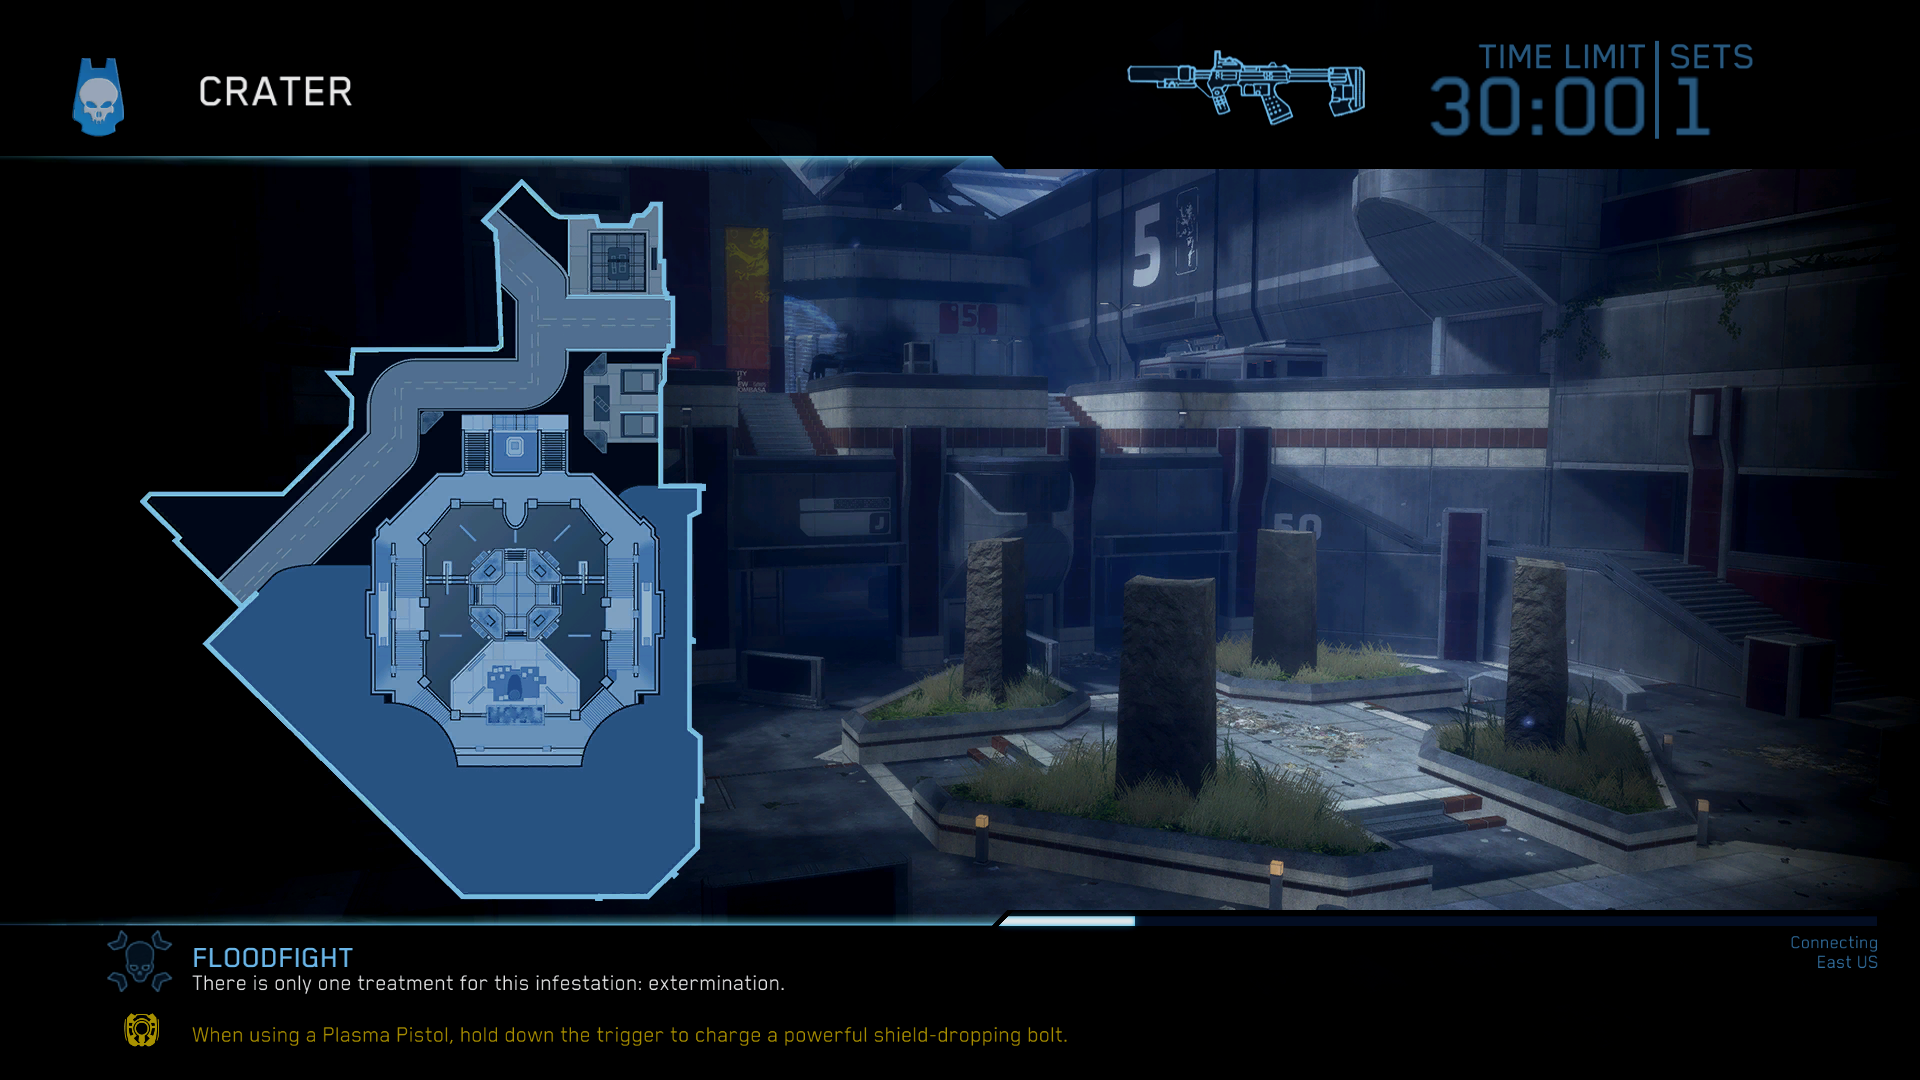
Crater is one of the most popular ODST Firefight levels and also a very common one for players to get since there are two varations of this same map. Much like all good Firefight maps, players will spawn on one side of the map and enemies will spawn on the opposite side. You will have plenty of time to watch enemies approach you and pick them off from a distance.
Inside the safe room where you spawn there will be Silenced SMG ammo, Pistol ammo and Frag Grenades that you can resupply with. Just outside of this room you'll find a perfectly placed turret which you should not detach until later on when absolutely needed. This is the biggest mistake I see players make on the map, they'll rip off the turret early on and run around with it instead of just leaving it alone and having unlimited ammo.
You can find the Battle Rifle on an ammo shelf in the lower portion of the courtyard along with an Assault Rifle; both of these only appear during Floodfight. There is a garage nearby this location with teh Rocket Launcher weapon spawn as well. On Floodfight you can find the Flamethrower in this area too between the Assault Rifle and Battle Rifle spawn points.
Note: The platform above the garage with the Rocket Launcher has the Sniper Rifle spawn on this map.
Drop Ships will unload enemies in the middle of the courtyard and on the road that's on the opposite side of the map. In addition to the Drop Ships enemies will come out of the various doors throughout the map. You'll find a few doors near the road portion of the map but most are found in the garage areas surrounding the courtyard.
Your strategy for this map will mostly depend on what game mode you're playing. Normally for regular Firefight and Floodfight everyone hangs out near the spawn rooms in the southeastern portion of the map and lets all of the enemies come to them. Players who feel comfortable being surrounded can leave this area and run around in the northern side of the map if they want. The only advice I will give is to be courteous to other players if you have a limited number of lives. Burning through the team's lives just to score a few more points for yourself generally isn't the best idea.
The more arcade oriented game modes like Rocket, Sniper, FRGFight and whatever else can disregard the previous advice. In these game modes you have unlimited lives and your goal will be to score the most points possible so that you can get the most EXP possible after the match. For this reason what typically happens is each player takes a different part of the map to camp for enemies.

Flood attached to the wall on Floodfight mode.
Nearby the spawn rooms there will be many different vantage points for you to take if you're interested. You can stand on the planter near the turret or on a small ledge along the wall near the stairs. For the most part you will have a decent amount of time to shoot at enemies before they start shooting at you... It mostly depends on the type of weapon they're using.
When you're playing on Firefight modes without any Flood enemies you'll also have to deal with Jackal snipers which spawn ontop of the buildings at the far opposite end of the map where enemies spawn. During Floodfight you'll have to deal with the super annoying needle-shooting Flood that will climb on the walls to the east and west and shoot at you. These Flood are extremely annoying to deal with because really no matter where you go on the map they can see you can they will shoot at you.
My best advice for dealing with the needle shooting flood that climb on the walls includes a Rocket Launcher. If you have good coordination amongst your team make sure everyone knows to save a weapon or two for these Flood enemies. Alternatively, if you're playing in Matchmaking with randoms then you should grab the Rocket Launcher and hold onto it until you need it.
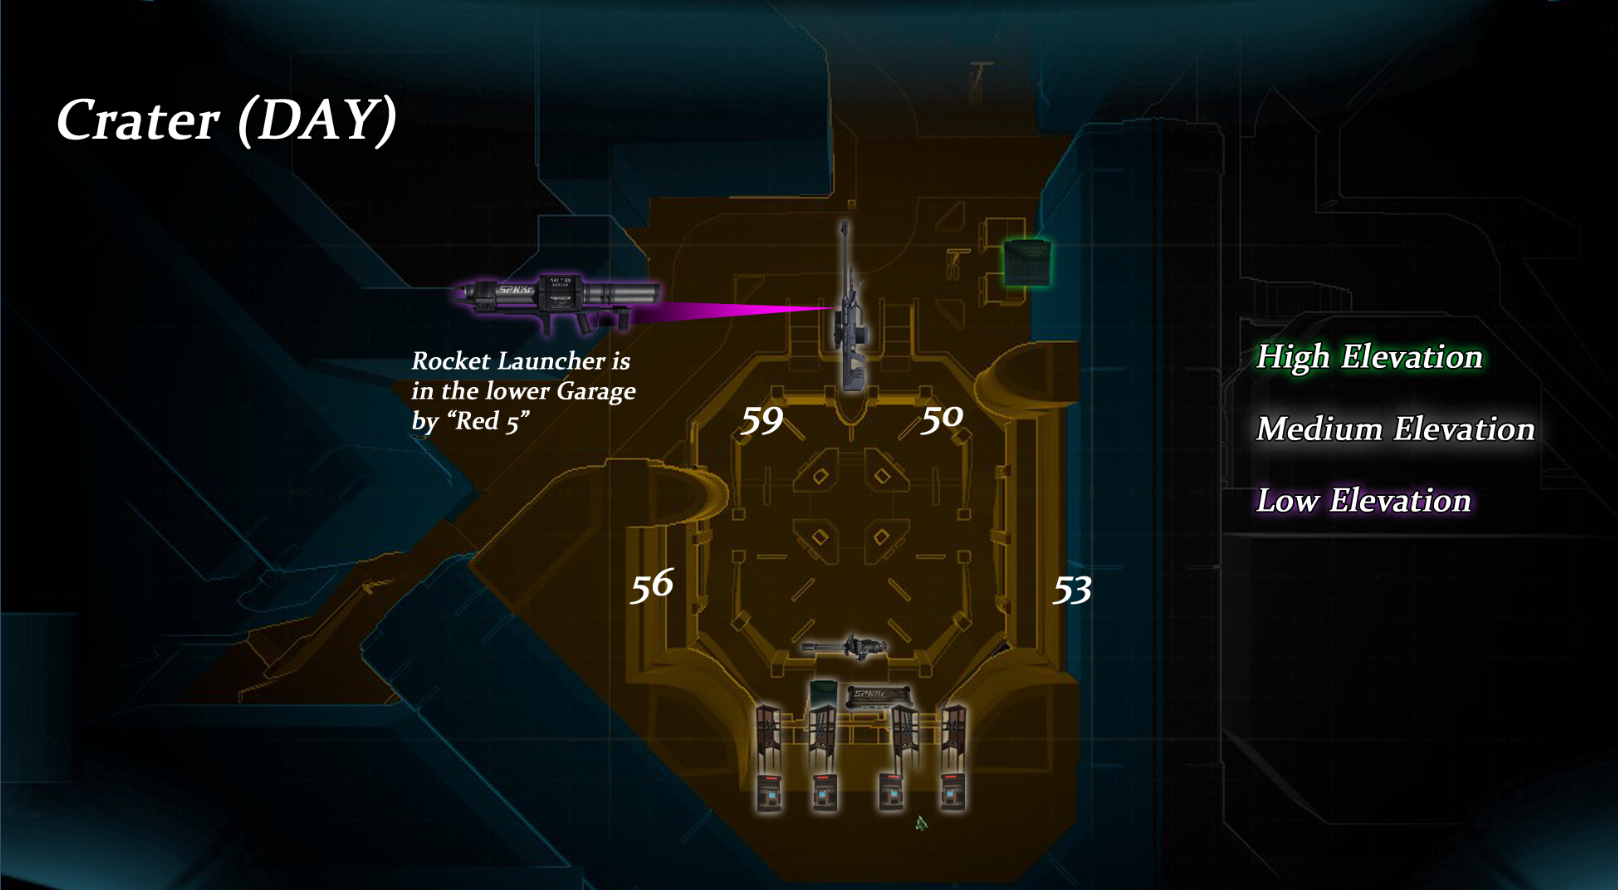
Crater (Day) FF Map
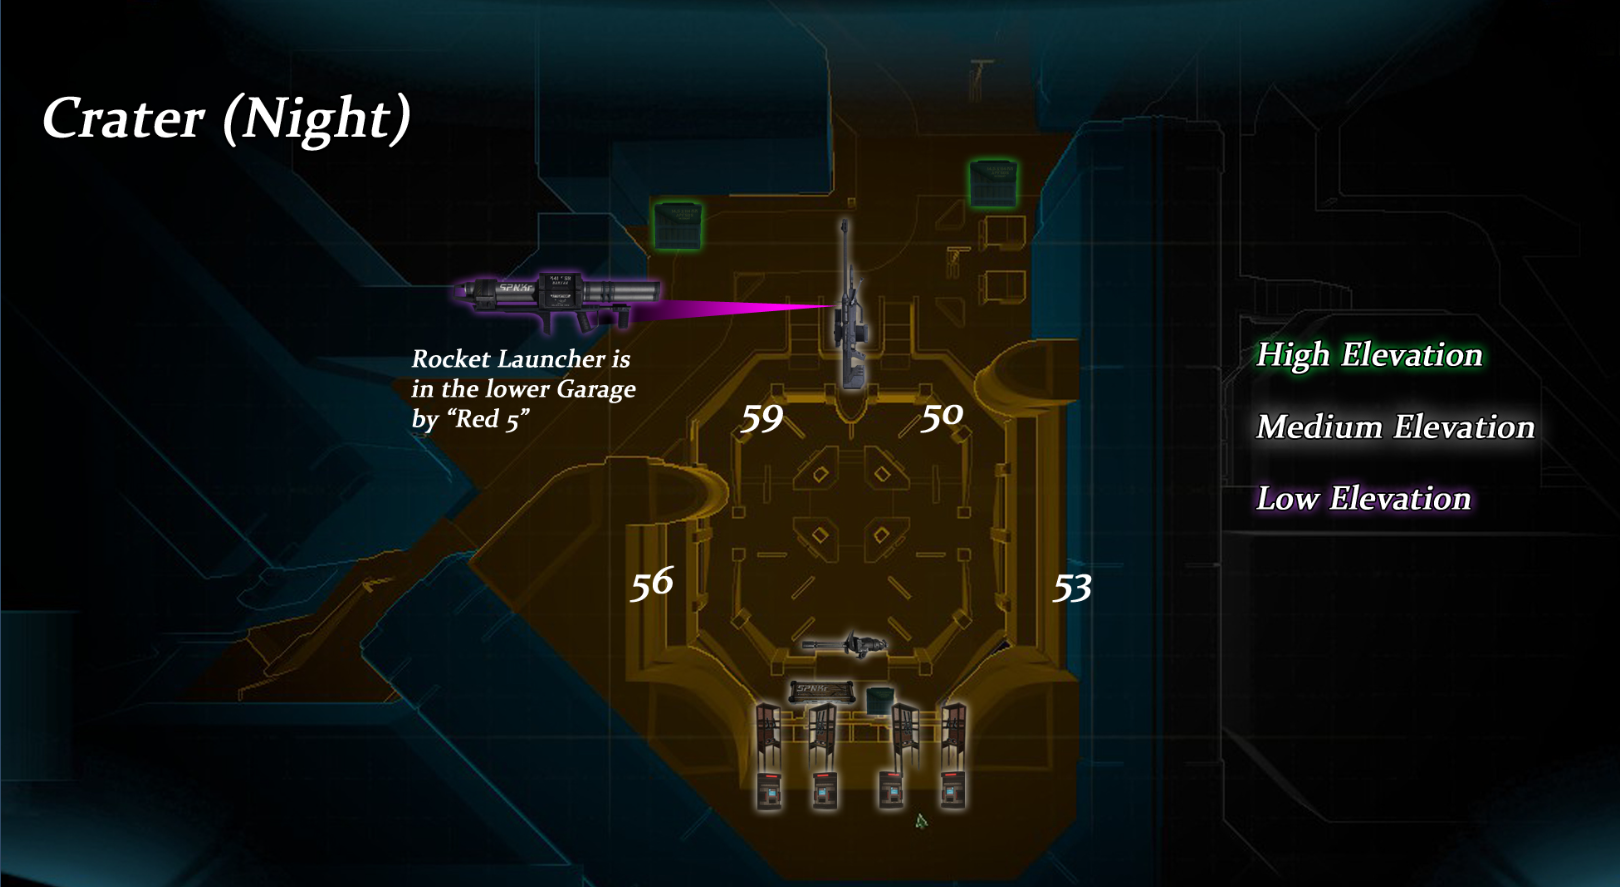
Crater (Night) FF Map
Extra Tips & Tricks
- If you'd like some advice on what weapons to use during ODST's Firefight and Floodfight modes I recommend you check out my Halo 3 ODST Firefight/Floodfight Weapon Tier List. That page is filled with information about each weapon and what sorts of scenarios they excel in and why. It also compares all weapons to give you an idea of what you'll want pick up and what you'll want to leave.
- The stairs that go down near your spawn point have little arches that you can stand on and get some better angles at the courtyard below.
- When there are invisible Brutes or invisible Flood spawning I strongly recommend you use your VISR because it'll give the enemies an outline and make them much easier to see. Even if it is light out and VISR makes it harder to see - switch it on and off as you scan an area for invisible enemies.
- On Floodfight additional weapon spawns appear on this map including the Battle Rifle, Assault Rifle and Flamethrower. You can find all of these in the courtyard near the garage entrance.
Crater Firefight Videos
- FRG Fight on Crater (Day)
- Fistfight on Crater (Night)
- Firefight Classic on Crater
- Gruntpocalypse on Crater
- Rocketfight on Crater (Day)
- Robocalypse on Crater (Day)
- FRG Attack on Crater (Day)
- Splocket Attack on Crater
- Spore Attack on Crater (Night)