
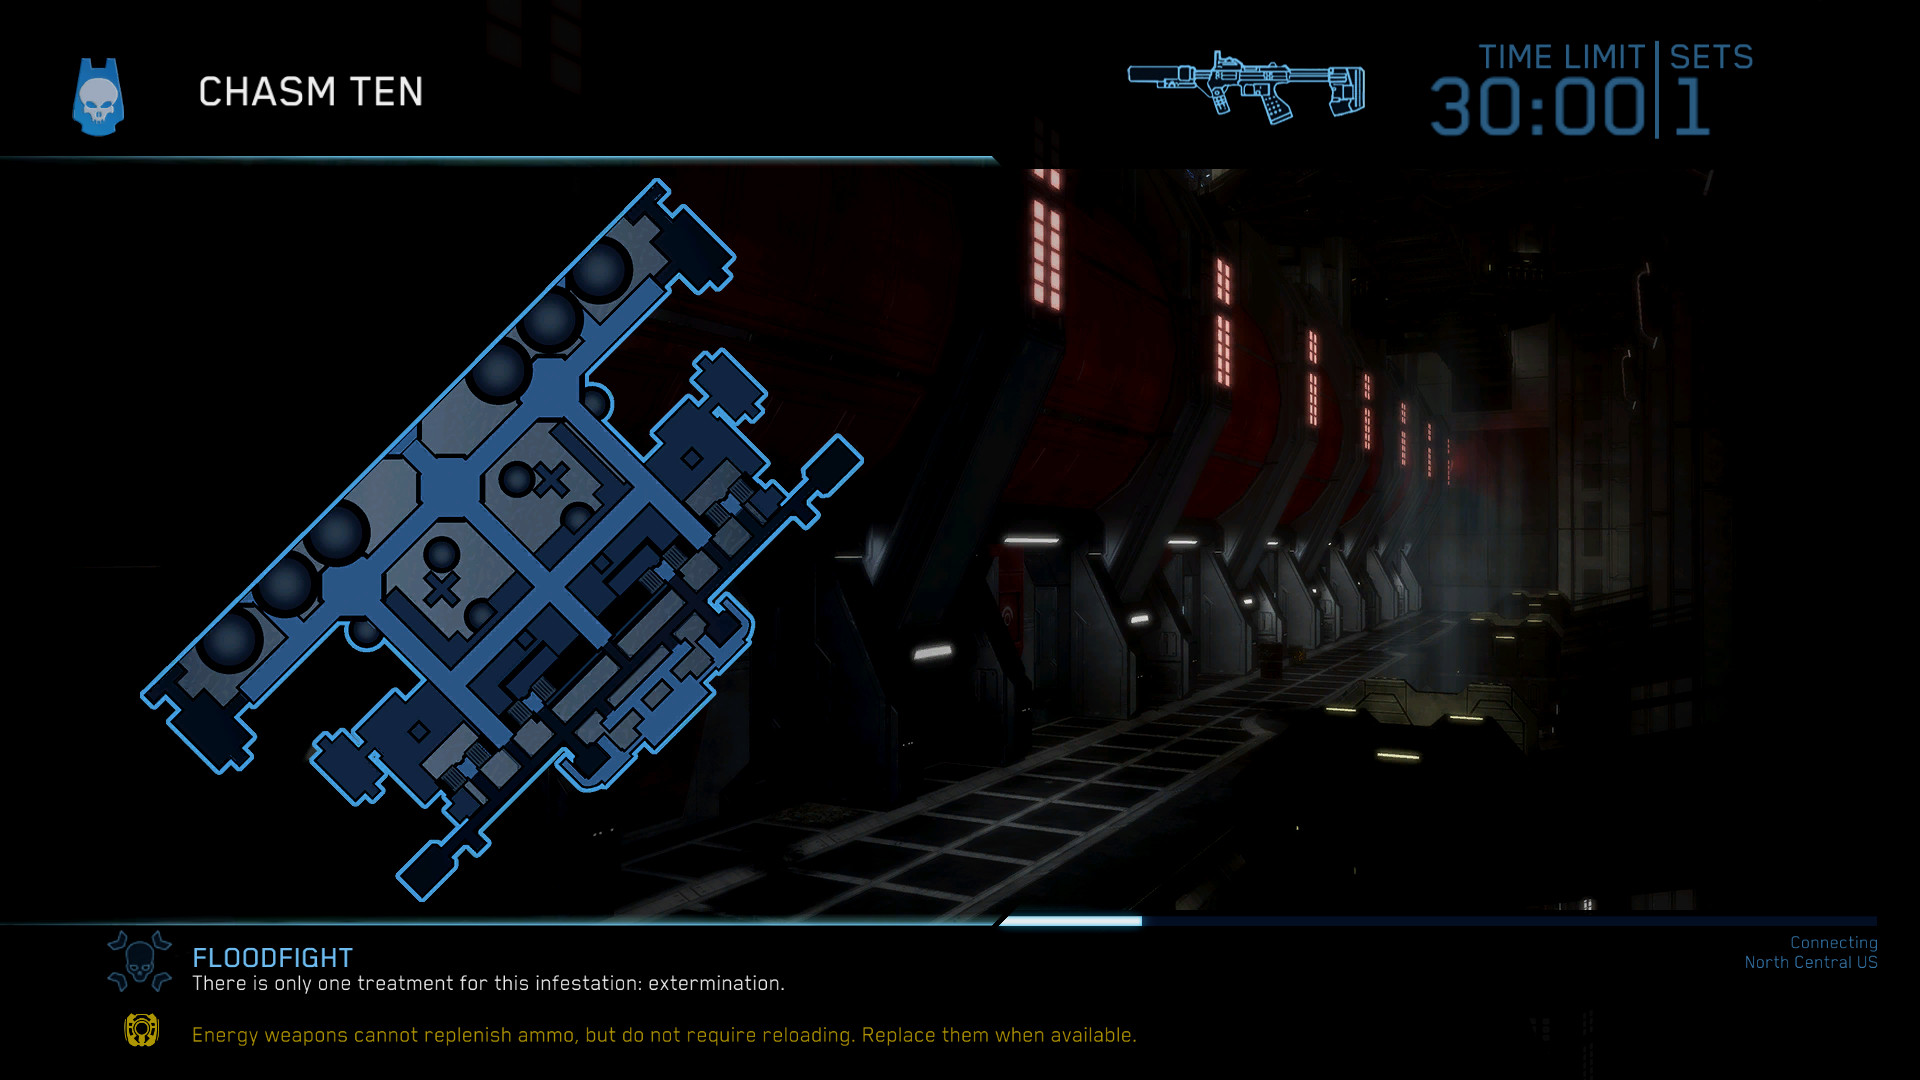
Halo 3 ODST (MCC) Firefight Guide - Chasm Ten
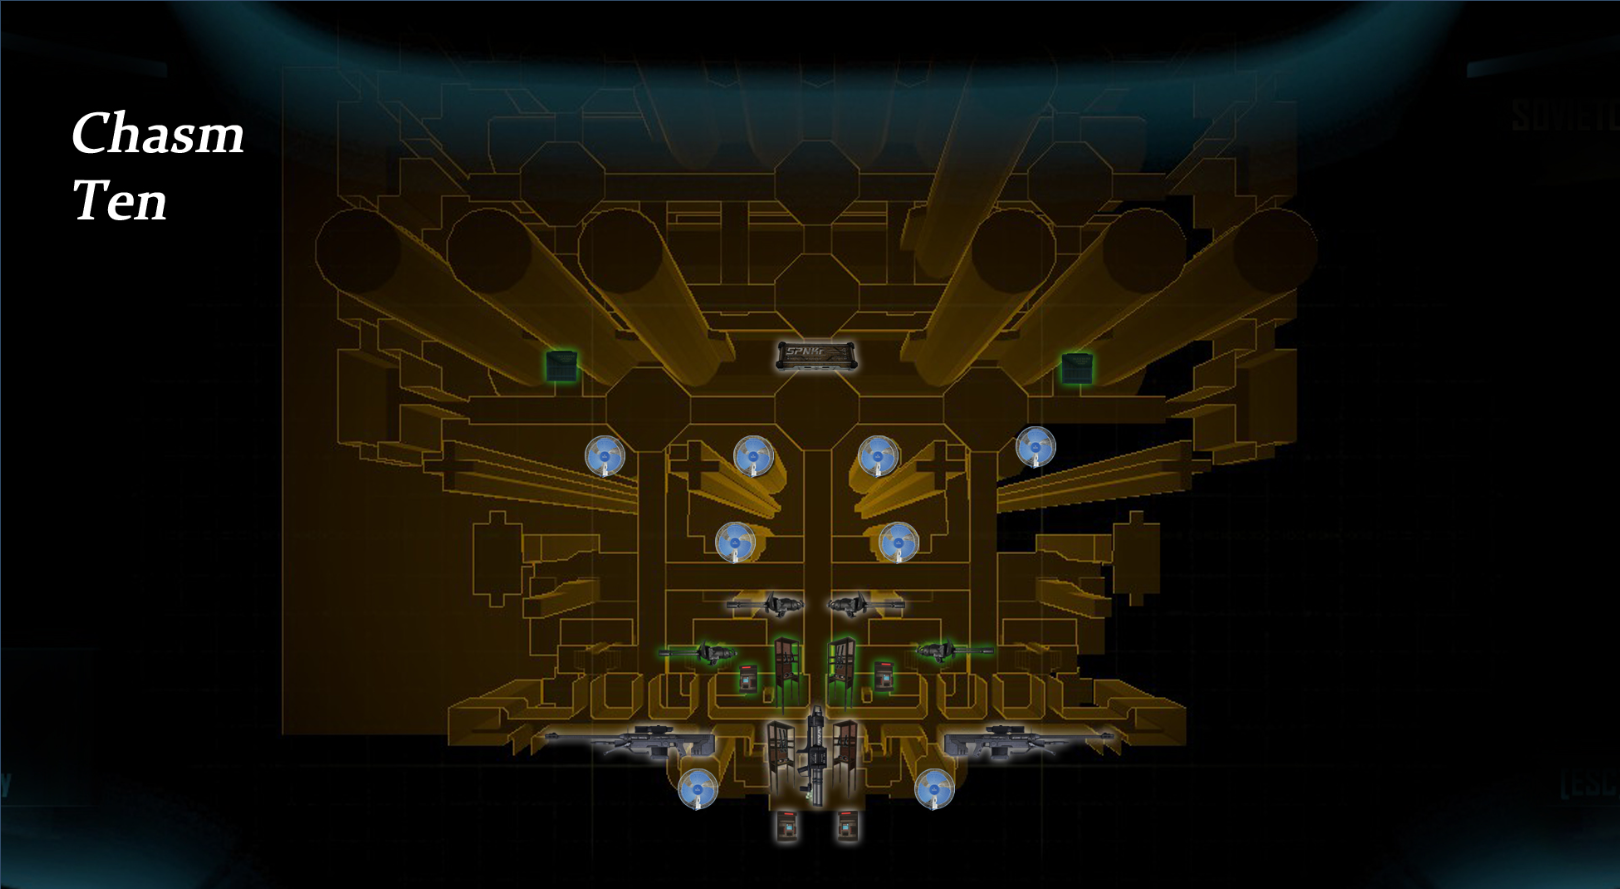
Chasm Ten is an ODST Firefight map that's based on the Data Hive mission from the Campaign. You will start this map on the lower floors in a room on the southeastern side of the map. Inside this room you'll find some Health Packs as well as an ammo supply station for the Silenced SMG, Pistol and Frag Grenades. There's also a Rocket Launcher spawn in this room as well.
From the starting room on this map you can through the main doors and into the large open room which has multiple bridges and a deep chasm. Alternatively, you can go down the hallways connected to the room you spawn in which will lead you to air vents that will allow you to reach the upper levels. There are air vents in the large open room with the chasm too that will give you access to the catwalks above.
On the catwalks above you'll find additional Health Packs and ammo supply stations for the Silenced SMG and Pistol. In the hallways overtop the spawn room you'll also find a few Sniper Rifle spawns along the walls if you want to use one. Last but not least you'll also find some turrets up top which are overlooking the area with the catwalks.
Your strategy for this map will mostly depend on what type of Firefight you're doing and how many players you have with you. If you're playing 4 person Firefight then normally the best strategy is to have 2 people up top and 2 people down below. The people on the bottom will still get overwhelmed from time to time depending on how skilled they are and what game mode you're on so keep that in mind.
When you are playing Firefight with only 2 people the best strategy is normally to have both people up top. In my personal opinion being up top is the safest place to be since less enemies spawn up here. Each time a new wave begins you'll have enough time to eliminate the enemies that spawn up top before the enemies that spawn below come up via the air vents.
If you have a lackluster team or you're playing on a harder difficulty I would advise you to have all of your team up top instead of splitting them up. For whatever reason enemies seem to have a hard time getting up top sometimes and they bug out. When they bug out it results in them jumping over an invisible crate in a specific area downstairs over and over. This makes them very easy targets for players up top.
As far as the other game modes go, when playing the arcade modes this map works more or less as you'd expect. One person on each side - both up top and down below is normally enough to handle all of the enemies that spawn. Keep in mind though more enemies spawn below than up top, however, half the enemies that spawn below will take an air vent up top unless the person down here grabs their attention.
The reason for this is, when you're in the bottom area of this map half the enemies spawn on one side of the chasm and half spawn on the other. For whatever reason it seems like they agro onto the person up top faster than the person below - unless the person below purposefully gets their attention with a gunshot or grenade.
Floodfight changes the normal strategy up a bit and I find that it's best to have 3 people downstairs and 1 upstairs most of the time. You want one person on each side and the 3rd guy to be a "floater"; meaning he goes to whatever side needs help whether it be downstairs or upstairs. Sometimes in Floodfight more enemies spawn on one side than the other or you have trouble defeating all enemies on your side before you get more. Whatever your reasons are it's good to have someone you can call for backup when it's needed!
Good communication between your team will make the floater's job easier, call out your side when you get overwhelmed and he'll come running.
Extra Tips & Tricks
- Detach the turrets on the upper floors and carry them down to the lower floors if that is something you're interested in doing. The turrets up top will seldom get any enemies to shoot at and they're better used by detaching and carrying downstairs.
- If you'd like some advice on what weapons to use during ODST's Firefight and Floodfight modes I recommend you check out my Halo 3 ODST Firefight/Floodfight Weapon Tier List. That page is filled with information about each weapon and what sorts of scenarios they excel in and why. It also compares all weapons to give you an idea of what you'll want pick up and what you'll want to leave.
- The Flamethrower can be found attached to a wall outside of the room you spawn in. Run towards the location with the two turrets and check the pillars nearby to find the Flamethrower attached to one of them.
- Sometimes you'll run into a situation on this map where you can't find the last enemy to end the round during Floodfight. The fastest way to find this last enemy is to press TAB - or whatever button brings up the VISR screen for you. You'll see an over view map of the entire area and each enemy will be marked with a red symbol on this screen. In my experience sometimes enemies get stuck in air vents or they're so high up and in a random spot above you on the walls that they're almost impossible to find unless they shoot at you.
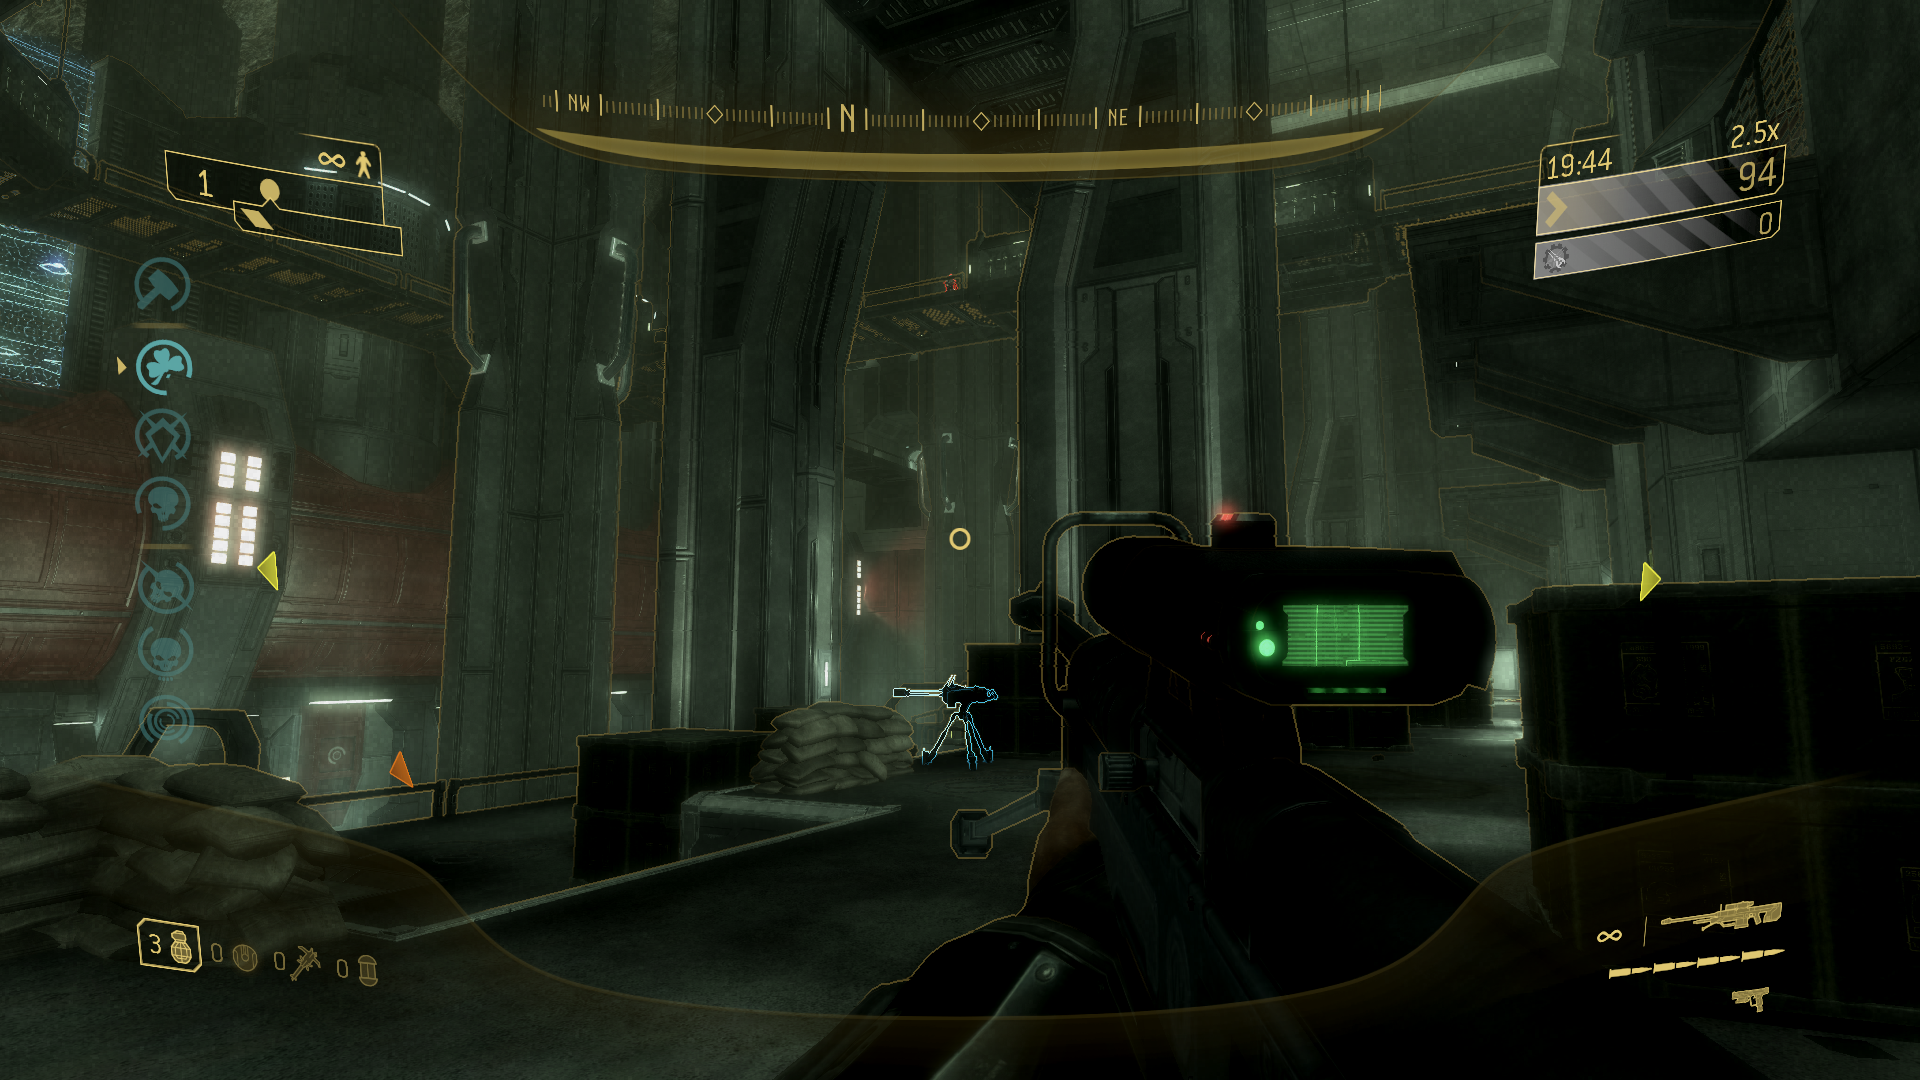
- When there are invisible Brutes or invisible Flood spawning I strongly recommend you use your VISR because it'll give the enemies an outline and make them much easier to see. Even if it is light out and VISR makes it harder to see - switch it on and off as you scan an area for invisible enemies.
Chasm Ten Firefight Videos
- Fistfight on Chasm Ten
- Sniperfight on Chasm Ten
- FRGFight on Chasm Ten
- Fiestafight on Chasm Ten
- Bug Hunt on Chasm Ten
- Robocalypse on Chasm Ten
- Gruntpocalypse on Chasm Ten
- Sniper Attack on Chasm Ten
- Firefight Limited on Chasm Ten
- Spore Attack on Chasm Ten