
Chapter 7 Walkthrough - Baldur's Gate 2
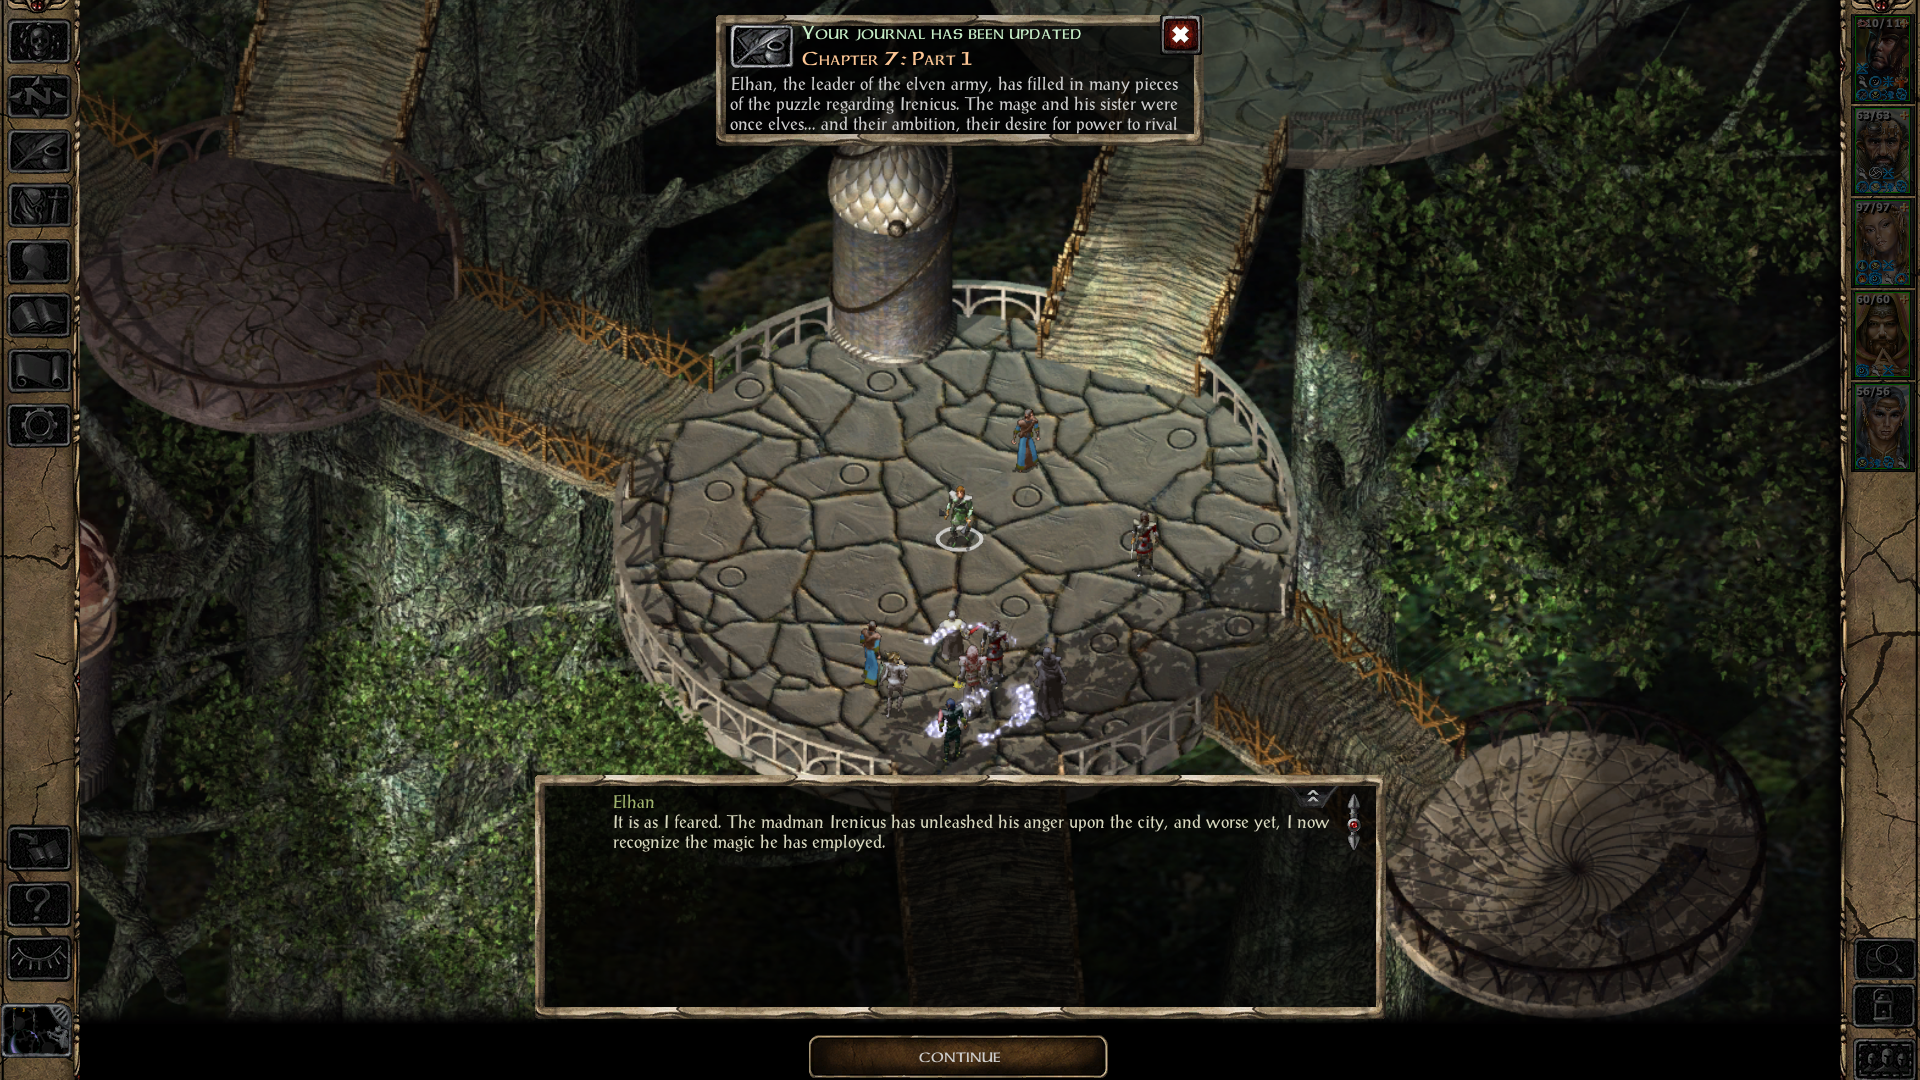
The final Chapter of Baldur's Gate 2 starts the moment you enter Suldanessellar. When you begin this chapter there will be some dialogue with Elhan after which you'll be free to roam the entire city. In order to advance the story you'll have to collect 5 different items from buildings throughout Suldanessellar and from a dragon which you can find in a forest clearing in the northwest part of the map.
In Suldanessellar you'll have to fight some pretty tough enemies, I would recommend you make sure your characters stay buffed up as you explore. Clay Golems you encounter throughout this map will be immune to all types of damage except crushing and the Rakshasa, Iron Golem and Adamantite Golems can only be damaged by +3 weapons or better.
For a detailed overview of Suldanessellar I recommend you follow the link provided. It will take you to my World Overview Guide for this zone which will give you different information than this page. As aforementioned, to advance the story forward you'll have to collect 5 different items throughout Suldanessellar.
Below are all 5 of the items you need to collect to advance the story and where each of them can be found.
Talisman of Rillifane: This item is found in the House of the Talisman which is in the south-central part of Suldanessellar. You'll have to solve an easy puzzle in order to acquire the Talisman from the box that it's inside of. The correct order for the box is Corellon, Rillifane, Water, Tree of Life and finally Suldanessellar.
Golden Goblet of Life: Nizidramanii'yt the black dragon holds this item. You can find Nizidramanii'yt in the Forest Clearing area which is in the northwestern portion of Suldanessellar; you'll have to defeat him for the Goblet or exchange every item you have and all of your gold (not recommended).
Moonblade: You can find this item inside of the House of the Moon which is in the central portion of Suldanessellar.
Stone Harp: Stone Harp is found inside of the Harpist's House which is in the northwestern portion of Suldanessellar.
Stone Horn: Last but not least you can find the Stone Horn inside of the Horn House which is located in the eastern portion of Suldanessellar.
![]()
Once you've collected all of the items mentioned above the first thing we're tasked with doing is summoning the Avatar of Rillifane which you can do inside of the Temple of Rillifane in the eastern portion of the city. To summon the Avatar of Rillifane you'll need to place the Talisman of Rillifane, Golden Goblet of Life and the Moonblade inside of the container in the middle of the Temple.
After placing all 3 items inside of the container in the temple the Avatar will spawn and clear the way to The Palace for you. You'll find The Palace in the northeastern portion of the city - much like with every other location it will be marked on your map. When you exit the Temple of Rillifane an elf by the name of Reirra will teleport in right in front of you. Speak with her and you'll see that she is a vendor with a couple of different potions and probably 50+ different spells for you to buy.
Stock up on whatever you need at this vendor and sell any of the loot you've collected thus far that you don't want. When you're ready to proceed with the story enter The Palace and you'll find a large tree in the first room that you'll want to click on to get some nuts. You'll receive Small Tree of Life Nut and Large Tree of Life Nut from clicking on it.
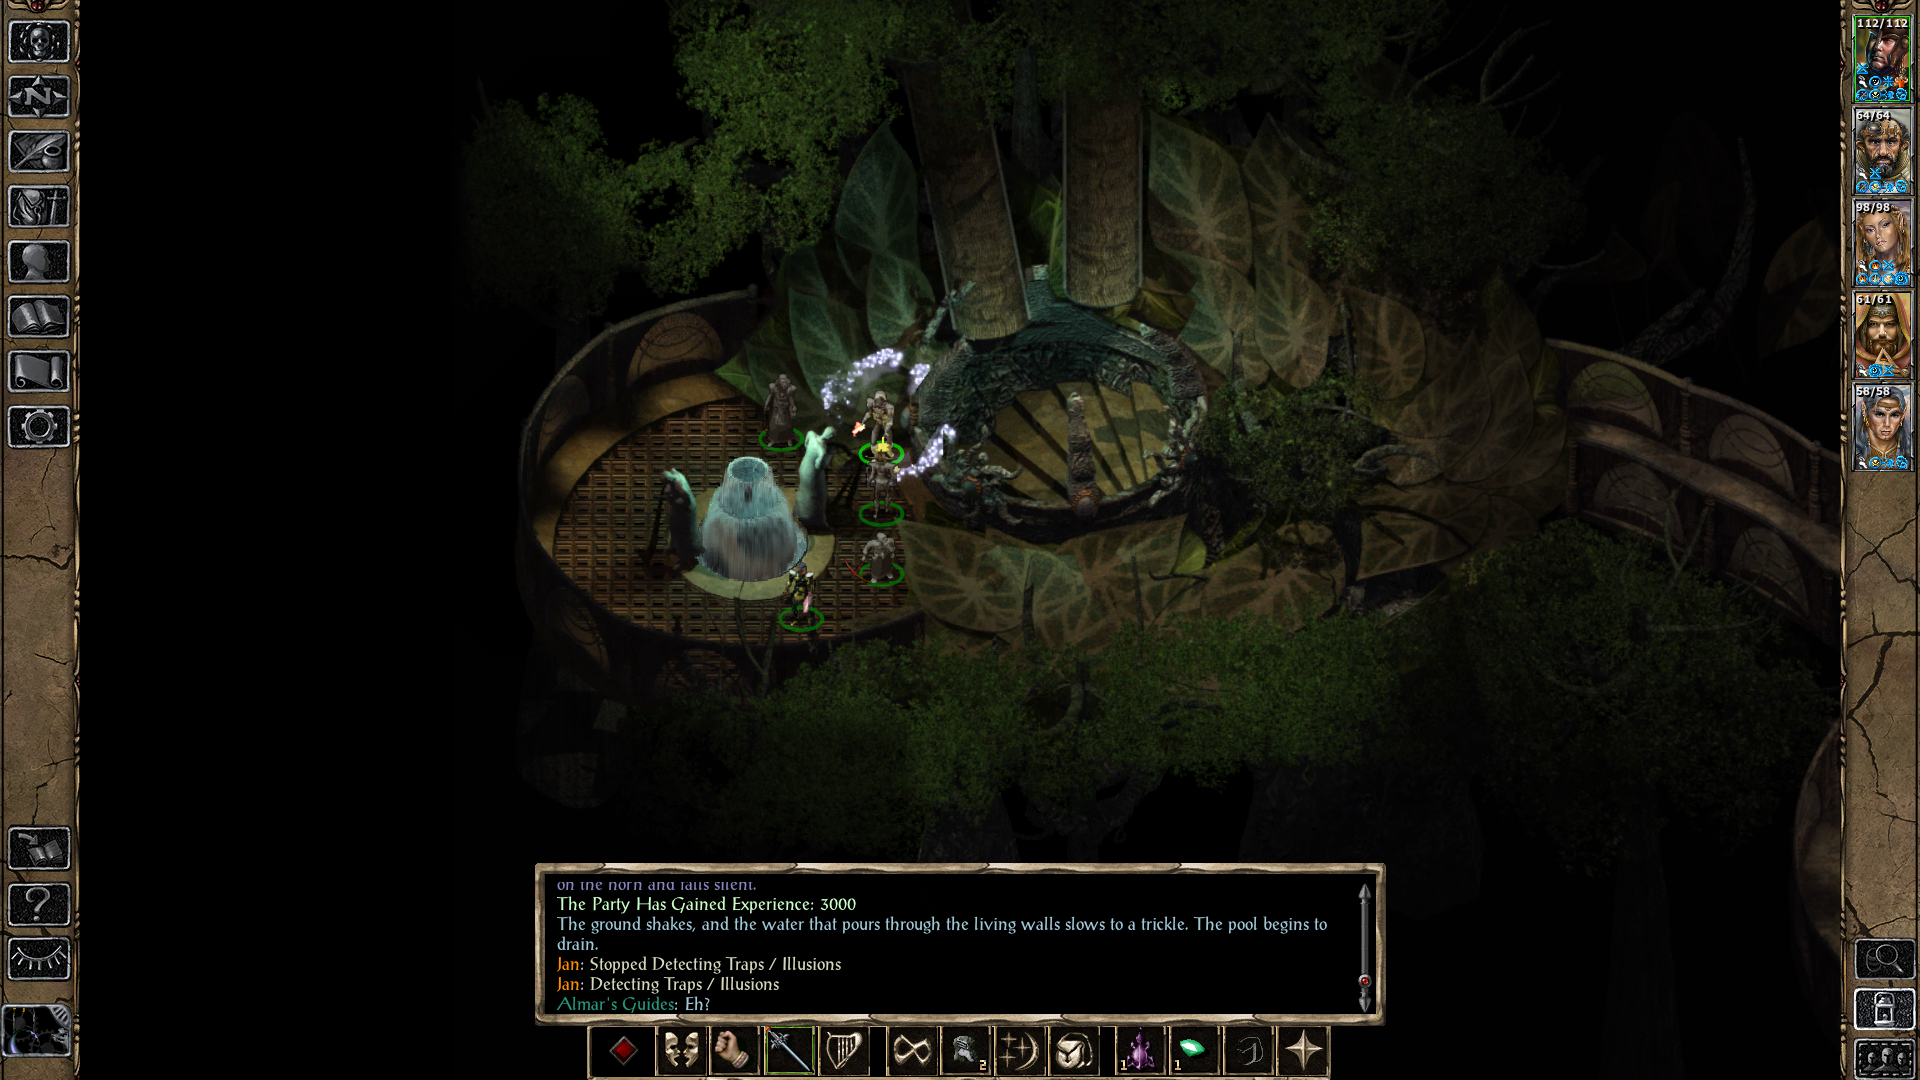
In the next room you'll find a fountain with a pair of stone statues next to it. When you click on these statues you'll be able to add the Stone Harp and the Stone Horn that you got from Suldanessellar to them. Doing this will reveal a staircase where the fountain used to be (pictured below) that you'll be able to go down.
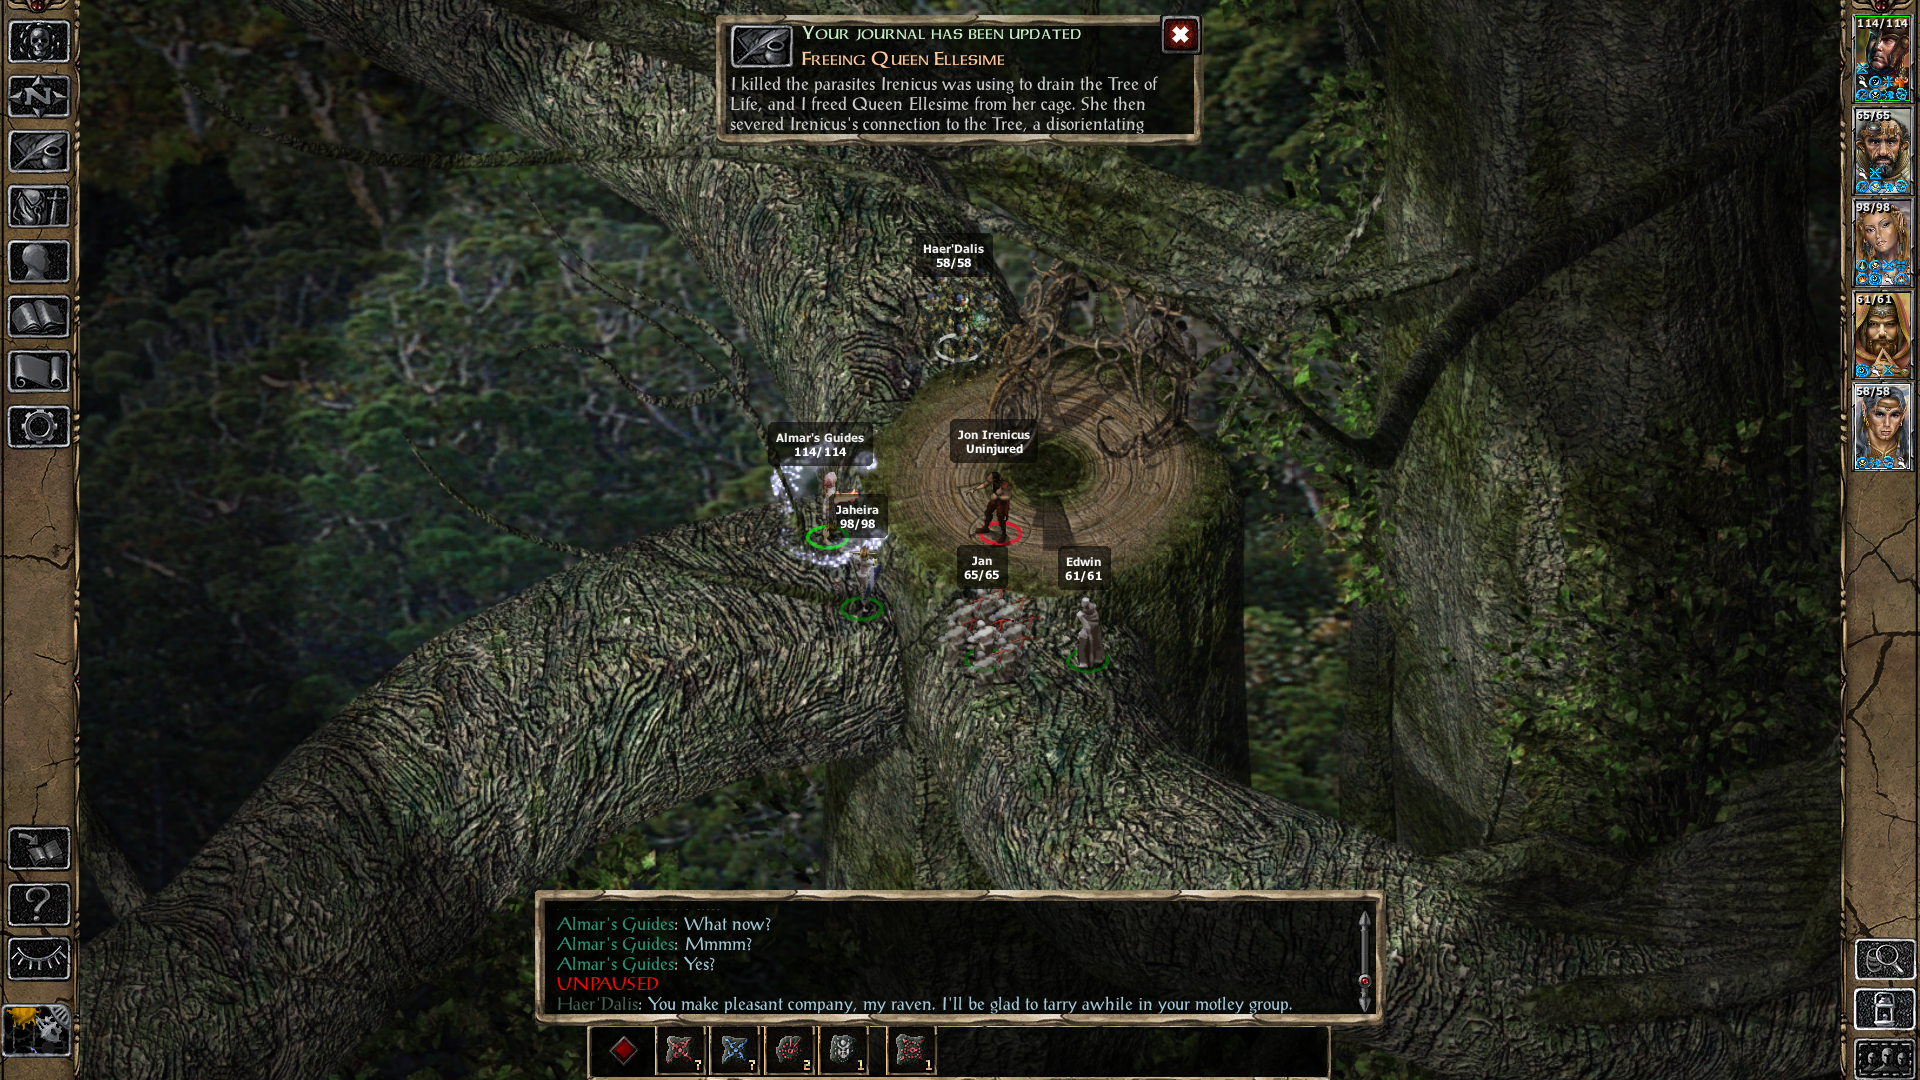
This set of stairs will lead you to the Tree of Life which is where one of the final battles against Irenicus takes place. When you first arrive Ellesime will give you a rundown of what we need to accomplish in this map before fighting Irenicus. Essentially, there are 3 parasites which are currently attached to the Tree of Life and until they're defeated Irenicus will be invulnerable.
Until all 3 parasites are defeated Irenicus won't raise a finger to harm you so don't worry about getting near him. While exploring this map and running along the branches you will occasionally encounter dead ends. Your character will automatically use the Small Tree of Life Nut and Large Tree of Life Nuts that we obtained from The Palace on the map prior to this one to "grow" branches that allow you to proceed. That's really the only notable thing to mention about this map.
If you need help finding any of the 3 parasites I recommend you check out my Tree of Life Overview page. After all 3 parasites have been defeated Irenicus will become active and you'll be able to engage him for the penultimate boss fight!
As you can probably imagine the fight with Irenicus will be a difficult one -- but thankfully there are plenty of ways to make it loads easier! Before I give you strategies for dealing with Irenicus I would recommend you check out my BG2 Beginner's Guide if you need help with tough fights such as this one. The first strategy that I can give you is the ultimate cheese method which involves placing multiple traps ontop of Irenicus so that when he activates he instantly takes a large amount of damage.
However, my favorite method of fighting Irenicus involves activating the fight with him and then running far away. Irenicus will not chase you which is what we want to happen. Once you've made it a safe distance away from Irenicus start summoning whatever animals/elementals/undead you can and once you've created 5 (the max summon limit) you'll want to send them all down to fight Irenicus.
Irenicus will waste spell slots fighting the summons you send to attack him and he'll even take some damage from them too if you're lucky. Our goal is to make Irenicus waste as many of his powerful spells as possible because if he uses them on the summons it means he won't use them on you!
What I usually do is send 2 or 3 waves of 5 summons each at Irenicus then wait a few minutes after he fights the last wave of summons for his buffs to wear off. Now that Irenicus has wasted the majority of his spell slots you're able to engage him and take him out with very little resistance. Once Irenicus has been defeated in the Tree of Life you'll get a short scene during which you'll be dragged to hell with Irenicus.
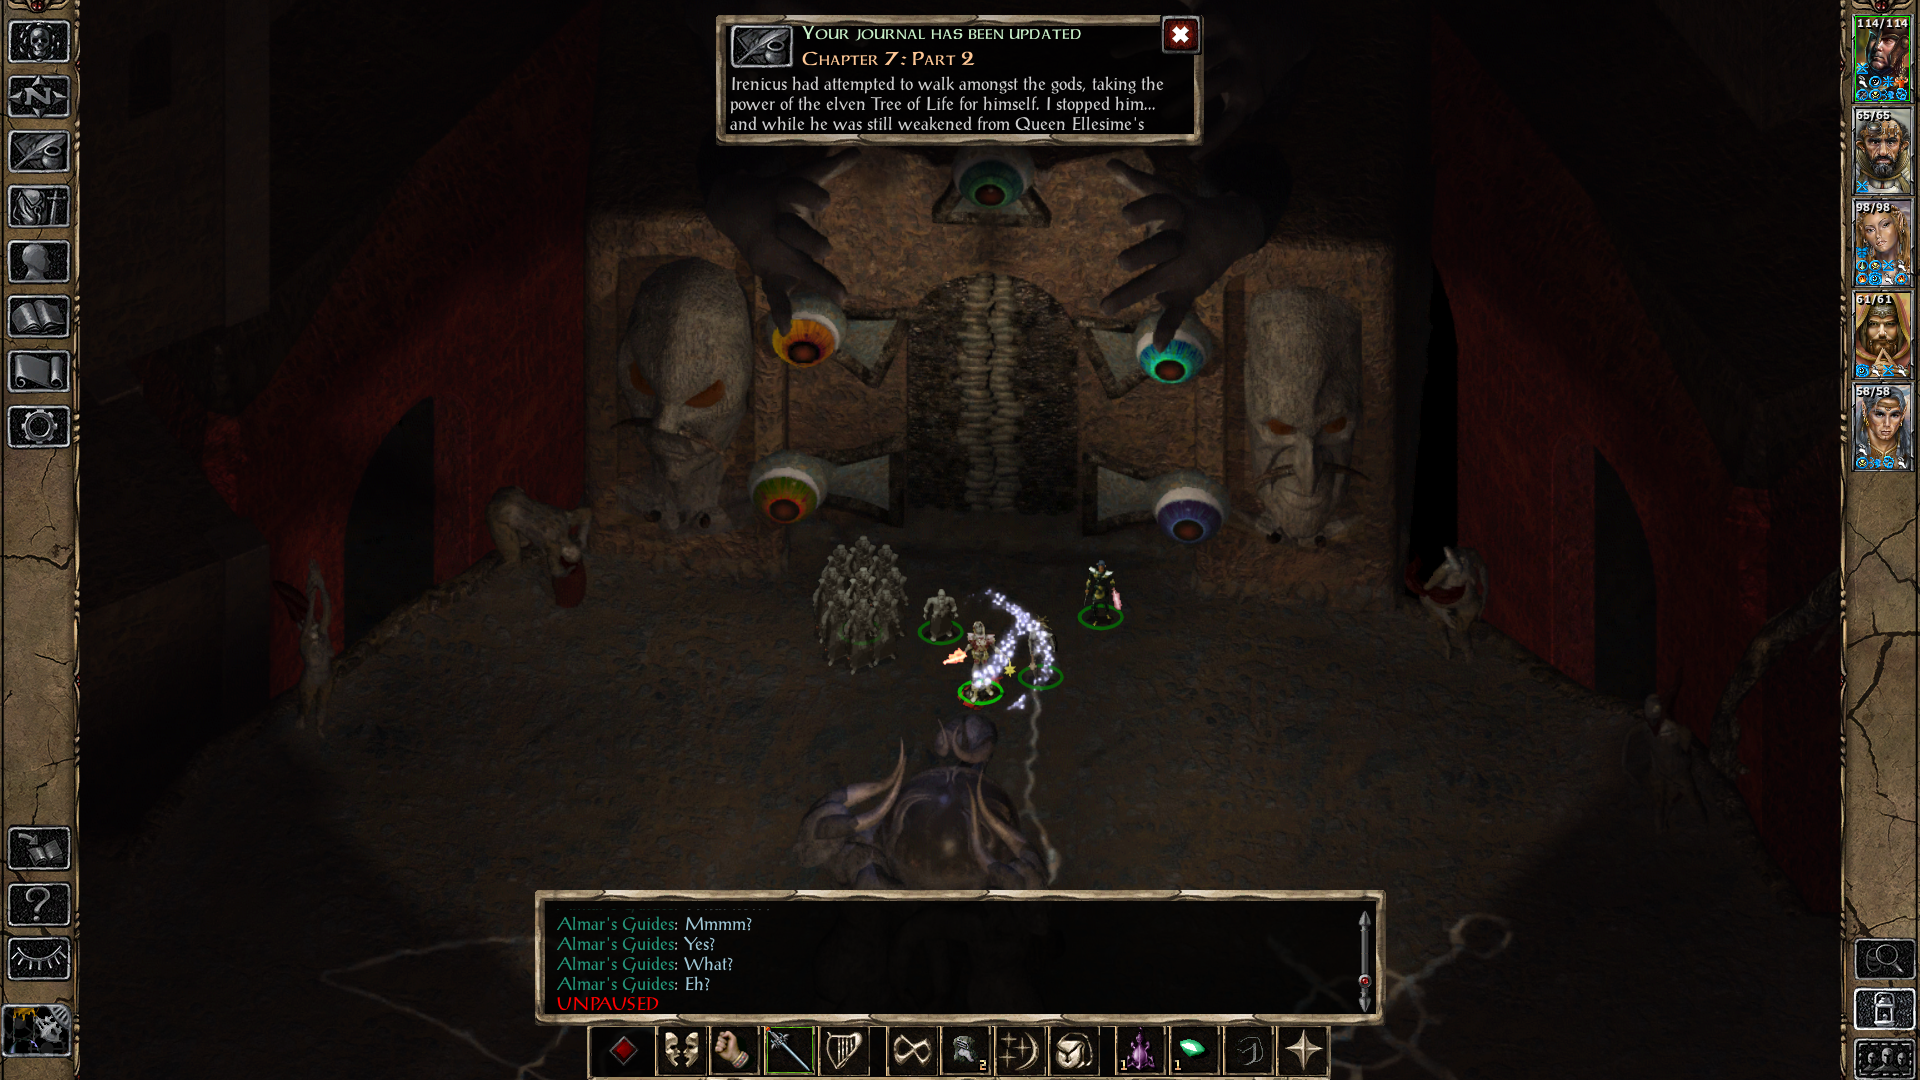
You arrive in Hell in front of a massive gate (pictured above) that has 5 eyeball looking things surrounding it. In the surrounding area you'll find 5 staircases that lead you down into small maps each of which will have a short puzzle for you to solve. Each puzzle will give you a Tear of Bhaal which you'll need to insert into the eyeball socket things on this main door. Once all 5 are filled Irenicus will be summoned and the final boss battle will begin.
For each of these tests you'll have the ability to choose between 2 different paths a "good" and "bad" path. Each of these paths will give you different permanent rewards for your main character so it's up to you how you'd like to proceed with things. If you want the best rewards then you'll probably pick and choose between good and bad depending on what you're given. Alternatively, you can go an all good or all bad route if you'd like too.
One thing you should keep in mind is that some classes, like Paladins and Rangers, will become "Fallen" and lose access to all of their skills if you choose a bad path here. Below you will find a detailed walkthrough about each of the 5 different tests and what the good and bad rewards are for each of them. You can find all of this same information on my Hell Overview page if you'd like to use that guide instead.
Test of Wrath: You'll find Wraith Sarevok in this test and he'll provoke you into attacking him the entire time. Refusing to attack him is the "good" path and attacking Sarevok is the "bad" path. If you refuse to attack him eventually he'll attack you, you'll receive 20k EXP when defeating him.
Good: +1 Wisdom and +1 Charisma
Bad: +2 Strength
Test of Greed: For this test you'll meet a demon named Greed who will give you a weapon, Blackrazor +3, and instruct you to use it on the Enslaved Genie who is behind him. Killing the Genie is the bad path, giving the sword to the Genie is the good path. One unique thing about this task is if you give the sword to the Genie then force attack it - if you successfully kill the Genie before it teleports away then you can get the sword back. Killing the Genie will not affect you getting the "good" outcome.
Good: +2 to all Saving Throws
Bad: +15 Max Hit Points
Test of Selfishness: A demon named Selfishness will kidnap one of your companions and give you an option of going through 2 doors, one west and one east. The eastern door is the evil one and it will result in your companion getting killed (but you can rez them - unless they're Hexxat). If you go through the western door instead then you'll have to sacrifice 2 max Hit Points, 1 Dexterity and 75,000 EXP. This is the good path.
Good: +10% Magic Resistance
Bad: +2 AC
Test of Fear: In the Test of Fear you'll be offered a Nymph Cloak by the demon who stops you when you enter. This cloak is the Cloak of Bravery which will make you immune to Panic and Fear. Accepting the Cloak is the evil path and refusing to take the cloak is the good path. In this test you'll find 2 routes to the tear - the northern route has 3 Beholders and 2 Gauths and the southern route has a chest and a fear trap.
Good: Immune to Normal Weapons and +1 Weapons
Bad: +2 Constitution
Test of Pride: This is our final test and it involves your decision to kill a friendly dragon. If you tell the demon you will not kill the dragon then you'll be put on the good path. Agreeing to kill the dragon will put you on the evil path. This dragon drops quite a bit of good loot, Ring of Protection +2, Robe of the Evil Archmagi along with many spell scrolls such as Sphere of Chaos, Time Stop, Wail of the Banshee and more.
Good: +20% Cold, Electricity and Fire Resistance
Evil: 200,000 EXP plus loot from the dragon

The final boss fight begins the moment you put the final tear into the door - so make sure you're ready! Irenicus will spawn with 4 adds, 2 to each side of him in the same exact locations shown above. You can use this information to your advantage and lay down some traps using Set Trap before he spawns to either damage him or the other enemies that he spawns with.
Irenicus will be in Slayer form for the entirety of this fight so unlike our last fight with him where you had to deal with high level mage spells - this fight you'll have to deal with hard hitting melee attacks. At the start of the fight I would recommend you take out all 4 adds that spawn with him ASAP then focus on him.
For some tips, tricks and strategies for how to deal with really tough enemies like Irenicus I recommend you check out my BG2 Beginner's Guide. That guide is loaded with information you can use to make fights like this easier such as Contingency and Spell Sequencer combos and more. Speaking of Spell Sequencer and Contingency combos, the following 2 will make this fight a whole lot easier.
Chain Contingency: See an enemy -- (Offensive) 3x Abi Dalzim's Horrid Wilting -- This will deal a heavy amount of damage to Irenicus and most likely defeat 3 of the adds that spawn with him.
Spell Sequencer: Lower Resistance x2 and Greater Malison
Another thing that will keep you alive during this fight is having Stoneskin Contingencies in place or Sequencers. Stoneskin will absorb a lot of damage from Irenicus and give you a chance to either get away from him or fight back enough to deal some good damage. Once you've defeated Irenicus you'll get a cutscene and then move onto the start of the Throne of Bhaal Expansion Pack!
Return to Walkthrough Chapter 6