
Molten Core Raid Walkthrough (Classic)
Molten Core was the first level 60 raid that was available during the Classic era of the game. The dungeon itself consists of 10 total bosses
Lucifron
Lucifron is a pretty easy straight forward fight. He comes with two adds which will try to mind control you and anyone that you're with. At level 80 chances are you will resist this 90% of the time. During the fight Lucifron will also use Lucifron's Curse, causing spells and abilities to cost 100% more mana, rage, energy, Runic power etc etc. He will also use Impending Doom, which inflicts 2,000 shadow damage to nearby enemies after 10 seconds.
After you kill Lucifron you will need to clear roughly 4-5 more core hound packs, then you will be able to fight Magmadar.
Magmadar is the second boss you will come across in MC. Back in the day Magmadar required groups to have a Hunter to Tranq shot him to De-enrage him. Now a level 80 can tank Magmadar through this enrage with almost no trouble at all. Aside from the Enrage Magmadar will fear and spit lava on the ground. It's important that you don't stand in this lava because, well, it hurts.
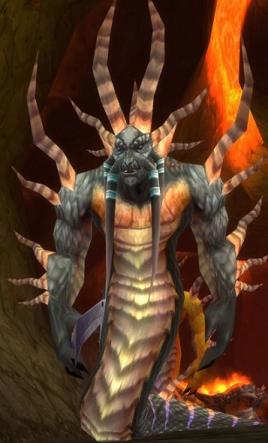
After you kill Magmadar you will need to head back towards the entrance, but this time head down towards Gehennas. Gehennas is one of the most difficult bosses to solo in Molten Core because of his Curse.
Gehennas is a pain in the ass to solo because of two reasons, his curse and his adds. If you want to kill this boss you will need to quickly dispose of the adds before any real harm can come to you. Once they're done you'll need to focus all of your attention on Gehennas. Also since he uses a Rain of Fire like ability you will need to constantly be on the move. If you don't have any form of healing abilities or a decurse, this fight is going to bitch.
After Gehennas you have Garr. Garr is best known for being one of the two bosses that drops the piece for Thunderfury, Blessed Blade of the Windseeker.
Garr comes with 8 adds. These adds can be quickly killed and for each one killed they will increase Garr's attack speed. The adds should quickly be disposed off, leaving you to just focus on Garr. Even with all the adds dead he still isn't a tough fight. When you destroy an add it will explode, launching a player far away. During the fight Garr will use an Antimagic Pulse, which will dispell all the buffs of anyone near him.
Garr will also use Magma Shackles, slowing everyone's movement speed that is around him. Aside from these few abilities Garr doesn't do anything special and is a rather straight forward and easy boss if you can handle him and the adds for that short period of time.
After you kill Garr the next boss you will come across is Baron Geddon. A commonly used strategy is to pull Geddon into Garr's room. This will give you plenty of room to dodge his attacks. However, if you're soloing Geddon I find it best to fight him in the hallway. Position yourself near an edge so when Living Bomb goes off you don't take much fall damage.
Geddon has a few deadly moves that you'll have to watch out for. First one is his Ignite Mana ability. If you're a mana user and you don't dispell this ability or can't... well that sucks. It will drain 500 mana every 3 seconds. Geddon will also use Inferno, which will create a huge wave of fire around him that will pulse dealing damage to anyone in it. It's important that you get out of it quickly so you don't take any extra damage.
And for Geddon's most notable move .... Living Bomb. He will target a random player and place a bomb on them. When the timer on this debuff expires they will explode, fly up into the air and come crushing back down. This will cause roughly 4-5k damage.
After you kill Baron Geddon, the next boss is only a few pulls away. Very similar to Geddon and Garr Shazzrah should also be fought in Garr's room.
Shazzrah is probably impossible to solo as a caster since he has Counterspell. In addition to Counterspell he also has Magic Grounding, which he keeps up at all times, it reduces spell damage taken. The only strategy I've seen work for classes like a mage is to have the talent [Frost Warding] and use [Fire Ward] while standing in the lava. To restore health you can bandage, as well as evocate when it is up. Mainly focus on keeping up Mana Shield and Ice Barrier, you'll be able to do it.
Shazzrah's main ability is his Arcane Explosion, which he will constantly use and it will hit all targets within 30 yards. The only thing that will make Arcane Explosion deadly is Shazzrah's Curse, which will increase magic damage by 100%. If you can remove curses, do so quickly. Also the only other thing to note is his Blink ability, which will clear all agro, which you will only have to worry about if you're doing this with a friend.
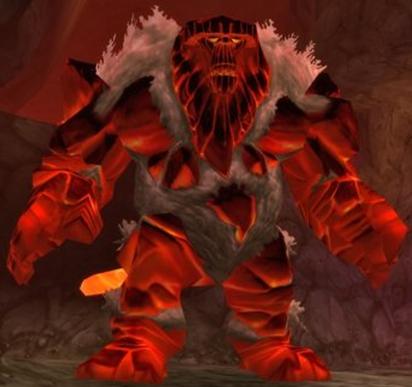
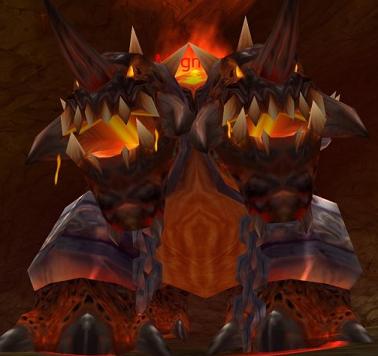
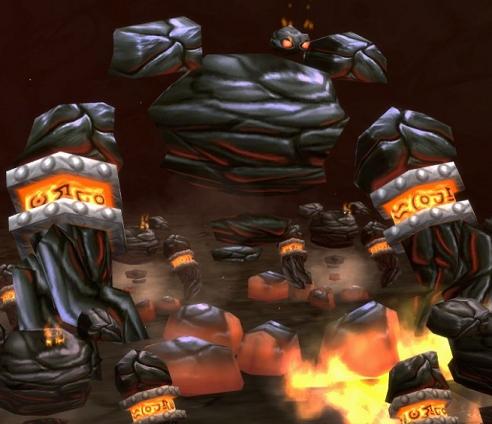
Golemagg the Incinerator is one of the final bosses before Majordomo. He starts with two Core Rager adds that cannot be killed while Golemagg is still alive. The Hardest thing about the fight with Golemagg is to kill him before you get too many stacks of Magma Splash, which reduces Your armor and also makes you take damage over time. When you start getting hit too hard it is very important that you remove these stacks with bubble, iceblock or anything that you can remove them with.
Not many classes will be able to solo Golemagg, I have a really hard time even as a tank since you need to kill him quickly. If you can actually get past the fact that he uses Magma Splash to reduce your armor and you can take 3 targets beating on you, you're next concern is Pyroblast, which deals fire damage to anyone it targets. Also Golemagg has a "Soft Enrage" at 10%, which he will start to use Earthquake which will deal damage and increase his attack speed.
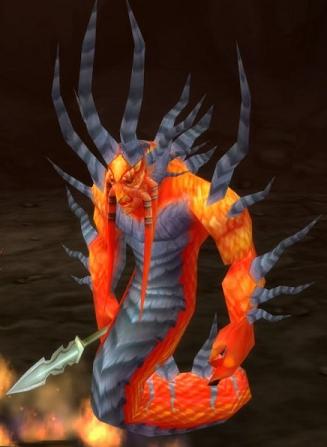
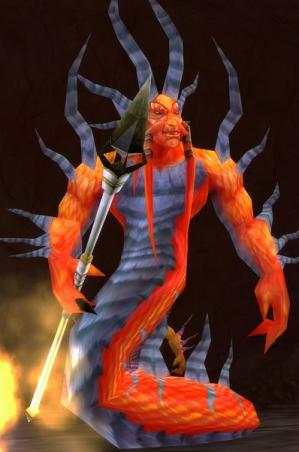
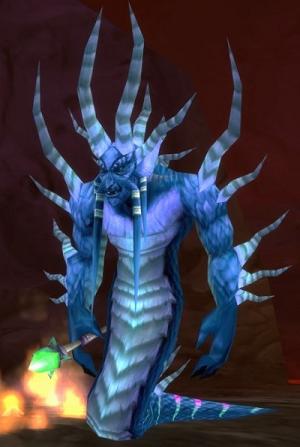
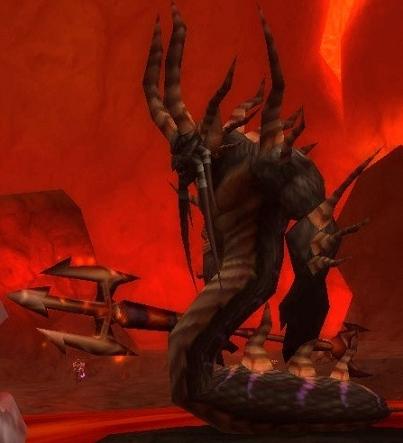
Sulfuron Harbinger is the other boss right before Majordomo. As a Paladin I recommend you put on Shadow Resistance Aura, it will help you negate a lot of the damage caused this fight. If you come in here and try to solo Sulfuron it will be very, very, very hard if not impossible. As a Paladin this is a very long fight, of me doing massive AoE damage to Sulfuron and all of his adds to slowly burn down their mana.
This is usually a very long fight for me. If I bring a friend I can speed it up quite a bit though, I keep off Righteous Fury and don't Consecrate. I have my friend Taunt or DPS an add and pull it far enough away out of the heal range of the other adds. Once he has it far enough away he kills it.
Majordomo is the final boss right before Ragnaros. In order to summon Ragnaros you will NEED to kill Majordomo first. Majordomo comes with 8 adds, 4 Flamewalker Elites, 4 Flamewalker Healers. The Flamewalker Elites are damage dealers and the Flamewalker Healers are, of course healers. As a Prot Paladin I take out the Flamewalker Healers first, then take out the Flamewalker Elites.
The only annoying part of this fight is when you get ported to the center of the area and start taking fire damage from the ground. You'll have to quickly move out of the center, as with Sulfuran since the Flamewalker Healers, Heal it will be a long fight.
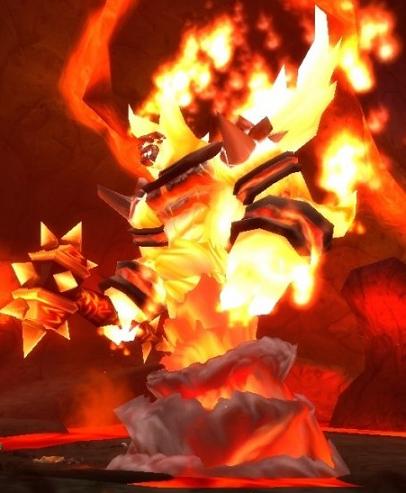
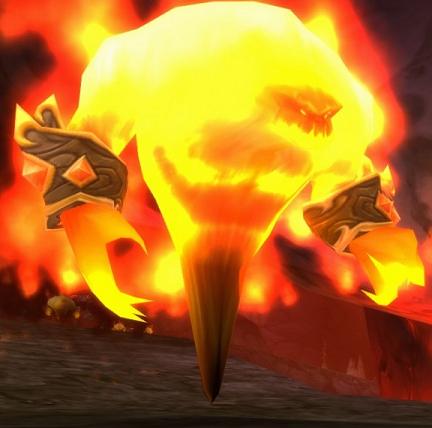
Ragnaros is the final boss of Molten Core. He is a VERY tough fight if you cannot coordinate yourself to perfectly position his knockbacks. If you bring at least 250-300 Fire Resistance this fight will be the easiest thing you'll ever do. The only killer is the fall damage you will take from knockback if you're not positioned correctly.
Ragnaros will also summon 8 Sons of Flame every 3 minutes. They have 15k HP and can be quickly killed. If you don't have any Fire Resistance (If you even made it 3 minutes in) then when they hit you, they will also drain mana. After 90 seconds or after all 8 sons are dead Ragnaros will resurface. I've included a few videos below to help you position yourself correctly during Ragnaros.
Melee DPS Positioning
Ranged DPS Positioning
Tribute to the best Ragnaros video ever